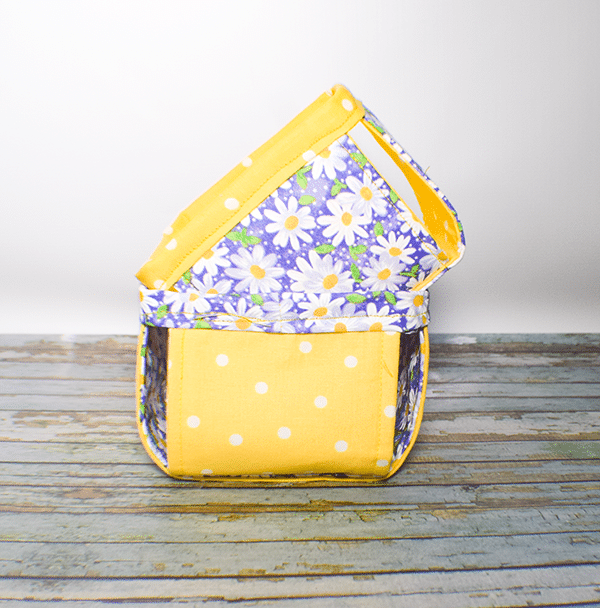
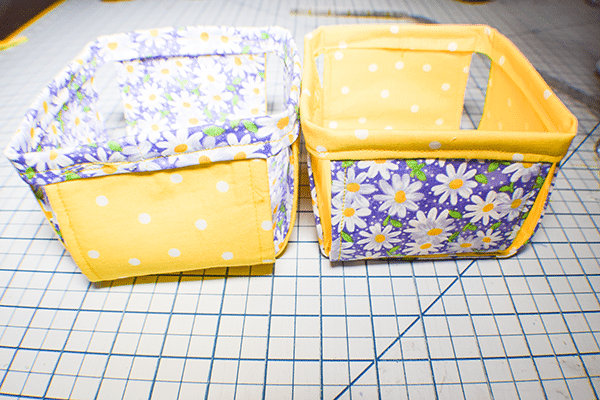
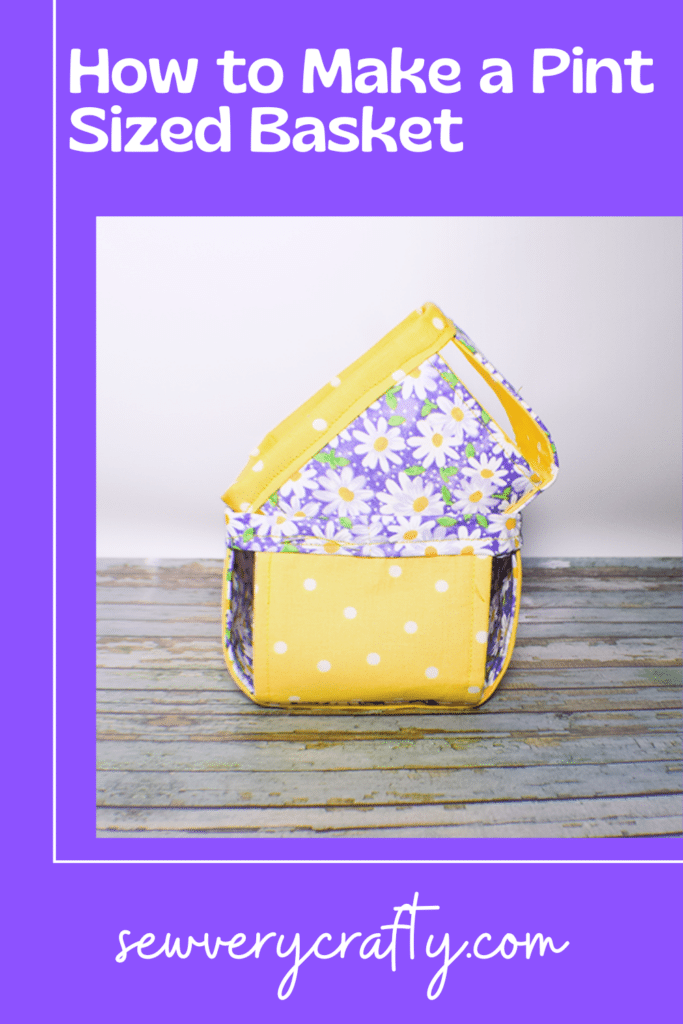
These pint sized baskets are are super simple to make and functional too. These pint sized baskets are reminiscent of fruit baskets that you find at farmer's markets and are prefect for fat quarter and other storage. I got this pattern and idea from the Bernina website We All Sew and thought to share it with you. If you would lie more basket projects check out my storage baskets here.
I used basic cotton fabrics for my pint sized baskets and some Pellon 808 interfacing along with some standard sewing supplies that I purchased at JOANN Fabric & Craft Stores![]() online and picked up in store. But you could head to Amazon fabrics or
online and picked up in store. But you could head to Amazon fabrics or
What you will Need: How to Sew a Pint Sized Basket
- 2 coordinating fat quarters for each basket
- 1/3 yd pellon 808
- Standard Sewing Supplies
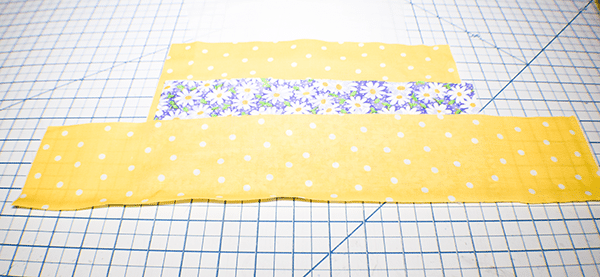
Step 1: Cut the Fabrics
Cut two pieces of outer fabric, lining fabric and four pieces of Pellon 808 that measure 11″ x 5″. From the lining fabric cut a piece that measures 3 1/2″ x 18 1/2″ for the band.
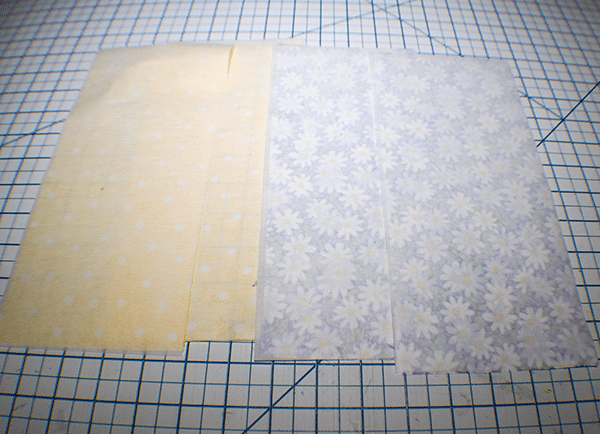
Step 2: Fuse the Pellon 808
Following the manufacturer's instructions fuse the Pellon 808 to the wrong side of each of the 11″ x 5″ fabric pieces.
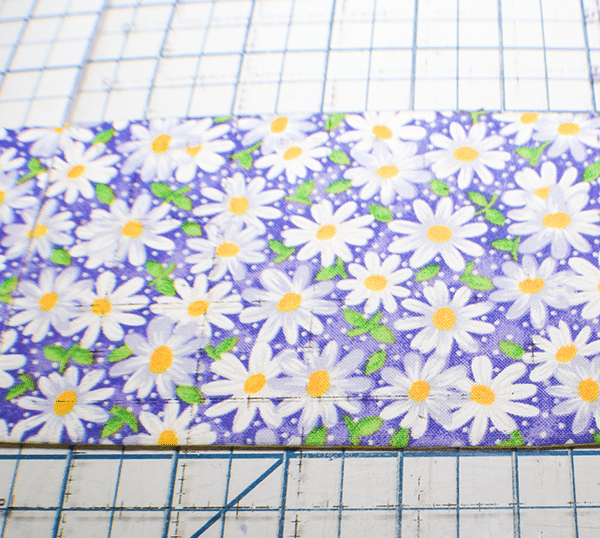
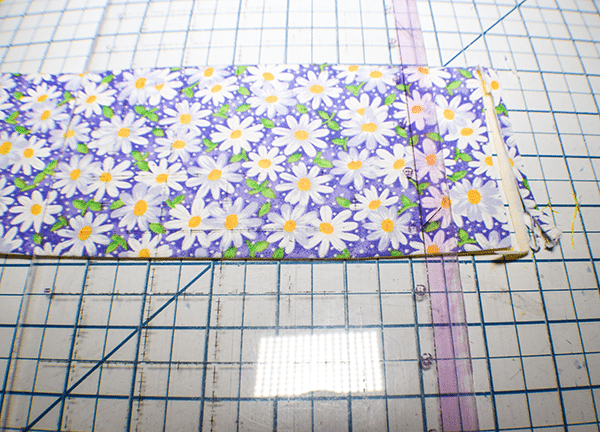
Step 3: Stitch the Pint Basket Fabrics Together
Place an outer piece right sides together with a lining piece and stitch the long edges using a 1/2″ seam allowance. Leave the short ends open. Turn right sides out and press well. Topstitch along the long ends. Repeat for the other pair of fabrics.
Step 4: Trim One End
Take one of the rectangles that you just stitched and trim off 1/4″ from the end. This will compensate for the outer piece having to fold farther when the two pieces are folded. Leave the trimmed piece right sides up on your work station.
Step 5: Layer the Second Piece
Place the second piece right sides up on top of the shorter piece so that they cross in the center. Clip using wonder clips. You can use the lines on your cutting mat to align the pieces.
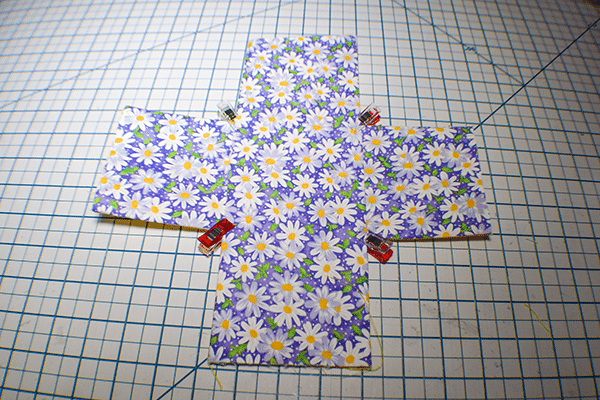
Step 6: Stitch the Pieces Together
Stitch the pieces together in the center square using a 1/4′ seam allowance by stitching down two sides and crisscrossing in the center.

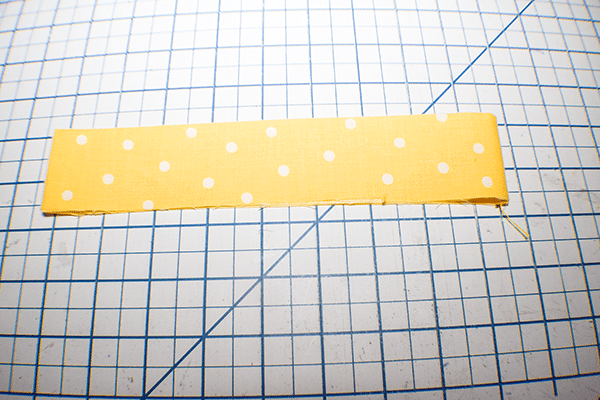
Step 7: Create the Band
Take the 3 1/2″ x 18 1/2″ piece and stitch the short ends together using a 1/4″ seam allowance. Press the seams open. Fold the band in half matching he raw edges and press well. Once you have pressed the band mark the band in quarters by folding it in half and making a mark and folding in half matching the marks and making additional marks. You can use pins if you like.
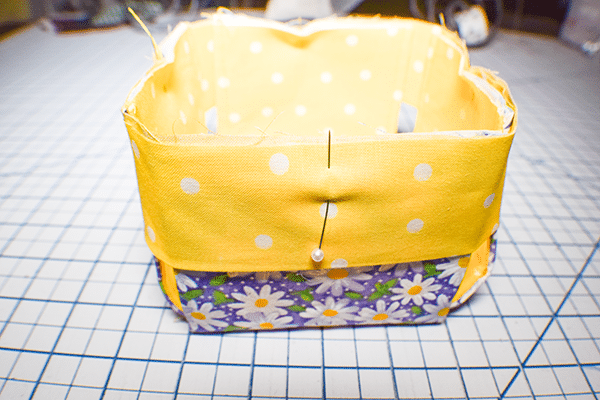
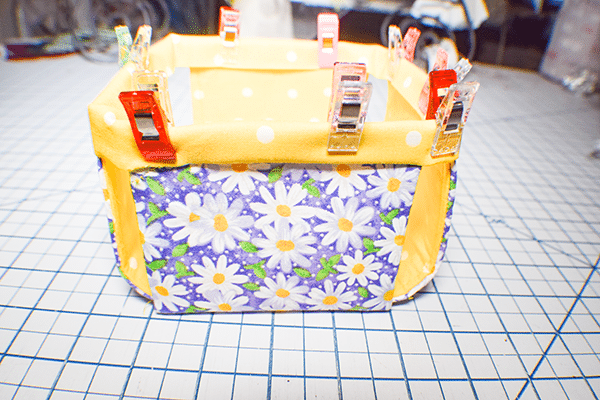
Step 8: Add the Band
Find the center of each rectangle and make a mark. Pin the band to the rectangles at the quarter marks matching the raw edges then continue to pin around the basket. Note that the corners do not meet but make sure that they are even around the basket. Stitch the band to the rectangles using a 1/2″ seam allowance. Turn the bund over the top raw edges and clip. Stitch all the way around to secure the band. Once the band is secured you have finished your pint sized basket.
I hope you enjoyed this pint sized basket tutorial. If you would like more sewing and crafting tutorials subscribe to our free newsletter and receive access to our free Printables Library.
If you would like video tutorials of some of Sew Very Crafty's most popular posts subscribe to our free YouTube channel here.
Join our Sew Very Crafty Fans Facebook group
If you want to ask questions and share your projects join our Facebook group here. The community will help to achieve your sewing and crafting dreams.