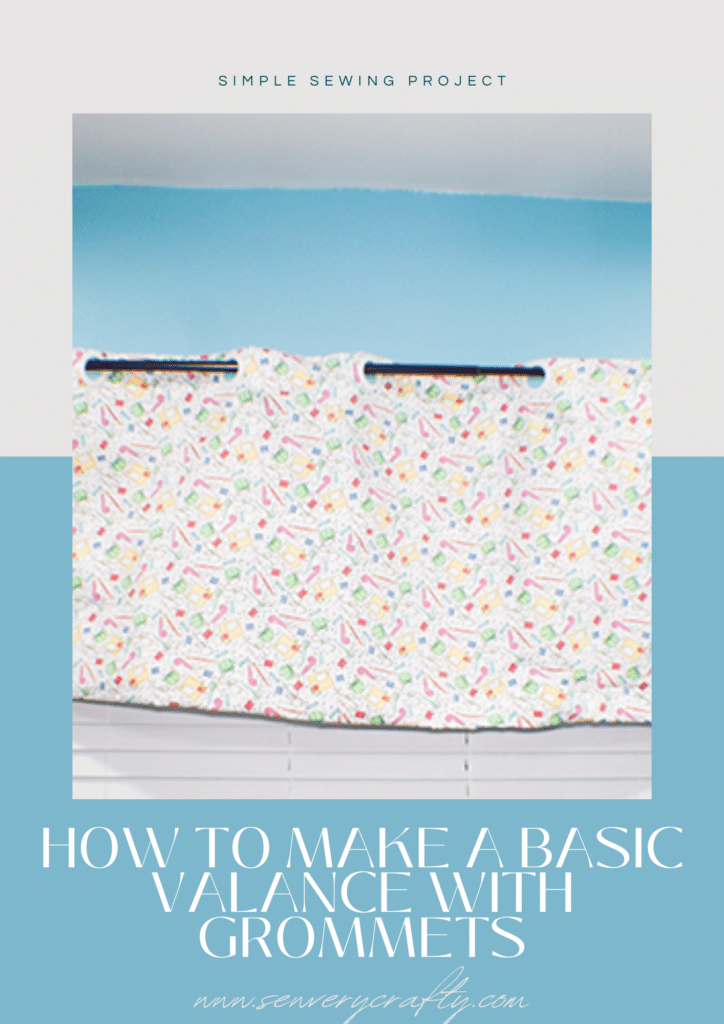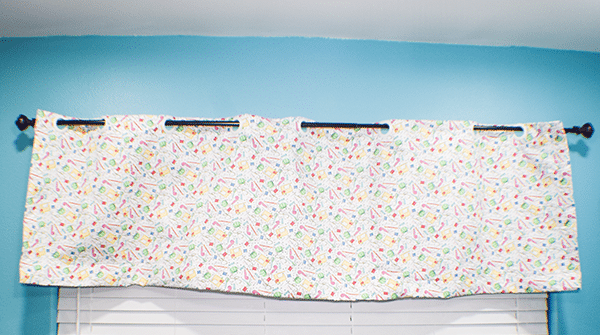
I just repainted and re did my sewing room now that I am retired and no longer working. I added a Dream Box and Dream station to solve all of my storage problems. With this in mind I decided to create a basic window valance. I purchased a sewing themed rug and wanted to create a sewing themed valance as well. I thought that I ordered canvas but ended up with cotton so I needed to line it and added some interfacing. There are a few more home decor projects on the site so if you would like more check them out here.
Note: This post contains affiliate links that if you click on them and make a purchase I will receive a small commission at no extra cost to you. As an Amazon Associate I earn from qualifying purchases.
What you will Need

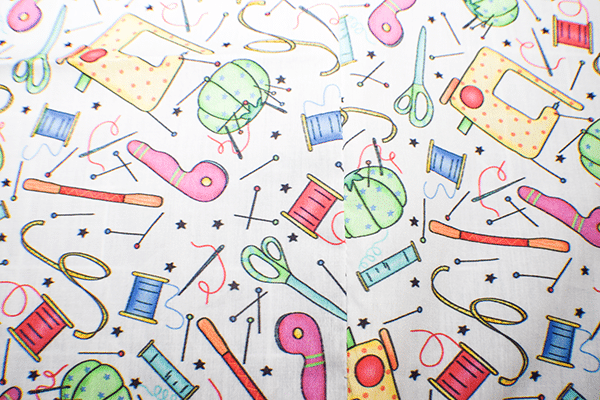
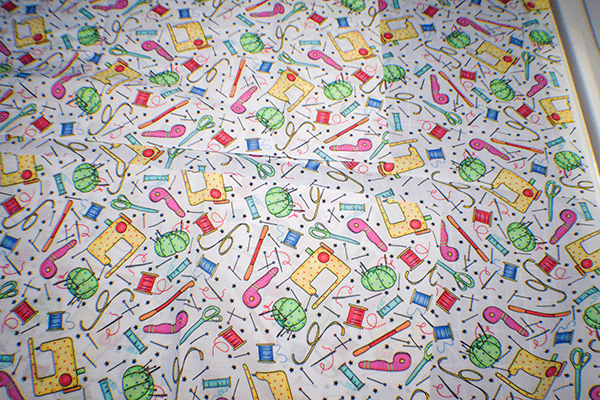
Step 1: Cut out the Fabric
The amount of fabric you will need depends on the size of your window. My window is quite large so I needed about 2 yds of fabric. I had to attach side panels because the fabric was not wide enough. I cut two pieces that measure 17″. The same was done for the interfacing. The lining fabric was measured the same as the outer fabric.

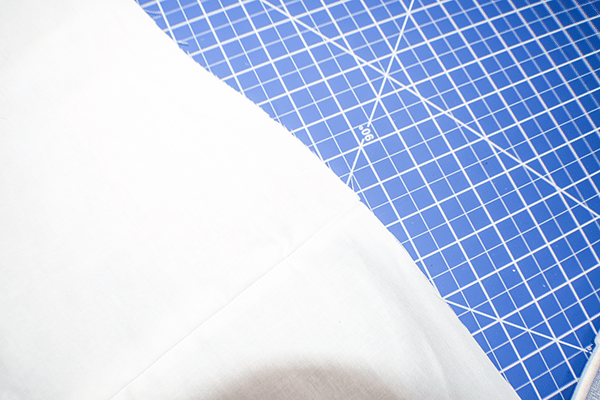
Step 2: Stitch the outer fabric
If your window is wide like mine determine the width of the window. Remove the selvage's and measure the width of your fabric. Subtract the width of the fabric from the width of the window. I wanted my valance to be a little wider than my window so I added 4″ on each side to the window measurement. Divide the remaining number by two to get the side panel measurements. Remember to add a 3/8″ seam allowance or your valance will be too small. Determine the length you want your valance to be and add 8″ to the bottom for the hem. Once you have determined the length and width of the fabric pieces stitch the side panels to the outer fabric using a 3/8″ Seam allowance.
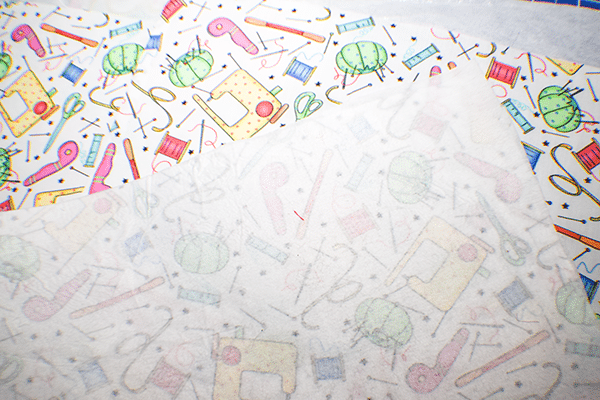
Step 3: Fuse the Interfacing
Create the interfacing in the same way you created the outer valance. Fuse the interfacing to the outer fabric following the manufacturer's instructions.
Step 4: Add the Lining
I measured my lining the same way as my outer fabric. I know that professional drapery makers do this a bit differently but I wanted anyone to be able to make these so my lining and outer fabric are the same.
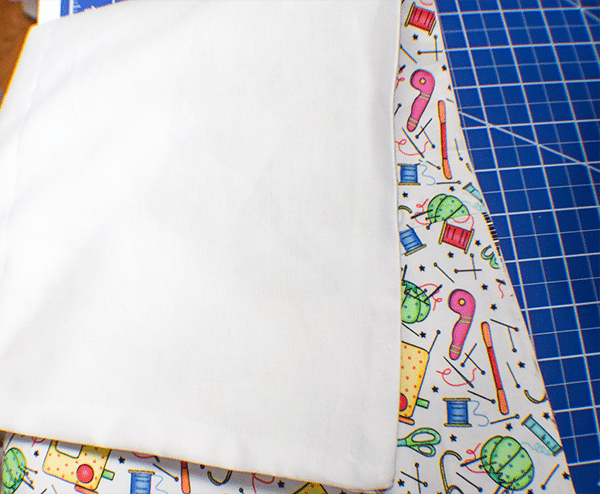
Step 5: Stitch the Fabrics
Place the fabrics right sides together and stitch along the sides and top using a 3/8″ seam allowance. Turn right sides together and press.
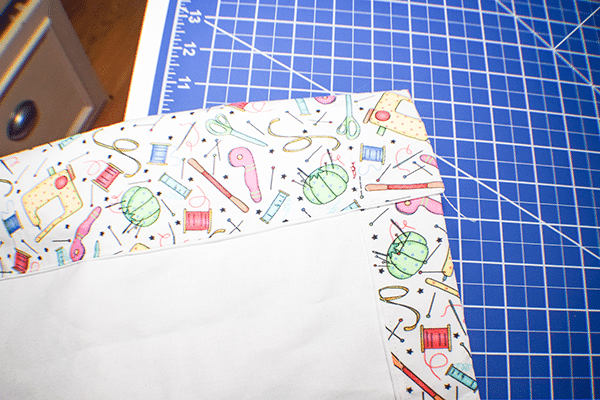
Step 6: Fold over the sides by 2″ and stitch. Fold down the top by 3″ and stitch again. Press
Step 6: Fold the Top and Sides
The valance will need to be hemmed along the sides and the top. Fold in the sides to the correct width if needed and stitch in place. Measure 4″ from the top and fold down and stitch.
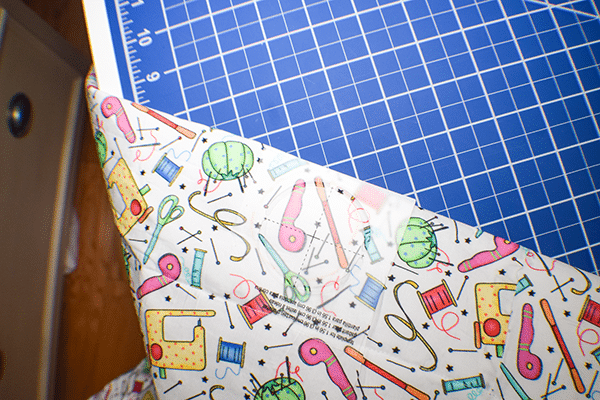
Step 7: Add the Grommets
Make sure the top is pressed well. Measure down 3″ from the top and stitch a line all the way across the width of the valance. Place the Grommets evenly across the width in the area you just created at the top of the valance. Install the grommets according to the manufacturer's instructions. Generally they come with a template. Use the template to draw the circles for the grommets. Cut out the holes and add the grommets. They just snap together.

Step 8: Add the Valance
Using the poll, thread it through the grommets in the valance. The valance should fit well and hang nicely. Determine the length. Hem.

I hope you enjoyed this simple valance project and you would like more sewing and crafting projects subscribe to our free newsletter and receive access to our free printables libary.
If you would like video tutorials for some of Sew Very Crafty's most popular posts subscribe to our free YouTube channel here.
Join our Sew Very Crafty Fans Facebook group
If you want to ask questions and share your projects join our Facebook group here. The community will help to achieve your sewing and crafting dreams.