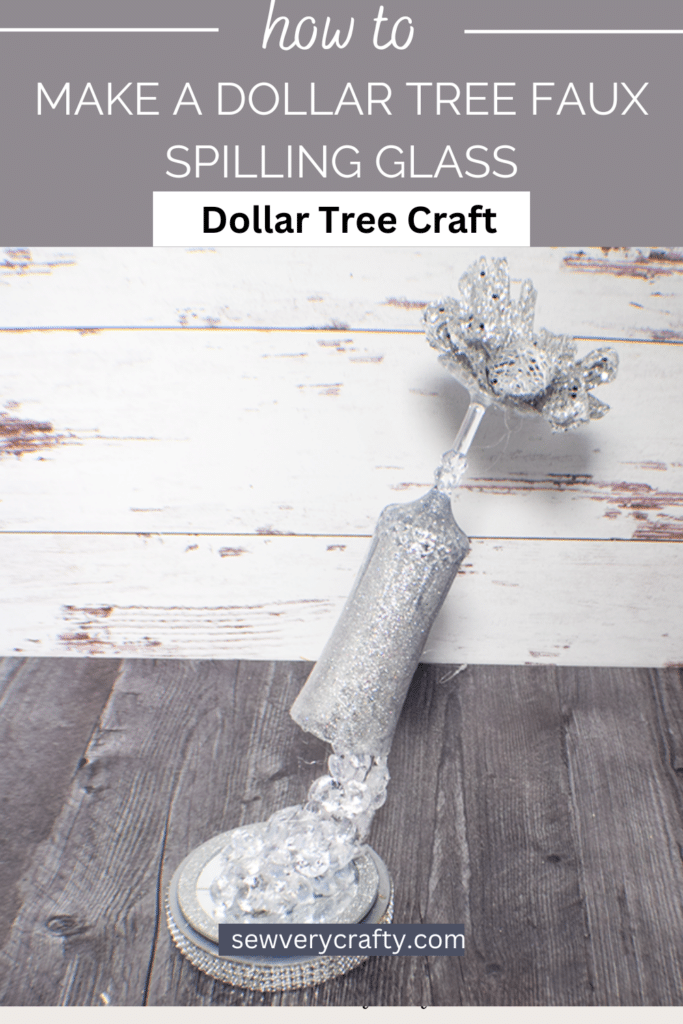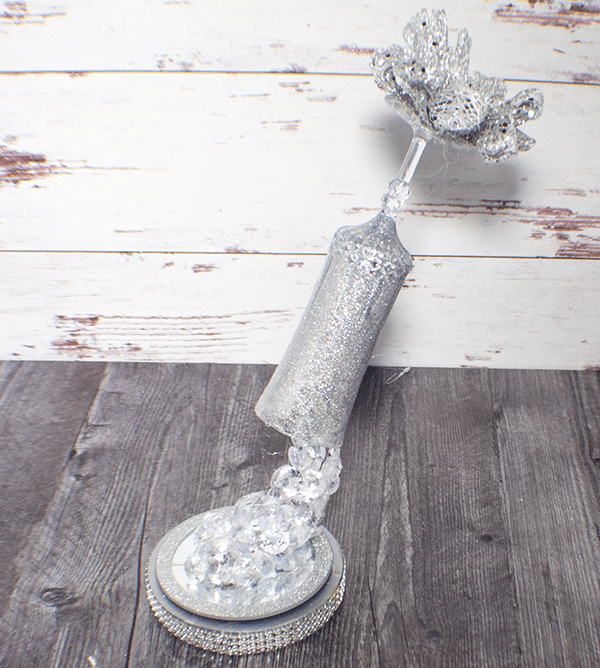
Yes, I am back at it again with the Dollar Tree crafts. I decided to make this one specifically for New Years but you can use this technique for virtually any container. This Dollar Tree New Years Decoration can be made in no time with mostly Dollar Tree items. The paint and hot glue came from Amazon. This is such a simple little project to make but it has a big impact. If you would like more Dollar Tree crafts head over to my Dollar Tree page. For more holiday projects head over to my Holiday Project Vault.
Just a few craft supplies
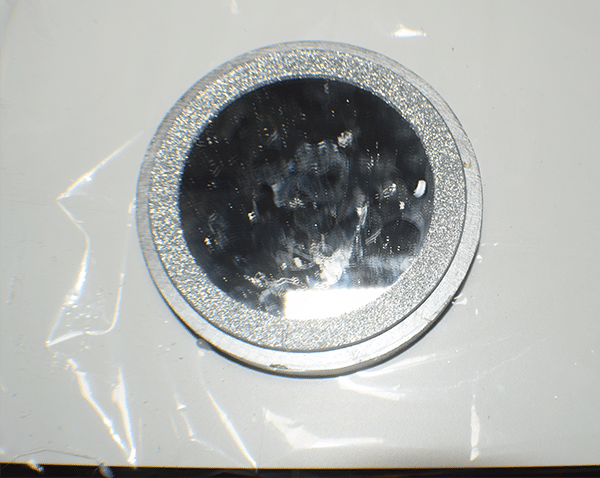
Step 1: Paint the Wood Round
I painted my wood round using Shimmer Silver acrylic paint. I had to use a few coats to cover up the whole round. To be honest I would have used silver spray paint if I had it on hand but I didn't so I used acrylic paint instead. It worked fine but spray paint should have been better.
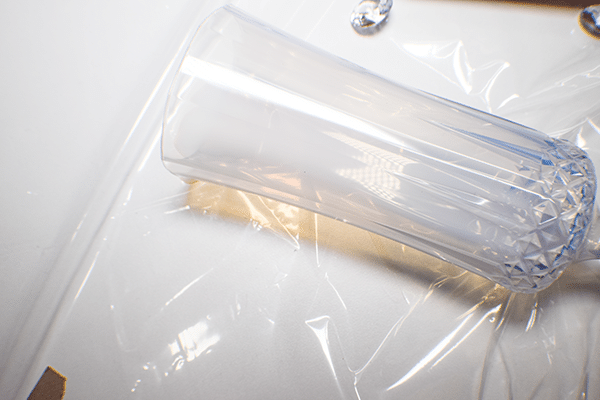
Step 2: Add the Polycrilic
Place a small amolunt of polycrilic in the glass and roll it around so that it covers the inside of the glass. Remove any excess.
Step 3: Add the Glitter
Add glitter to the inside of the glass. Swirl around the glitter to that it covers the entire inside of the glass.

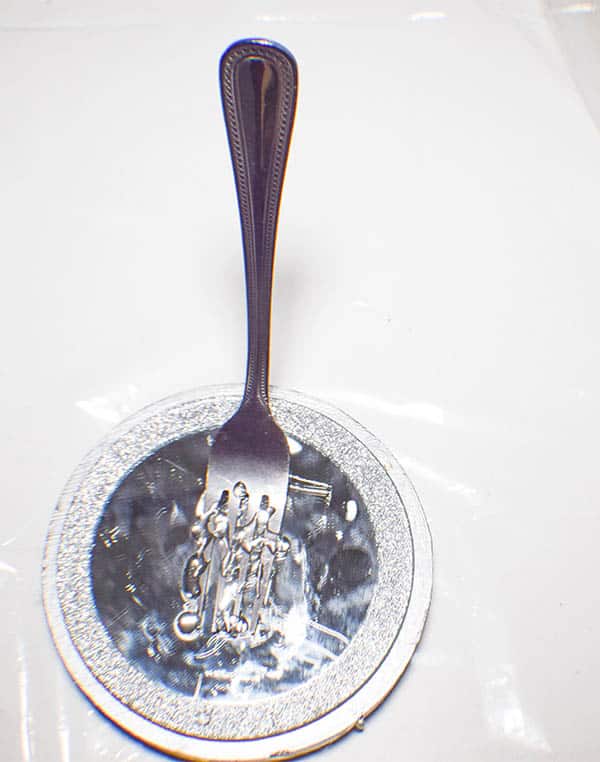
Step 4: Bend the Fork
I bent my fork at the bottom so that it would sit flat on the mirror. I also bent the top slightly give it some curve.

Step 5: Glue the Mirror to the Round
Using hot glue attach the mirror to the wood round.
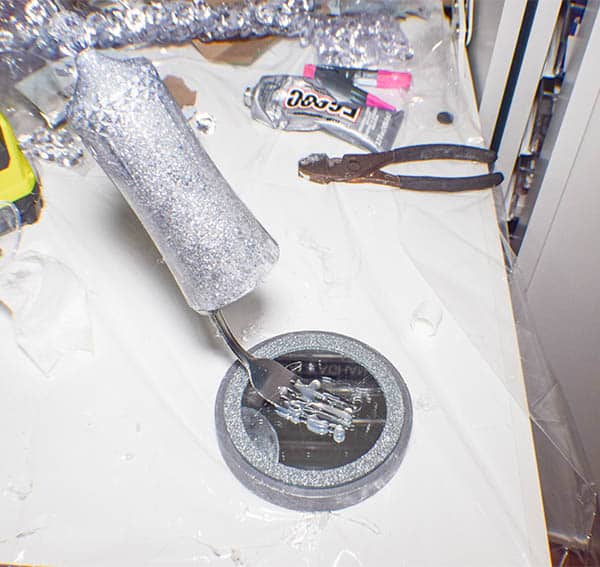
Step 6: Glue the Fork to the Mirror
Using the hot glue and the e6000 attach the tines of the fork to the mirror.
Step 7: Glue the Champagne Flute
Using the hot glue and the e6000 glue the handle end of the fork inside the champagne flute. Use a clamp to hold it until it is set.
Step 8: Add the Gems
Hot glue the gems inside the flute and down both sides of the fork. Glue enough gems to cover the fork and to pool at the bottom.

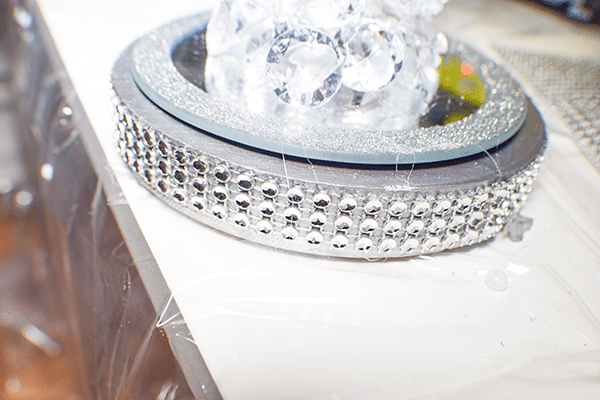
Step 9: Add the Stick on Gems
I cut the stick on gems in rows that are three lines each. I attached the gems to the bottom of the round. These little gems are self adhesive and easy to cut.
Step 10 Add the Bow
Create a bow to add to the end of the flute. This step is completely optional. If you are interested in creating great bows I suggest Southern Charm Wreaths bow making course. Just click this link.
I hope you enjoyed this project. If you would like more sewing and crafting projects subscribe to our newsletter and receive your free Dollar Tree eBook of projects taken from the blog.
If you would like video tutorials of some of Sew Very Crafty's most popular posts subscribe to me free YouTube channel here.