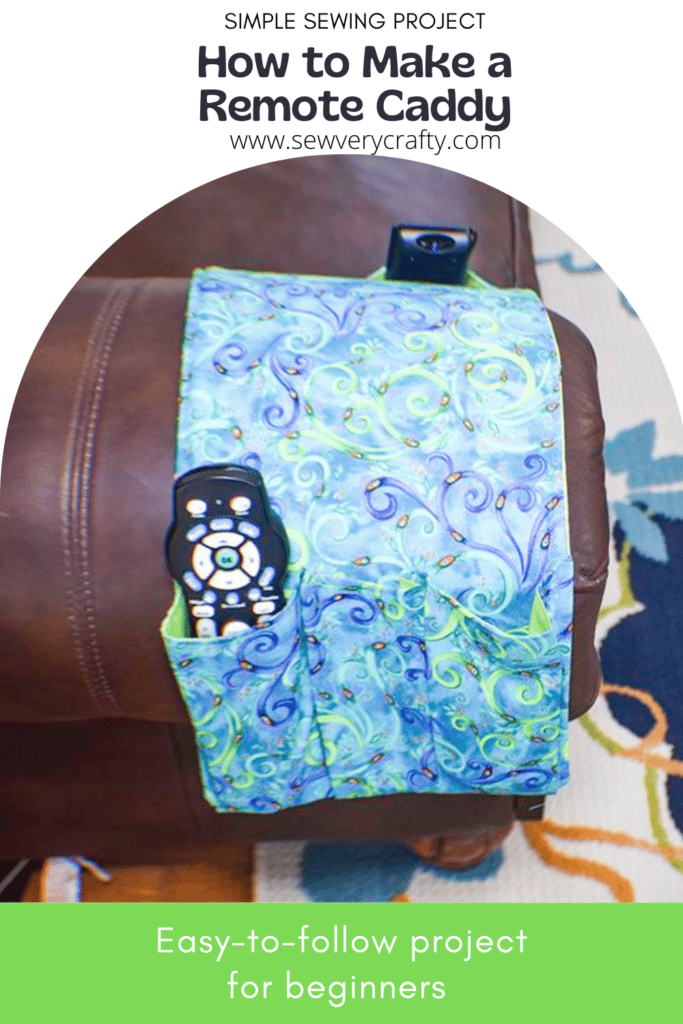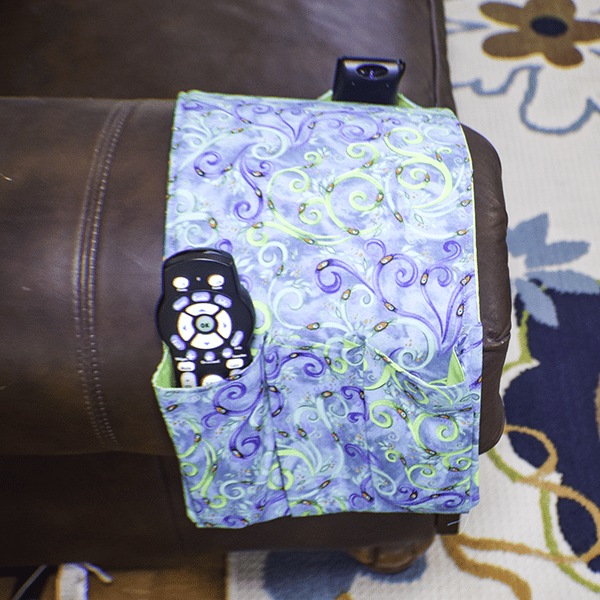
I don't know about you but we have several remotes at our house to control the television. I thought a remote caddy would be the perfect solution to keeping them close at hand. This Caddy is super simple to sew and requires only beginner sewing skills. It is a fun and functional project that you can make to match your home's decor. I found this project on the Bernina we All Sew Blog and thought to share it with you. If you would like more home decor projects check out my home decor page here.
I used basic cotton fabrics for this project but you could use home decorator weight fabric for yours if you like. I purchased my fabrics at Joann's but you could head to Fabric.com or onlinefabricstore.net for the perfect fabric for your project. This post contains affiliate links that if you click on them and make a purchase I may receive a small commission at no extra cost to you. As an Amazon Associate I earn from qualifying purchases.
What you will Need: How to Make a Remote Caddy
- 1/2-yard main fabric
- 1/2-yard lining fabric
- 24″ x 9″ piece of Fusible Fleece like Pellon SF987
- 24″ x 9″ piece of Pellon 808
- Basic sewing supplies
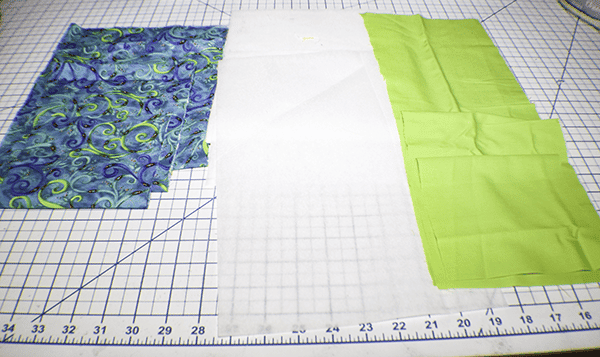
Step 1: Cut out your Fabrics
Main Fabric
- 1 piece 24″ x 9″ (top side of caddy)
- one piece 11″ x 6″ (phone pocket)
- one piece 17″ x 7″ (remote pocket)
Lining Fabric
- 1 piece 24″ x 9″ (bottom side of caddy),
- one piece 11″ x 6″ (phone pocket lining)
- one piece 17″ x 7″ (remote pocket lining)
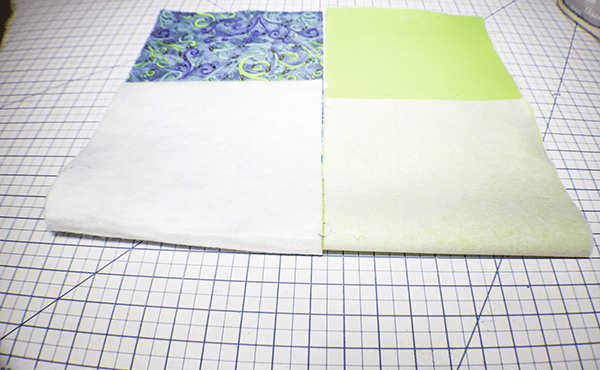
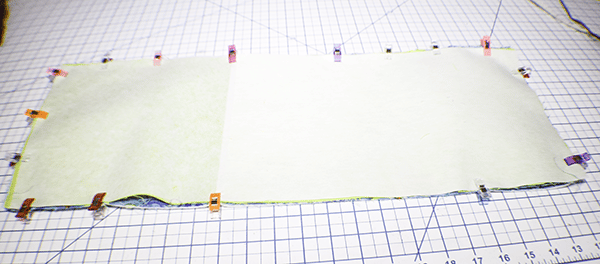
Step 2: Fuse the Interfacing
To the wrong side of the lining fabric fuse the Pellon 808 following the manufacturer's instructions. Fuse the fusible fleece to the wrong side of the outer fabric following the manufacturer's instructions.
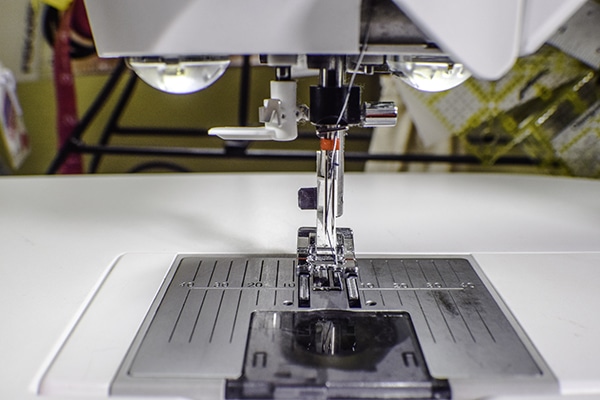
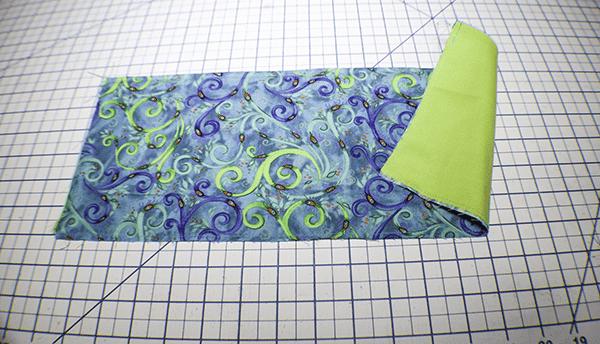
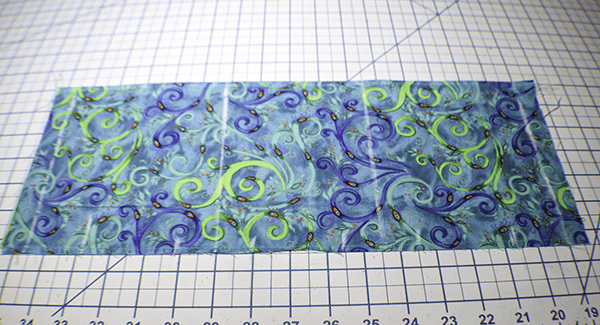
Step 3: Stitch the Remote Pocket
Take the 17″ x 7″ outer and lining pieces and place them right sides together. Stitch along one long edge using a `1/2″ seam allowance. Press the seam open and turn the pieces so that the wrong sides are together. Press. Topstitch along the seam. Baste 1/4″ from each raw edge to secure the layers together.
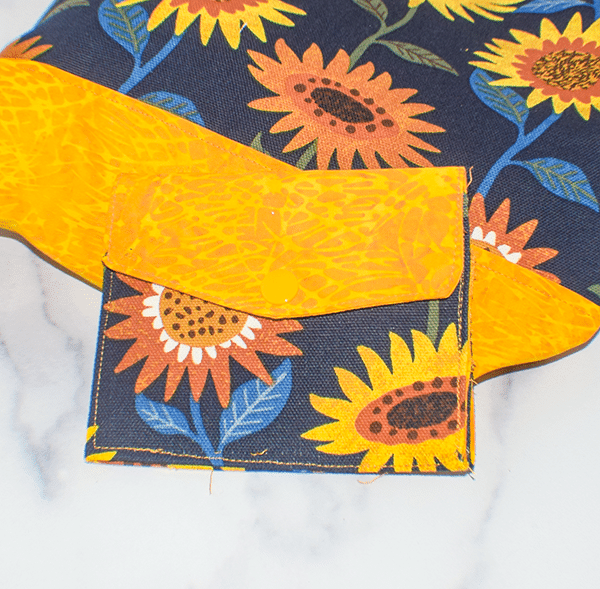
Step 4: Stitch the Phone Pocket
Take the 11″ x 6″ outer and lining pieces and repeat the process you just completed.
Step 5: Mark the Remote Pocket
You will need to mark the remote pocket piece so that you will be able to create the pockets. Start by drawing a line 3/4″ from each end. Then, mark Lines 5 1/2″ from each short pocket end. Next you will need to mark for the pleats. These lines do not need to be across the whole pocket. From the right and left 3/4″ line measure 1 3/4″ and draw a short line. From the next 5 1/2″ line measure 1″ over from from both sides of the line and draw a short line. Do this for the other 5 1/2″ line.
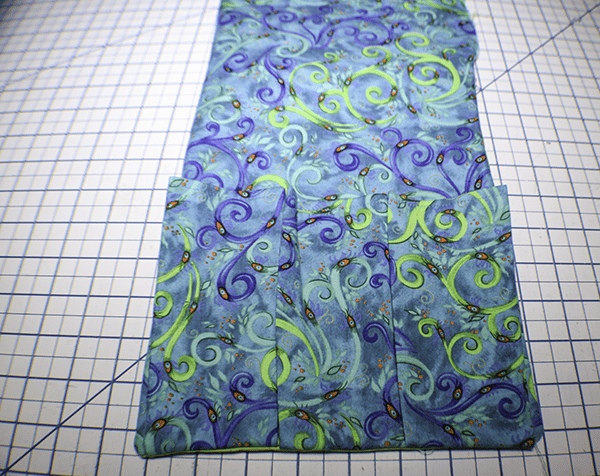
Step 6: Pleat the Remote Pockets
To pleat the pockets move the shorter lines to the nearest long line and pin. Stitch the pleats along the bottom raw edge following the basting stitches.
Step 7: Mark the Phone Pocket
Start by making a long mark 3/4″ from each short end. Then draw a long line in the center that is 5 1/2″ from the short end. Next make two short lines 1/2″ on either side of the center pocket line and 1/2″ from each short end long line. Pleat the pockets in they same way you did for the remote pockets. Stitch in place over the basting stitches.

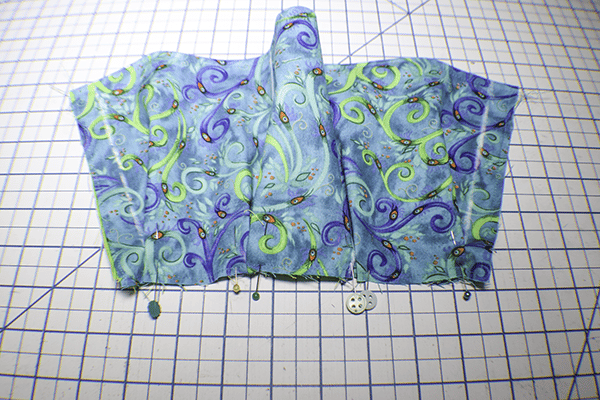
Step 8: Add the Pockets
Place the pockets you just created at each end of the main outer piece and stitch along the bottom raw edge using a 1/8″ seam allowance to secure.
Step 9: Add the Main Lining Piece
Place the main lining piece right sides together with the main outer piece with the pockets. Stitch all the way around using a 1/2″ seam allowance and leaving 6″ opening on one long side for turning.
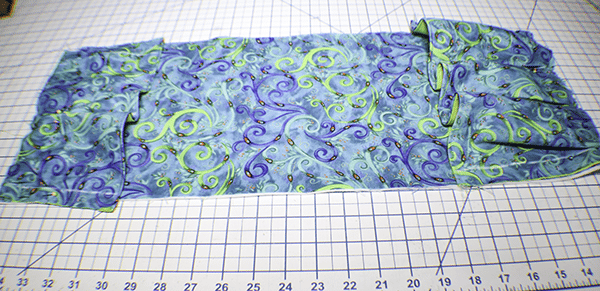
Step 10: Turn Right Sides Out
Turn the caddy right sides out through the opening you left in the sides and press. Topstitch along the sides starting and ending inside the pockets.
Step 11: Stitch the Long Marks on the Pockets
Pin the long lines to the main caddy and stitch down each one. Press the pockets and you have finished your remote caddy.
I hope you enjoyed this remote caddy project. If you would like more sewing handcrafting projects subscribe to our newsletter and receive access to our free printables library.
If you would like video tutorials of some of Sew Very Crafty's most popular posts subscribe to our free YouTube channel here.