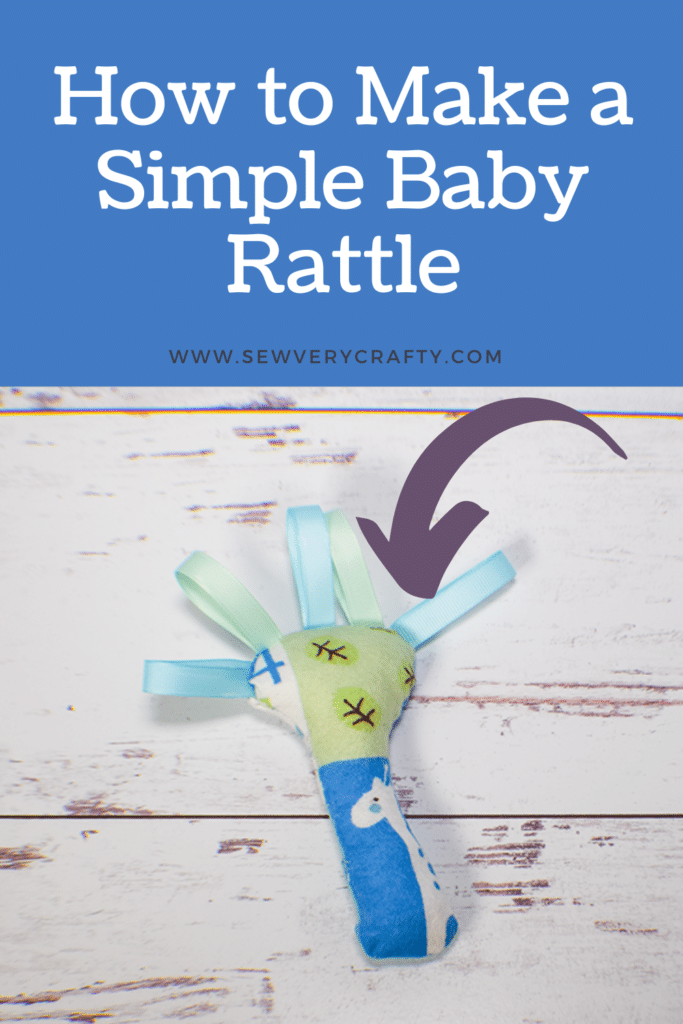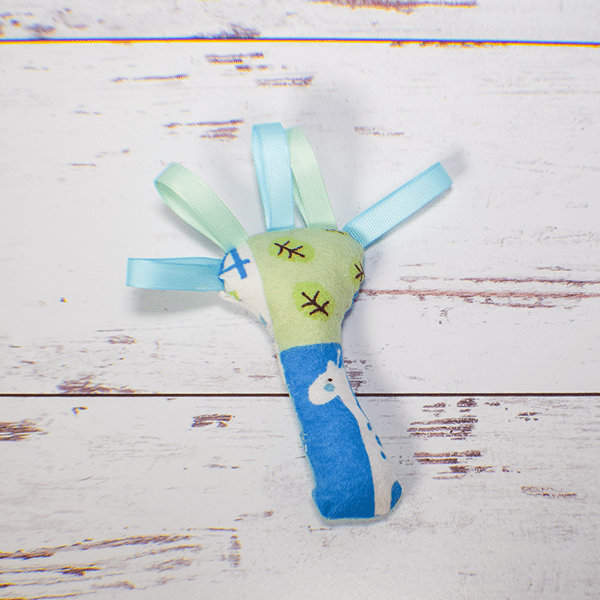
My daughter recently gave birth to our first grandchild, an adorable baby girl. With them in mind I decided to sew a baby rattle. I came up with a pattern for this super simple sewing project and thought to share it with you. It only involves scrap fabrics, some fiberfil and a rattle that can be inserted inside. I have created a few children's projects for the site and if you are interested you can find them here.
This post contains affiliate links that if you click on them and make a purchase I will receive a small commission at no extra cost to you. As an Amazon Associate I earn from qualifying purchases.
What you will Need: How to Sew a Baby Rattle
- Pattern you can get by clicking on this link
- Scrap fabrics
- Ribbon
- Polyester fiberfil
- Rattle
- Sewing machine
- Standard sewing supplies.
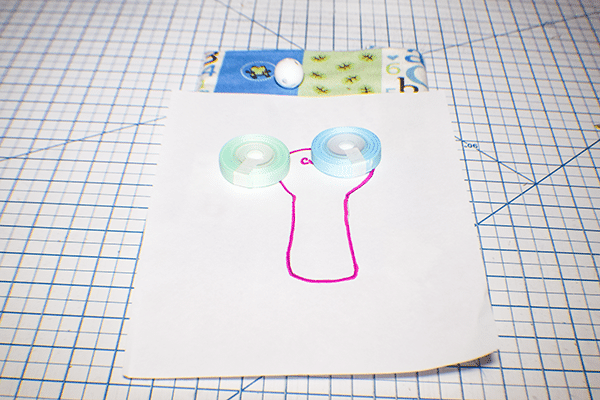
Step 1: Cut the Fabrics and Ribbon
Using the pattern, cut two fabric pieces. Cut five or six pieces of ribbon to measure 4 1/2″ in length.
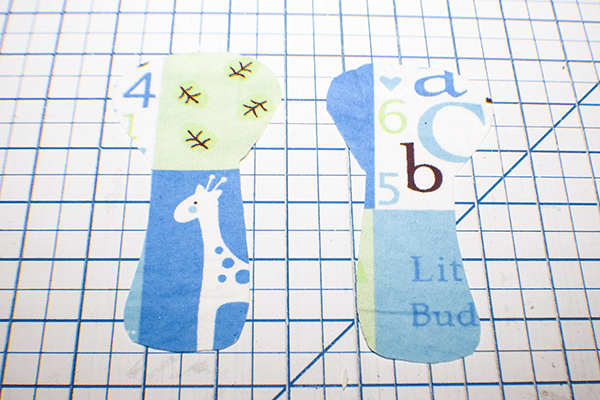
Step 2: Add the Ribbon
Fold the ribbon pieces in half. Place the ribbon to the right side of the top of the rattle so that the raw edges meet. Pin. Baste the ribbon to the rattle side.
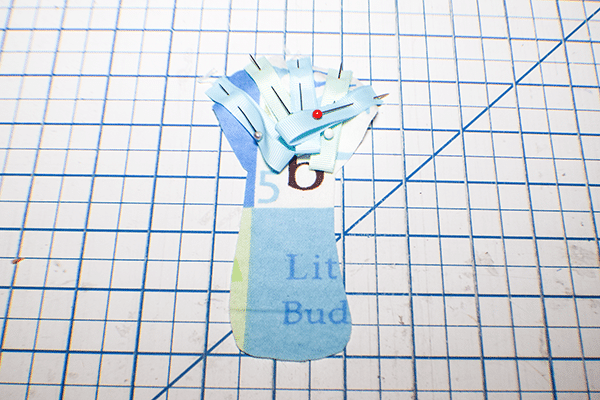
Step 3: Stitch the Two Rattle Pieces Together
Place the two rattle pieces right sides together so that the ribbon pieces are in between the rattle pieces. Stitch together using a 1/4″ seam allowance leaving an opening on one side for stuffing. Turn right sides out.
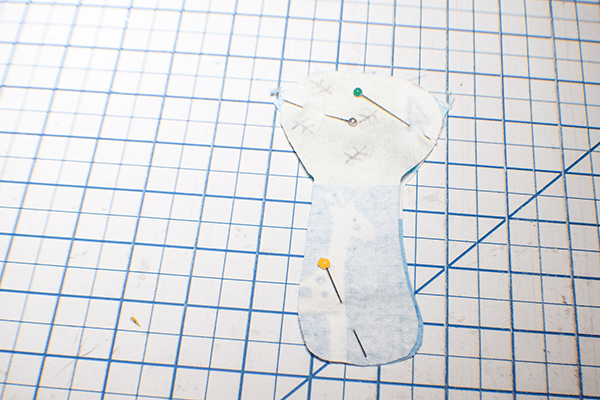
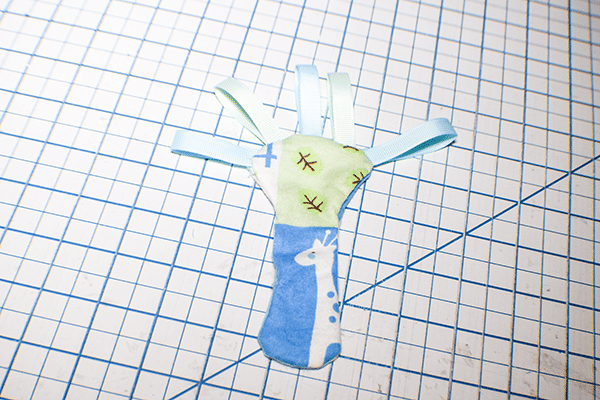
Step 4: Stuff the Rattle
First, stuff the rattle about half way. Add the rattle to the center. Finish stuffing the rattle so that it is full.
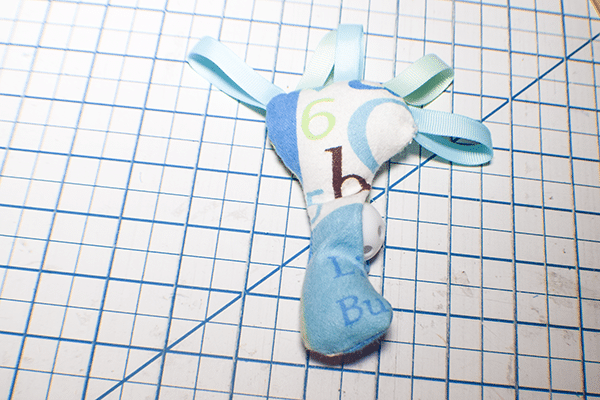
Step 5: Close the Opening
Using ladder stitch, close the opening so that the stitching is invisible. Once the rattle is closed you have finished sewing your baby rattle.
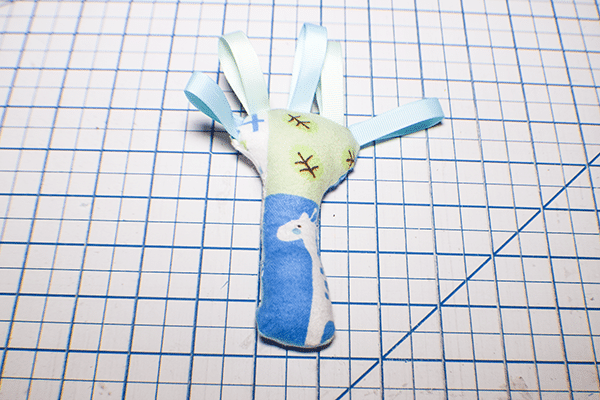

I hope you enjoyed this simple baby rattle project. If you would like more sewing and crafting projects subscribe to our free newsletter and receive access to our printables library.
If you would like video tutorials of some of Sew Very Crafty's most popular posts subscribe to our free YouTube channel here.
