How to Applique Using an Embroidery Machine
I have an embroidery machine that I can count on one hand the number of times I have actually used it. I brought my sewing machine in for a cleaning and service yesterday so I am without at the moment. To be honest I am in sewing withdrawal. So I turned to my embroidery machine and decided to do something with that. Since I am not really sure how it works I thought I would start with a simple project like machine applique and see what that looks like before turning to a full on embroidery project. In this post we are definitely learning the process together.Fingers crossed it turns out alright
I have a Brother PE770 Embroidery Machine which I think is a pretty standard home embroidery machine. You can get an updated version of the machine here. I purchased my machine online through Sewing Machines Plus. They have a great selection of embroidery machines and combination sewing and embroidery machines if you are considering purchasing one and they offer free shipping. This post contains affiliate links that if you click on them and make a purchase I will receive a small commission at no extra cost to you. As an Amazon Associate I earn from qualifying purchases.
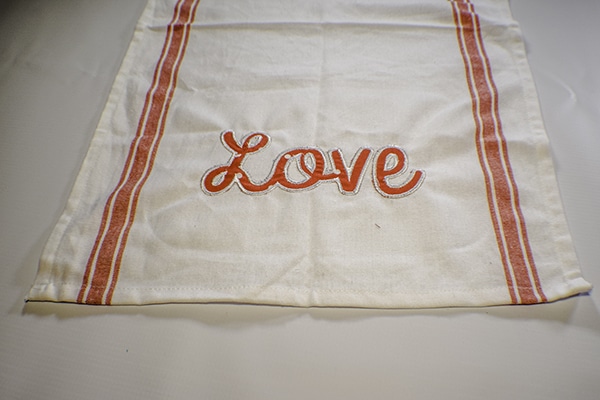
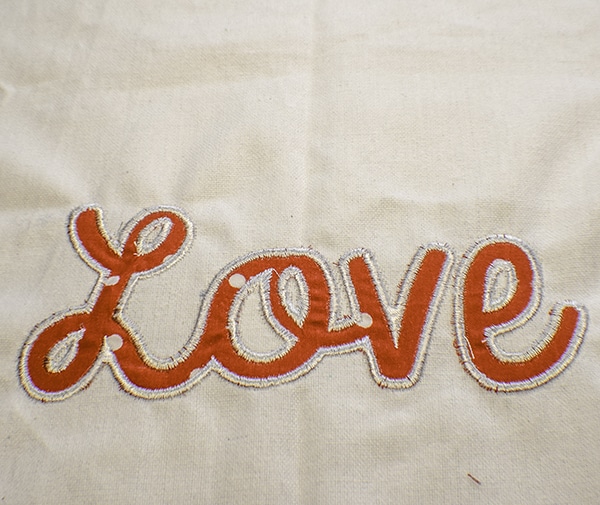
I decided to try this out on a tea towel to see how it would look before using it on other projects and was very pleased with the results.
What you Will Need: How to Applique Using and Embroidery Machine
- Embroidery Machine
- Applique design
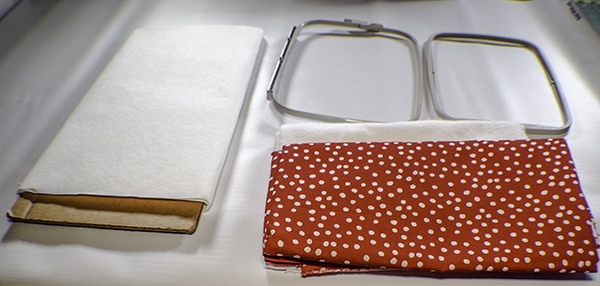
- Tearaway Stabilizer
- Embroidery Thread
- Bobbin Thread
- Small sharp scissors or applique scissors
- Small amount of fabric
- Project
Where to get free and paid embroidery & applique designs:
You will need to find an applique design to load into your embroidery machine. There are numerous places online to download embroidery and applique designs. I like to search out the free ones but even if you have to pay they are not very expensive. You can check out places like Etsy, So Fontsy, or Applique Corner where I got the design for my applique. You can just search for embroidery or applique designs and there will be many. My design was free.
I simply signed up for an account and downloaded my design onto a thumb drive that I placed into my machine. It was just that simple. It took less than 5 minutes to do in order to get this free design. Now that I have my free design, lets get started.
Step 1: upLoad the Design
- Download your applique file from the website
- Save the file to your USB drive
- Insert the USB drive and turn on the machine
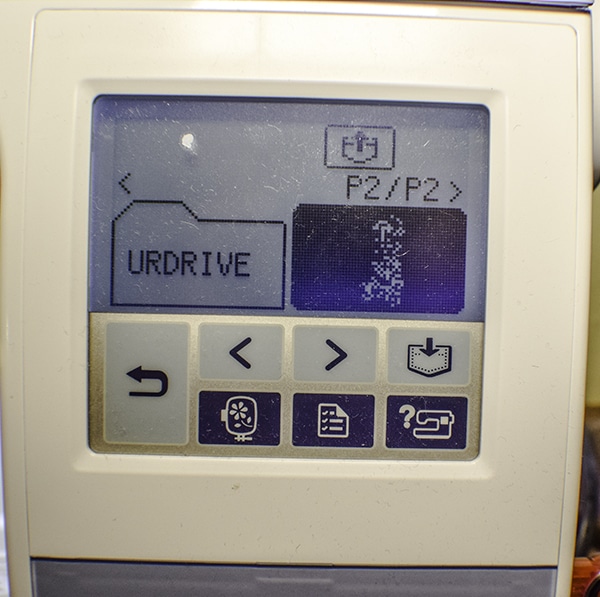
- Press the icon that looks like three cords and the menu from your USB drive will come up.
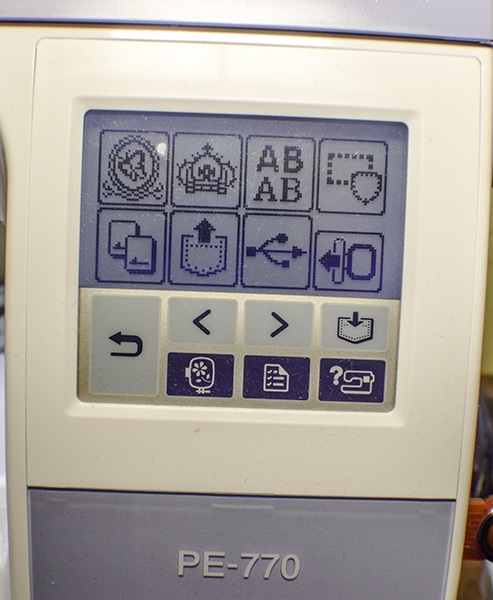
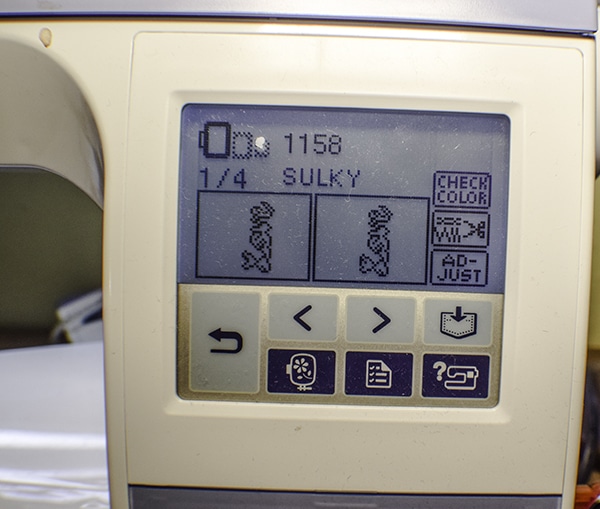
- Upload your Design into your machine by pressing the design and the icon that looks like a pocket piece with an arrow on it.
Step 2: Hoop your project
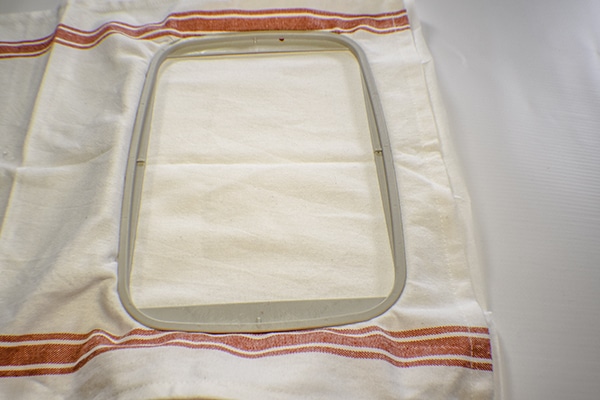
Place the bottom of your hoop on your work surface with the clips facing down. Place a piece of tearaway stabilizer on top of your hoop. Once you have added the stabilizer add your project. I used a tea towel for my project. Now add the top part of the hoop to sandwich everything together. Tighten the hoop with the screw. Place the hoop into the machine by clipping it into the carriage using the provided clips.
Step 3: stitch the outline
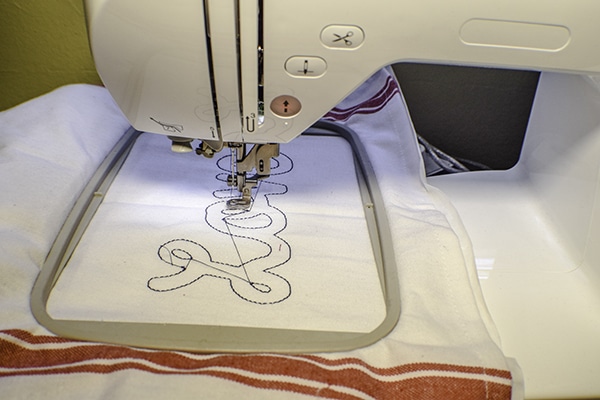
Lower the presser foot. This turns the start button green. Once that occurs press the button to begin the first outline of your design. I used a blue color thread so that you can see it. It doesn't matter what color you use because it will be concealed in a later step.
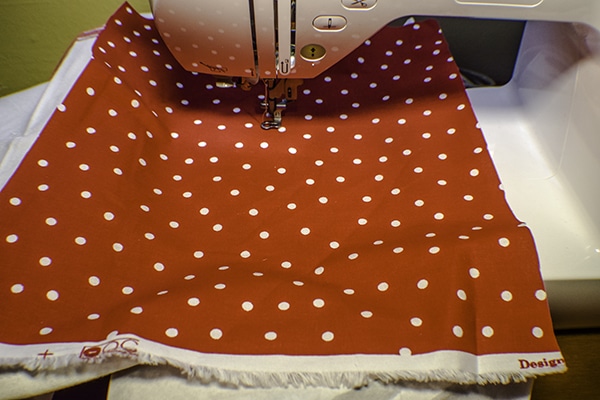
Step 4: Apply the Applique fabric
Now that you have stitched the outline of your design, raise the presser foot and place your applique fabric on the hoop. You could use a temporary spray adhesive to help you but I tried that and had difficulty in a later step so I just laid the fabric on the hoop and held it lightly while the machine stitched.
Step 5: Stitch the applique fabric
Lower your presser foot and press the start again. The machine will stitch another outline over the previous outline to secure the applique fabric
Step 6: Trim the excess
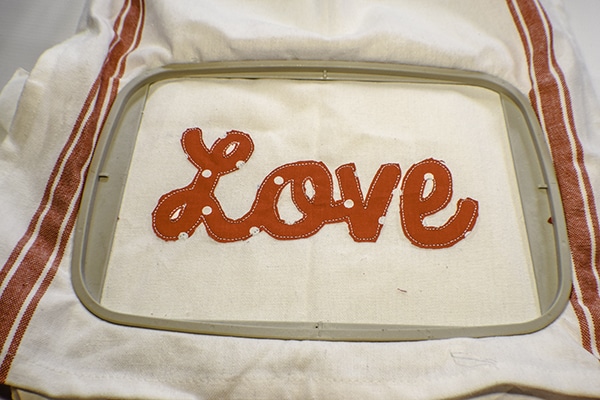
Raise the presser foot and remove the hoop. Cut away all of the excess fabric from your hoop using your small scissors as close to the stitching as possible. This was the most difficult part of the process for me. It might have been easier if I had applique scissors but I managed to get it done in a reasonable amount of time given the design. When I tried this the first time I used adhesive to stick down my applique fabric and it made cutting away the excess fabric much more difficult. I kept cutting into the project so when I repeated the project I didn't use the adhesive and it was much easier.
Step 7: Stitch the Applique
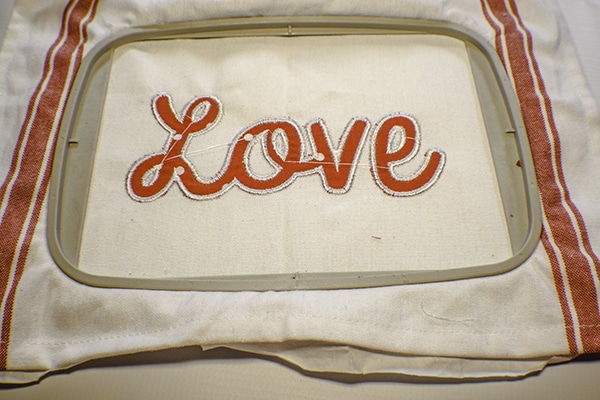
Once you have finished removing the excess fabric place the hoop back into the machine and lower the presser foot. Start the machine again. Another level of stitching will occur that is like a zig zag stitch. Then the magic begins. The machine will automatically stitch a beautiful satin stitch all around your applique. When the machine stops remove the hoop from the carriage.
Step 8: Finish the applique
Loosen the hoop and remove your project. Turn the project over and tearaway the stabilizer. You have now finished your applique using your embroidery machine. How easy was that? And beautiful too.
I hope you enjoyed this project. If you would like more sewing and crafting projects sign up for our newsletter and receive access to our free printables library.


