How to Make a Large Travel Tote

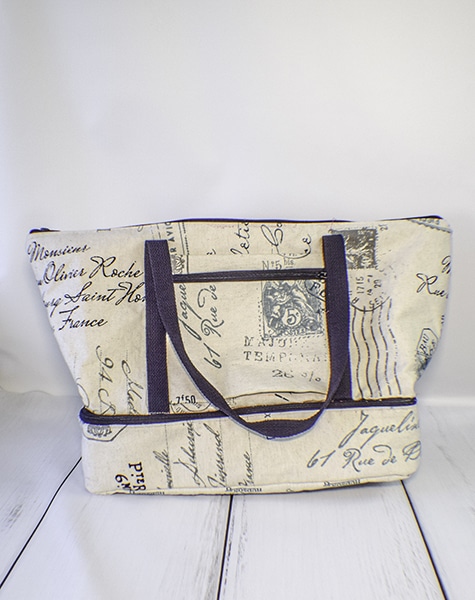
This is a fantastic large travel tote that easily sits on your pull along suitcase without falling off. There is a gap to fit the bag over your handle so that it sits nicely on top of your suitcase. I found this pattern on Sewing Times and intended to make it for myself but had to share it with you as well. It is not a difficult pattern to make but there are a lot of steps so just take your time. This is an intermediate to advanced sewing project as there are several zippers to install on this bag but with patience you can do it.
I used home decorator weight fabric for the exterior of this project and standard quilting cotton for the lining. I wanted something that would really stand up to travel for this pattern but it was too heavy for the pattern so I would recommend something lighter weight for sure. I had this fabric on hand and I know that I got it on sale at JOANN Fabric & Craft Stores but you could go to Fabric.com or Hobby Lobby to get exactly what you want for your travel tote. This post contains affiliate links that if you click on them and make a purchase I may receive a small commission at no extra cost to you. As an Amazon Associate I earn from qualifying purchases.
***Addendum*** I did remake this large travel tote using quilting cotton and it turned out to be a better choice.
What you will Need: How to Make a Large Travel Tote
- 2 Yds exterior fabric and lining fabric
- 2 Yds Pellon 808 interfacing or similar
- Zippers (Continuous zipper)
- 10″
- 30″
- 34″
- Cotton Strapping
Step 1: Cut your fabrics
Cut your fabrics as follows:
Outer fabric and interfacing
- 2 – 24½″×10¾″
- 1 – 8¾″×15½″
- 1 – 17½″×8″
- 1 – 34″×4⅜″
- 1 – 15″×4¾″
Lining
- 2 – 24½″×10¾″
- 1 – 8¾″×15½″
- 3 – 17½″×8″ and interfacing
- 1 – 34″×4⅜″ and interfacing
- 1 – 15″×4¾″ and interfacing
Step 2: Create the outer pocket
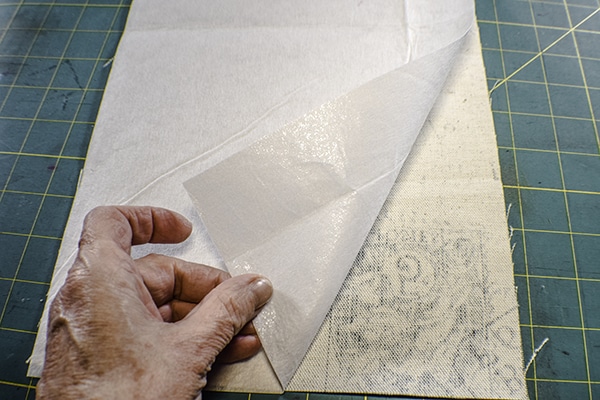
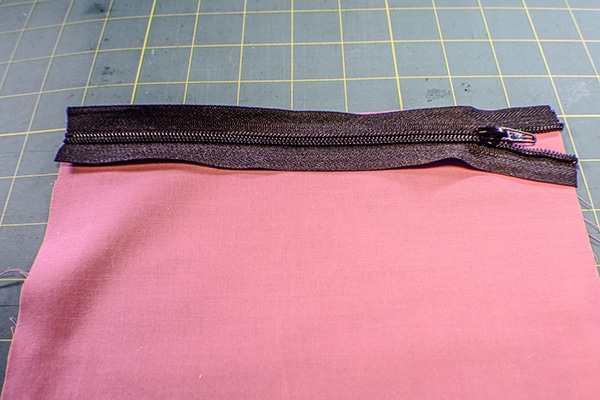
Take the 8¾″×15½″ piece of outer fabric and lining fabric and place it on your work surface. Fuse the corresponding interfacing piece to the wrongside of the outer fabric piece following the manufacturers instructions. Shorten your 10″ zipper to 8 3/4″ by cutting both the top and bottom ends of the zipper making sure the zipper pull is in the center or create a 8 3/4″ zipper from the continuous zipper. Place the lining piece right sides up on your work surface. Lay the zipper right sides up on the lining and the outer piece right sides down on the zipper making a zipper sandwich. Stitch the zipper through all layers. Turn right sides out and press.
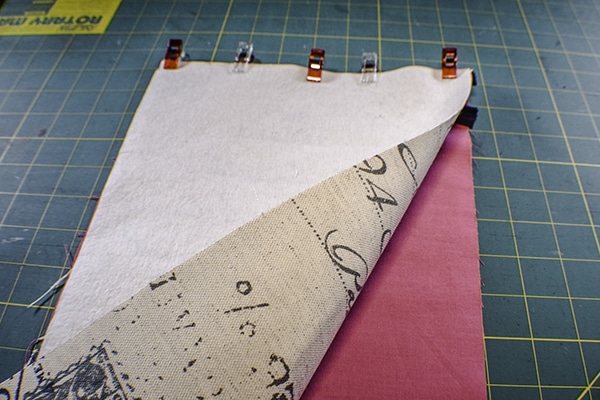
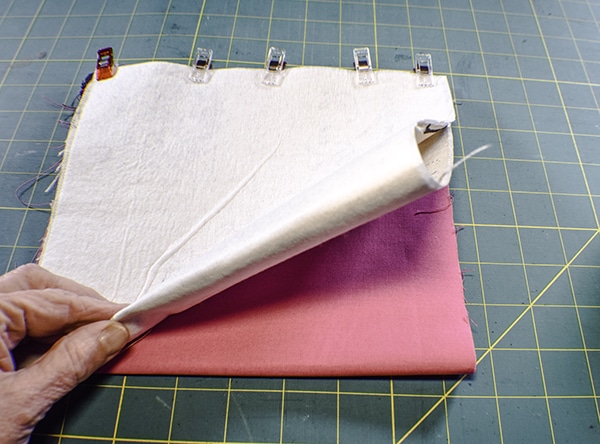
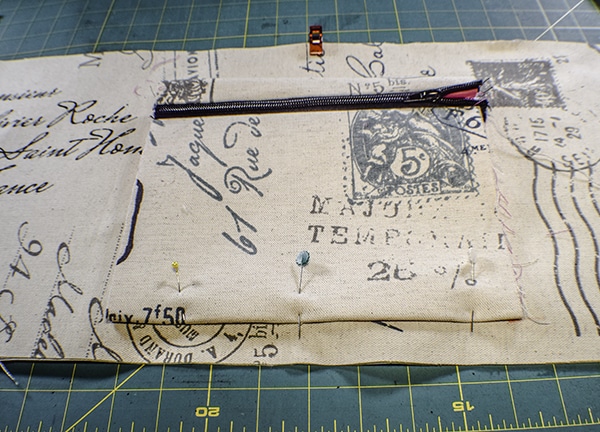
Fold the outer piece up to meet the other side of the zipper and lining piece the same way so that you have another zipper sandwich. Stitch the zipper. Turn the pieces right sides out. Press well so that the zipper is at the top part of the pocket as shown.

Step 2: Add the Pocket to the Large travel tote
Take the 24½″×10¾″ pieces of outer fabric and fuse the interfacing to the wrongside of the fabric following the manufacturers instructions. This time make the interfacing piece 3/8″ smaller than the outer fabric piece to reduce bulk. Find the center of one of the pieces and mark. Find the center of the pocket piece and mark that as well. Measure up 1″ from the bottom of the piece and place the pocket piece lining up the centers and pin. Using zig-zag stitch sew the pocket to the bag along the sides only.
Step 3: Add the Straps to the Large Travel tote
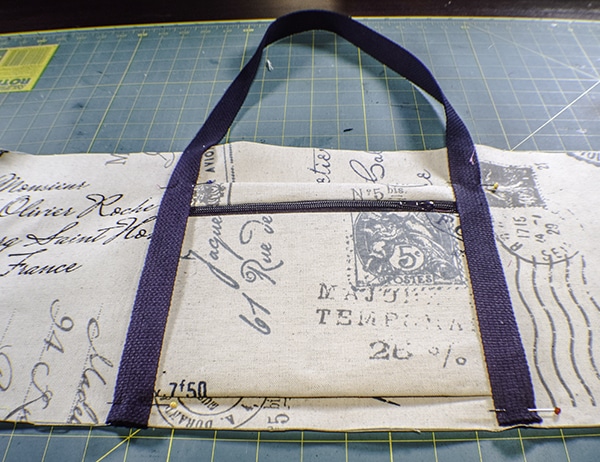
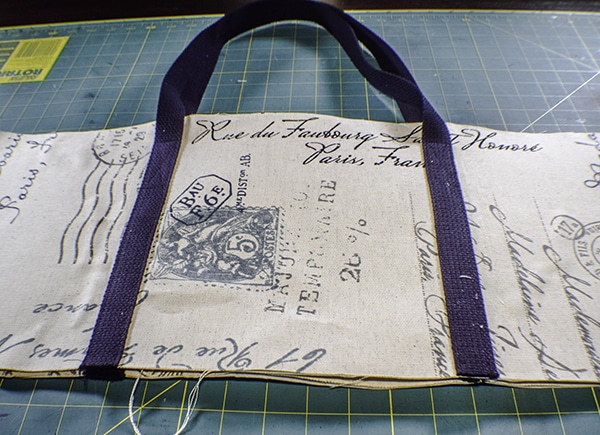
Take 44″ of the webbing and place it over the sides you just stitched and looping it to create a handle. Stitch along both sides of the webbing. Create a box with an X in it 1 1/2″ above the zipper to secure the strap on both sides. Sew the straps to the back of the bag in the same way but without the pocket.
Step 4: Add the Top Zipper
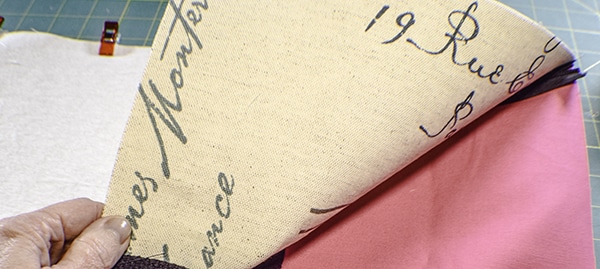
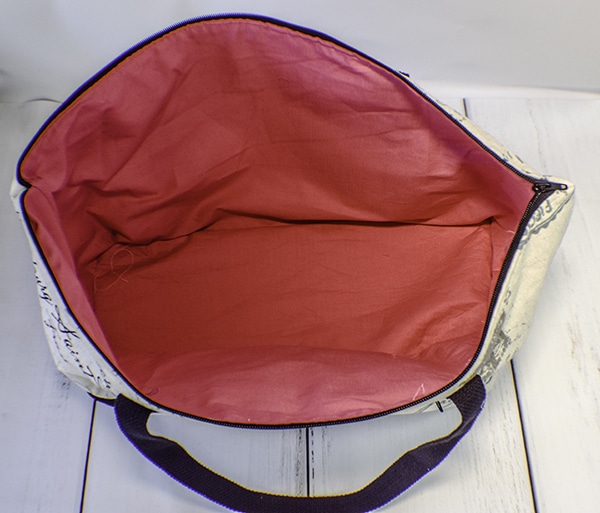
Take the 30″ zipper and shorten it to 24 1/2″ the same way you shortened the previous zipper or use the continuous zipper. Lay the 24½″×10¾″ lining piece on your work surface right sides up. Place your zipper right sides up on the lining and the outer fabric wrongsides down on the zipper. Stitch the zipper. Turn the bag right sides out and press. Repeat this process for the other side of the zipper. Topstitch along both sides of the zipper.
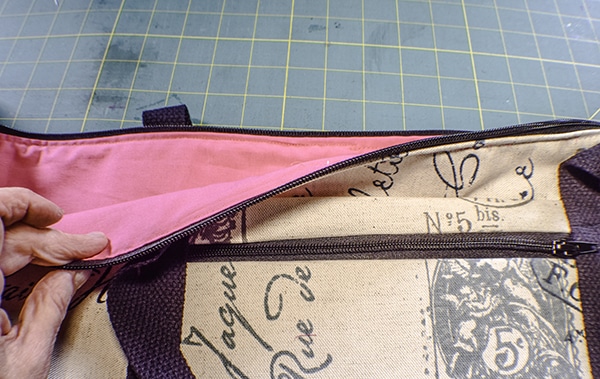
Step 5: Sew the bag
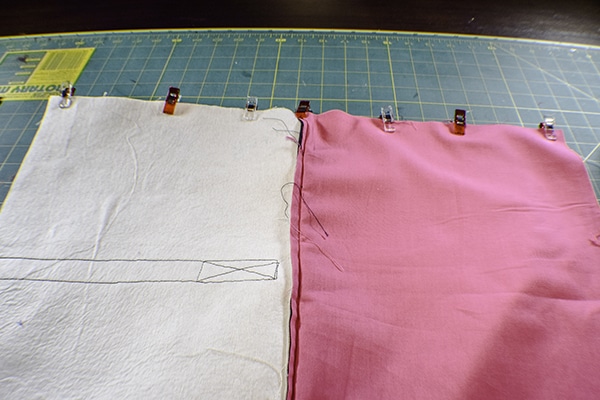
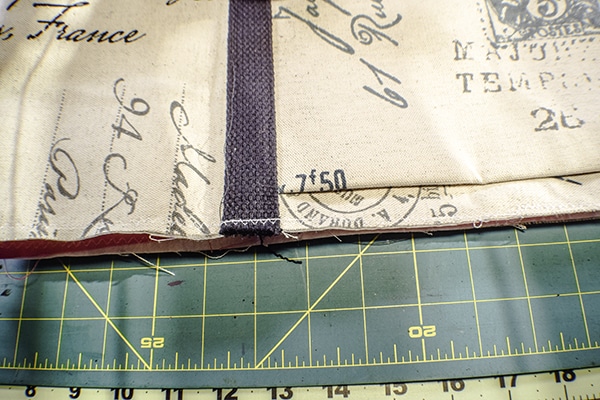
Line up the lining pieces together and the outer pieces together and stitch the sides of the bag using a 3/8″ seam allowance. Turn right sides out. zig-zag stitch or serge the lining to the outer bag around the bottom.
Step 6: Create the bottom compartment
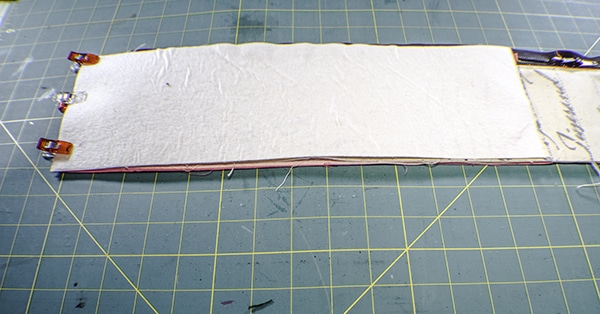
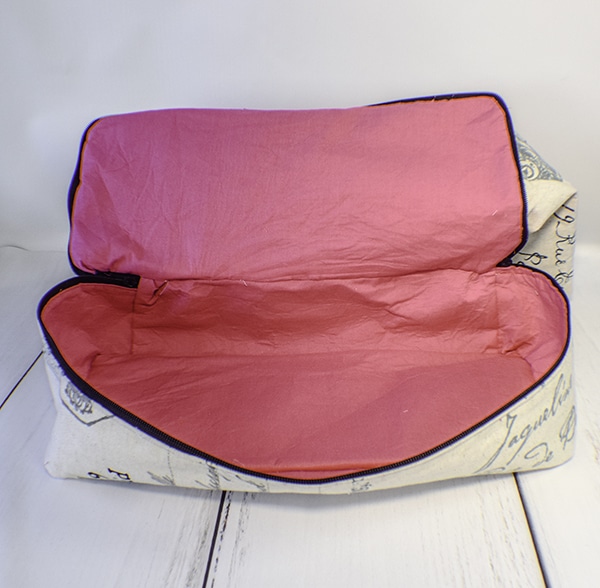
Take the 34″×4⅜″ and 15″×4¾″ outer and lining pieces and fuse the corresponding interfacing pieces to them. This time make the interfacing piece 3/8″ smaller than the outer fabric piece to reduce bulk. Attach a 34″ zipper to the long outer piece between the lining and the outer piece in the same way you did the previous pieces and stitch. I used a continuous zipper for this step and added two zipper pulls to make opening and closing the compartment easier. You could use an upholstery zipper for this due to the length. Open the zipper and press. Top stitch the zipper.
With right sides together clip the 15″×4¾″ piece to the zipper placket you just sewed so that the placket is sandwiched between the outer fabric and the lining. Repeat for the other end so that the placket is bunched in the center. Stitch the ends using a 3/8″ seam allowance. Turn the entire compartment right sides out. Serge or zig-zag stitch the bottom of the placket and the top part that doesn't have the zipper.
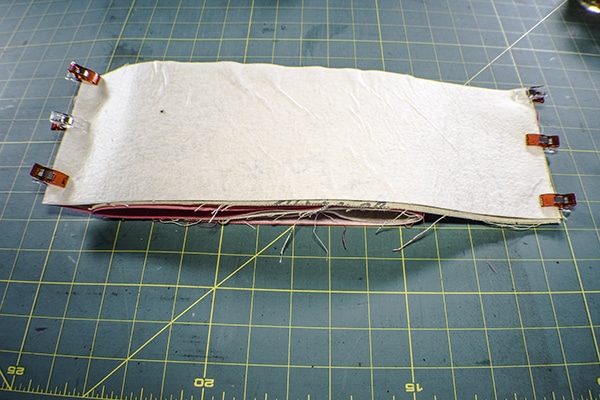
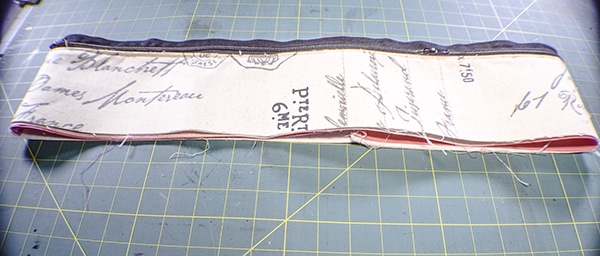
Step 7: Create the bottom
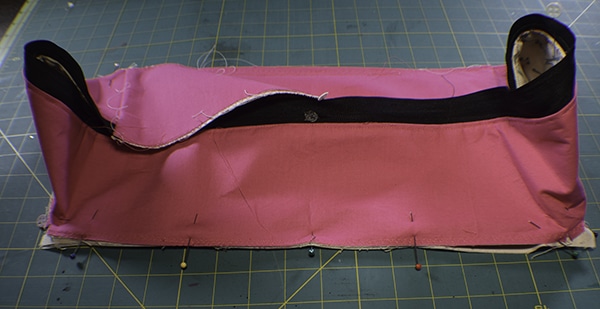
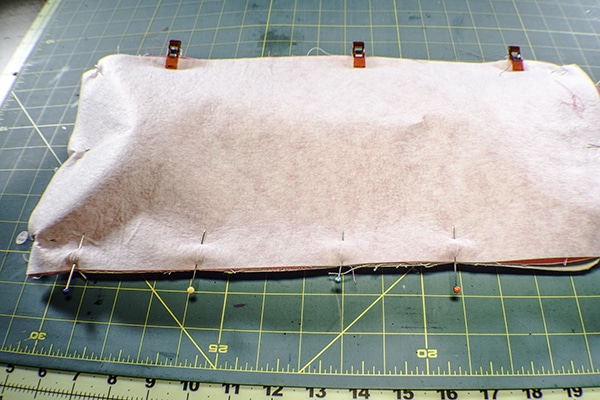
Take the 17½″×8″ pieces and fuse the interfacing to each piece. Find the center of all four sides of the pieces and mark. Determine the center of the sides of the placket as shown. Find the center of the bottom of the main bag as well on all four sides and mark.
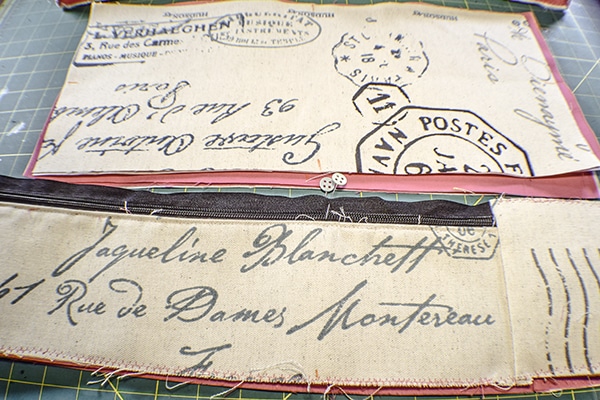
Step 8: add the bottom
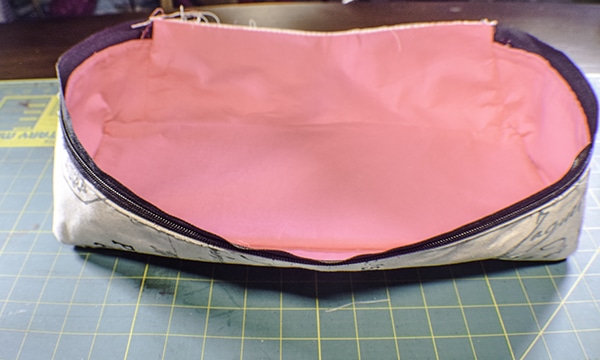
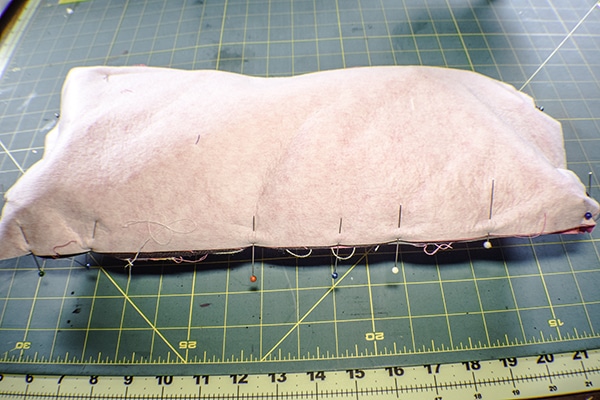
Turn the placket wrong sides out. With right sides together place the outer bottom piece together with the placket matching the center on the long side. Match the other long side marking and then the short end markings and pin. Stitch along the center of the long side opposite the zipper side and remove the pins. Pinch the corners to make them crisp. Snip a small cut to allow the fabric to lay flat and pin. Repeat for all four corners. Take one of the lining pieces and lay it right sides together on top of the placket and the bottom. Pin the lining piece to the outer bottom enclosing the placket. Stitch all the way around the lining piece leaving an opening at the spot where you stitched the center in the first step. Make sure not to catch the placket while sewing. Turn right sides out. Stitch the opening closed using ladder stitch.
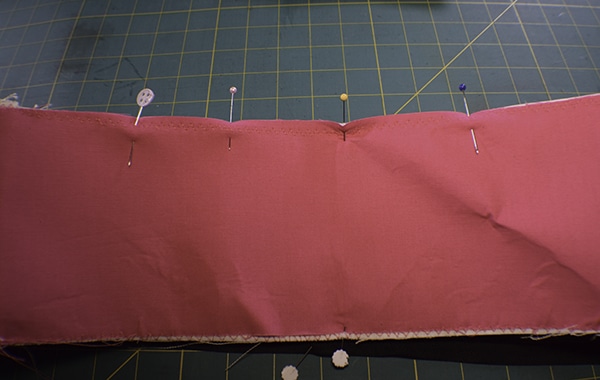
Step 9: Add the bottom to the top
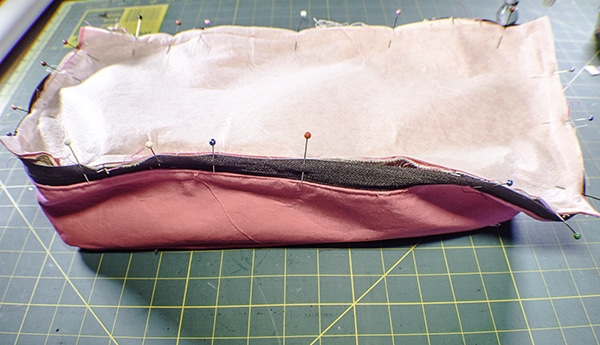
Take a bottom lining piece and pin it to the bottom of the top bag with the lining pieces facing each other. This will be the bottom of the top part of the tote. Pinch the corners in the same way that you did the placket and pin. Stitch all the way around the bag and the lining.
Step 10: Add the Top Bag to the Bottom Compartment
Fold up the top bag and place it into the center of the bottom of the bag. Place the bottom compartment on top of the top bag and pin the zipper and remaining placket to the bag. Stitch along the non-zipper placket area using a 3/8″ seam allowance. Place the final lining bottom piece on top of the entire bag right sides together and pin. Stitch around the entire bag leaving an opening where you sewed the non-zipper placket area. Turn right sides out. Stitch the opening closed using ladder stitch.
I hope you enjoyed this project. If you would like more sewing and crafting projects sign up for our news letter and receive your free eBook of 15 handbag patterns and tutorials.
IF YOU WOULD LIKE VIDEOS OF SOME OF SEW VERY CRAFTY'S MOST POPULAR PROJECTS SUBSCRIBE TO OUR FREE YOUTUBE CHANNEL HERE.




About how large of a bag is this when it’s done??
It is about 16½″W × 14″H × 7″D
Love this pattern and have made two bags so far. So nice to use when travelling.
Thank you. I love making bags so there will be more in the site.