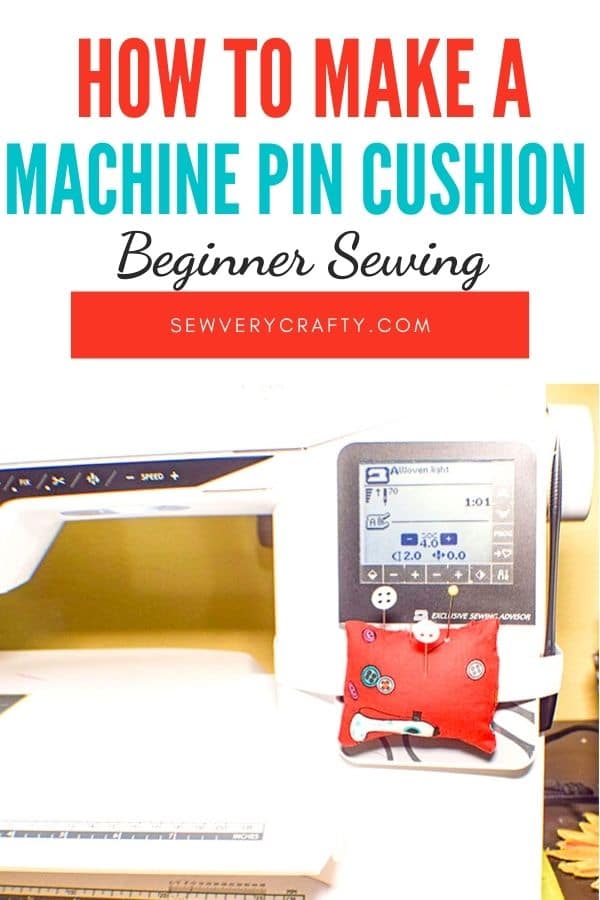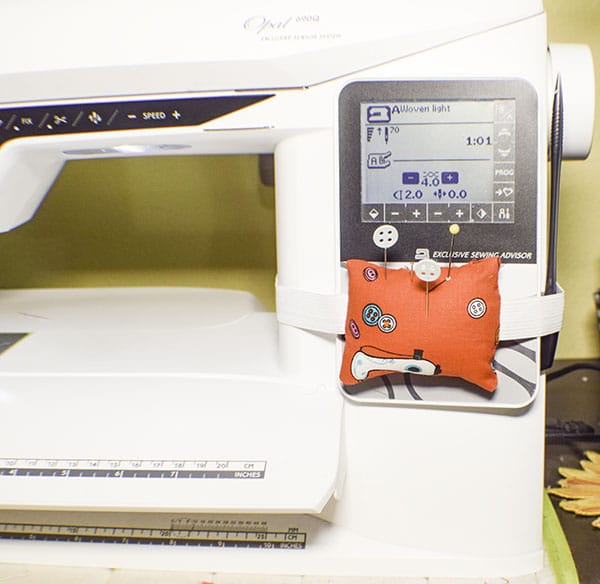
It is important to take out pins as you sew or you risk damaging your machine. But where do you put the pins as you take them out? Before I made this sewing machine pin cushion I just sort of tossed them to the side and they would end up everywhere including the floor. I would spend a lot of time just trying to track down the pins once I was finished with my project. This sewing machine pin cushion was the solution to that problem. It is a simple sewing project that anyone with basic sewing skills can make in no time. It can be made in any size to fit any machine. I created this one to fit my Machine but you can adjust it to easily fit yours.
I used a remnant that I purchased a long time ago at JOANN Fabric & Craft Stores![]() and never knew what to do with it and this was the perfect project. This is really a scrap project. But you could head to Hobby Lobby, Fabric.com or Onlinefabricstore.net to get the perfect fabric for your sewing machine pin cushion. This post contains affiliate links that if you click on them and make a purchase I may receive a small commission at no extra cost to you.
and never knew what to do with it and this was the perfect project. This is really a scrap project. But you could head to Hobby Lobby, Fabric.com or Onlinefabricstore.net to get the perfect fabric for your sewing machine pin cushion. This post contains affiliate links that if you click on them and make a purchase I may receive a small commission at no extra cost to you.
What you will Need: How to Make a Sewing Machine Pin Cushion
- Scrap of fabric
- 23″ of 1″ elastic
- Scrap of sew in Velcro
- Polyester fiberfill
- Standard sewing supplies

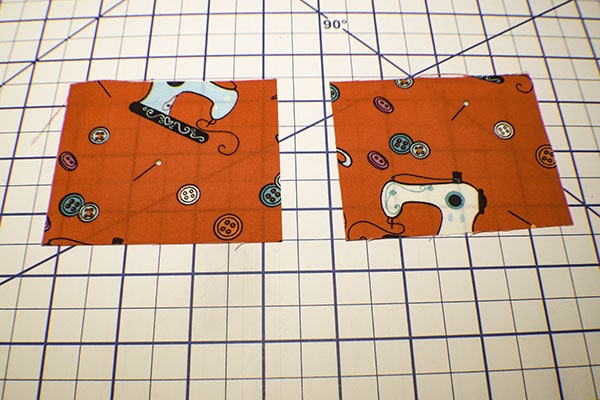
Step 1: Cut your Fabric
For my machine I measured the area that I wanted my pin cushion to sit. I decided to cut two pieces that measure 3 1/2″ x 3″.
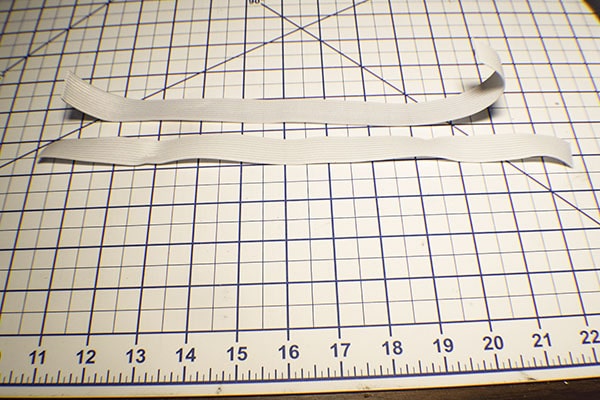
Step 2: Cut the Elastic
Cut the elastic into to 11 1/2″ pieces. Your machine may need more or less elastic. Just measure around your machine and subtract away the length of the pin cushion making sure you have enough to overlap.
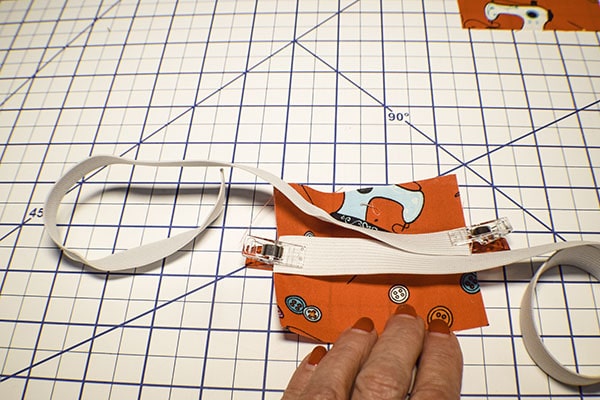
Step 3: Stack your Pieces
Place one fabric piece right side up on your work space. Place the elastic pieces on the short ends that they are laying toward the center of the fabric piece. Lay the second fabric piece right sides down on top of the elastic. Pin or clip.
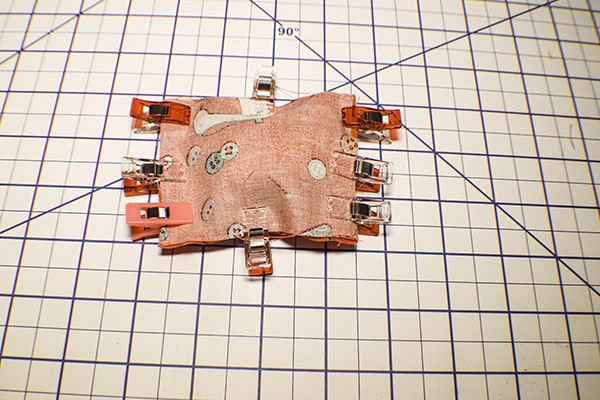
Step 4: Stitch the Fabric
Stitch all the way around the fabric leaving an opening for turning and making sure not to catch the sides of the elastic. I used a 1/4″ seam allowance. You do want to make sure they ends of the elastic are firmly in the seam allowance. I stitched over them a few times.
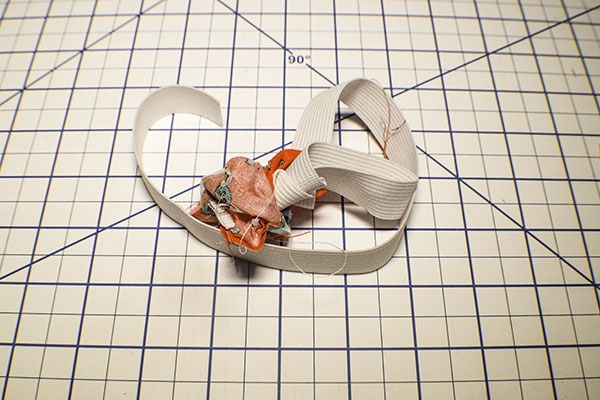
Step 5: Turn Right Sides Out
Turn the sewing machine pin cushion right sides out through the opening.
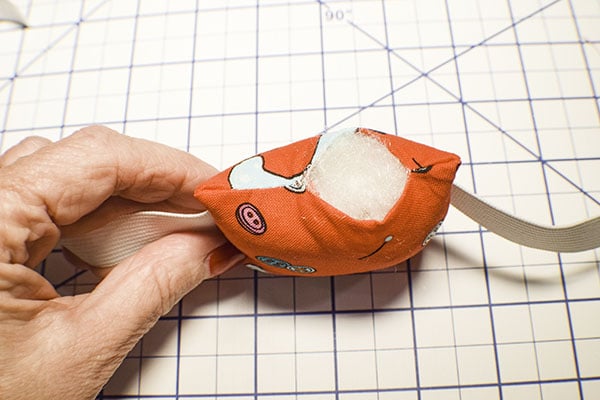
Step 6: Stuff the Pin Cushion
Take the polyester fiberfill and stuff the pin cushion until it is full.
Step 7: Close the Opening
Close the opening using ladder stitch. If you are unfamiliar with ladder stitch check out the video below.


Step 8: Add the Velcro
Add a 2″ x 1″ piece of of Velcro on each end of the elastic on opposite sides so that the elastic will overlap to close around the machine. You have now finished your sewing machine pin cushion.
I hope you enjoyed this Sewing Machine Pin Cushion. If you would like more sewing and crafting projects sign up for our newsletter and receive access to our free printables library.
If you would like video tutorials of some of Sew Very Crafty's most popular posts subscribe to our free YouTube Channel here.