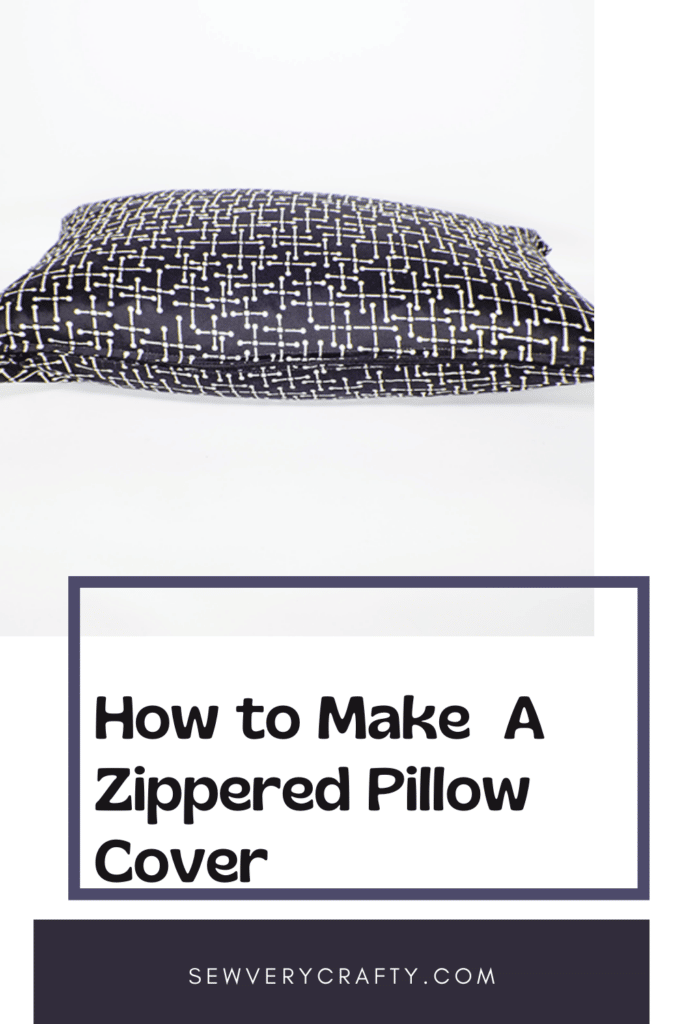
I love changing out my pillow covers for the seasons and holidays. This simple zippered pillow cover allows me to do that with ease. These zippered pillow covers are so easy to make that you can make as many as you need for any holidays or seasons as you like or just to match your hole decor. This is a beginner sewing project that anyone with basic sewing skills can make in no time. If you would like another simple pillow cover project check out my envelope pillow cover here.
I used fabric from my stockpile of fabrics that I purchased from JOANN Fabric & Craft Stores![]() . It is basic cotton fabric but you could use home decorator weight fabric if you like. If you can't find what you need from your local fabric store I recommend that you head to Fabric.com or onlinefabricstore.net to get exactly what you need for your zippered pillow cover project. This post contains affiliate links that if you click on them and make a purchase I may receive a small commission at no extra cost to you.
. It is basic cotton fabric but you could use home decorator weight fabric if you like. If you can't find what you need from your local fabric store I recommend that you head to Fabric.com or onlinefabricstore.net to get exactly what you need for your zippered pillow cover project. This post contains affiliate links that if you click on them and make a purchase I may receive a small commission at no extra cost to you.
If you would like a video tutorial of this project head over to YouTube and check out my video on how to make this project. While you are there subscribe to my free YouTube channel.

What you will Need: How to Make a Zippered Pillow Cover
- 1/2 yd cotton fabric or home decorator weight fabric
- Pillow form
- Zipper that is 3″ shorter than your pillow form
- Zipper foot
- Standard sewing supplies
Step 1: Cut your Fabrics
Since I am using a pillow form that measures 12″ x 18″ I cut two pieces of fabric that measures 12 1/2″ x 18 1/2″. You can use a square pillow form for this project as well.
Step 2: Stitch the Fabrics
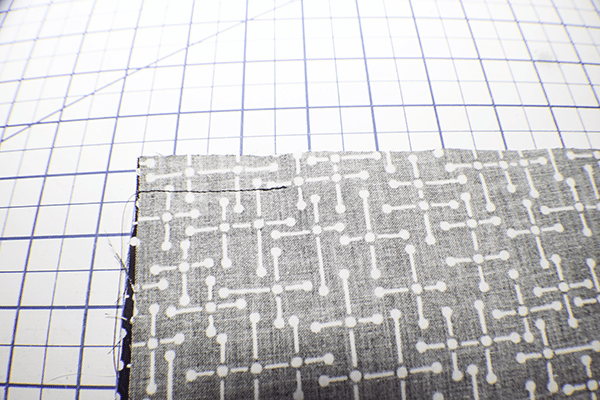
With right sides together stitch each end of one side of the fabrics 2″ using a 1/2″ seam allowance leaving a long gap between the two seams. Since my pillow form is a rectangle I chose one of the long sides for this.
Step 3: Stitch the Gap
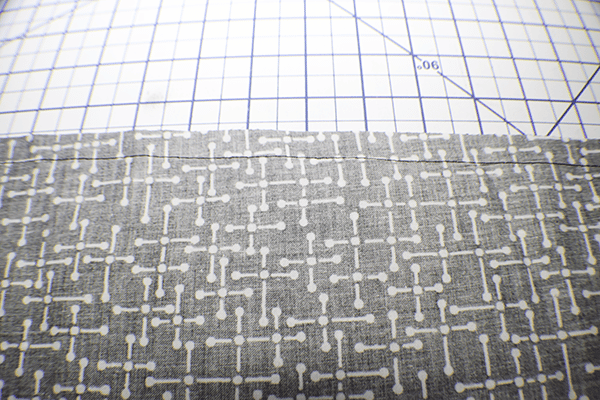
Using the longest basting stitch on your machine stitch the gap closed using a 1/2″ seam allowance. Press the seam open.
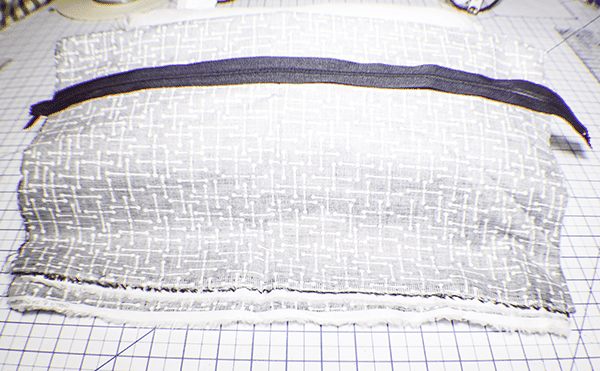
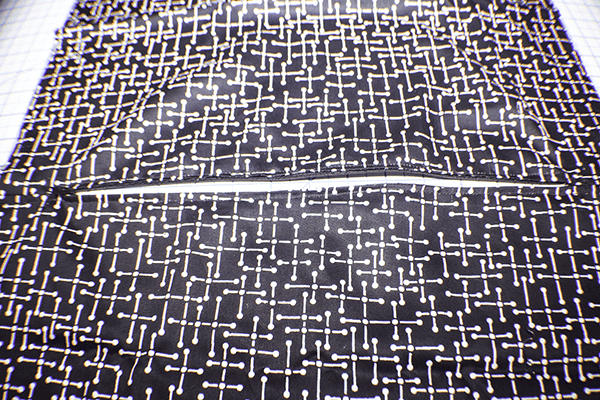
Step 4: Add the Zipper
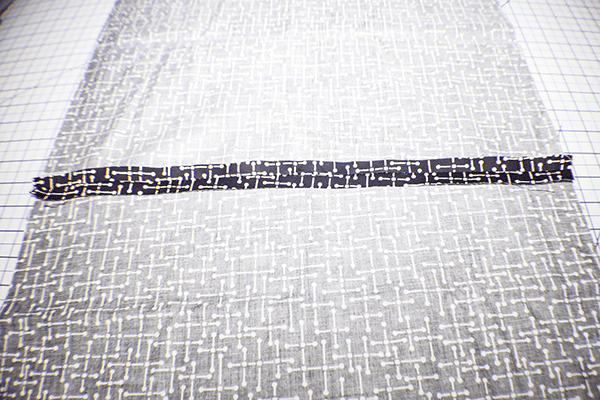
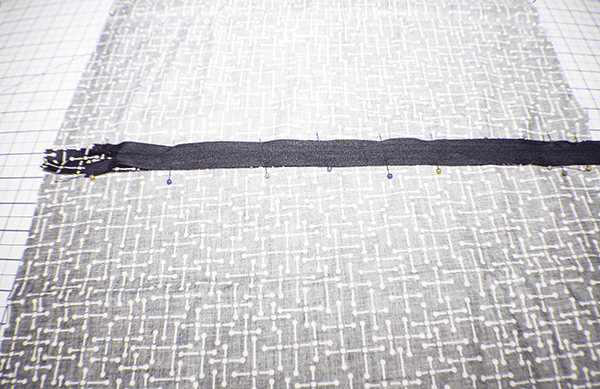
Open the fabric up so that the wrong side is facing up on your work surface. Place the zipper right sides down along the basted seam so that the zipper teeth are in the center of the seam. Pin the zipper in place. Using your zipper foot stitch the zipper in place along the long sides and short ends. Once the zipper is in place use your seam ripper and remove the basting stitches to reveal the zipper.
I used a longer zipper than I needed because that is what I had on hand but it was easy to shorten it to the size I needed once it was stitched. I just cut off the end once I had stitched it into place.
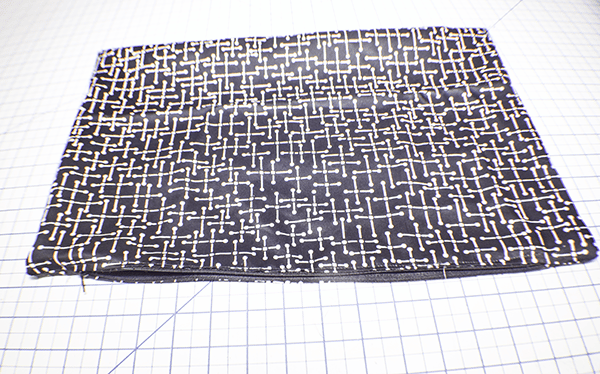
Step 5: Stitch the Pillow Cover
Open the zipper. Using a 1/2″ seam allowance stitch the remaining three sides with right sides together. Turn right sides out through the open zipper. Add the pillow form and decorate your home. You have now finished your zippered pillow cover.

I hope you enjoyed this zippered pillow project. if you would like more sewing and crafting projects subscribe to our newsletter and receive access to our free printables library
If you would like video tutorials of some of sew very Crafty's most popular posts subscribe to our free YouTube channel here.