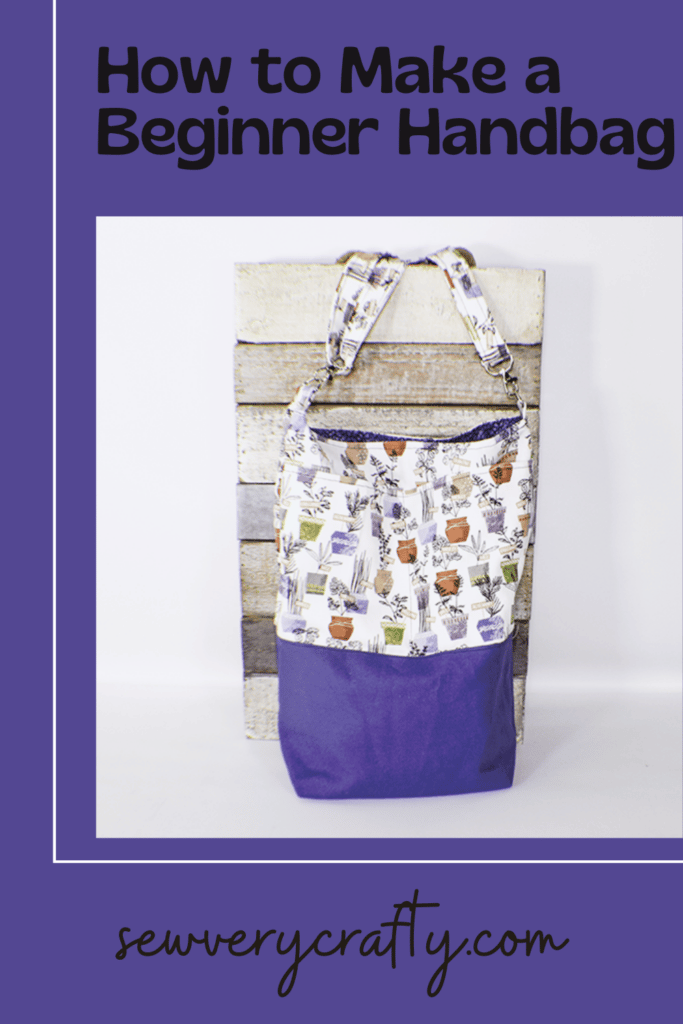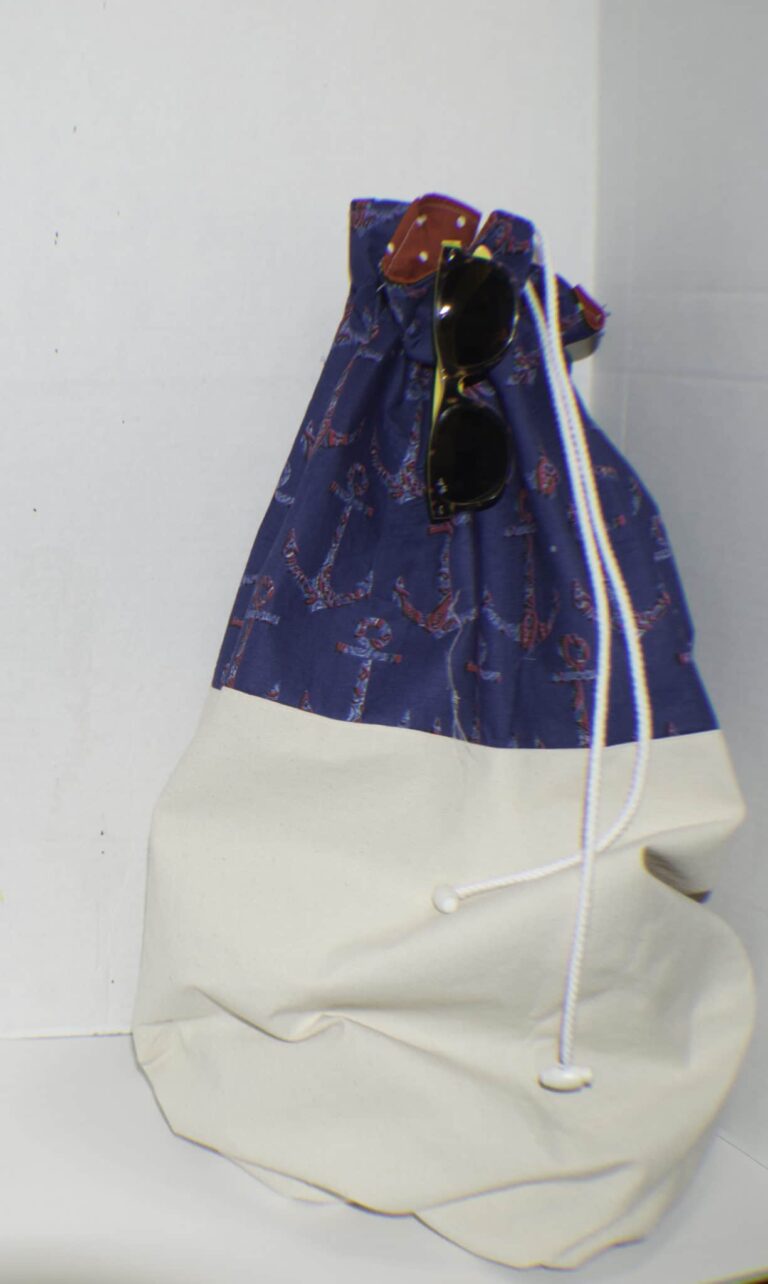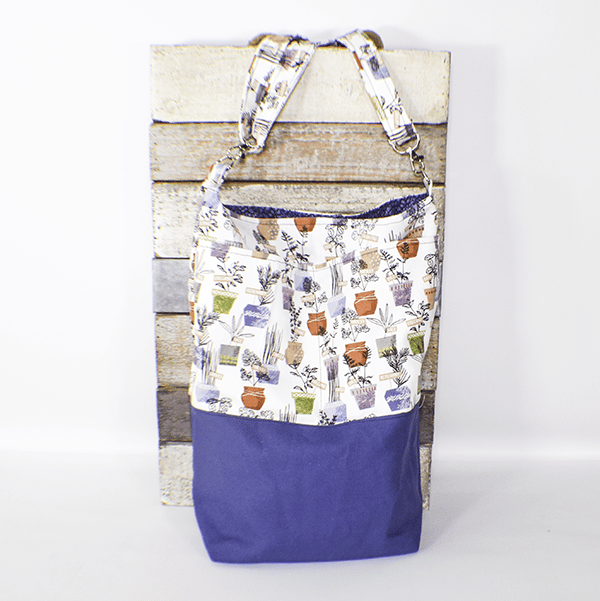
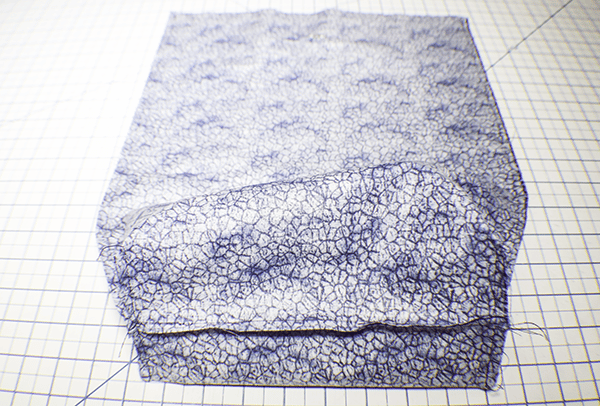
I needed a new handbag to bum around in so I decided to make a beginner handbag that I could share with you. This is a super simple handbag making project that is perfect for bumming around in. I can just throw my stuff in it and head out. It even fits my big wallet. I have loads of handbag projects on the website if you want to take a look it them. This is my latest. I adjusted the measurements from the prototype in the photo so it is a little smaller and more in proportion.
I used a home decorator wight fabric and some canvas for my project that I purchased at JOANN Fabric & Craft Stores![]() . You could use quilting cotton if you like but you would need to use a heavier weight interfacing. You could head to Amazon Fabrics or
. You could use quilting cotton if you like but you would need to use a heavier weight interfacing. You could head to Amazon Fabrics or
What you will Need: How to Make a Beginner Handbag
- 1/2 yd upper fabric
- 1/4 yd canvas
- 1 yd lining fabric
- 2 1″ D Rings
- 2 1″ Swivel clips
- 1 1″ tri-Glide
- 1 magnetic snap
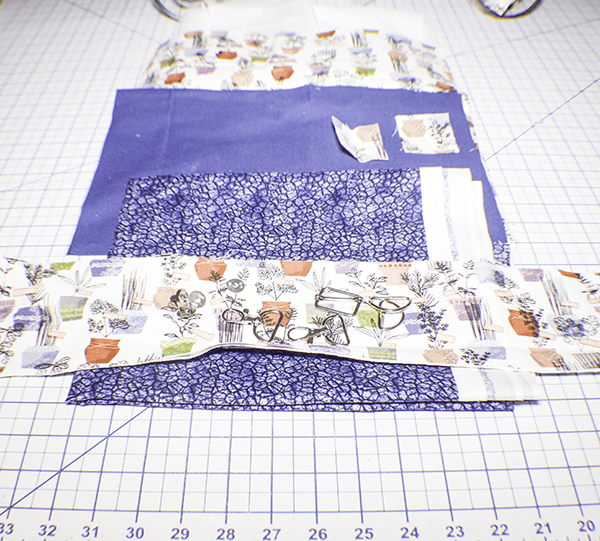
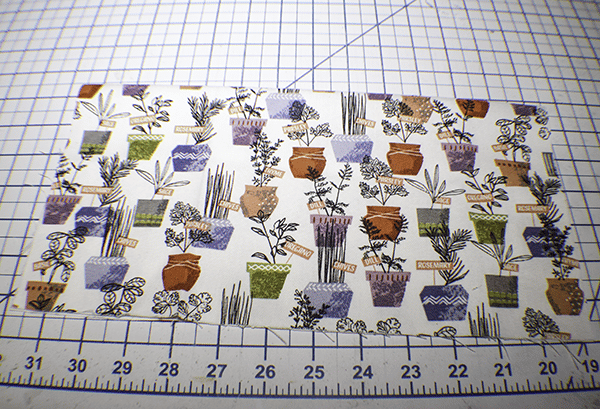
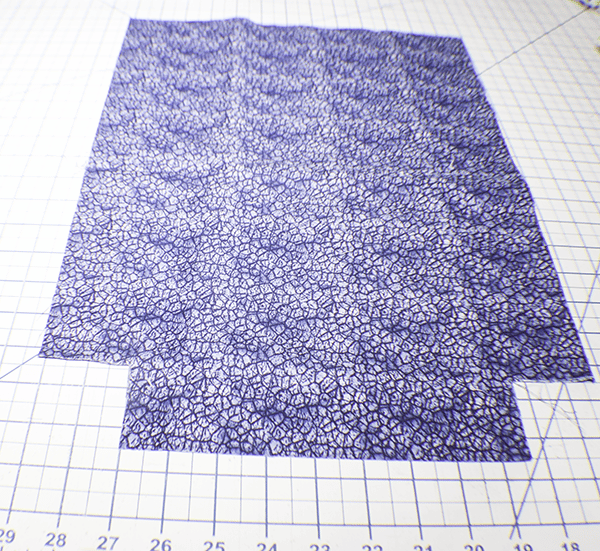
Step 1: Cut your Fabrics
From the upper fabric cut three pieces that measure 8″ Tall x 13″ wide, a piece that measures 4″ x Width of Fabric for the strap and two 4″ x 2″ pieces for the D-Ring tabs. Cut two pieces of canvas fabric that measure 6″ x 13″. Cut two lining pieces that measure 13″ x 14 1/2″.
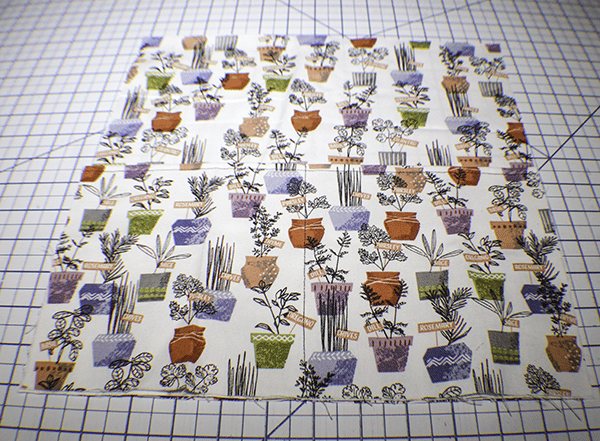
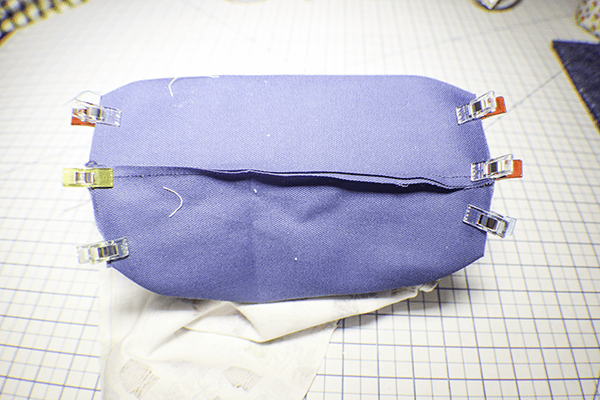
Step 2: Create the Outer Pockets
From one of the 8″ x 13″ squares for it in half. Top stitch along the fold. Pin or clip it to the bottom of one of the upper pieces. Stitch down the center to make two pockets. Divide in thirds if you like.
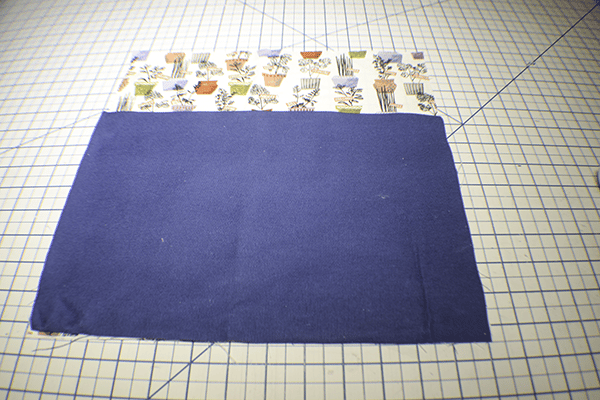
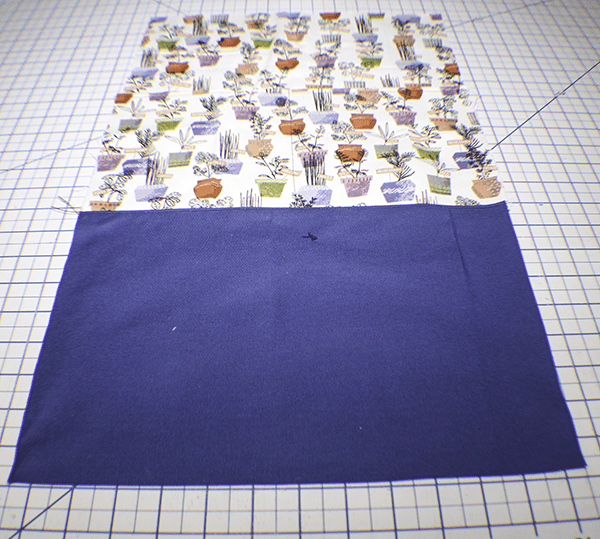
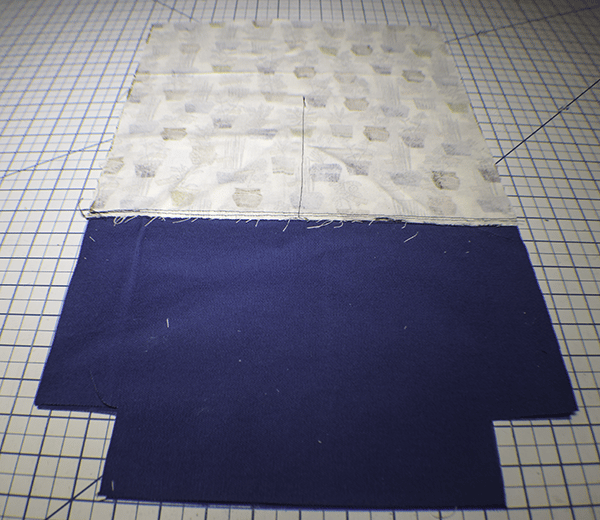
Step 3: Add the Canvas
With right sides together stitch the canvas to the bottom of each 13″ x 13″ square using a 1/4′ seam allowance. Press. Topstitch along the canvas side of the seam.
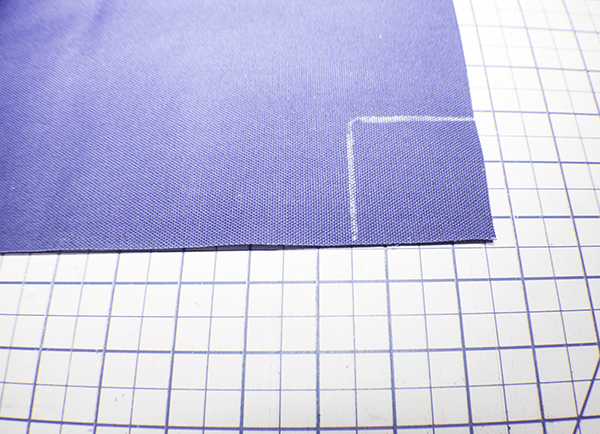
Step 4: Cut the Corners
Cut a 2″ x 2″ square from each canvas corner.
Step 5: Stitch the Outer Bag
Stitch the sides and bottom of the outer bag using a 1/4″ seam allowance.
Step 6: Box the Corners
Take the open corners and place the side seam to the bottom seam to create a straight line. Stitch the line using a 1/4″ seam allowance. Turn the bag right sides out.
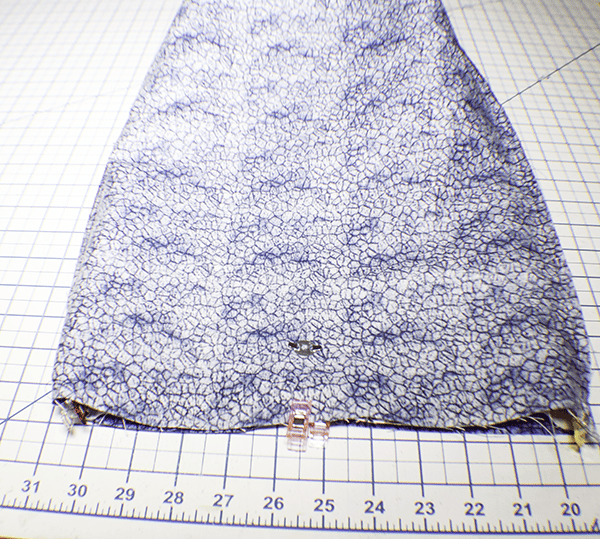
Step 7: Create the Lining
Cut the 2″ squares from the bottom corners. Add the magnetic snap following he manufacturer's instructions 2″ down and centered on the lining. Stitch the sides and bottom the same way you did for the outer bag but leave an opening int he bottom for turning. Box the corners in the same way you did for the outer bag.
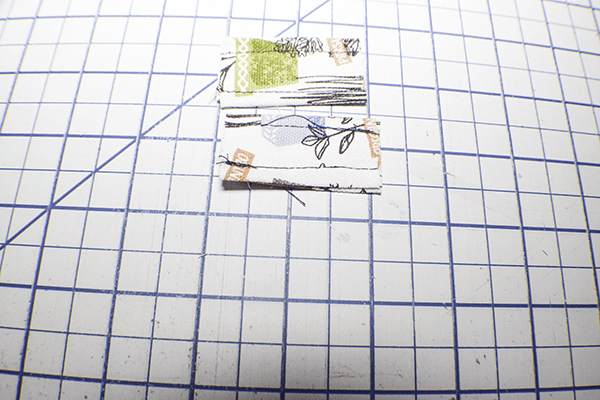
Step 8: Create the D-Ring Tabs
Take the 2″ x 2″ square tabs and fold the raw edges to the center. Fold in half again to enclose the raw edges. Top stitch along both sides. Wrap the tabs around the D-Rings.

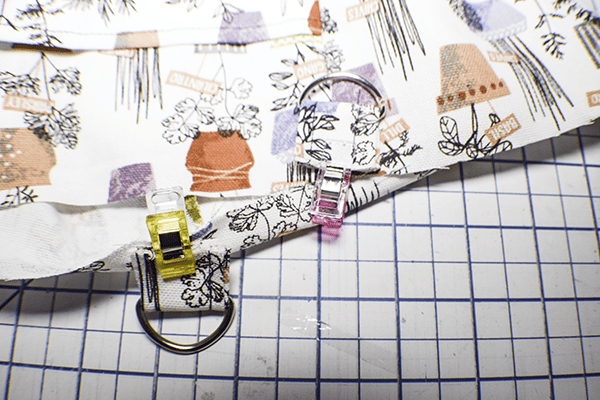
Step 9: Add the D-Ring Tabs
Place the D-Ring tabs on the outer bag at the side seams and stitch using a 1/8″ seam allowance to secure.
Step 10: Add the Lining
Place the outer bag into the lining bag so that they are right sides together. Stitch all the way around the top using a 1/4″ seam allowance.
Step 11: Turn Right Sides Out
Turn the bag right sides out through the opening you left in the lining. Stitch the opening closed using ladder stitch or your machine. Push the lining into the outer bag and press. Topstitch all the way around the top to secure the lining.
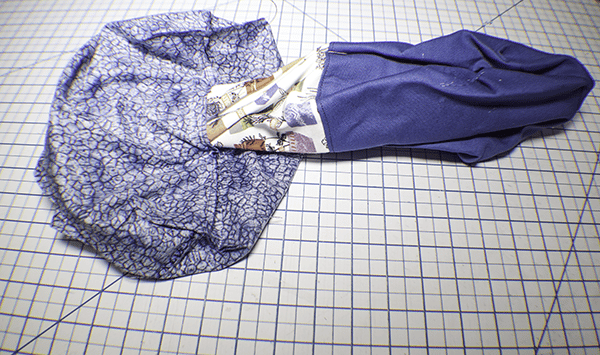
Step 12: Create the Strap
Create the strap in the same way that you created the tabs for the D-Rings.
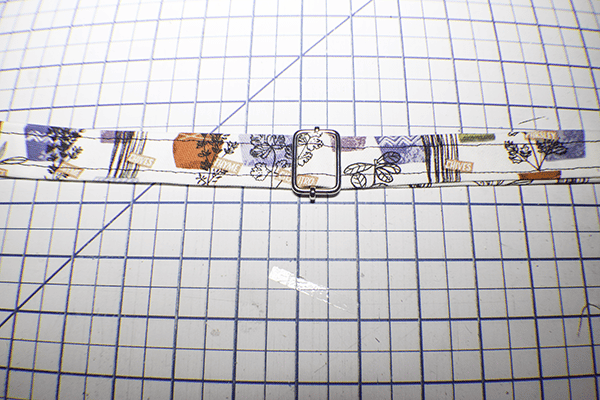
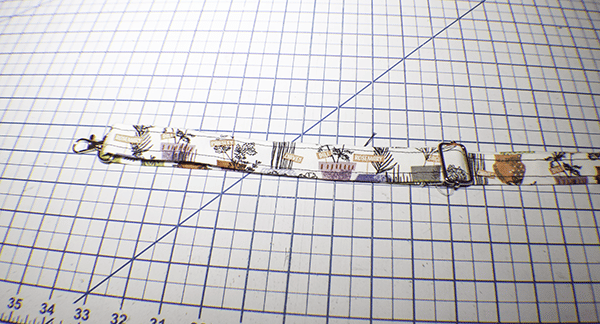
Step 13: Add the Triglide and Swivel Clips
Add the triglide to the strap. Add one of the swivel clips to the end of the strap. Fold under and stitch. Add the other swivel clip and feed the other end of the strap back through the triglide. Fold under and stitch. Clip onto the bag and you have finished your beginner handbag.
I hope you enjoyed this handbag project. If you would like more sewing and crafting projects subscribe to our newsletter and receive your free eBook of 15 handbag patterns and tutorials taken from the blog
If you would like video tutorials of some of Sew Very Crafty's most popular posts subscribe to our free YouTube channel here.