Learn to sew this terrific divided storage tray using your beginner sewing skills. There is a bit of measuring in this project but it is simple to sew and makes a terrific divided storage tray for notions and things int e sewing room or craft supplies for the kids. It is a fun and functional beginner sewing project that is well worth giving a try. If you would like other fabric bowl projects check out my recent easy fabric bowl project.
If you would like a video tutorial of this project head over to YouTube and check out my video. While you are there subscribe to my free YouTube channel.

What you will need: How to Make a Divided Storage Tray
I used Fabrics had on hand that I purchased online from JOANN Fabric & Craft Stores![]() but you could head to
but you could head to
- 2 outer pieces that measure 10″ x 10″
- 2 lining pieces that measure 10″ x 10″
- Also 2 pieces of Fusible Fleece interfacing that measures 10″ x 10″
- Standard sewing supplies
Step 1: Cut the Interfacing
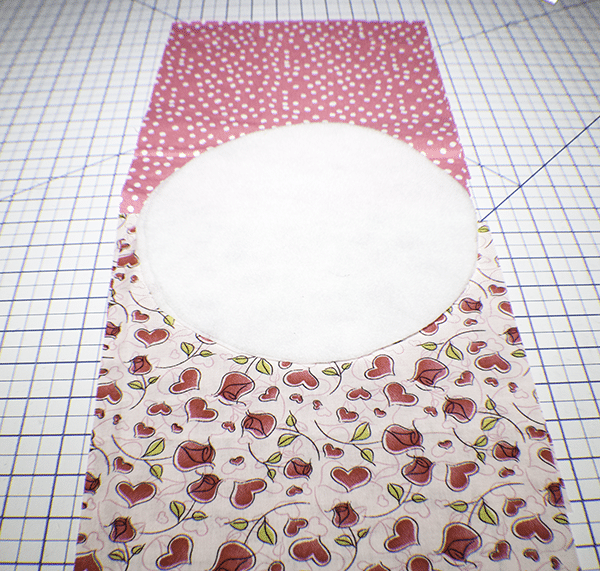
Using a 9″ plate or a compass cut a 9″ circle from the two interfacing pieces.
Step 2: Fuse the Fleece
Fuse the fleece to the wrong side of one of the outer pieces and one of the lining pieces using a hot iron and following the manufacturer's instructions.

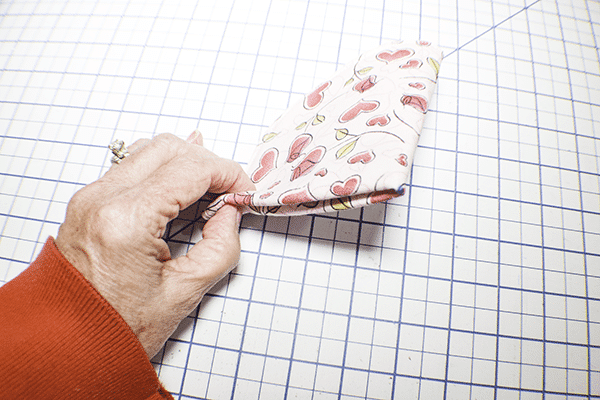
Step 3: Stitch the Fabrics
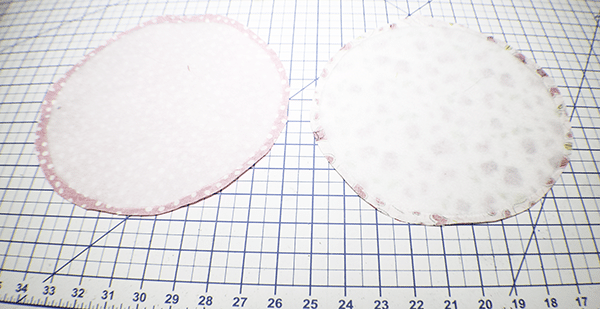
Place the two outer fabrics right sides together and the two lining fabrics right sides together. Stitch the outer pieces together and the lining pieces together around the interfacing circle leaving an opening for turning on each pair of fabrics. Trim around the circle except for the area around the opening. Turn right sides out.
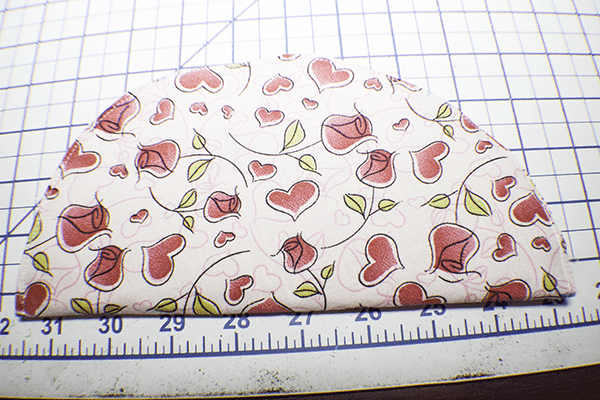
Step 4: Press and Topstitch
Press the circles. Turn under the fabric at the opening and topstitch all the way around both circles using a 1/8″ seam allowance.
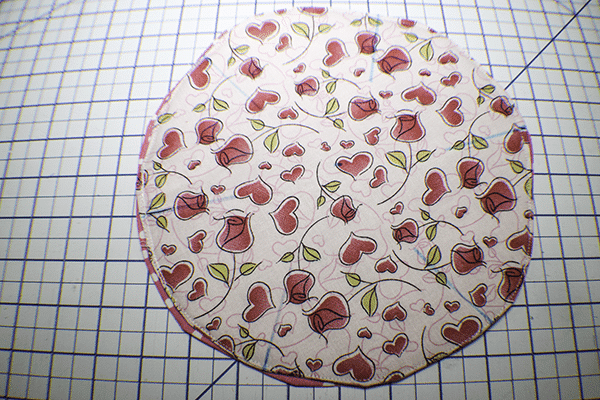
Step 5: Prepare the Inner Tray
Fold the inner circle into quarters and mark the center with an erasable pen. Open the circle so that is folded in half and mark the half way points. The arc should measure 36″. Divide 14″ x 3 which equals 4.6″. Starting at the folded side measure 4.6″ and mark on both sides. Then measure another 4.6″ and mark on both sides. Using your erasable pen draw lines that measure 2″ toward the center from each of the marks that you just made.
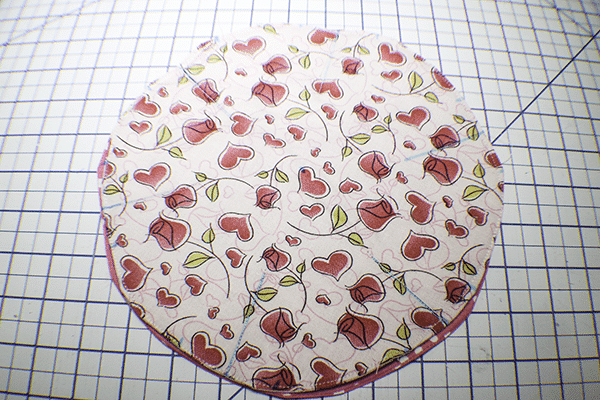
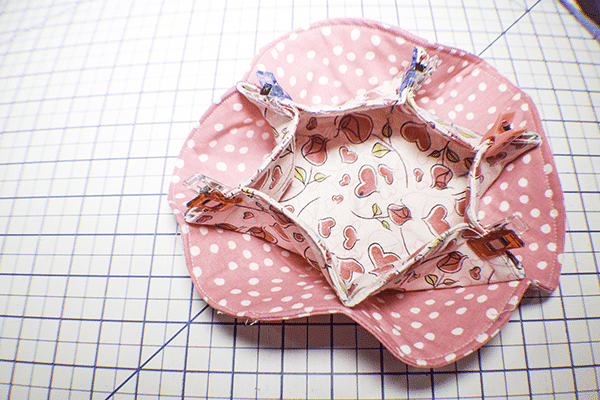
Step 6: Stitch the Two Pieces Together
Place the inner circle on top of the outer circle and stitch along the lines that you just drew. There should be six lines.
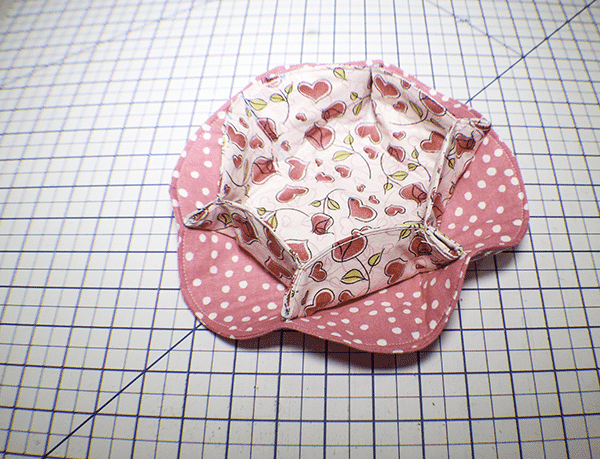
Step 7: Tack the Inner Pieces Together
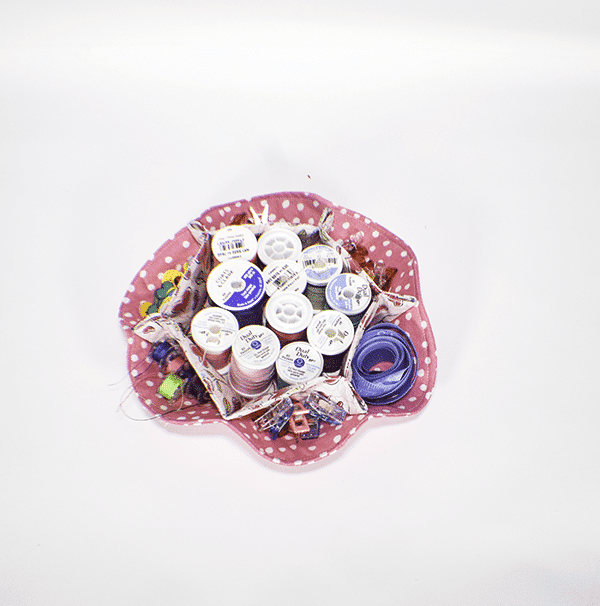
Measure 1″ on each side of the stitched lines and make a mark. Pinch the marks together on each side of the stitched lines and tack them together by hand. Fill up your divided tray and you are finished.
I hope you enjoyed this divided tray project. if you would like more sewing and crafting projects subscribe to our newsletter and receive access to our free printables lbrary
If you would like video tutorials of some of Sew very Crafty's most popular posts subscribe to our free youTube channel here