I use a lot of fabric baskets in my sewing room for all of my notions and things that I use all the time. This is an easy fabric bowl that anyone with beginner sewing skills can make. It is really cute too. I just loved making this little bowl. It came together simply and easily and holds the small things I need for it to hold. If you would like more fabric bowl projects check out my simple fabric bowl. So how do we create this little gem. Let's get started.
I used remnant fabrics that I had on hand from JOANN Fabric & Craft Stores![]() but you could head to
but you could head to
What you will Need: How to Make an Easy Fabric Basket
- 10″ x 10″ outer and lining fabric
- 9 1/2″ x 9 1/2″ Pellon 808 interfacing x 2
- 4 Coordinating buttons
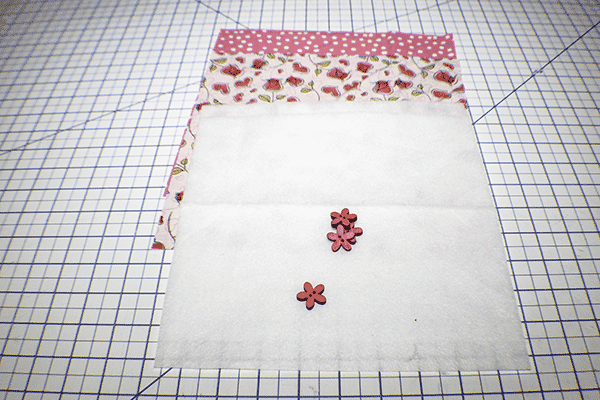
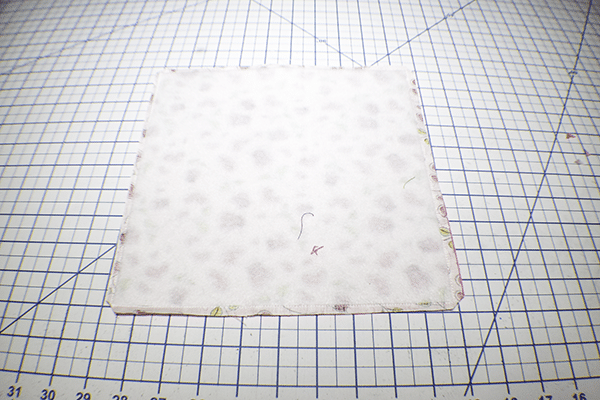
Step 1: Fuse the Interfacing
Fuse one piece of interfacing to the wrong side of each of the fabric pieces following the manufacturer's instructions.
Step 2: Stitch the Fabrics Together
Place the two fabrics right sides together. Stitch the pieces together using a 1/4″ seam allowance but leaving an opening for turning. Clip the corners without cutting through the stitching.
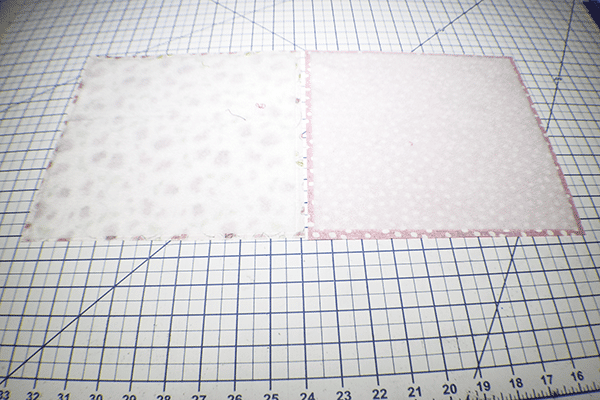
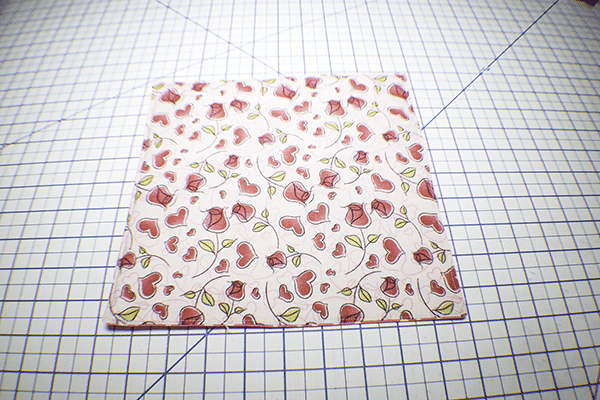
Step 3: Turn Right Sides Out
Turn right sides out. Poke out the corners and press. make sure the opening raw edges are pressed in. Topstitch all the way around using a 1/8″ seam allowance closing the opening as you go.
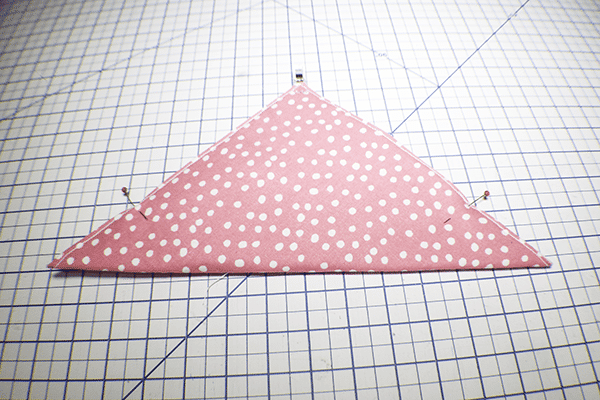
Step 4: Create the Corners
Fold the fabric in half diagonally. Measure down from the folded edge 2 3/4″ and pin. Tack the two pieces together either by hand or with your machine. Repeat for the other side. Open up the fabric and fold in half diagonally in the other direction. Measure again 2 3/4″ and tack the two pieces together either by hand or with machine. Repeat for the other end. Turn right sides out.

Step 5: Fold Down the Corners
Make sure the basket is flat and the top edges match. Fold down the corners. Stitch the corners down by hand.
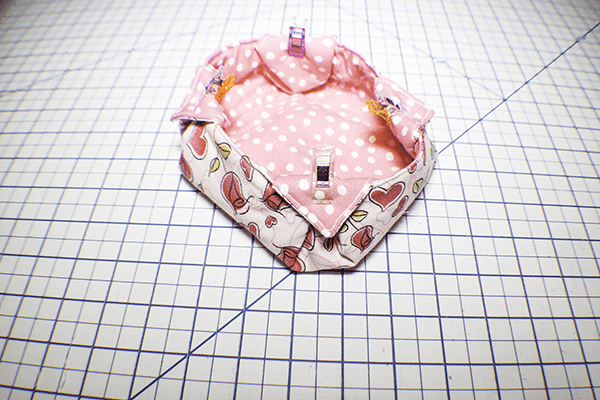
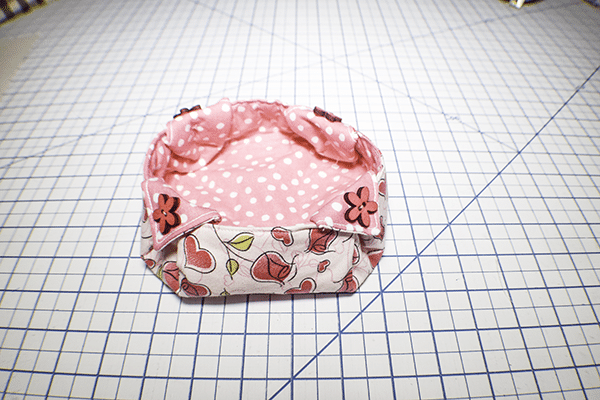
Step 6: Add the Buttons
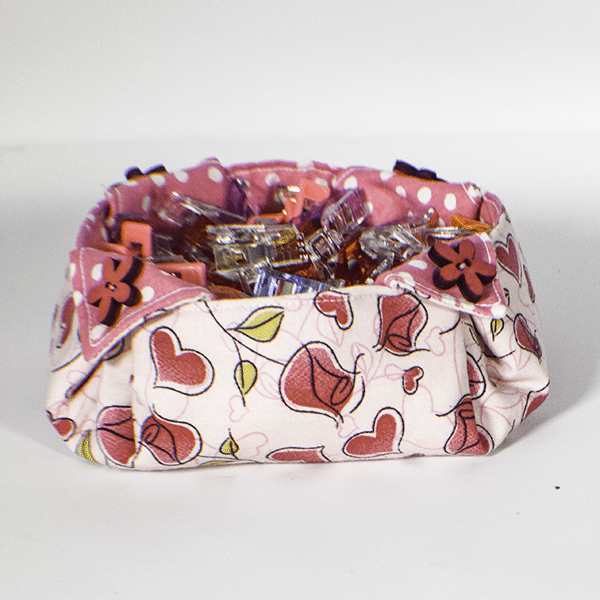
Add the buttons to each corner of the basket and you have finished your easy fabric basket.

I hope you enjoyed Thai fabric bowl project. If you would like more sewing and crafting projects subscribe our newsletter and receives access to our free Printables library.
If you would like video tutorials of some of Sew Very Crafty's most popular posts subscribe to our free YouTube Channel here.