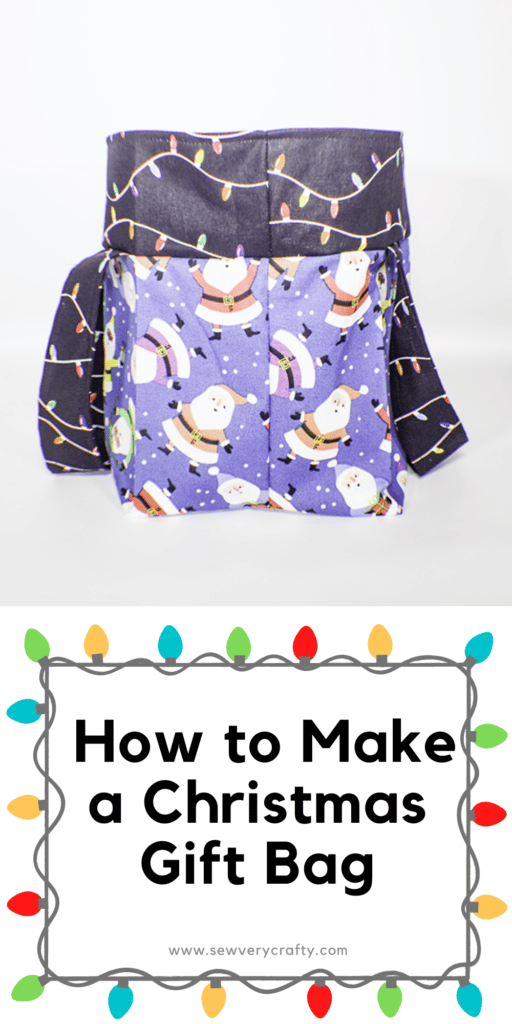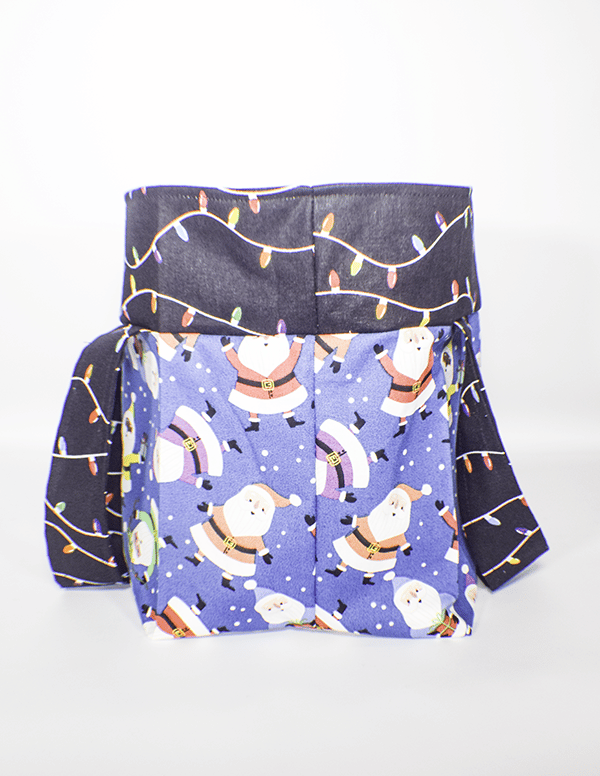
Christmas is just around the corner. Reusable gift bags are perfect for this time of year and they make great gifts too. This Christmas gift bag is super simple to make using your beginner sewing skills. it is both fun and functional. I have made several gift bags on Sew Very Crafty but I think I like this one best. You can really jazz this one up with the right fabrics. If you would like to check out some of my other gift bag projects check out my flower gift bag or my basic fabric gift bag.
I used Christmas fabric that I purchased from JOANN Fabric & Craft Stores and Fat Quarter Shop but you could head to Amazon Fabrics or onlinefabricstore.net to get exactly what you need for your gift bags. This post contains affiliate links that if you click on them and make a purchase I may receive q small commission at no extra cost to you. As An Amazon Associate I earn from qualifying purchases.
If you would like a video tutorial of this project head over to YouTube and check out my video. While you are there subscribe to my free YouTube channel.
What you will need: How to Make a Christas Gift Bag
- 1/4 yd outer fabric for the bottom
- 1/2 yd lining fabric
- 1/2 yd Pellon SF 101
Step 1: Cut your Fabrics
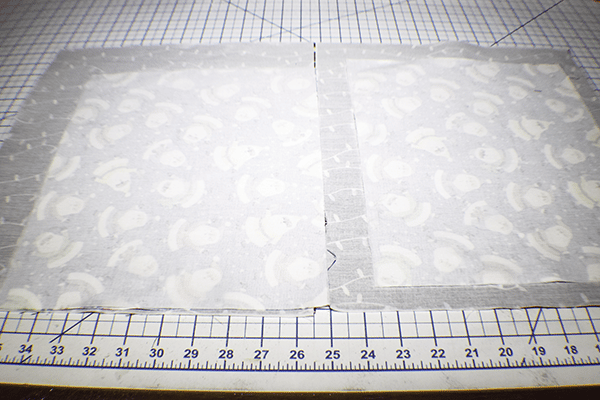
Cut two outer pieces and interfacing that measure 10 1/2″ x 13″. Next, cut two lining pieces and interfacing that measure 15 1/2″ x 13″. Finally Cut two strap pieces and interfacing that measure 15 ½” X 6″.

Step 2: Fuse the Interfacing
Following the manufacturer's instructions fuse the interfacing to the wrong side of all of the fabrics using a hot iron.
Step 3: Create the Straps
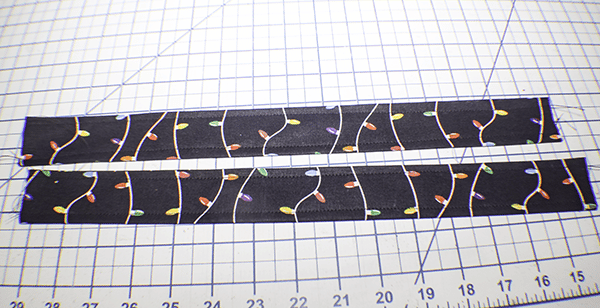
Fold the long raw edges to the center and press. Fold in half lengthwise to enclose the raw edges and press. Topstitch along both sides to secure.
Step 4: Stitch the Sides and Bottoms
Place the outer fabric right sides together and stitch along the sides and bottom using a 1/2″ seam allowance. Leave an opening in the bottom of the lining piece for turning.

Step 5: Box the Corners
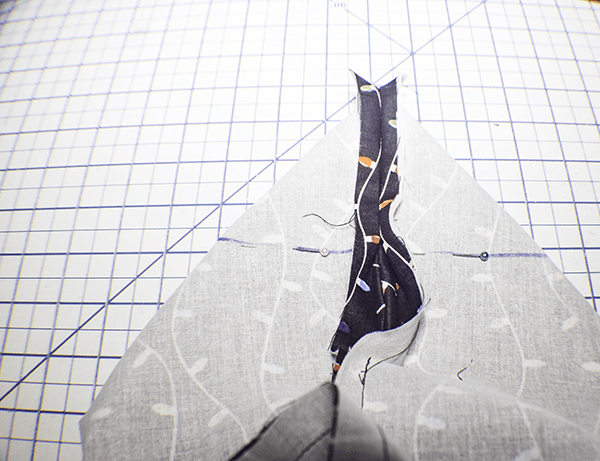
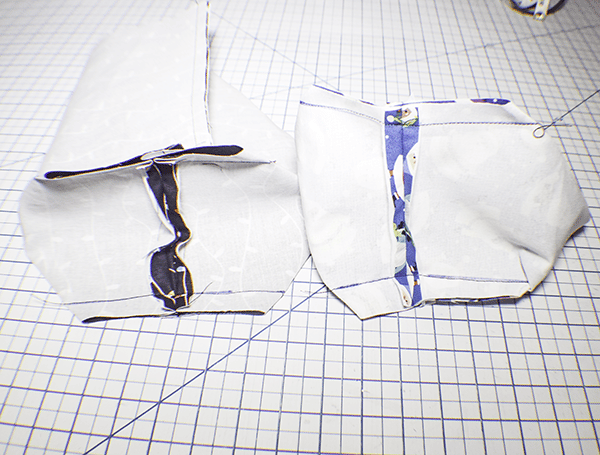
Place the bottom seam and the side seam together so that you create a triangle. Measure down from the tip of each triangle until it measures 6″ across and draw a line. Stitch along that line on each corner of the outer fabric and the lining fabric. Trim off the excess corners to remove the bulk. Turn the outer fabric right sides out.
Step 6: Add the Straps to the Christmas Gift Bag
Measure 4 3/4″ from each side of the outer fabric and place the inner part of strap ends on the mark and matching the raw edges. Do this for both sides of the bag. Baste the straps to the outer bag.

Step 7: Stitch the Outer Christmas Bag to the Lining
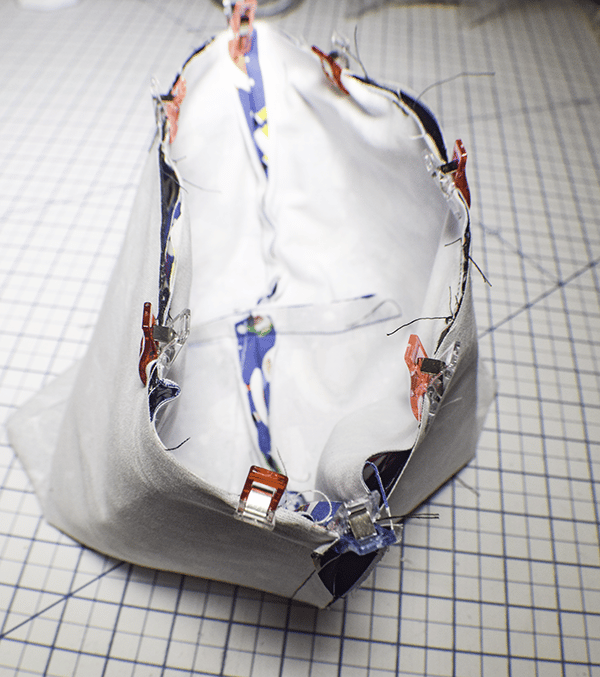
Place the outer bag inside the lining bag so that they are right sides together. Match the top raw edges. Pin or clip. Stitch all the way around using a 1/2″ seam allowance. Sew across the straps a few times to secure.
Step 8: Turn the Bag Right Sides Out
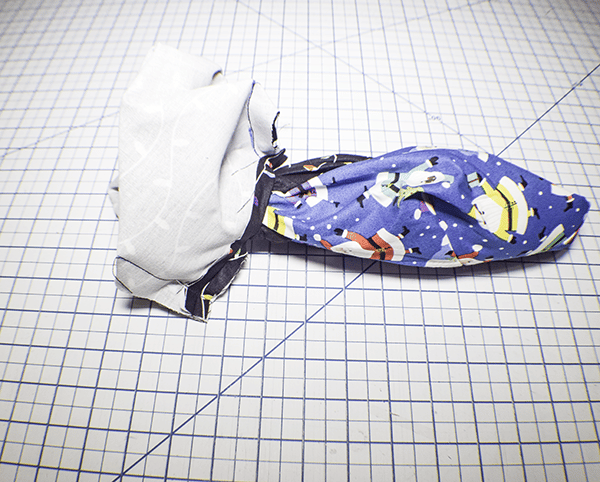
Reach in through the opening in the lining and turn the bag right sides out.
Step 9: Finish the Christmas Gift Bag
Close the opening using ladder stitch or your machine. push the lining into the outer bag. You will notice that the lining bag extends beyond the outer bag and the handles are in the center. this is at it should be. Topstitch around the top of the bag. Press all four corners to make the bag square. You have now finished your Christmas Gift bag.
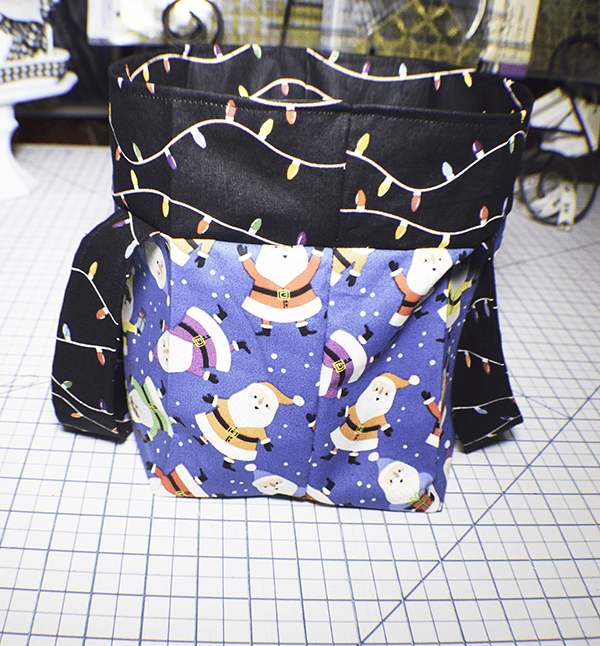

I hope you enjoyed this Christmas gift bag project. If you would like more sewing and crafting projects subscribe to our newsletter and receive your free eBook of 15 handbag patterns and tutorials taken from the blog
If you would like video tutorials of some of Sew Very Crafty's most popular pets subscribe to our free YouTube channel here.
