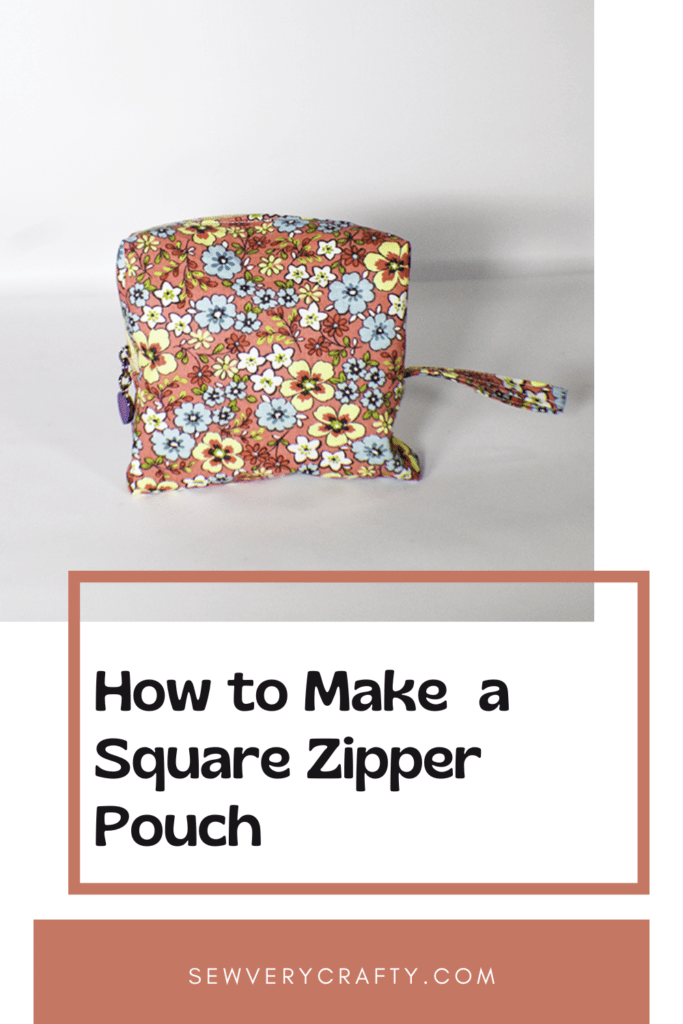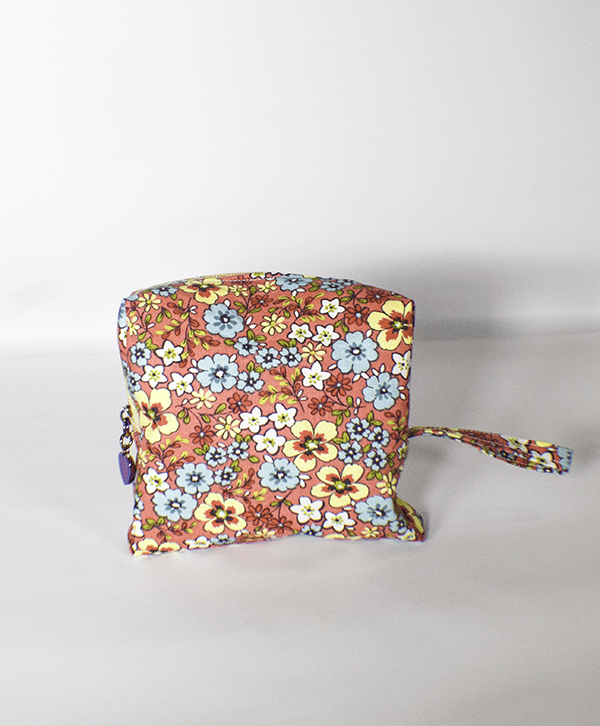
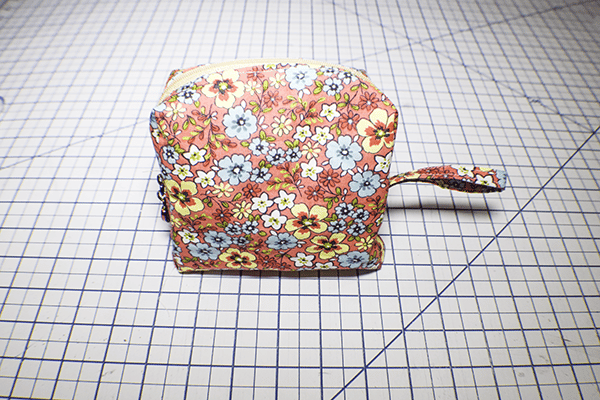
I love zipper pouches. I have loads of them that I use for various things. This square zipper pouch is perfect for small things like makeup and sanitary products. This pouch is a super simple little project to make and functional too. There is a free pattern with this project to make it even easier to stitch. If you like zipper pouches as much as I do and would like more check out my quilted zipper pouch with video tutorial.
I used fabrics from my stash for this project that I purchased from JOANN Fabric & Craft Stores![]() but you could head to Amazon Fabrics or
but you could head to Amazon Fabrics or
What you will need: How to Make a Square Zipper pouch
- Pattern you can get by clicking on this link
- 11 1/4″ x 13 1/4″ Outer and Lining fabric
- 11 1/4″ x 13 1/4″ Pellon SF 101 Interfacing
- 1 5/8″ x 8″ Outer Piece
- 6″ x 9″ Lining Piece
- 12″ Zipper
- Standard Sewing Supplies
Step 1: Cut the Interfacing
Cut out the pattern piece as shown. Using the pattern piece cut out the interfacing.
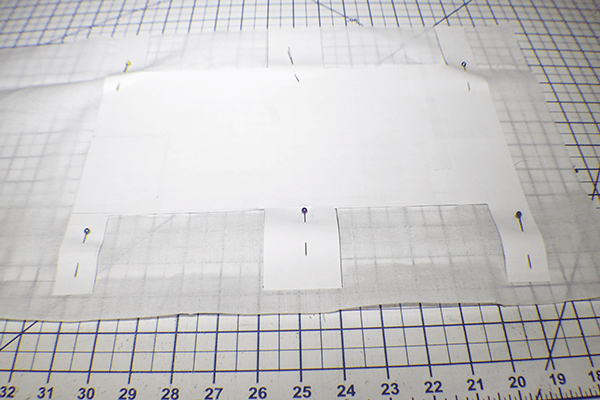
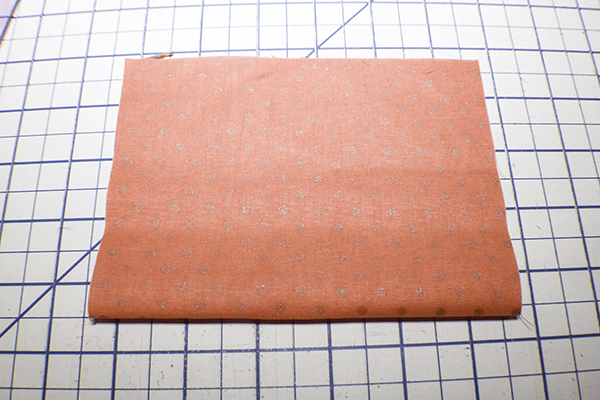
Step 2: Fuse the Interfacing
Following the manufacturer's instructions fuse the interfacing to the wrong side of the outer fabric.
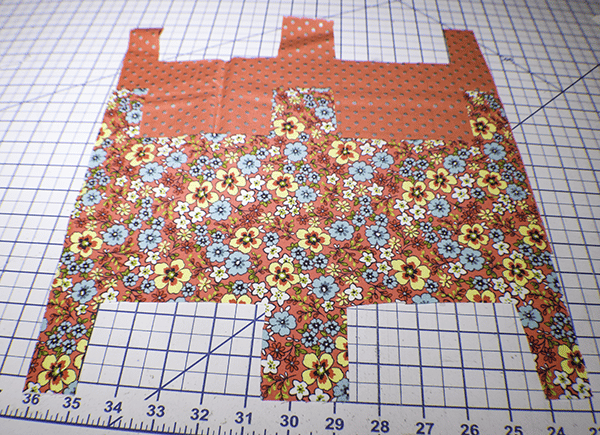
Step 3: Cut the Fabrics
Place the outer and lining fabrics right sides together. Cut the fabrics along the interfacing so that all three are the same.
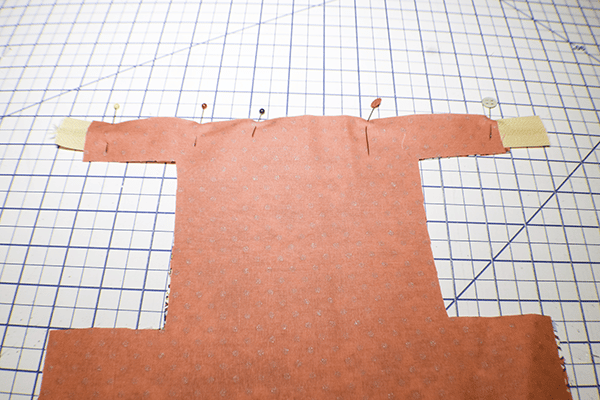
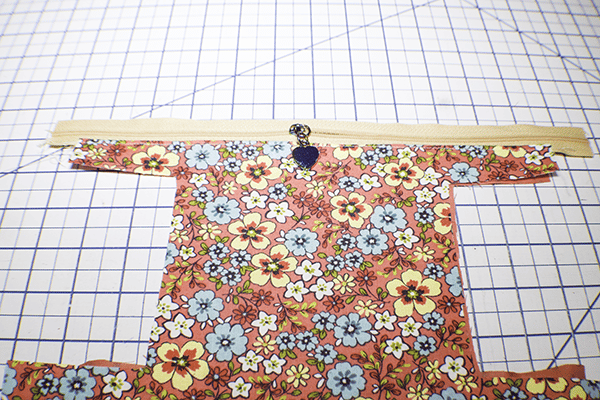
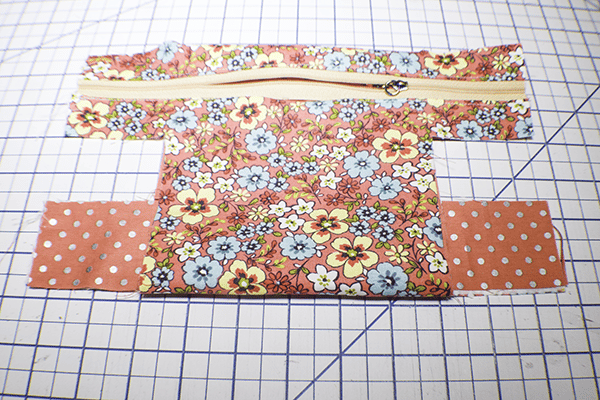
Step 4: Add Half of the Zipper
Find the center of both sides of the outer fabric and make a mark. Find the center of the zipper and make a mark. Do the same for the lining. Place the zipper right sides down on the outer fabric. Place the lining fabric right sides down on the zipper. Pin. Stitch the zipper using a zipper foot. Turn right sides out, press and topstitch along the zipper.
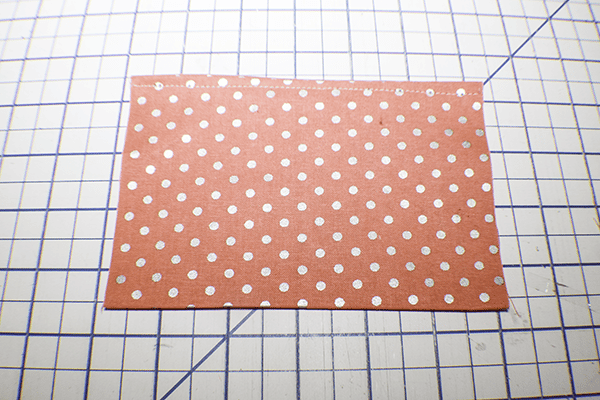
Step 5: Create the Pocket
Take the 6″ x 9″ lining piece and fold it in half. Stitch along the bottom using a 3 1/8″ seam allowance. Turn right sides out. Press. Topstitch along the seam end.
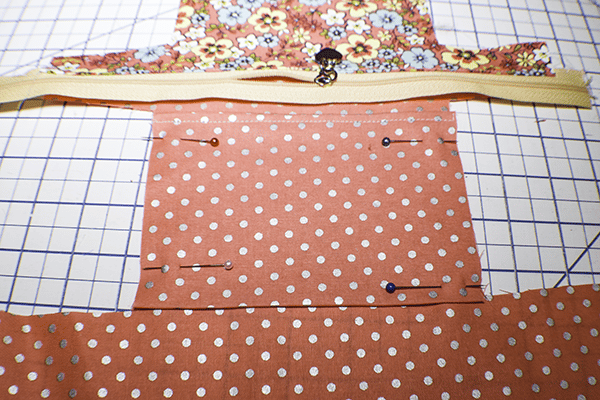
Step 6: Add the Pocket
Place the pocket at the top end of the lining near the zipper with the raw edges matching. Stitch along the sides and bottom.
Step 7: Add the Other Half of the Zipper
Fold the outer piece so that the bottom meets the zipper. Match the centers. Do the same for the lining. Pin. Stitch the zipper using your zipper foot but leaving an opening in the zipper for turning. Press and topstitch the zipper remembering to leave the opening not topstitched. Turn wrong side out and press.
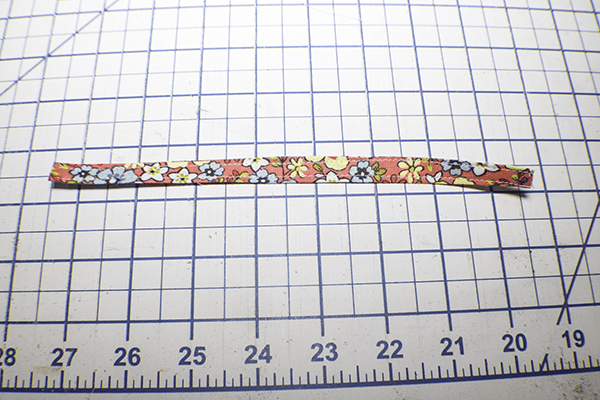
Step 8: Create the Strap
Take the 1 5/8″ x 8″ piece and fold the long raw edges to the center and press. Fold in half lengthwise and press again. Topstitch on both sides to secure.
Step 9: Add the Strap
Fold the strap in half. Place it right sides together on one of the zipper ends. Clip.
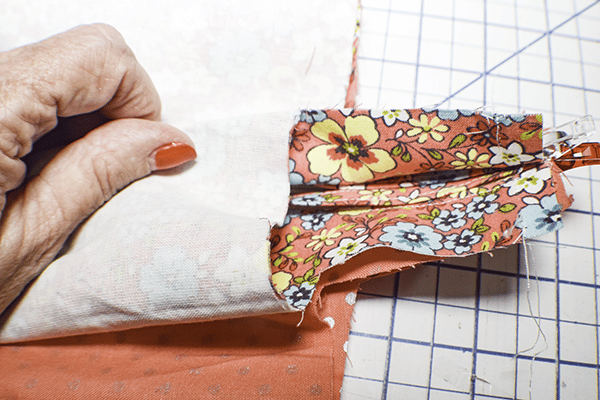
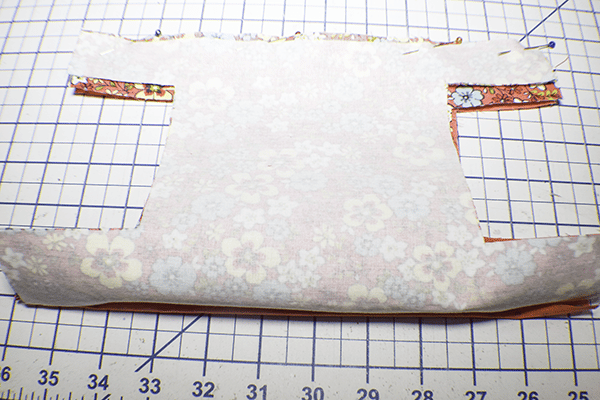
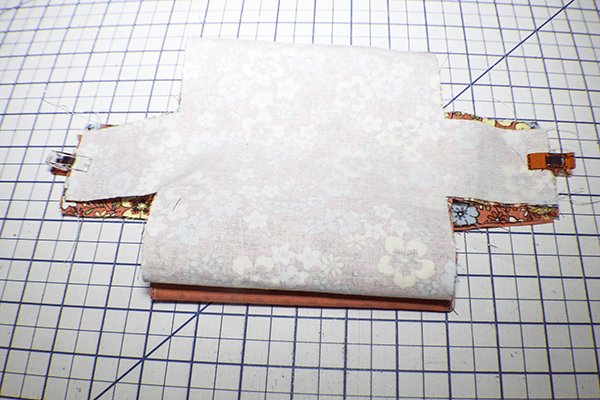
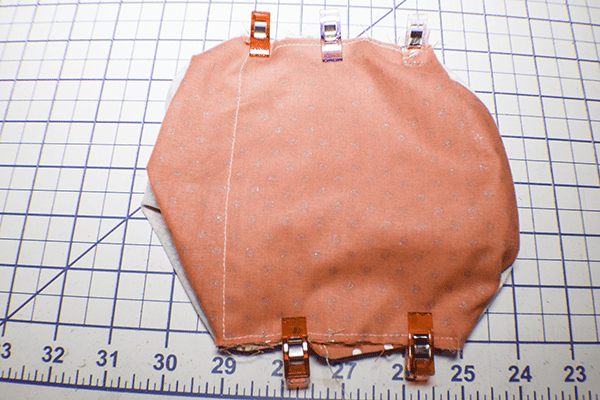
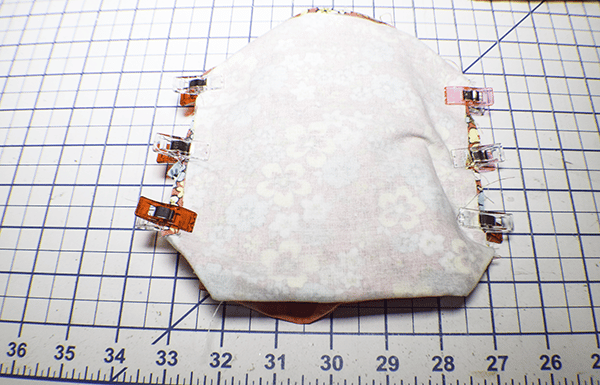
Step 10: Stitch the Square Zipper Pouch
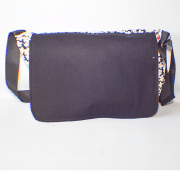
Separate the layers so that the outer fabrics are right sides together and the lining is right sides together. Stitch the short ends of the zipper pouch through all layers. Box the ends. To do this, separate the outer fabric from the lining fabric. Place the outer edges together on each side and clip. Do the same for the lining edges. Clip the lining edges to the outer edges on both sides. Stitch along both sides using a 3/8″ seam allowance. Reach in and pull out the other ends and stitch the them in the same way.
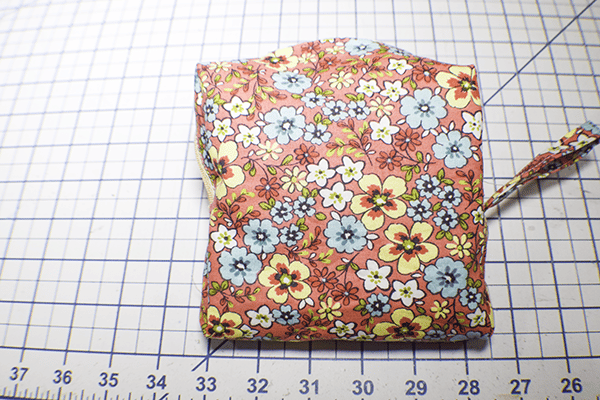
Step 11: Finish the Square Zipper Pouch
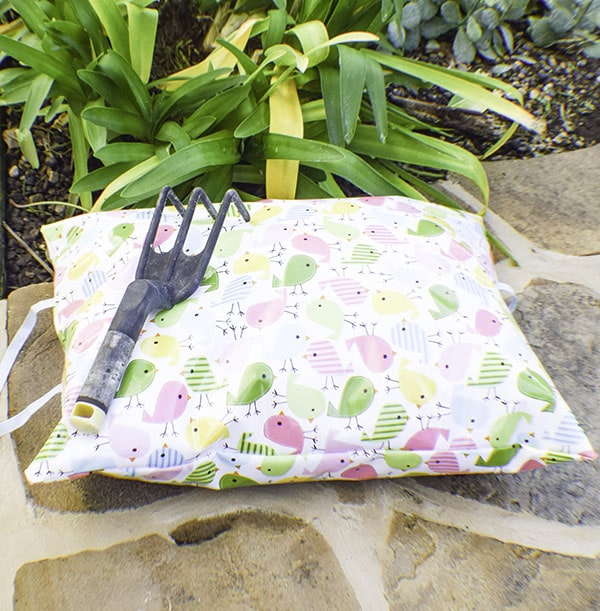
Reach into the pouch again and turn the bag so that the opening in the zipper is apparent. Turn the pouch right sides out through the opening in the zipper. Hand stitch the lining side closed using invisible stitch. Topstitch along the zipper to close the opening in the outer fabric. You have now finished your square zipper pouch.
I hope you enjoyed this zipper pouch project. If you would like more sewing and crafting projects subscribe to our free newsletter and receive your free eBook of 15 handbag patterns and tutorials taken from the blog.
If you would like video tutorials of some of Sew Very Crafty's most popular posts subscribe to our free YouTube channel here.