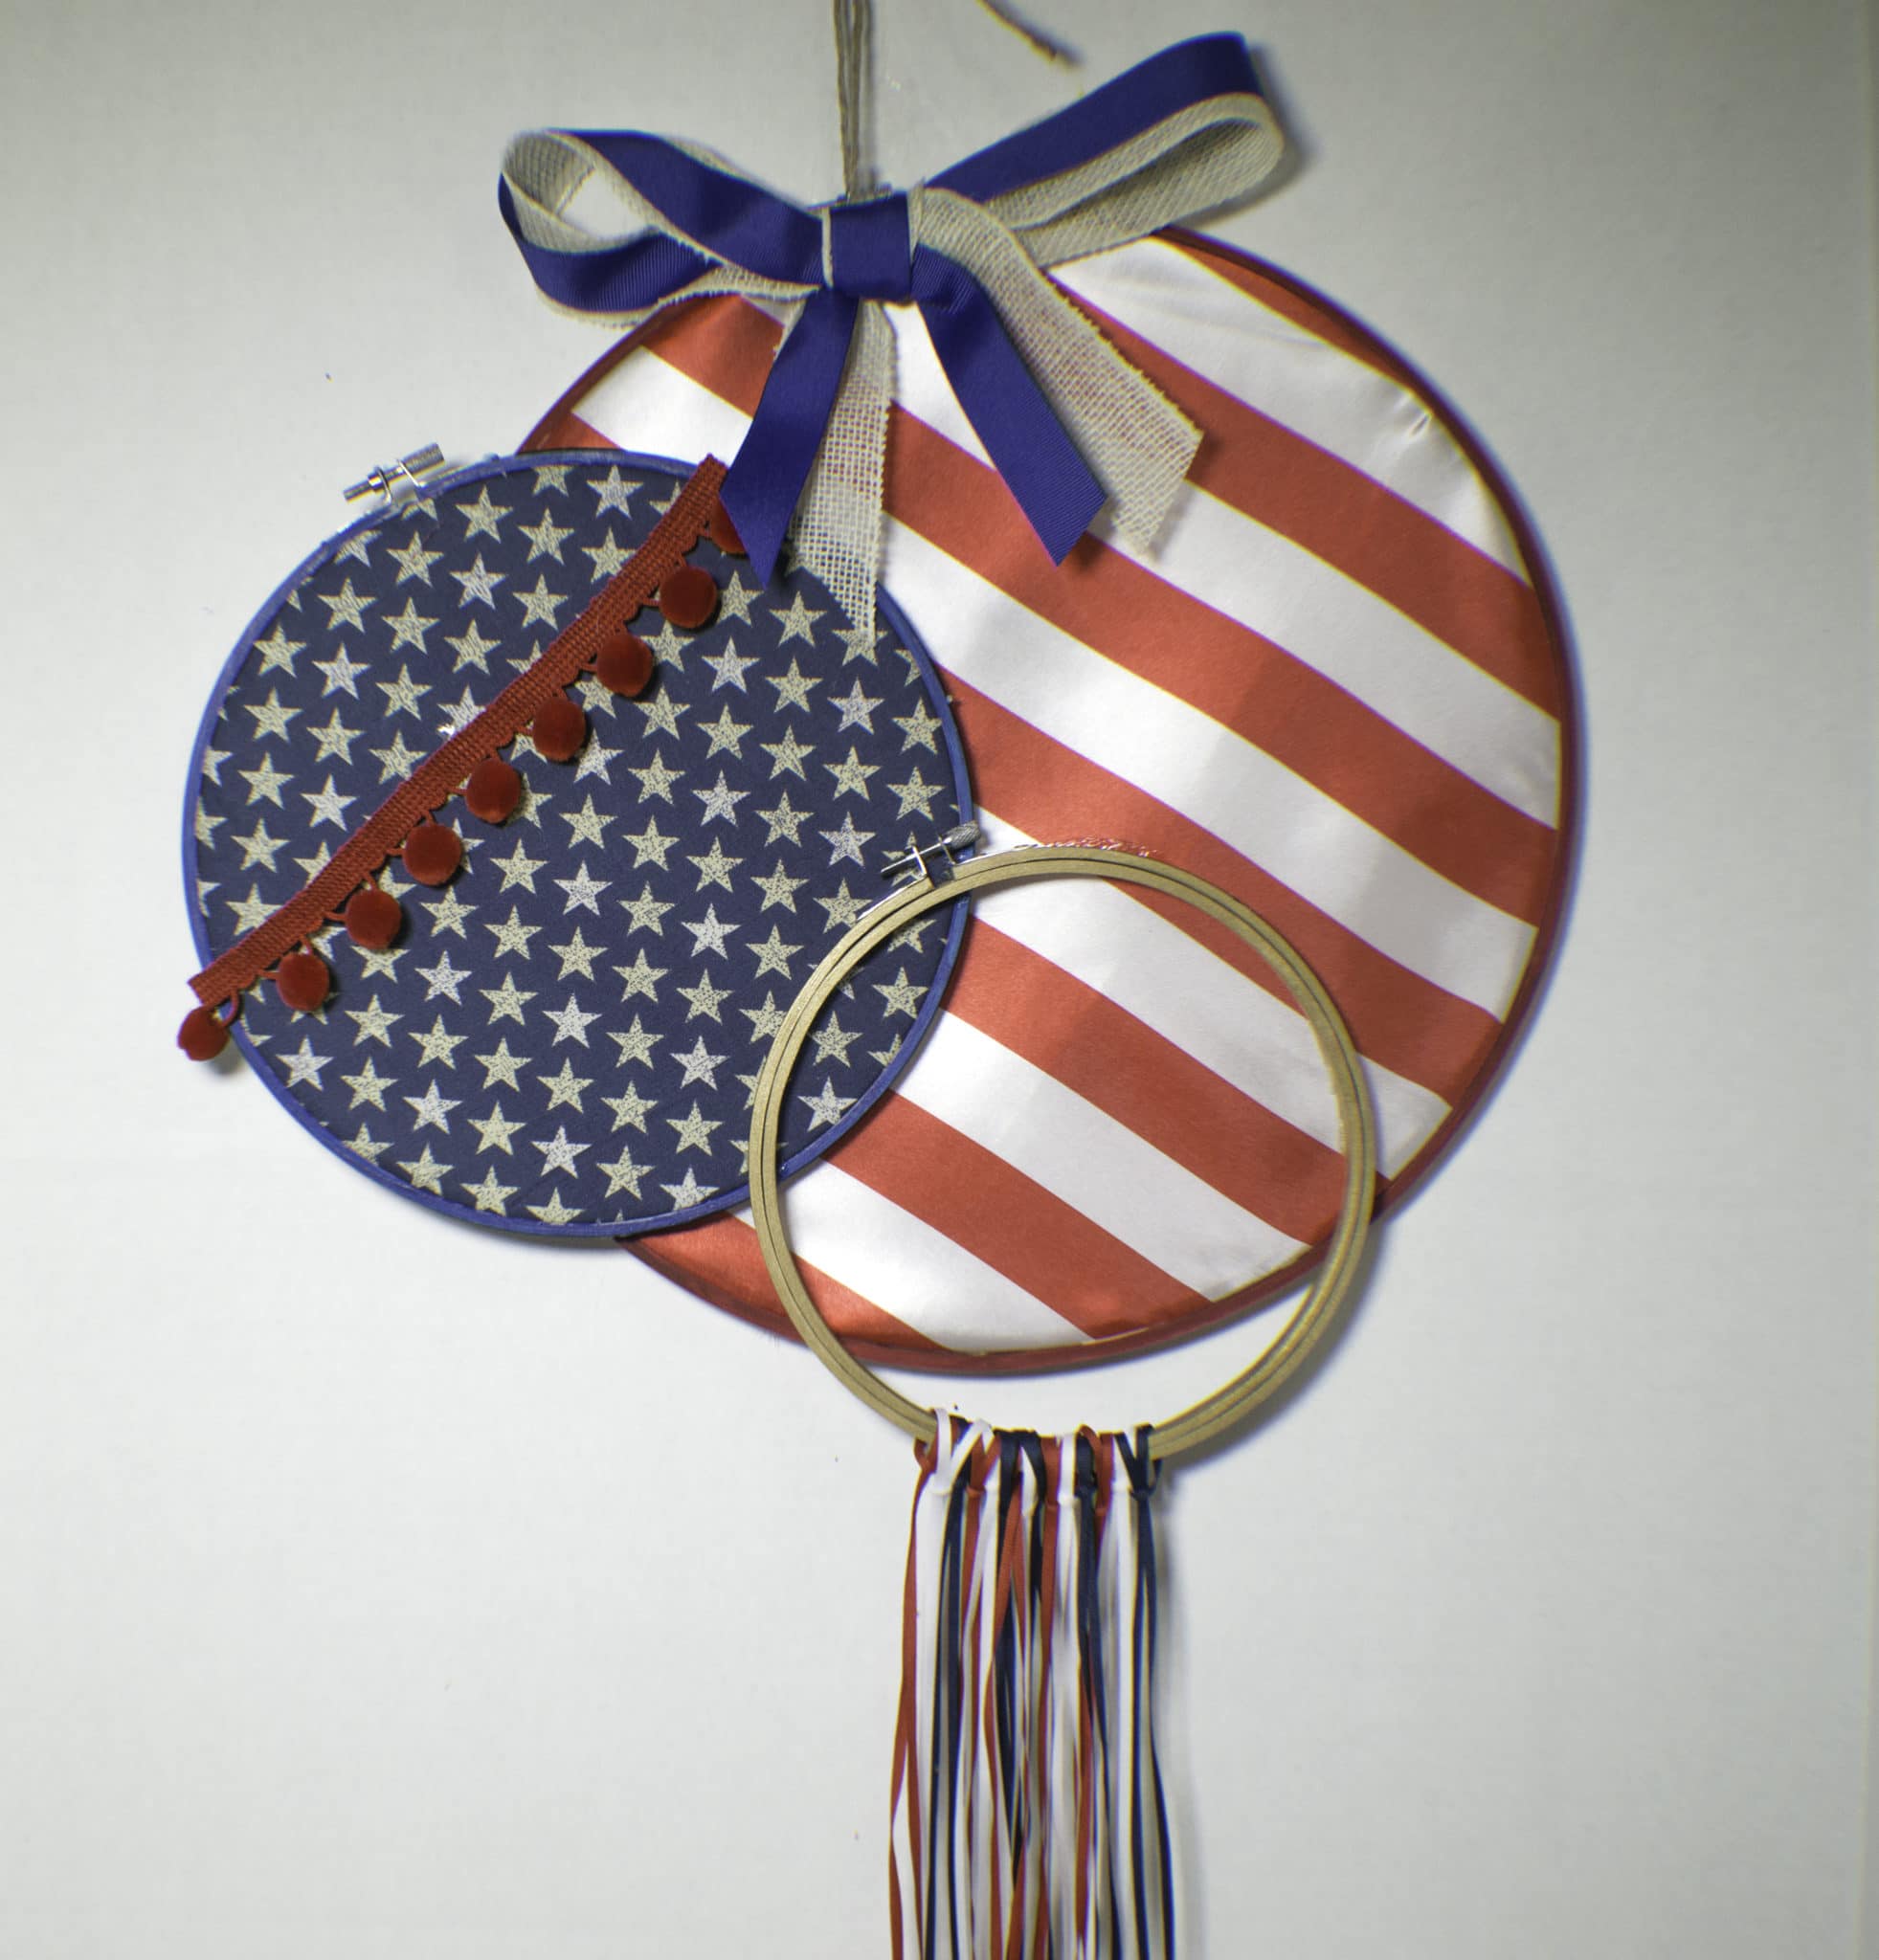
Patriotic Embroidery Hoop Art
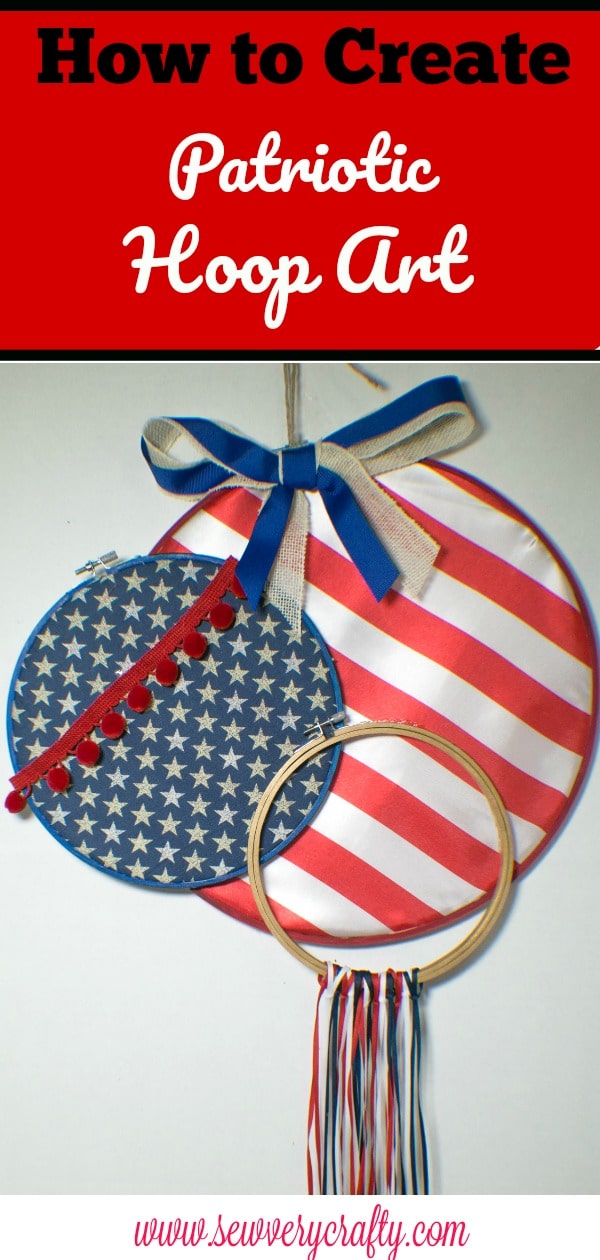
I Found this patriotic embroidery hoop art at American Multi-surface acryllics and then looked at my stash and decided that I had fabrics that would fit perfectly. You could follow the tutorial and paint this embroidery hoop craft the way they did but I decided that using more of my stash was the way to go with this project. Embroidery hoop crafts are all the rage right now and I just love how this project looks. It is a Memorial Day or 4th of July craft that will hang perfectly on your front door or as part of your home's decor.
I am a very patriotic person and love to show off the red, white, and blue whenever I can so this project was perfect for me. If you choose to paint this project all you need is some white fabric and some American multi-surface acrylics to complete it. The complete tutorial for painting the fabrics can be found here. They used cobalt, gold and lipstick colors for their painted project. I used these colors for my embroidery hoops but chose red, white, and blue fabrics to create the rest of this DIY embroidery hoop project.
Making this project was simple and took less than an hour to complete. It is also inexpensive. The embroidery hoops are very inexpensive. I only paid $4 for them using a coupon at Michael's. I had the fabrics on hand but if you don't and need to purchase fabrics they are inexpensive as well. If you want to show off the stars and stripes this Memorial Day or 4th of July I recommend giving this patriotic embroidery hoop project a try. If you want to use fabrics for your project instead of paint head over to Amazon or Michaels for the perfect patriotic fabrics for your project.
Embroidery hoops are made of two circles, one inside the other. They are held together with a screw on the outer hoop that when turned tightens the outer hoop against the inner hoop. The purpose of an embroidery hoop is to keep fabric taut while stitching designs onto the surface. We are not stitching today. Rather, we will be using the embroidery hoops to create patriotic embroidery hoop art.
This post contains affiliate links that if you click on them and make a purchase I may receive a small commission at no extra cost to you.
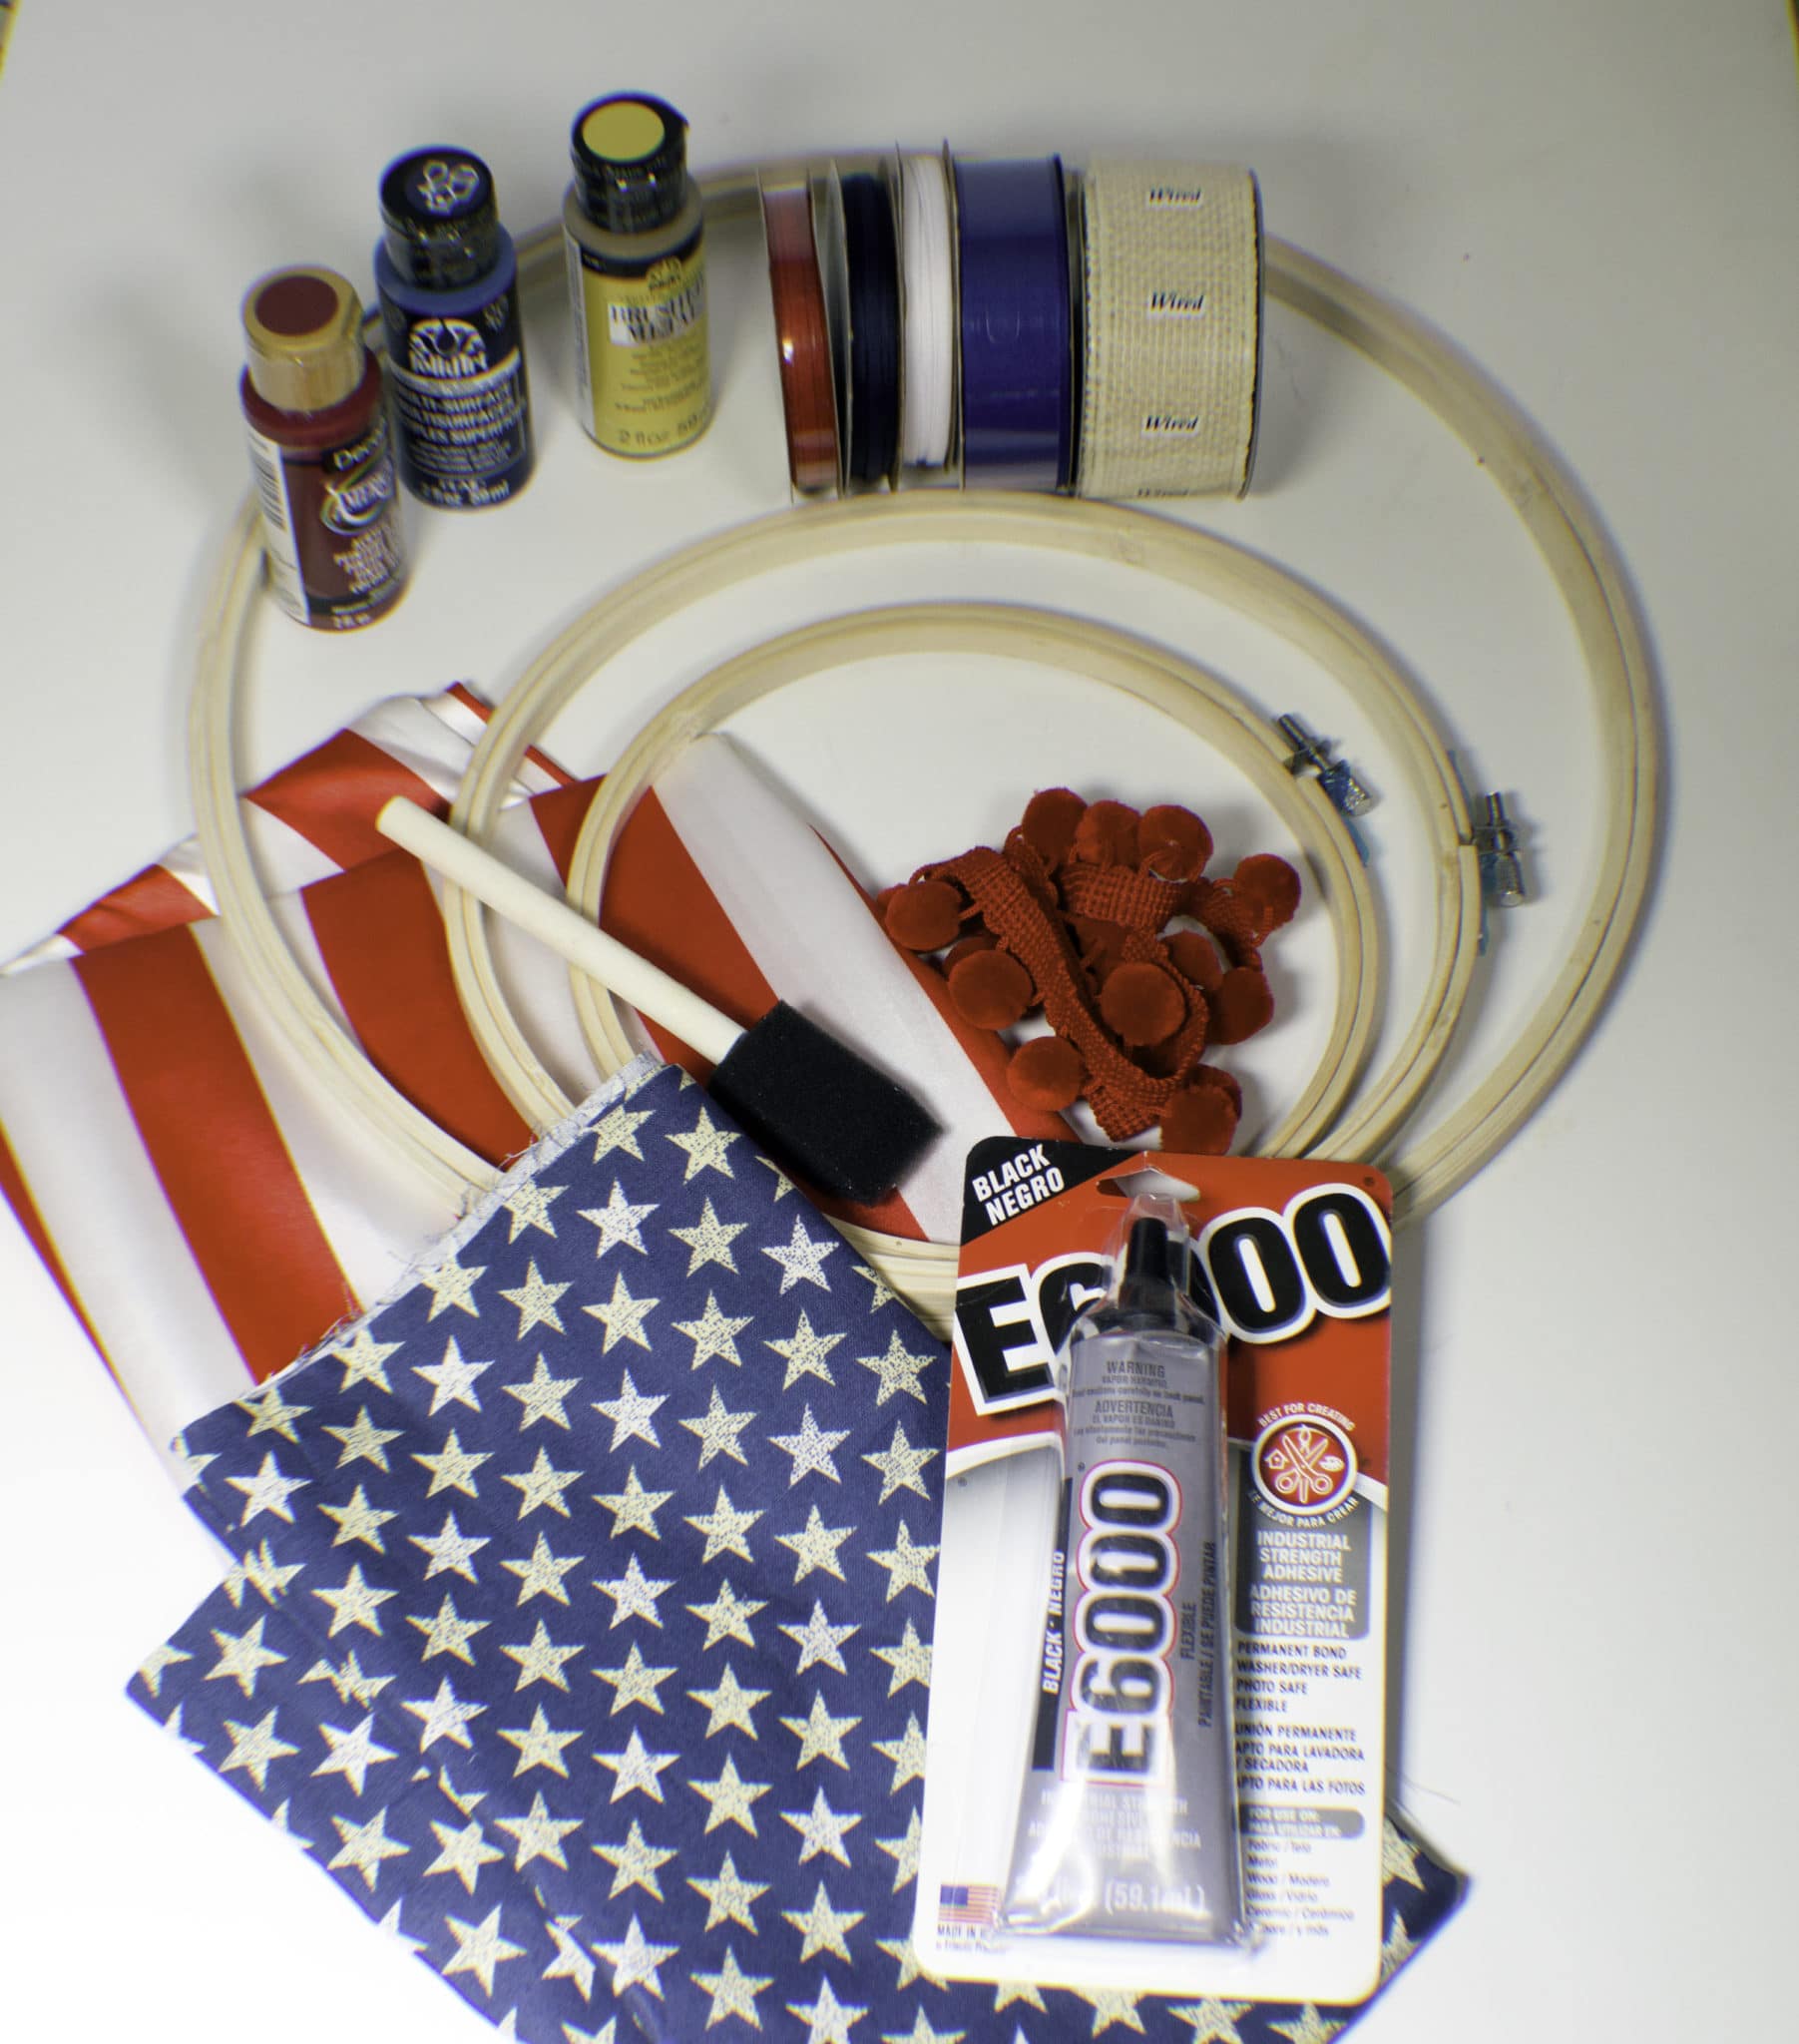
What you will Need: Patriotic Embroidery Hoop Art
-
Americana multi-surface paints

- Cobalt (DA546)
- Gold (Metallic) (DA553)
- Lipstick (DA506)
- 1/4 yd of Red and white striped Fabric
- 1/4 yd of blue with white stars fabric
- 3 Wood embroidery hoops
- 14″
- 9″
- 7″
- E6000 Glue
- 1 1/2″ wide wired burlap ribbon
- 7/8″ wide blue ribbon
- 1/8″ wide red, white and blue ribbon
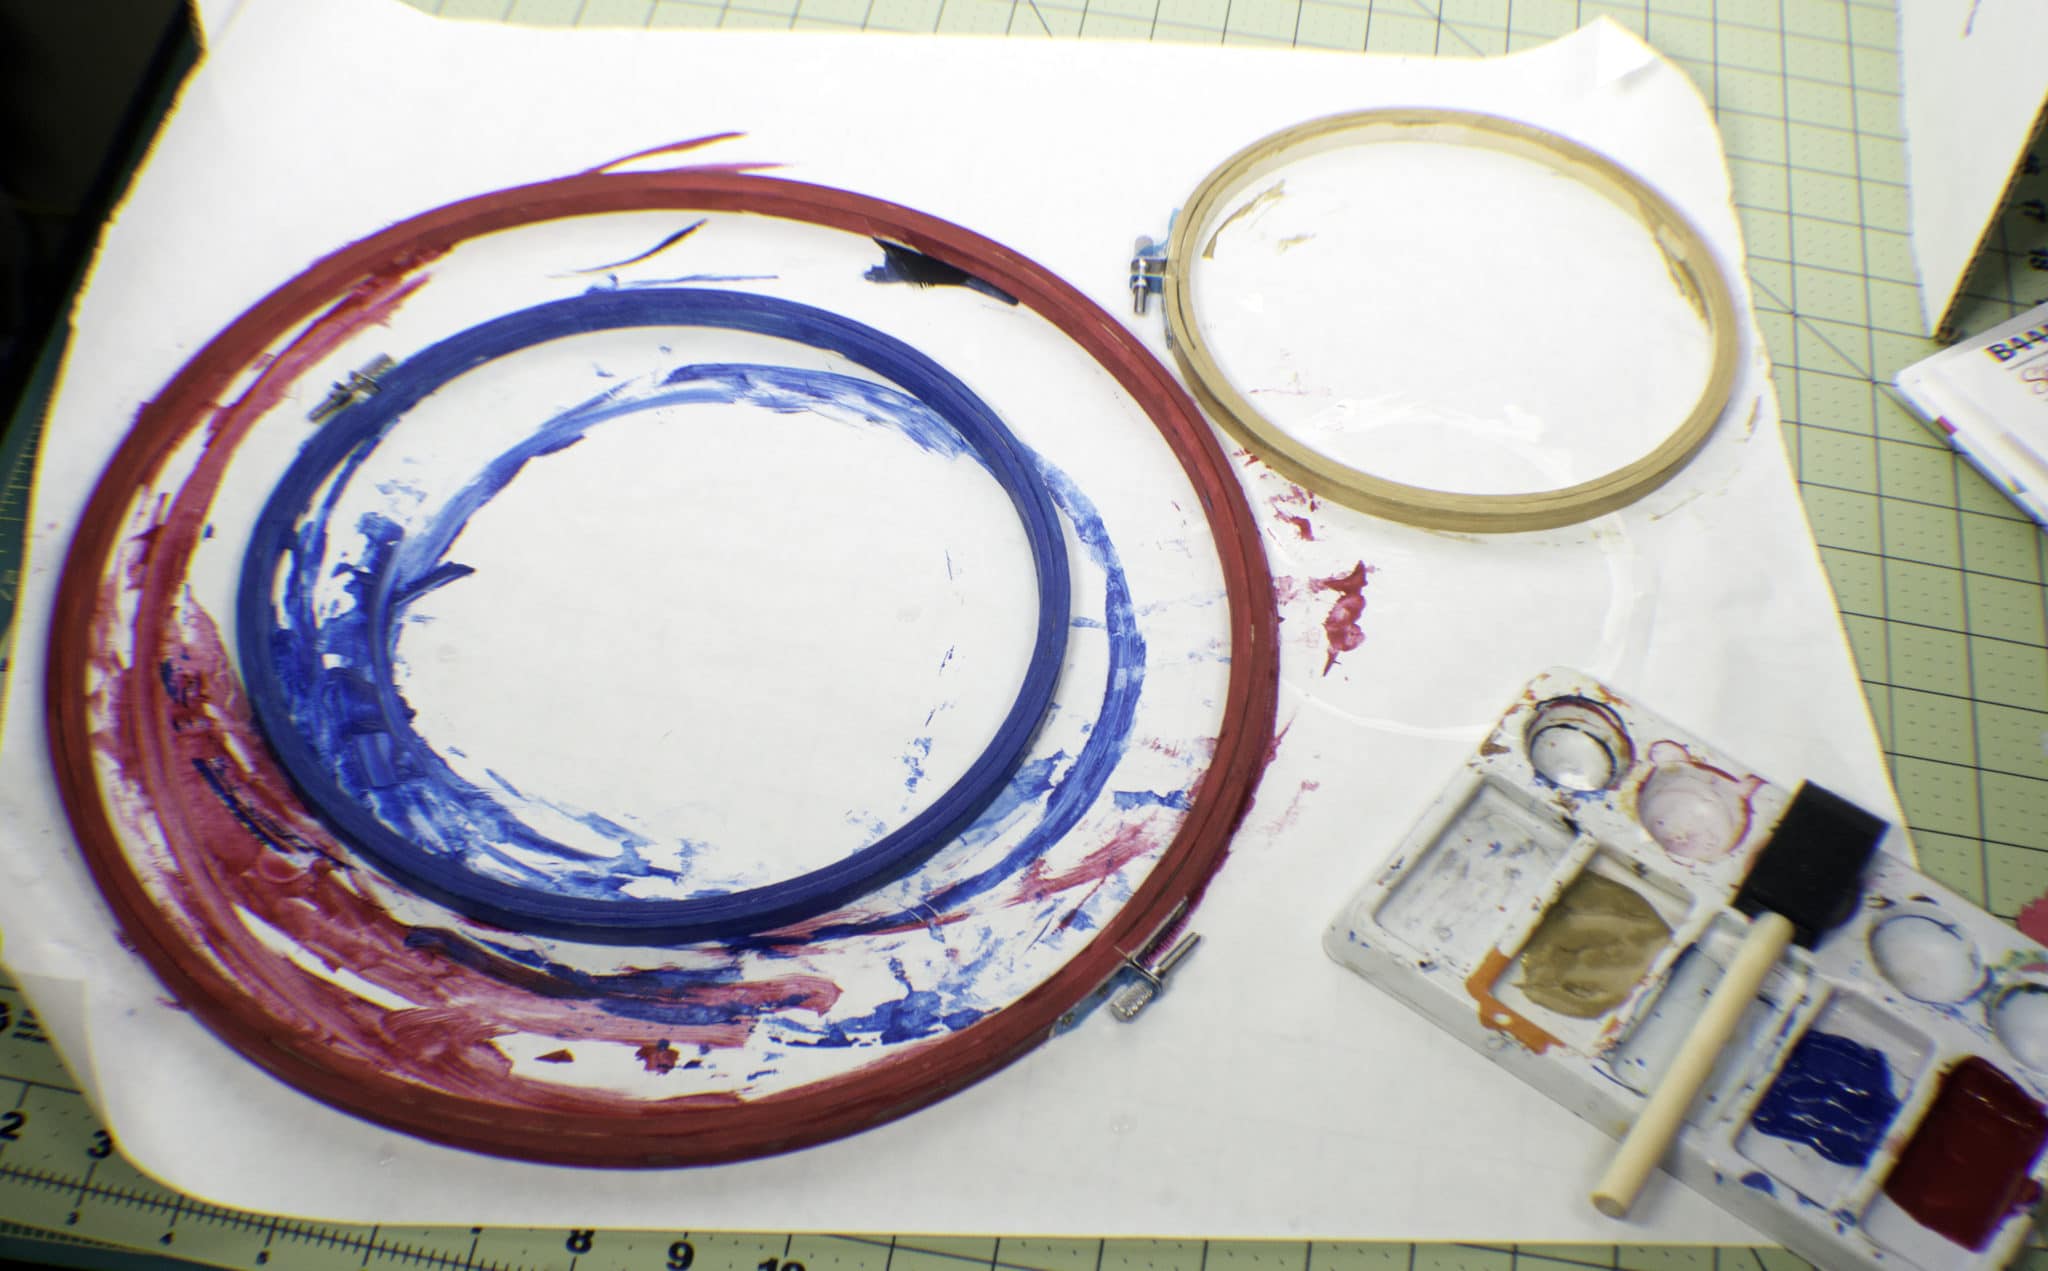
Step 1: Patriotic Embroidery Hoop Art
Paint the 14″ hoop using the Lipstick color paint. Use the cobalt paint for the 9″ hoop and the gold metallic for the 7″ hoop. You may need more than one coat so make sure that the hoops are completely dry before you paint the second coat. Also make sure the paint is completely dry before you proceed to the next step. I used wax paper as my crafting surface so that I could roll it up and throw it out after I finished painting. I like wax paper for this purpose.
Step 2: Patriotic Embroidery Hoop Art
Lay each hoop on the respective fabric and draw a circle about 2″ larger than the hoop. Cut out the circles. This will help you to insert the fabric more easily into the hoops.
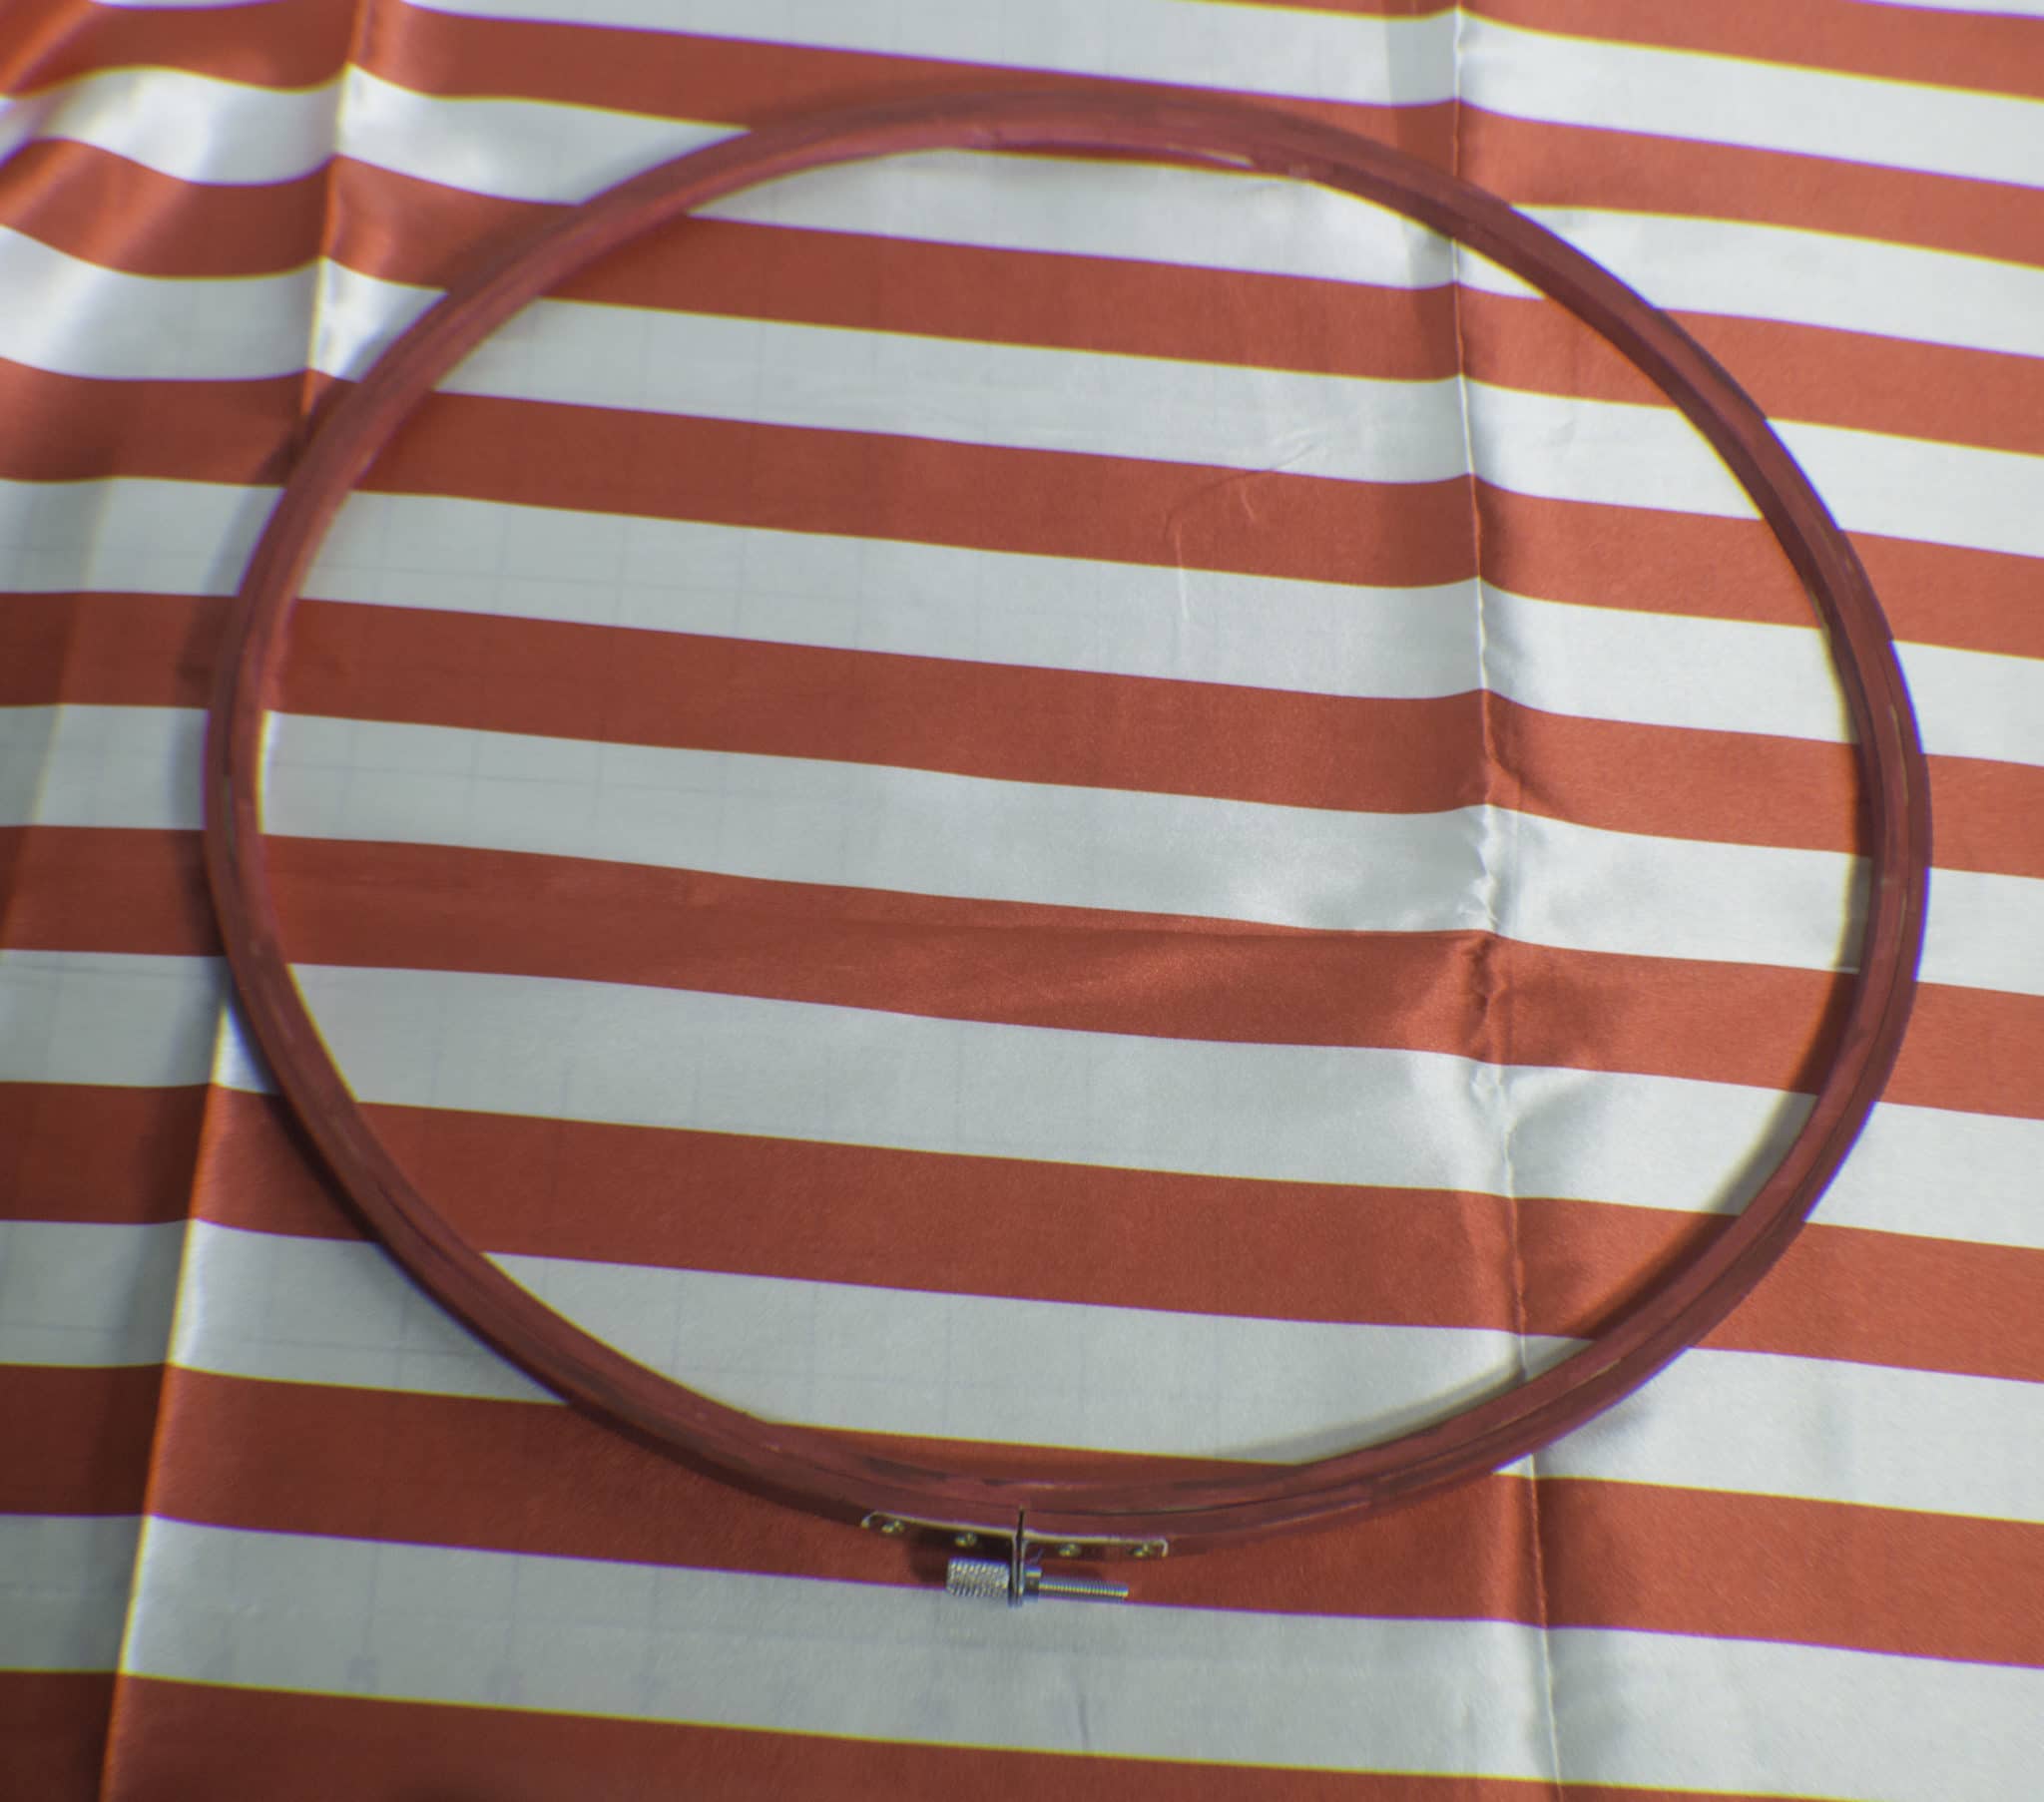
Step 3: Patriotic Embroidery Hoop Art
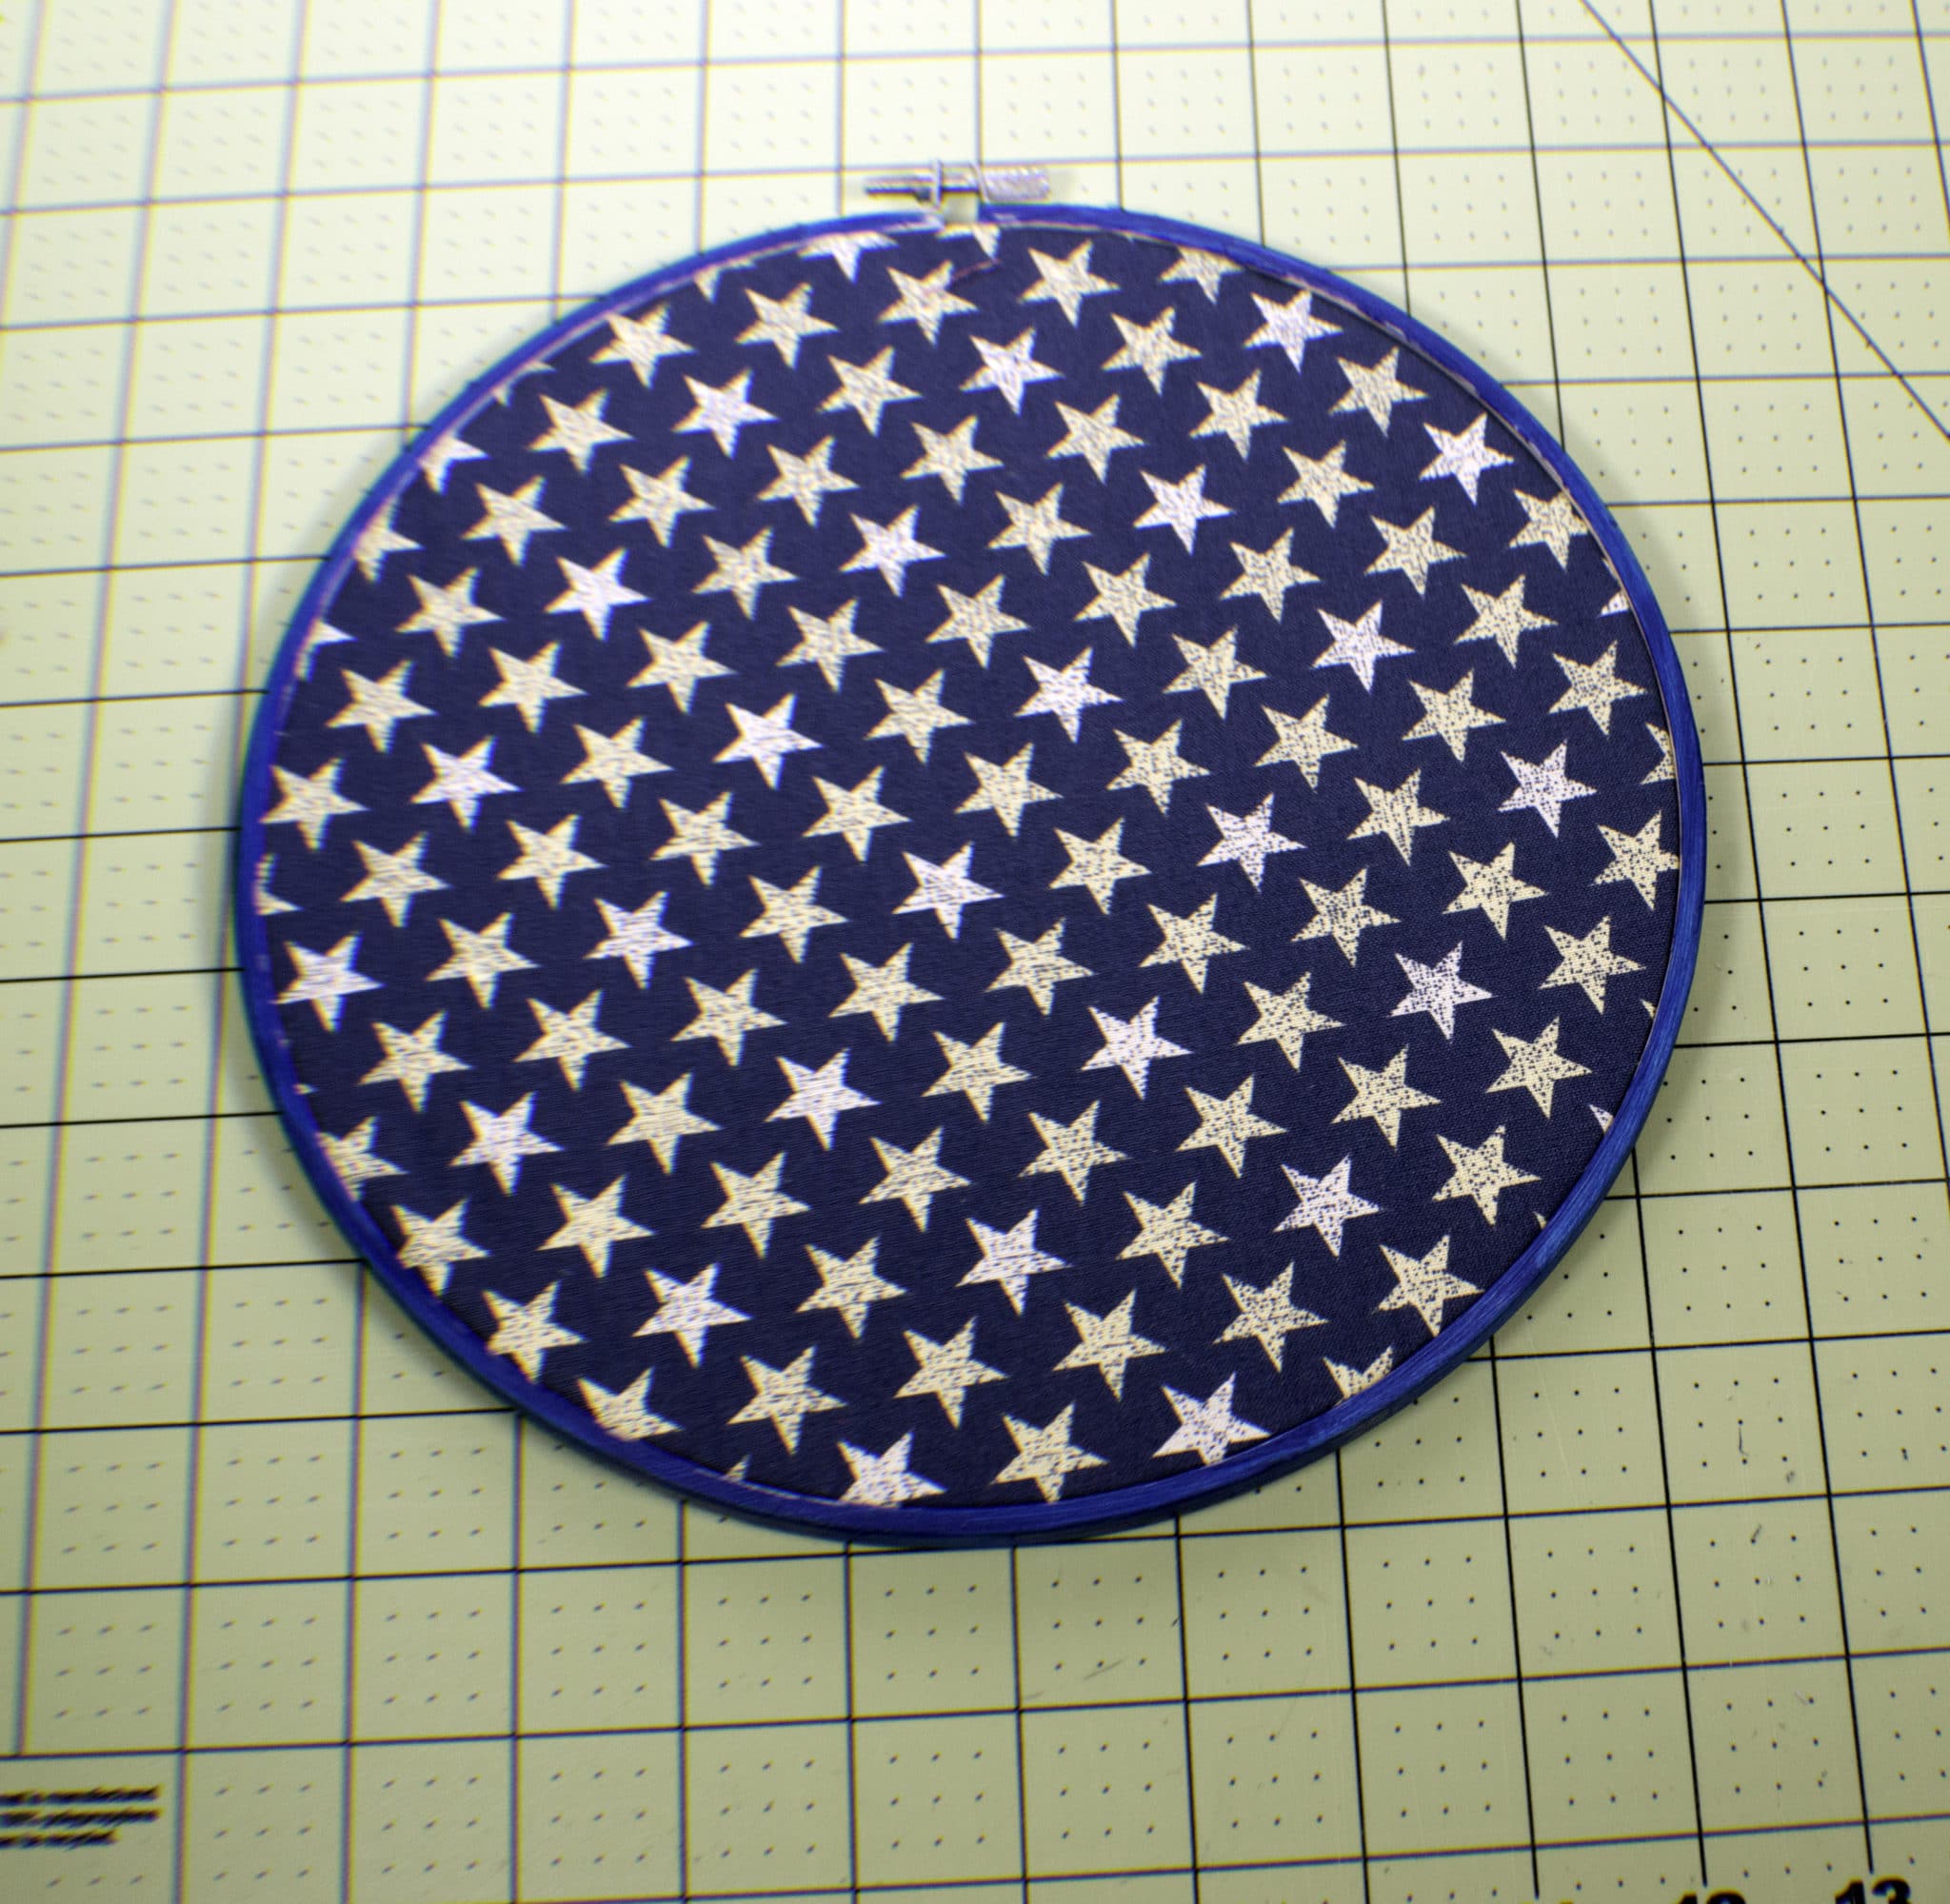
Place the red and white striped fabric in the red hoop and the blue stars fabric in the blue hoop. I am not putting any fabric in the gold hoop. Instead I will be adding some red, white, and blue ribbon.
In order to insert the fabric, remove the inner hoop from the outer hoop. Lay the fabric over the inner hoop. It may sag a bit but that is alright because the outer hoop will tighten the fabric. Once you have centered the fabric onto the inner hoop, slide the outer hoop over the fabric and the inner hoop. This process should draw the fabric taut. If you loosened the screw to remove the inner hoop tighten it now so that the two hoops are tight together and the fabric is taut.
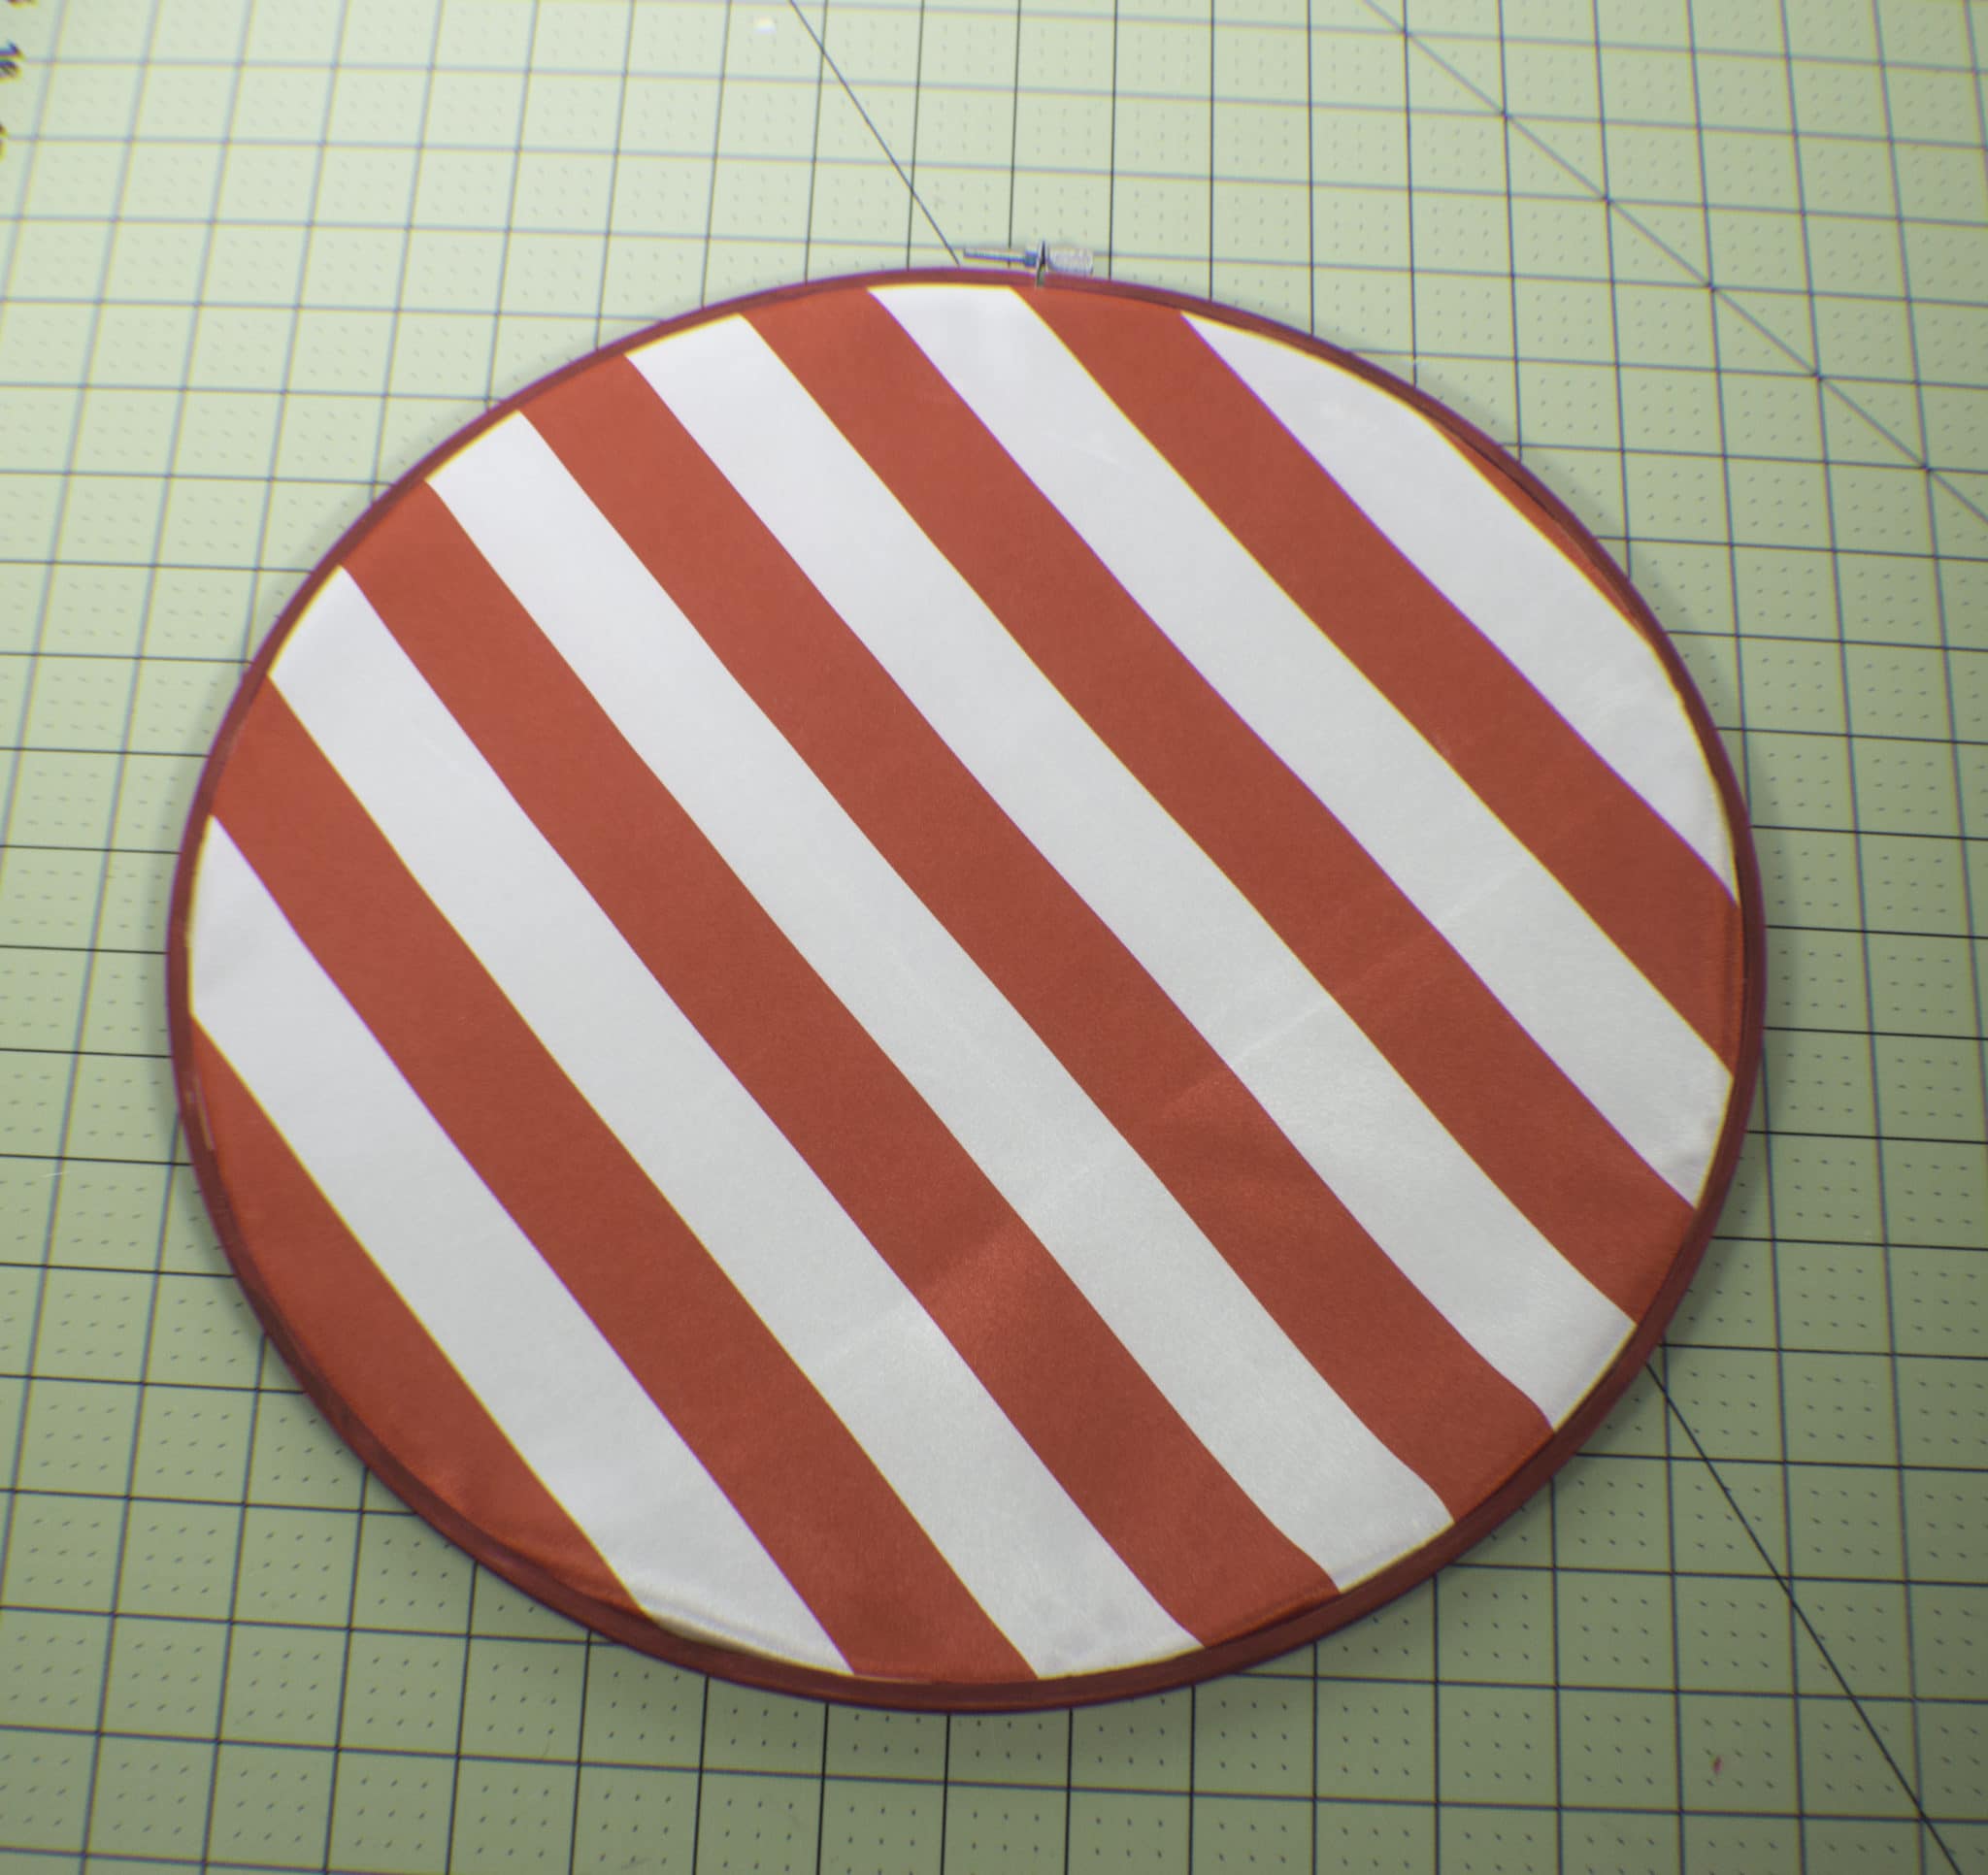
Step 4: Patriotic Embroidery Hoop Art
Cut off the excess fabric on the back of the hoops using scissors. Add some red Pom pons to the blue stars fabric.

Step 5: Patriotic Embroidery Hoop Art
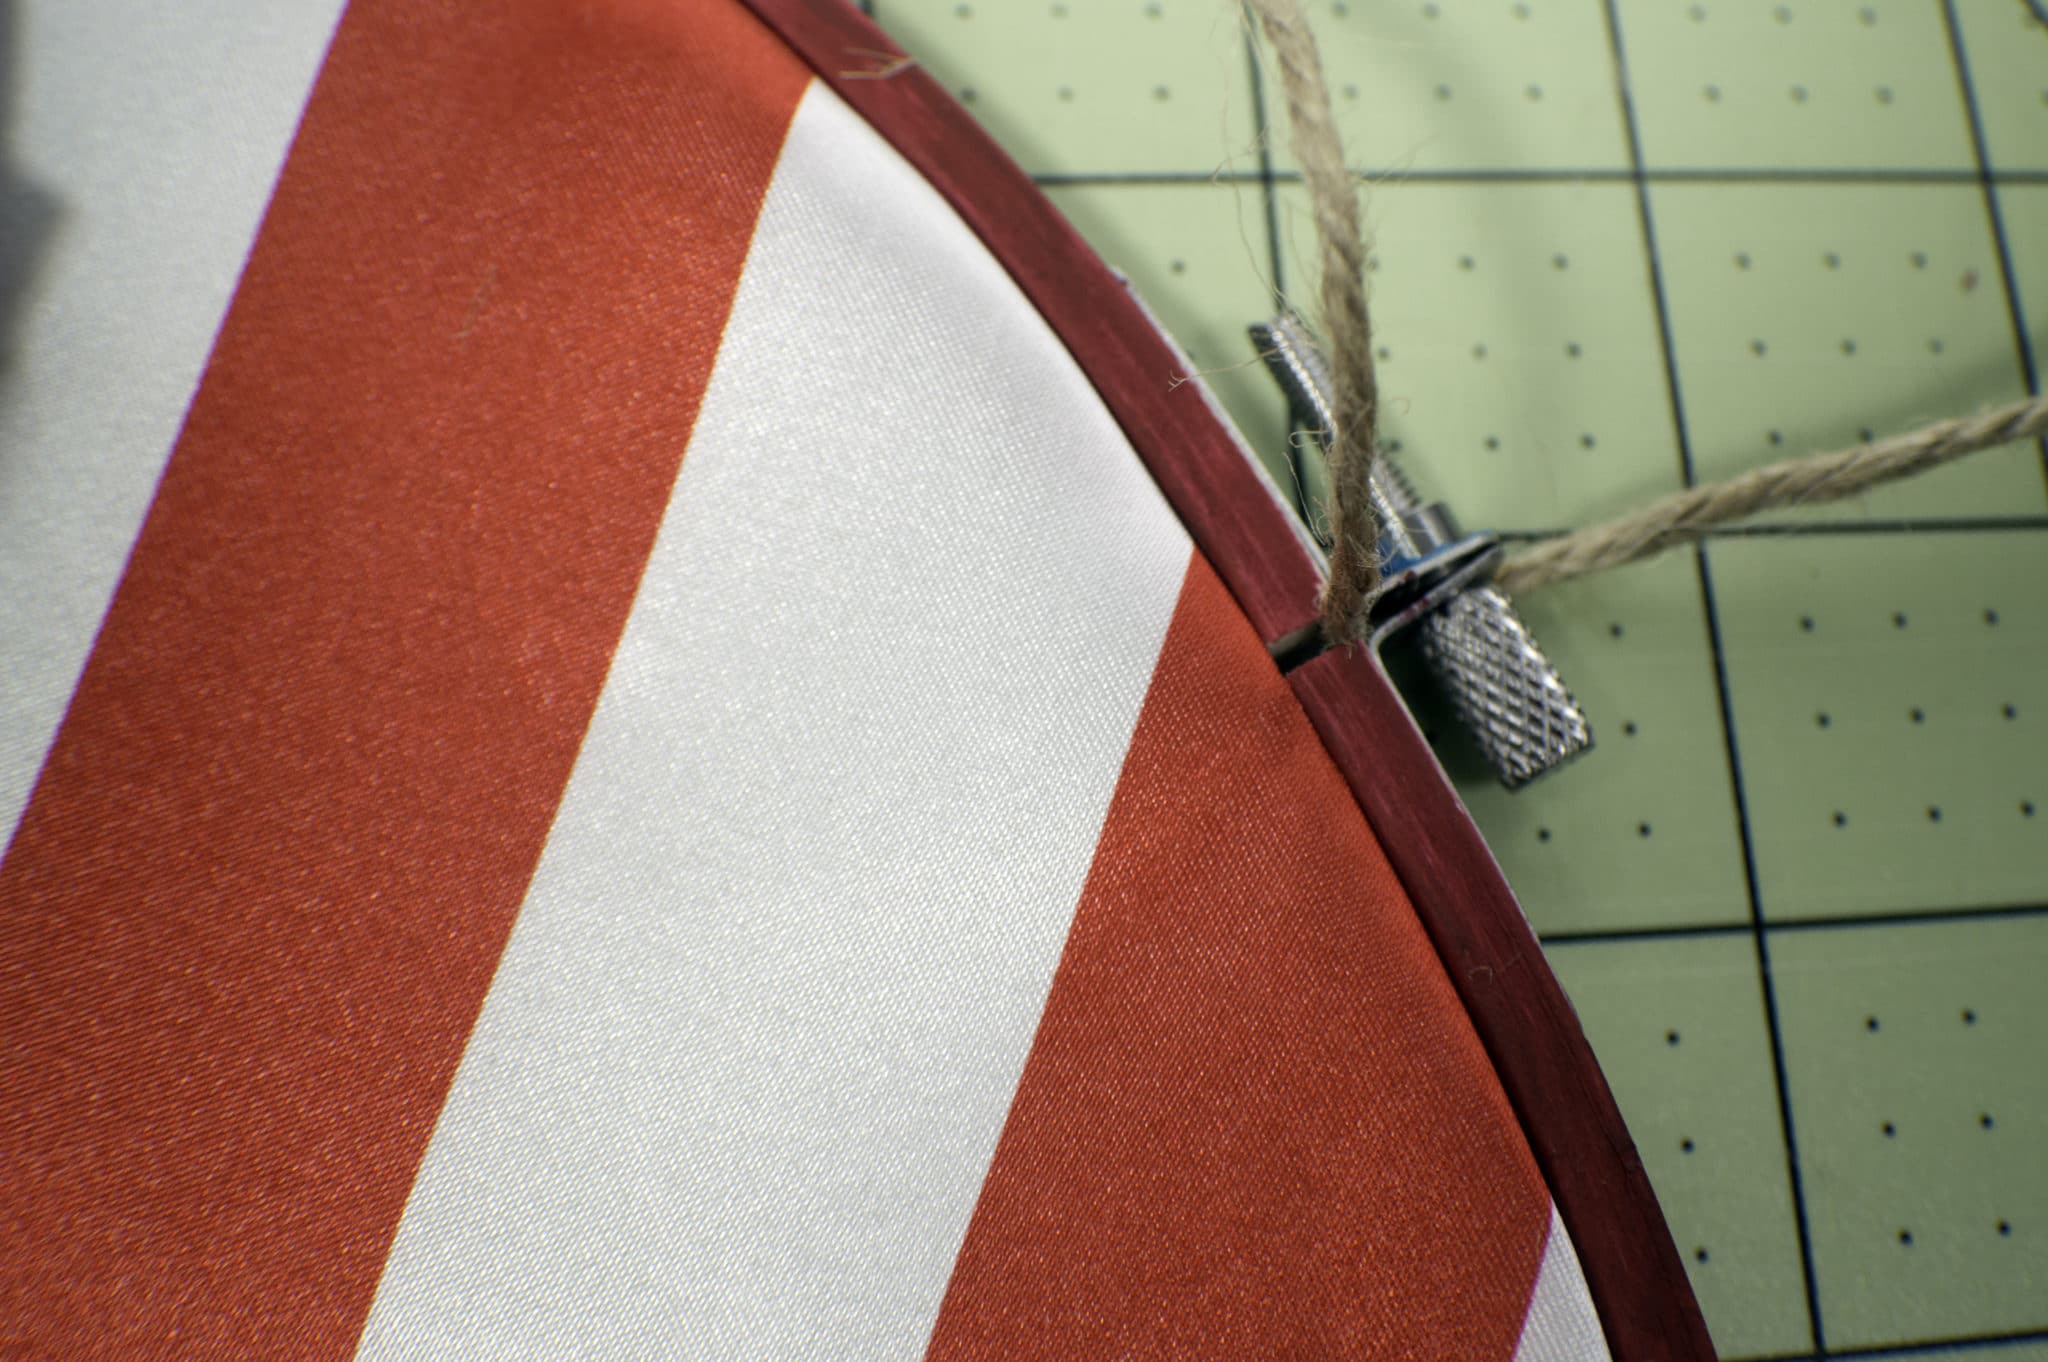
Gently loosen the top of the Lipstick embroidery hoop to create a small gap between the two wooden pieces of the hoop. Slide a piece of the 1/8″ wide ribbon or yarn through the gap and tie a knot to form a hoop for hanging. Tighten the top of the embroidery hoop again.
Step 6: Patriotic Embroidery Hoop Art
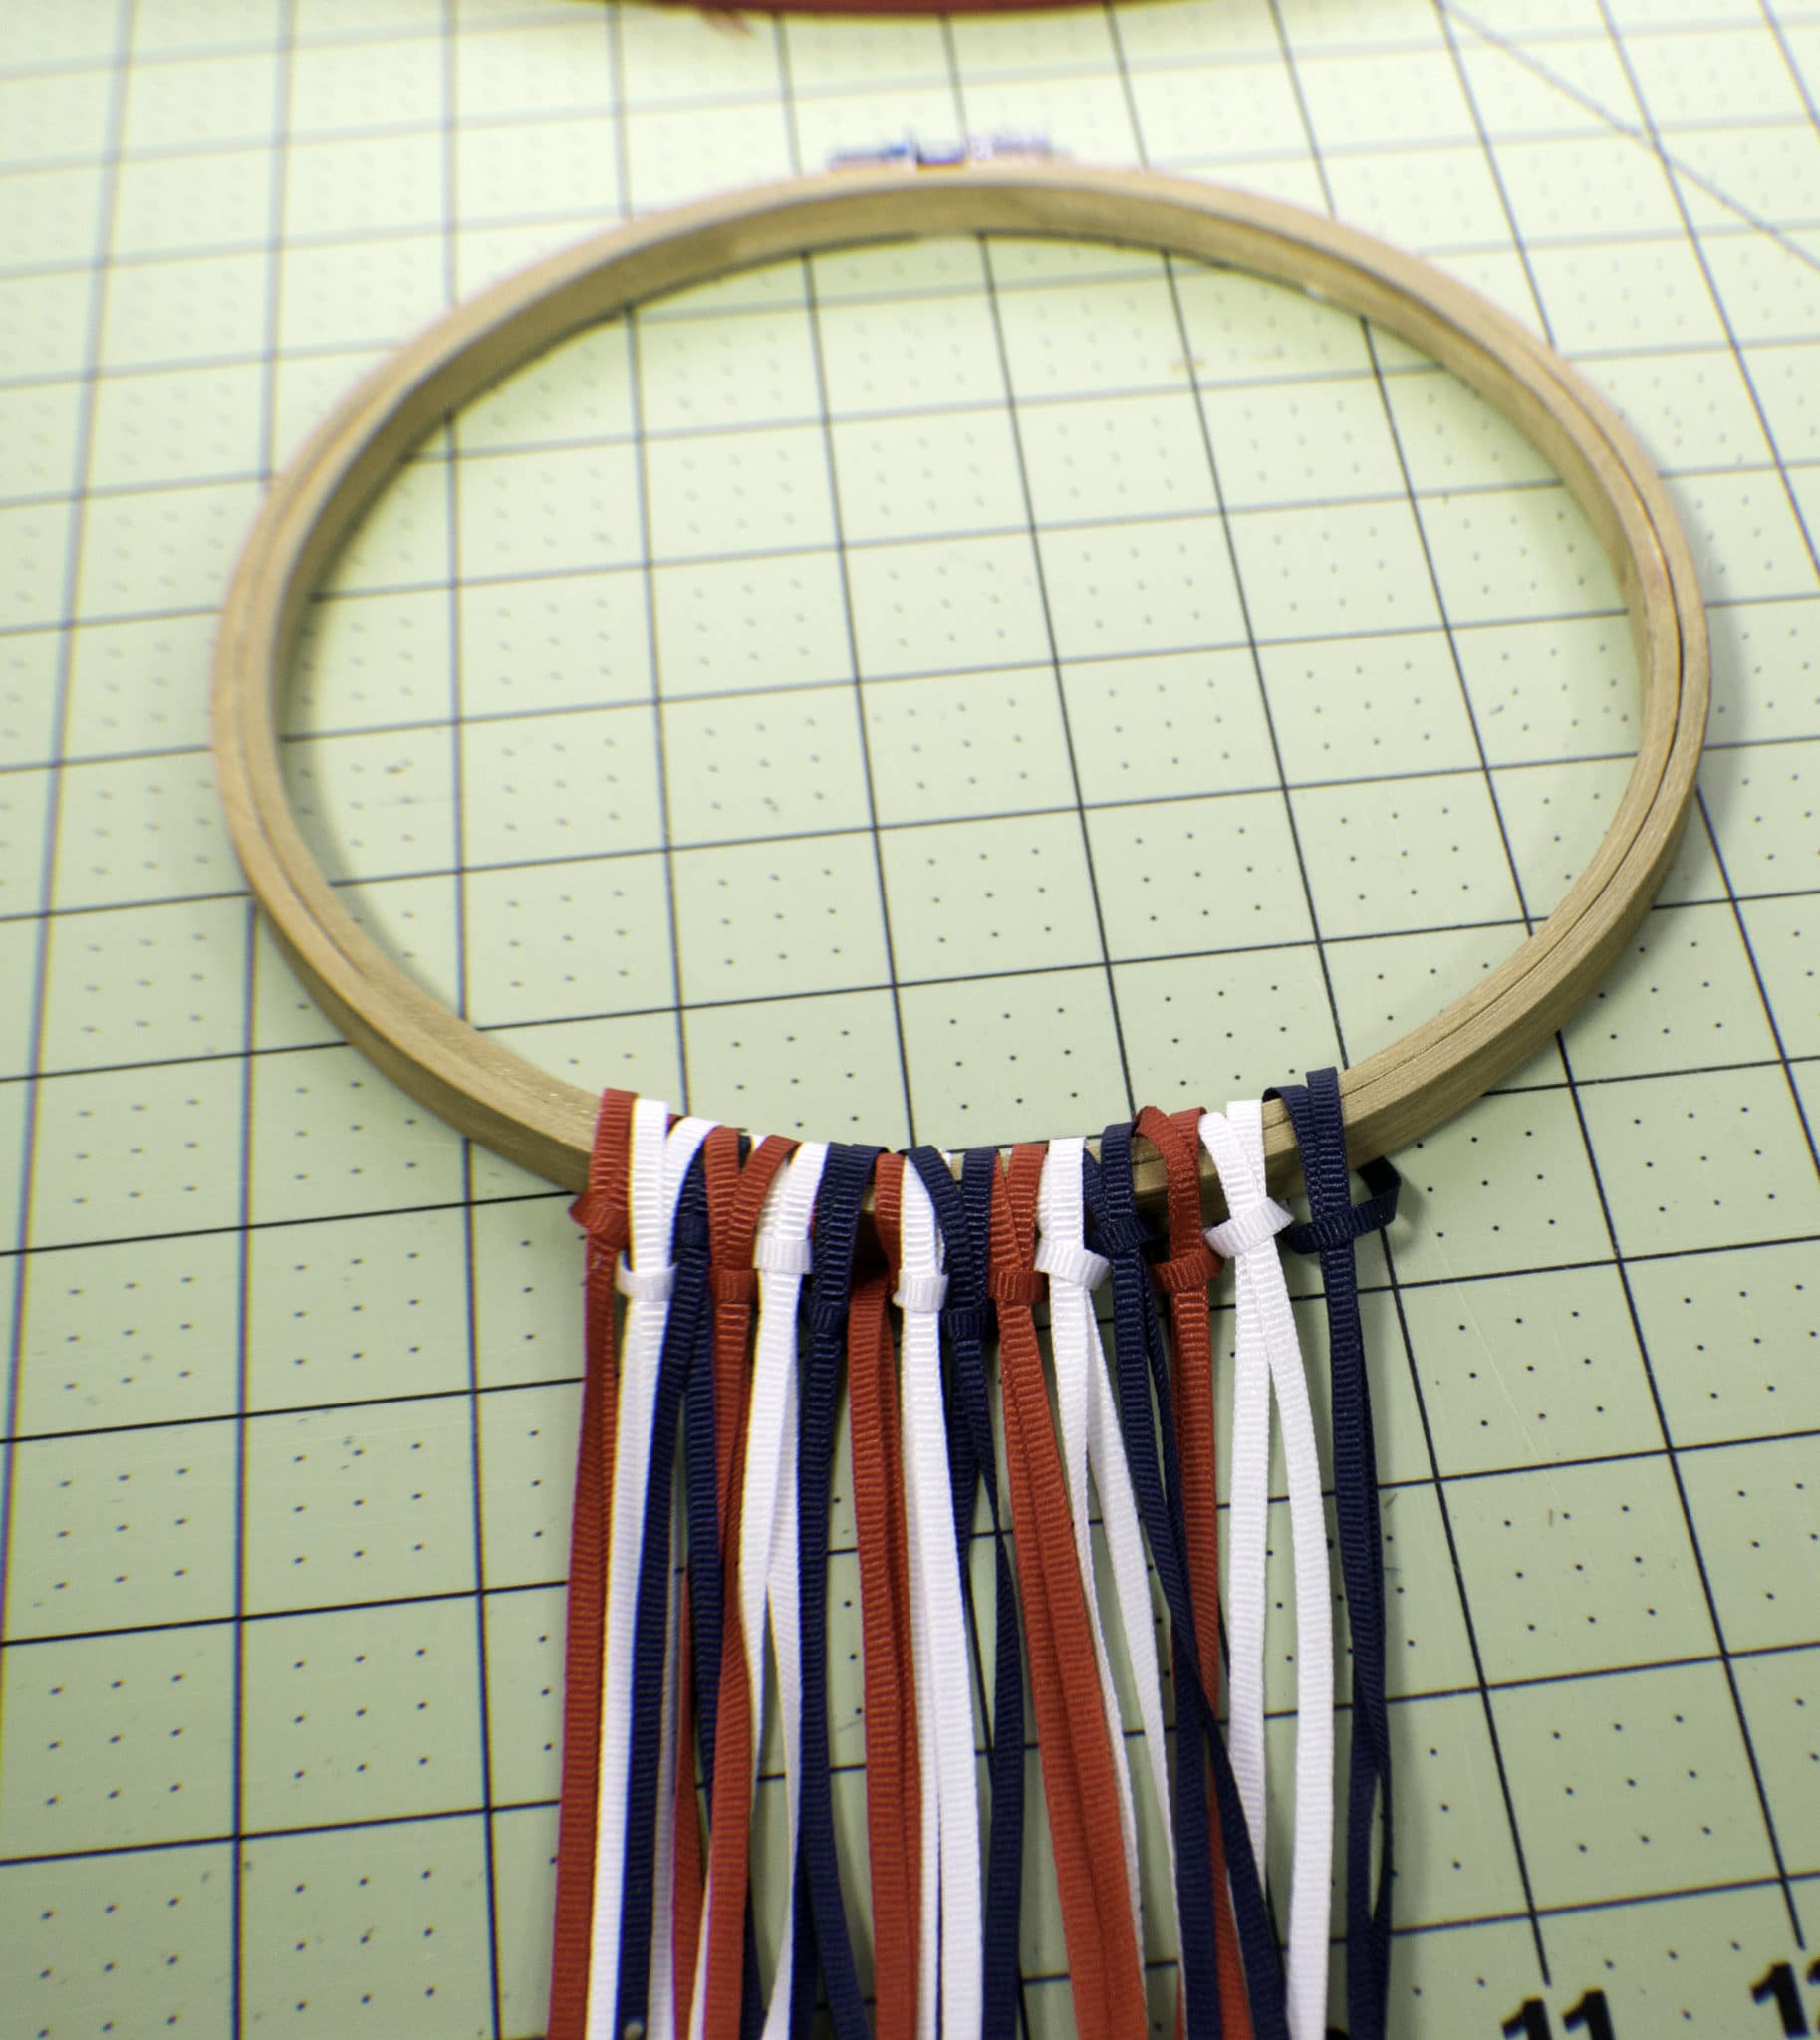
Take the three 1/8″ wide ribbons and alternate them red, white and blue. Tie them to the gold hoop so that the ribbon is hanging down the length that you like. Mine hang down 12″ from the hoop so each piece of ribbon is 26″ long.
Step 7: Patriotic Embroidery Hoop Art
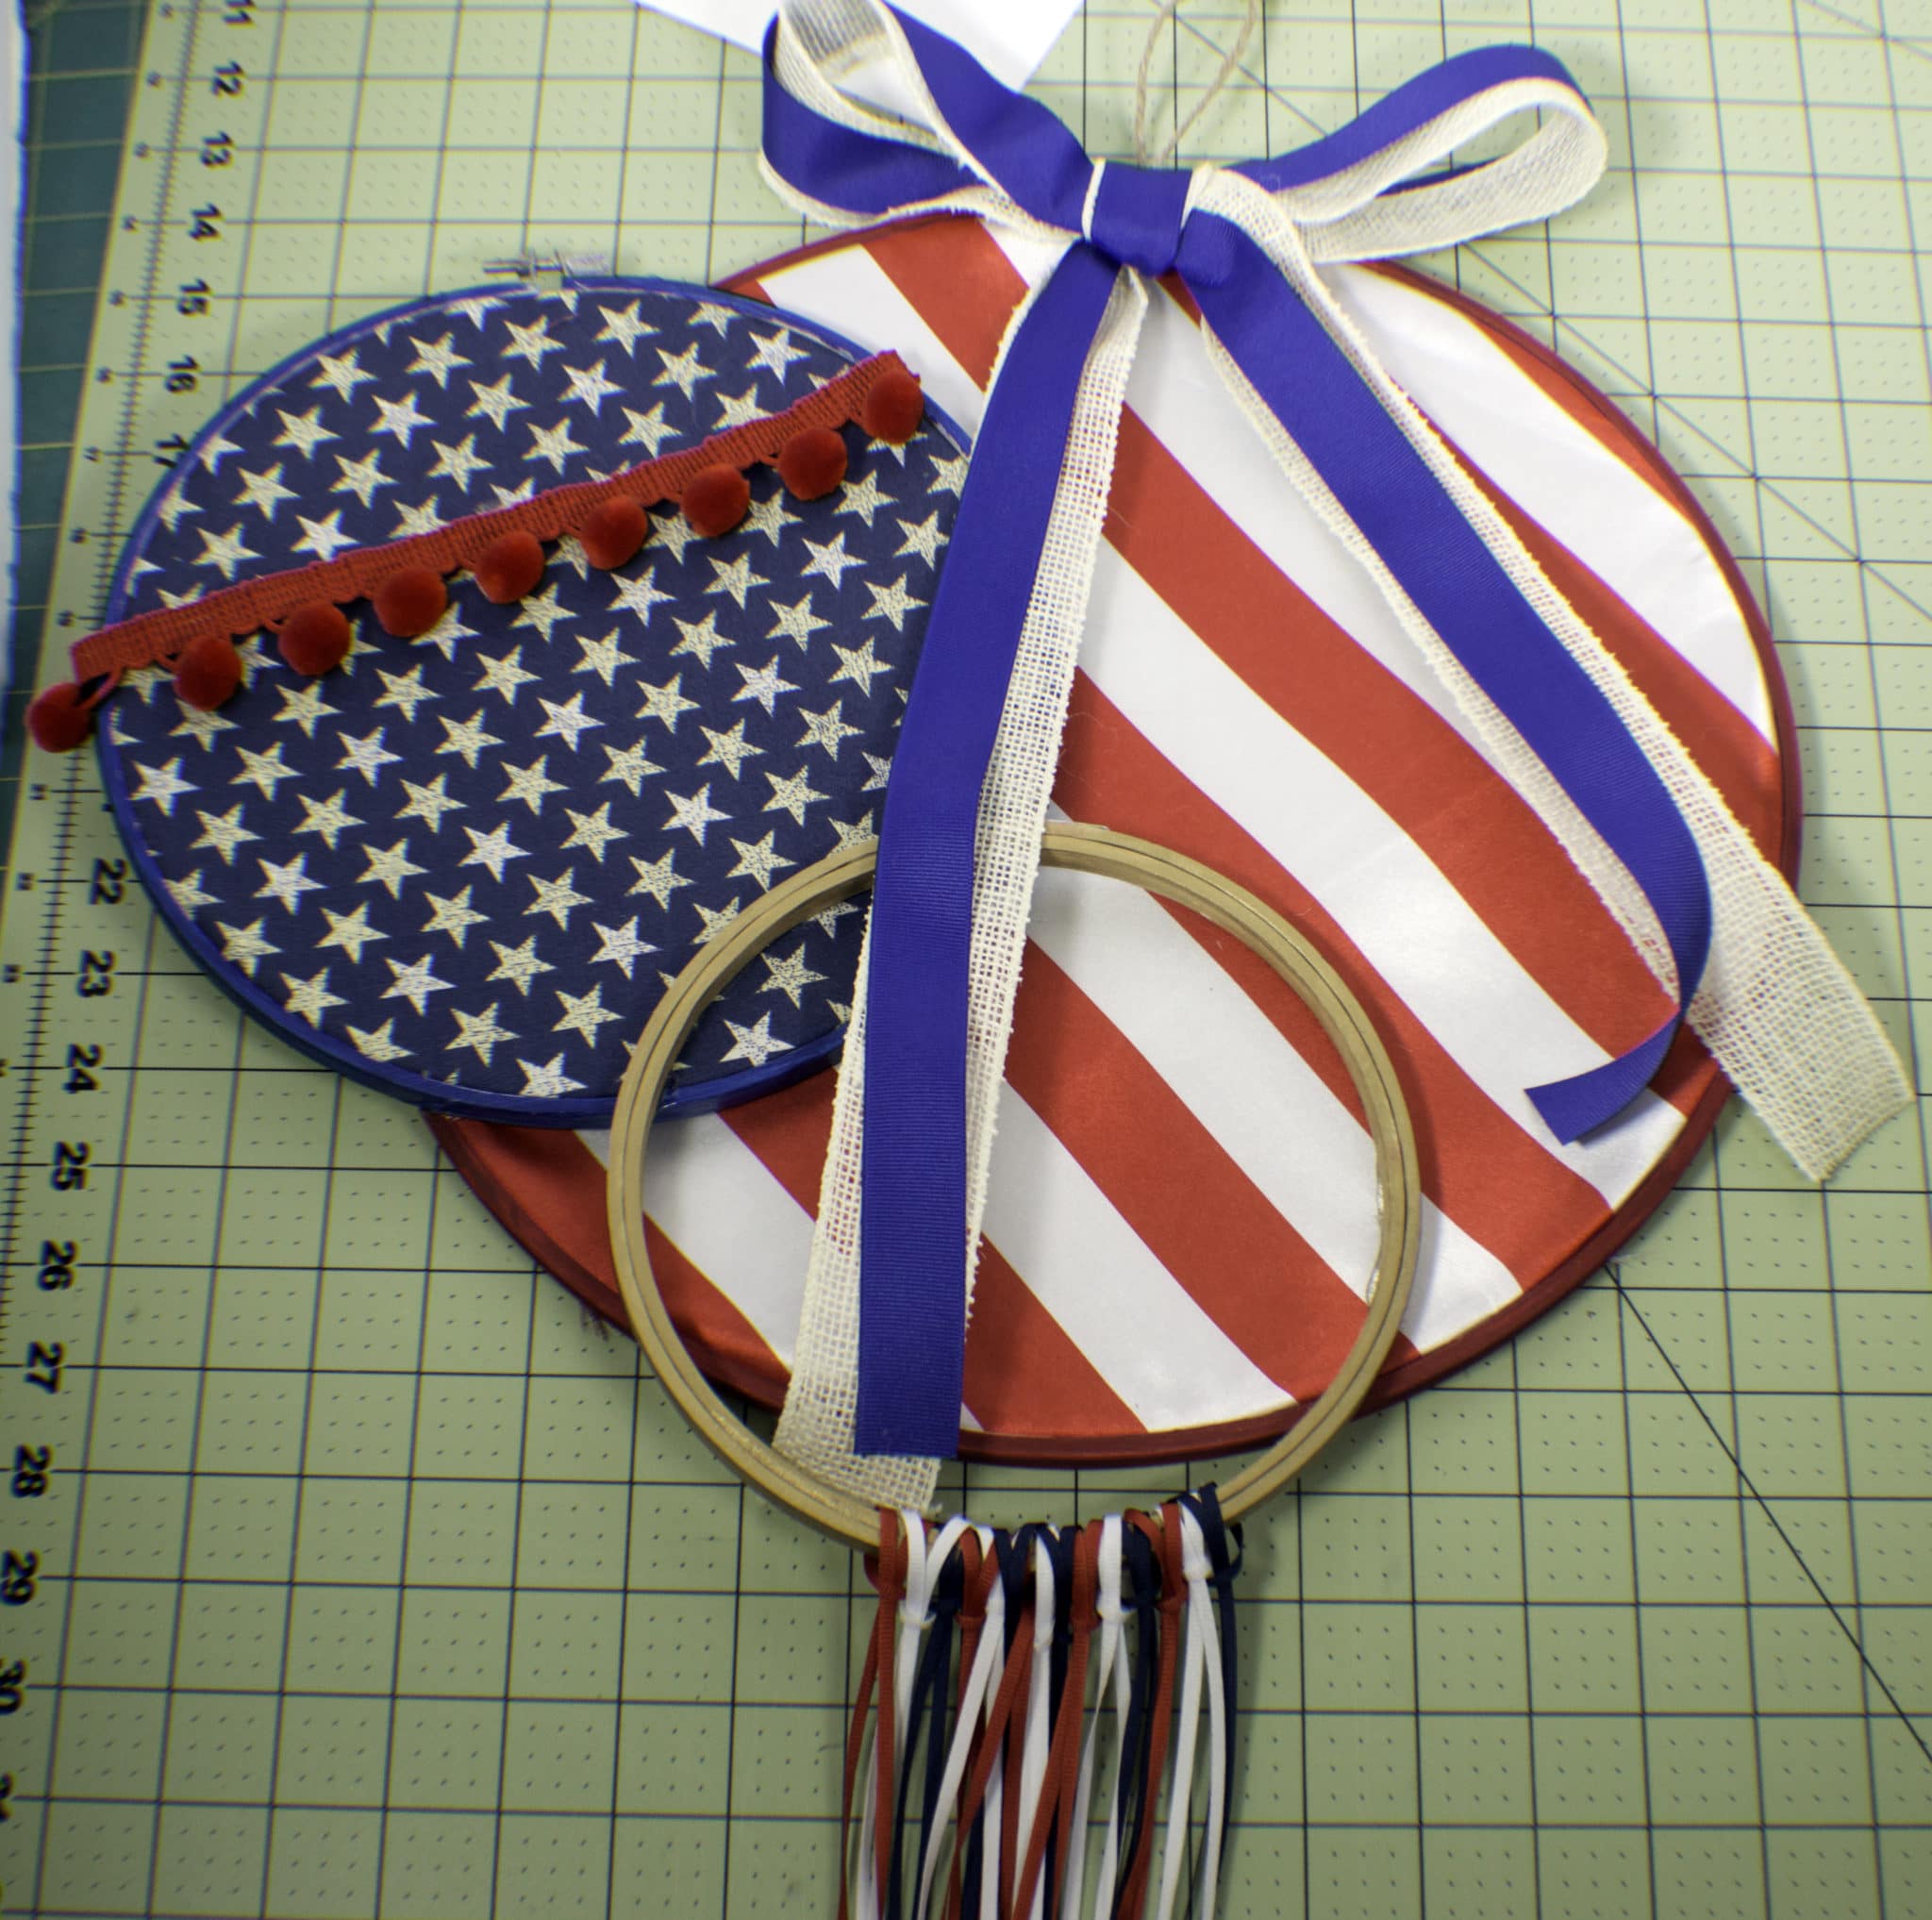
Using the e6000, glue the blue hoop to the red hoop on both the fabric and the wood as shown. Once the glue has dried, glue the gold hoop to the blue hoop in the same way.
Step 8: Patriotic Embroidery Hoop Art
Place the blue ribbon on top of the burlap ribbon and tack with glue. Tie a bow from the ribbon and glue it to the red hoop. You have now completed your patriotic embroidery hoop art. This embroidery hoop craft is perfect for the front door of any home. I know it will be gracing mine this Memorial Day and 4th of July.