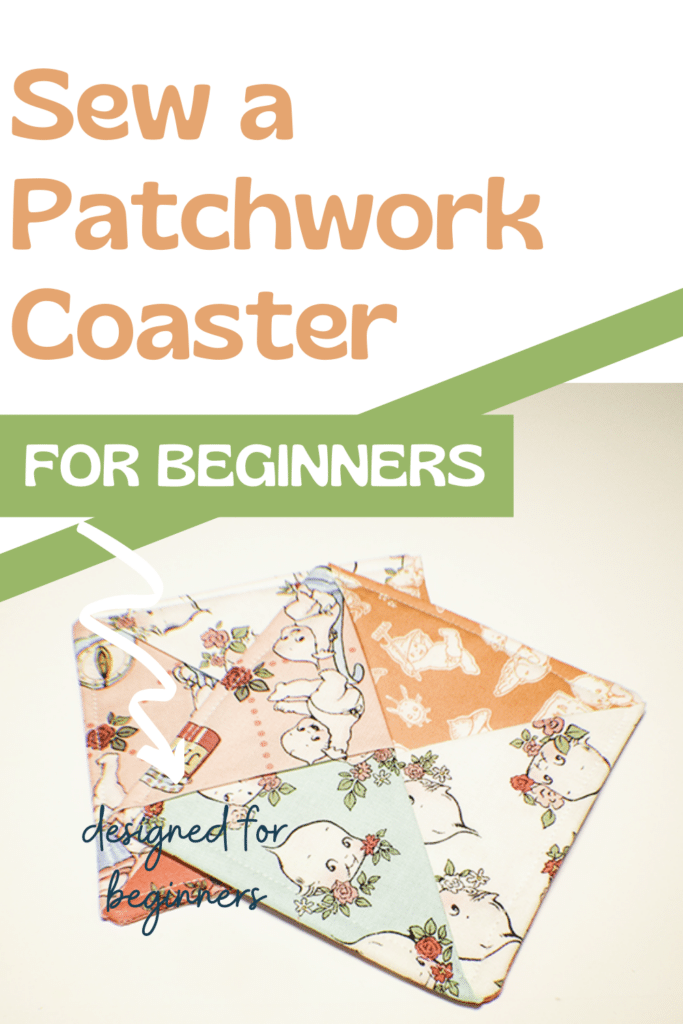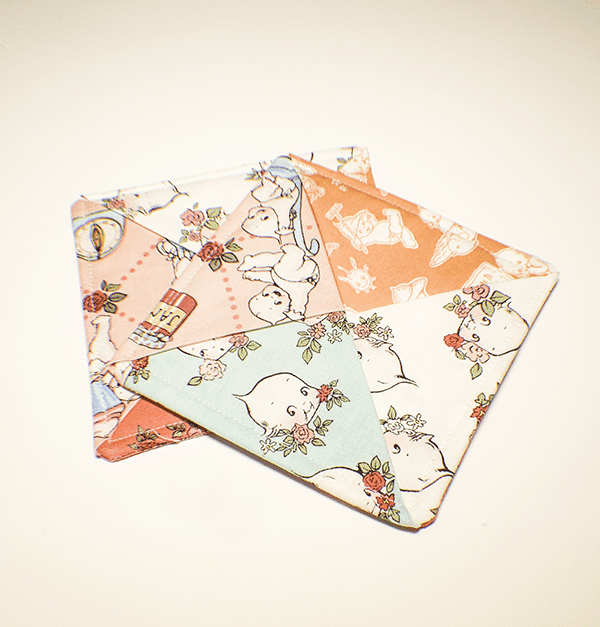
You can never have enough coasters. These simple patchwork coasters are perfect everyday use or any holiday if you want to use holiday fabrics. This is a great stash busting project to make as well and they make excellent gifts. These coasters are so easy to make that anyone can make them. All you really need to do is put them together. They have a patchwork look which gives you all kinds of options on how to make them. These patchwork coasters can be made to match your home's decor or for holidays or simply to use up your scraps. This is a super beginner sewing project so lets get going.
I used scraps left over from some of my other projects and from remnants. I purchased my basics from fabric.com and JOANN Fabric & Craft Stores![]() but you could head to onlinefabricstore.net to get exactly what you need for your patchwork coasters. Raid your stash for this project but if you want something specific head over to my affiliates and purchase what you need. This post contains affiliate links that if you click on them and make a purchase I may receive a small commission at no extra cost to you.
but you could head to onlinefabricstore.net to get exactly what you need for your patchwork coasters. Raid your stash for this project but if you want something specific head over to my affiliates and purchase what you need. This post contains affiliate links that if you click on them and make a purchase I may receive a small commission at no extra cost to you.
What you will Need: How to Make Simple Patchwork Coasters
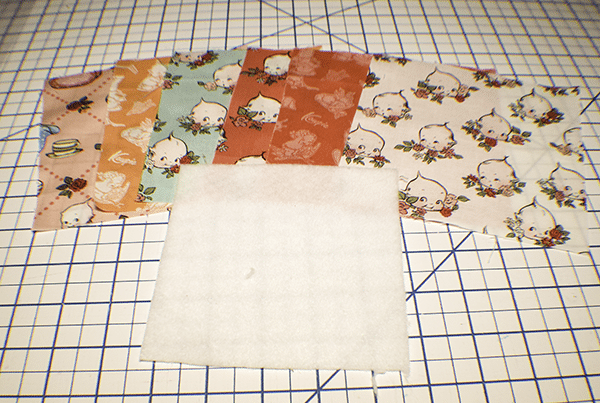
- 6 scraps that measure 5 3/4″ square
- 1 square of fusible fleece that measures 5″ square
- Standard sewing supplies
Step 1: Cut your Fabrics
Cut your fabrics to the stated dimensions.
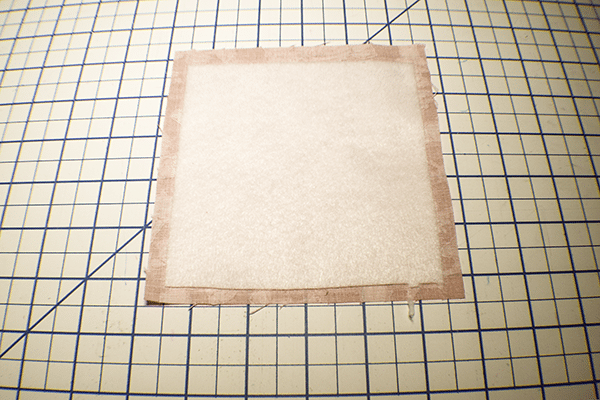
Step 2: Fuse the Fleece
Determine which 2 squares you will use for the bottom of your coaster and fuse the 5″ square piece of fleece to the wrong side of one of them using a hot iron and following the manufacturer's instructions.
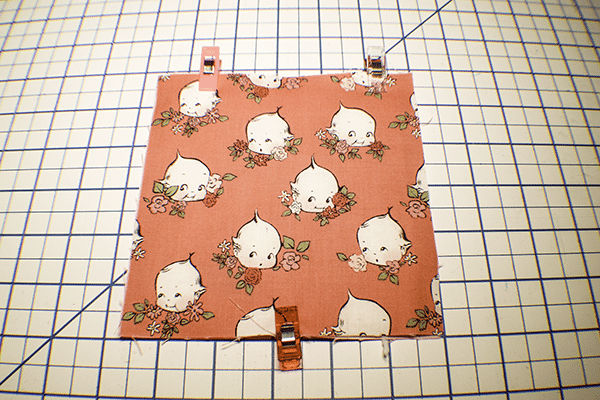
Step 3: Clip the Two Bottom Pieces Together
Place the two bottom pieces wrong sides together and clip or pin.
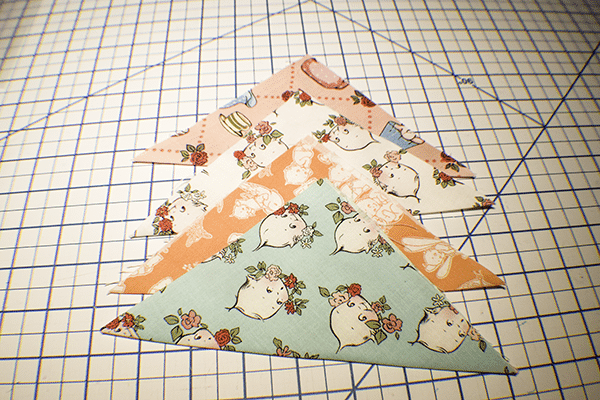
Step 4: Fold your Fabrics
Fold the remaining fabrics in half diagonally and press.
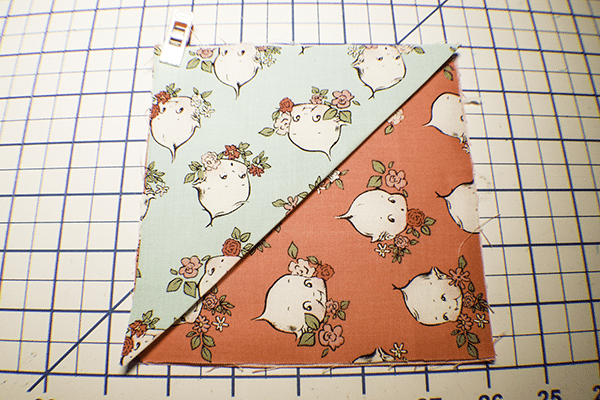
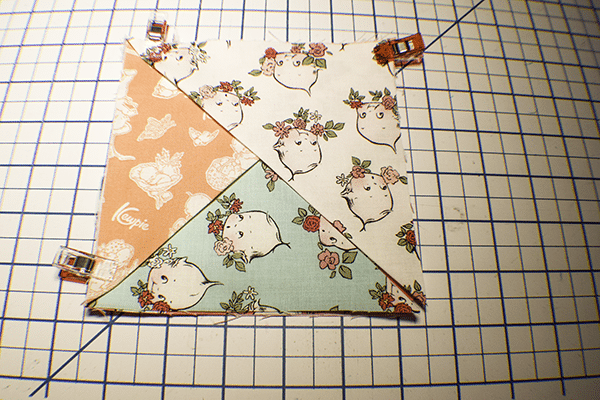
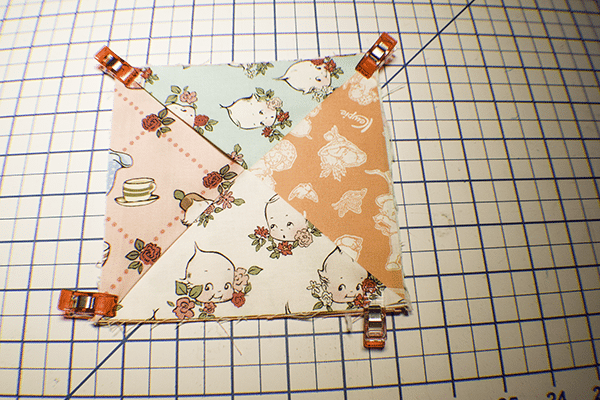
Step 5: Layer your Fabrics
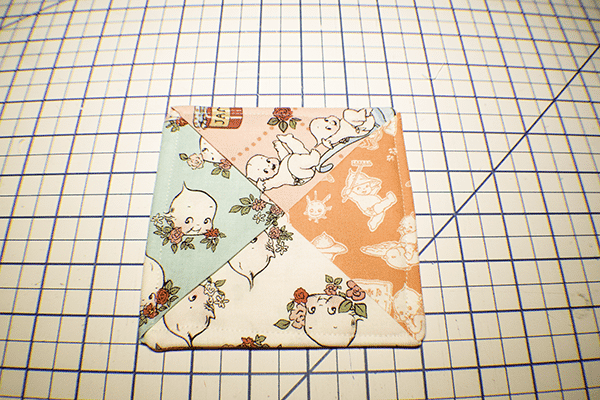
Place one folded piece on top of one side of the bottom of your patchwork coaster so that it is in the corner. Place the second folded piece in the corner next to the first. Next, place the third folded piece in the next corner. Finally, Place the fourth folded piece in the final corner but this time slide the end under the first folded piece. This creates your patchwork design. Clip all layers to hold in place
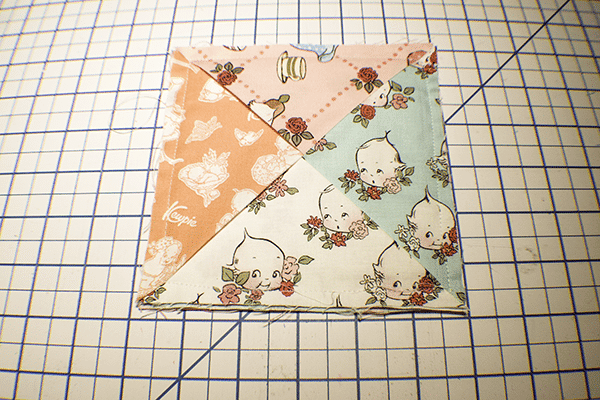
Step 6: Stitch your Patchwork Coaster
Stitch all the way around your coaster using a 3/8″ seam allowance. Clip the corners.
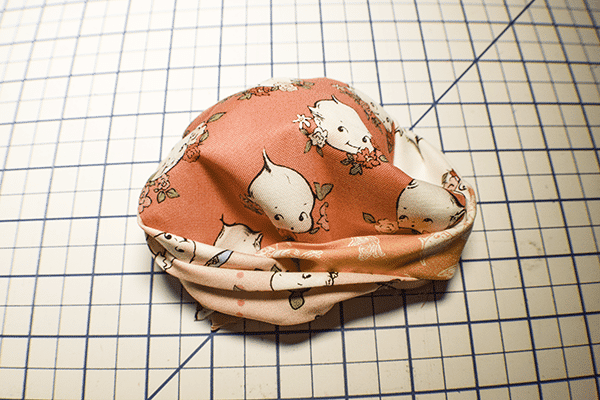
Step 7: Turn your Patchwork Coaster Right sides out
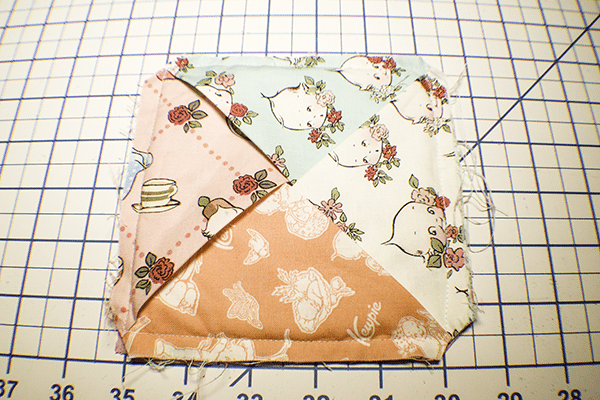
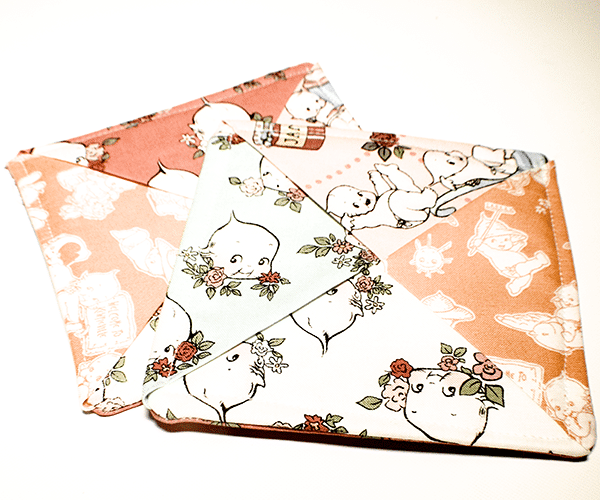
Poke the bottom through the center of the coaster and turn right sides out and press. Topstitch all the way around the coaster and you have finished your patchwork coaster.
I hope you enjoyed this simple patchwork coaster project. If you would like more sewing and crafting projects sign up for our free newsletter and receive access to our free Printables library
If you would like video tutorials of some of Sew Very Crafty's most popular projects subscribe to our free YouTube channel here.