
Origami bags are super simple to make and are a true beginner sewing project. This origami bag has straps and is fairly large but with these instructions you can make it any size that you like. I decided to make it so that I could use standard cotton fabrics for my bag rather than fabrics on the bolt but if you want a larger bag you could use fabric off the bolt that is wider. You could also join several fabrics together for a real boho feel. If you would like more handbag making projects check out my other handbag projects here.
As I said, I used 42″ wide fabric for this project but it is decorator weight for the outer bag. The lining is Kona cotton. I purchased them both from JOANN Fabric & Craft Stores but you could head to fabric.com or onlinefabricstore.net to get exactly what you would like for your origami bag. This post contains affiliate links that if you click on them and make a purchase I may receive a small commission at no extra cost to you.
If you would like a video tutorial of this project head over to YouTube and check out my video. While you are there subscribe to my free YouTube channel.
What you will Need: how to Make an Origami bag
- 1/2 Yd of outer fabric
- 1/2 yd of lining fabric
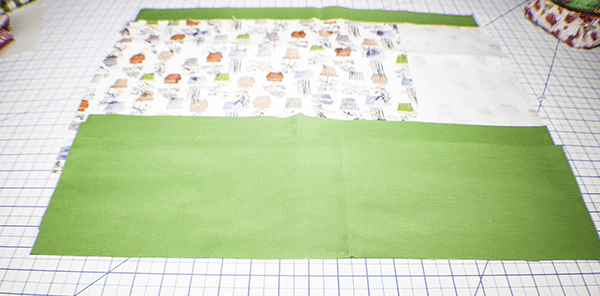
Step 1: Cut Your Fabrics
Cut rectangles from your outer and lining fabrics that are 3 times as long as they are wide. For my bag I chose to make my rectangles 13″ x 39″ but you could make yours any size you like so longs the ratio is the same. Cut two additional pieces of lining fabric that are 6″ x 30″ for the straps.
Step 2: Stitch the Straps
Fold one short edge in by 1/2″ and press. Then, fold the long raw edges to the center and press. Fold the whole strap in half to enclose the raw edges and press. Topstitch along both long edges and the folded end. Repeat for the other strap.
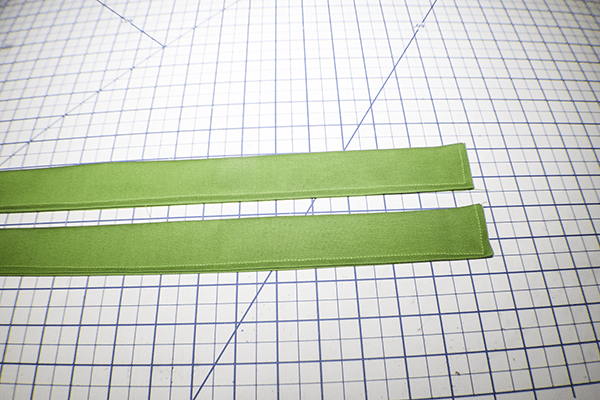
Step 3: Stitch the Rectangles
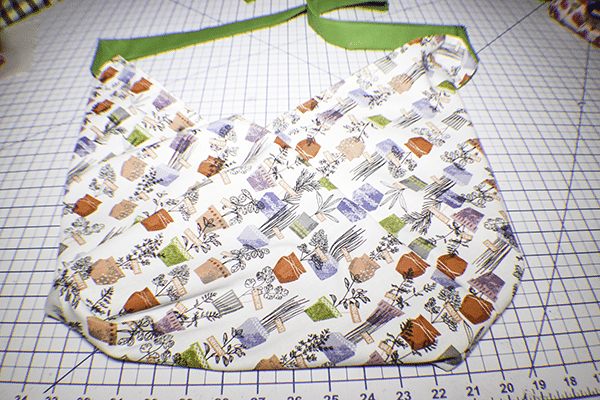
Place the rectangles right sides together and pin or clip. Insert the straps at diagonal corners with about an inch sticking out and clip. Stitch all the way around the rectangle using a 1/4″ seam allowance leaving an opening on one side for turning. Stitch across the corners where the straps are. Turn right sides out.
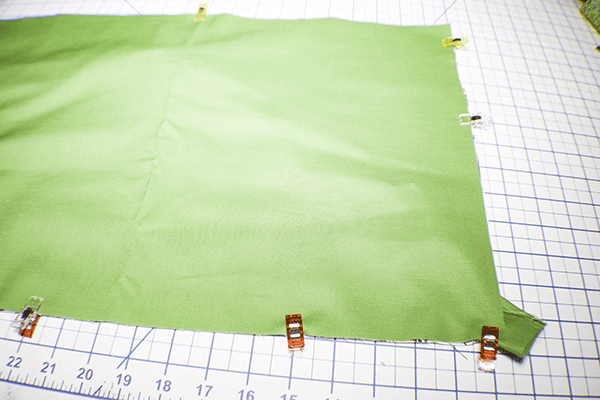
Step 4: Stitch the Opening Closed
Topstitch all the way around the bag making sure to close the opening as you go. Press.
Step 5: Fold the Bag
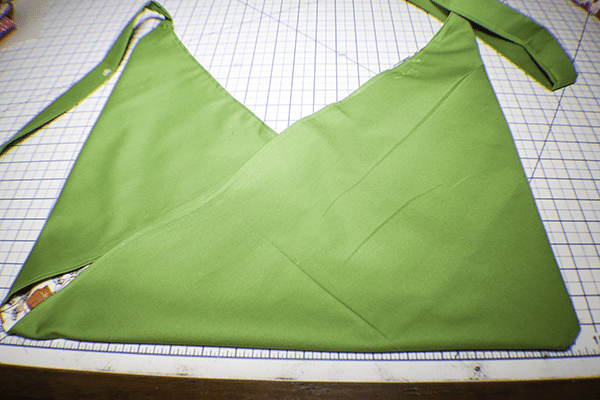
With the outer fabric facing up fold the corners to the side in opposite directions creating a 45 degree angle. Next fold the center square that you created diagonally so that the right side is across from the left side.
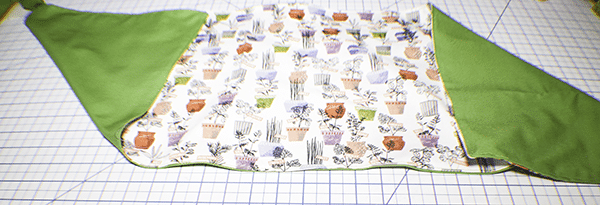
Step 6: Pin the Seams
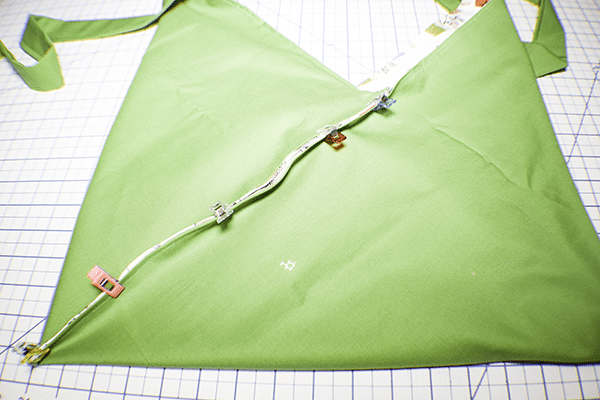
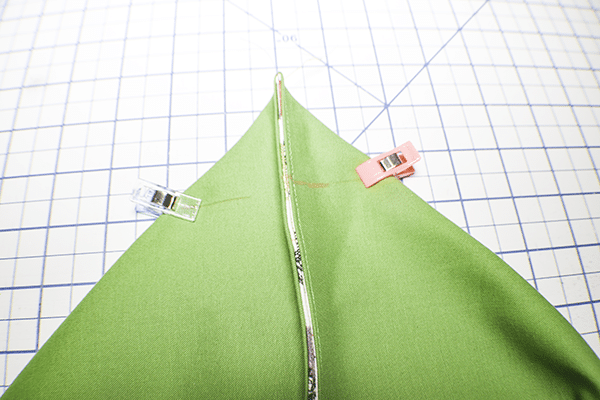
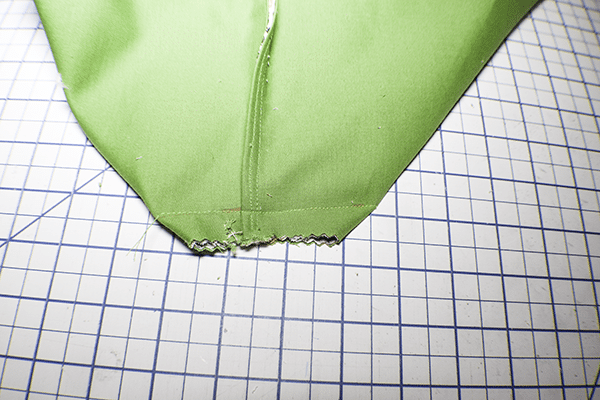
Take the seams that are on the back and front of the bag and clip or pin them so that they are right sides together. Stitch both seams using a 1/4″ seam allowance. Sew across the corners 2″ up from the point. Trim off the excess fabric from the corners. Turn the bag right sides out. You have finished your origami bag. Tie the straps and fill the bag and go.

I hope you enjoyed this simple origami bag project. If you would like more sewing and crafting projects subscribe to my newsletter and receive your free eBook of 15 handbag patterns and tutorials taken from the blog.
If you would like video tutorials of some of Sew Very Crafty's most popular posts subscribe to my free YouTube channel here.


Hello! I enjoyed making this bag except that I had one problem.
You listed a half yard of fabric for the lining plus the straps, but that means you would have to have a 13″-tall rectangle for the bag body plus 2 6″ rectangles for the straps, which comes out to 25″, which is more than a half yard. So I did not have enough lining fabric to make two straps. I made one strap with the lining fabric and one with the main fabric, which turned out okay, but I wanted to let you know. Thank you for the pattern!
So sorry. I will change that. i tend to use a lot of remnants so I am sure I was thinking I used a remnant.