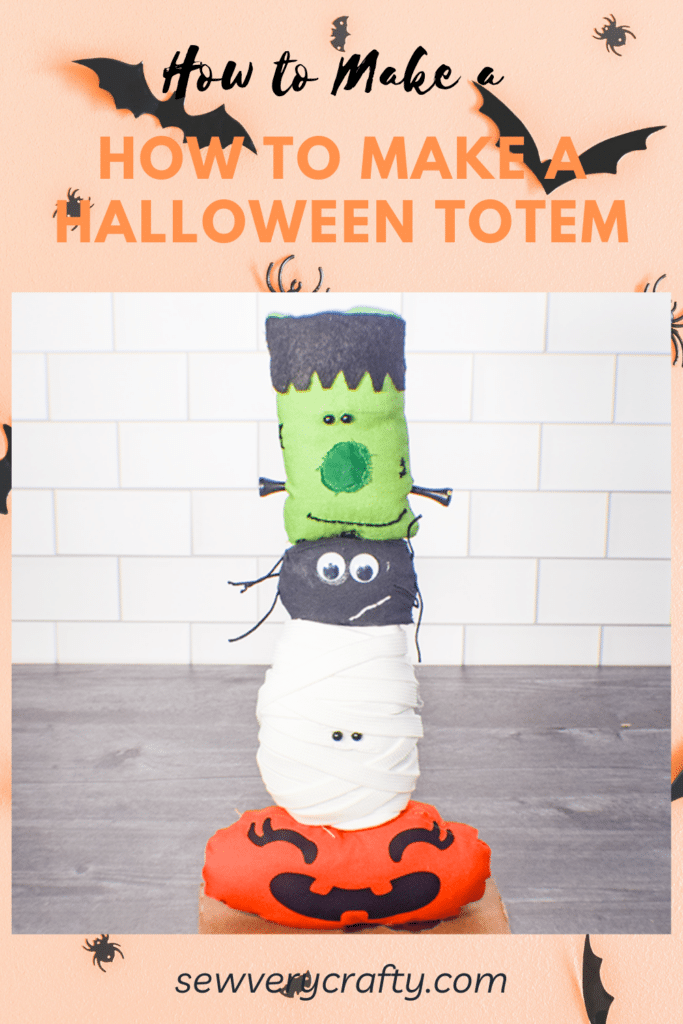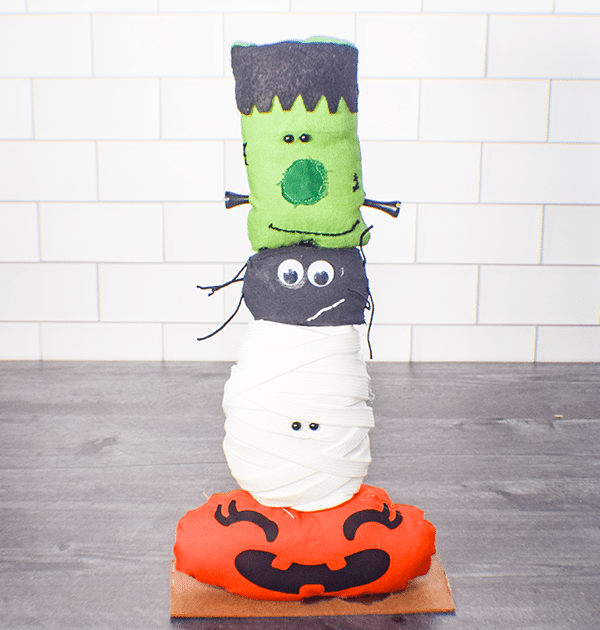
Halloween decor is all the rage these days. There are so many fun things to sew for the season. I saw a version of this project on Etsy so I thought I would create a small Halloween Totem that we all can stitch in no time. This is a really fun project that screams Halloween. I have more Halloween projects if you are interested. Just head over to my Holiday Projects Vault for more.
This post contains affiliate links that if you click on them and make a purchase I will receive a small commission at no extra cost to you. As an Amazon Associate I earn from qualifying purchases.
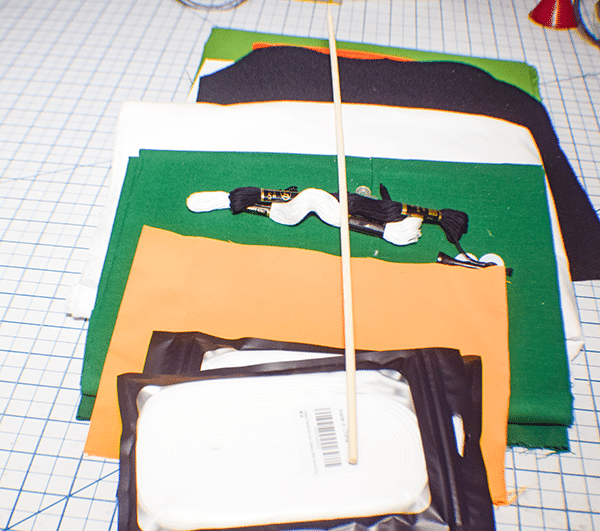
What you will Need: How to Make a Small Halloween Totem
- Pattern you can get by clicking on this link
- SVG you can get by clicking on this link
- 1/4 yard of the following fabrics
- Black
- Green
- Dark Green
- Orange
- White
- Black felt
- Polyester fiberfill
- Google eyes
- Safety eyes
- Black and white embroidery thread
- 2 short black golf tees
- Black cording
- Shoe Laces — Extra long and wide
- Extra long bamboo skewer
- Small piece of cardboard
- Hot glue or Tacky Glue
- Iron on vinyl (Optional)
- Cricut (Optional)
- Heat Press
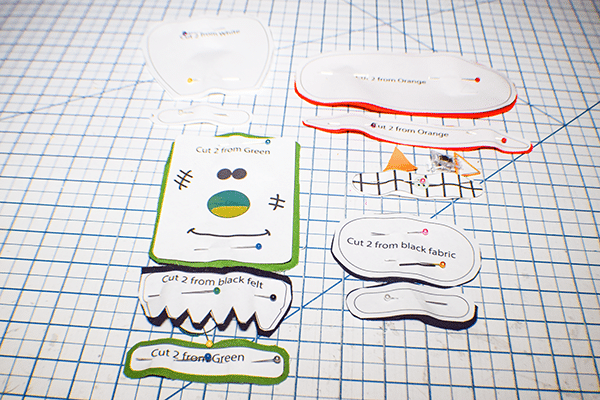
Step 1: Print the Pattern and Cut Out the Pieces
Print the pattern pieces. Cut them out. Each pattern piece is marked.
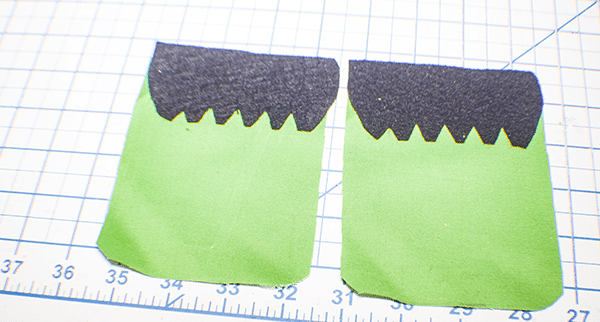
Step 2: Add the Hair to the Monster Head
With wrong sides together place the black hair pieces to the green head pieces along the raw edges.
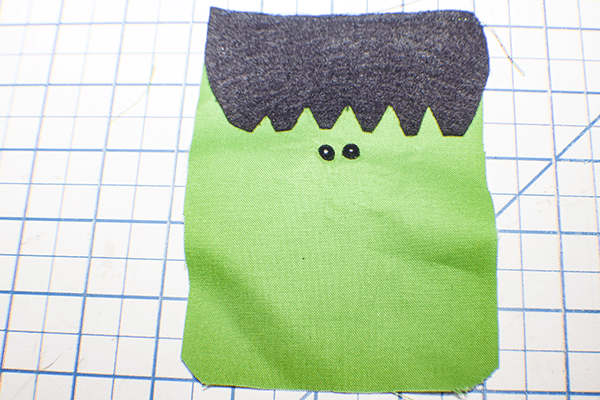
Step 3: Add the Screw Eyes
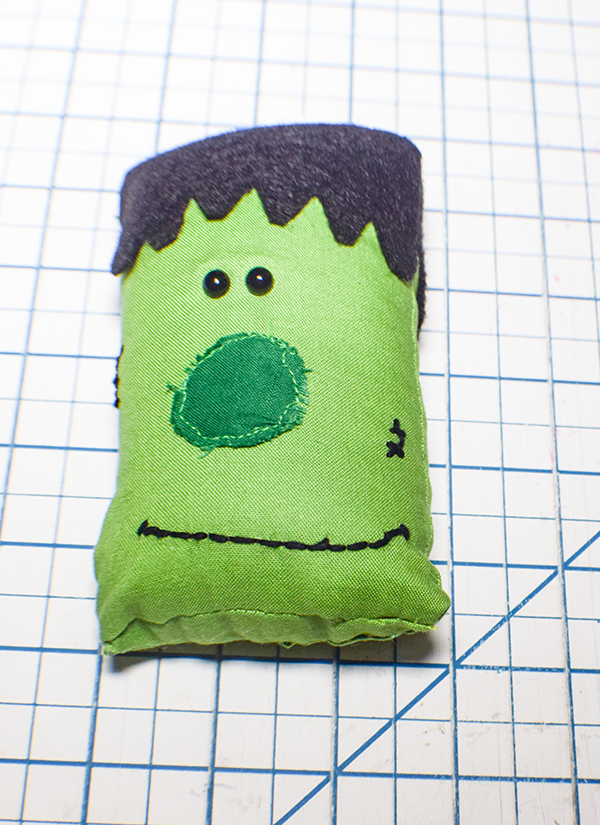
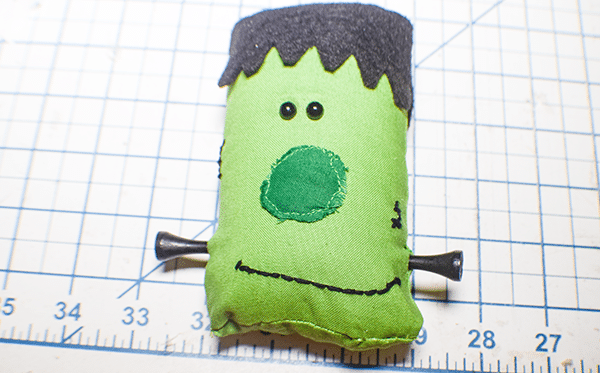
Add the screw eyes to the face as shown. You can do this by by poking a small hole for each eye. Screw the eye through the hole and place the backing piece on it to secure.
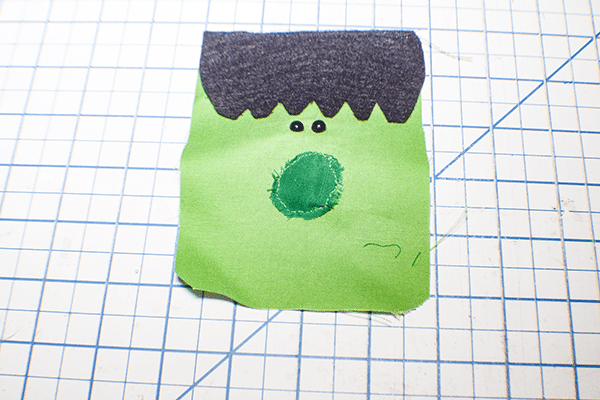
Step 4: Add the Nose
You can either stitch the nose or hot glue it. I chose to stitch my nose in place.
Step 5: Stitch the Face
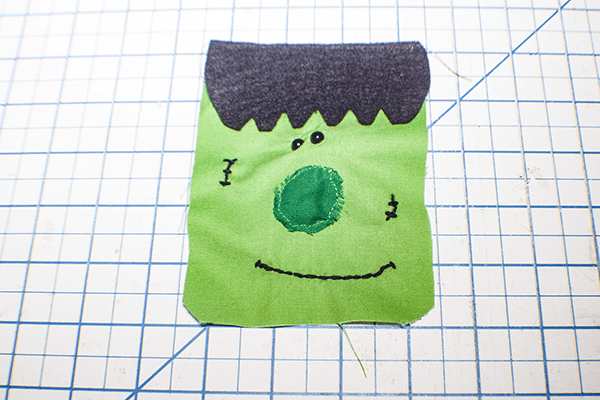
Using an embroidery back stitch add the mouth and scars using black embroidery thread. If you are unfamiliar with embroidery stitches you can check out this video or you can draw them on.
Step 6: Stitch the Head Together
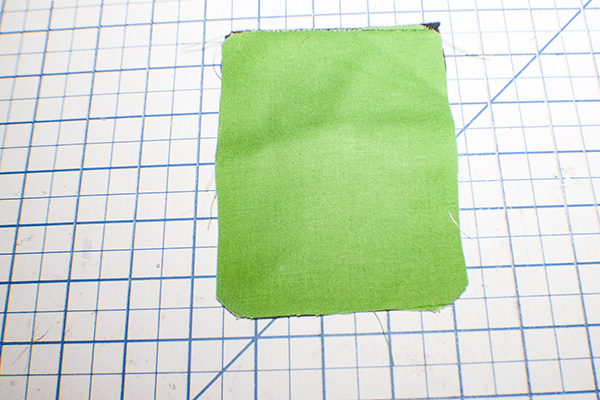
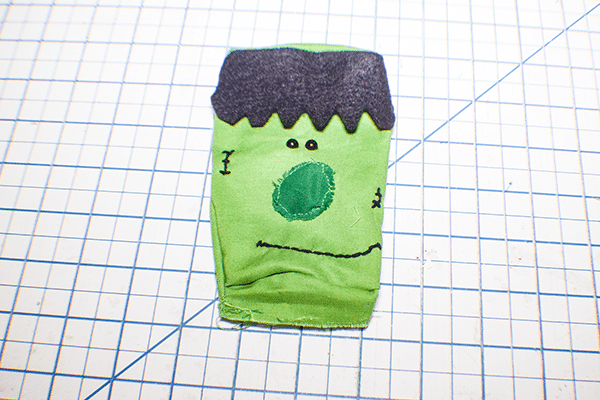
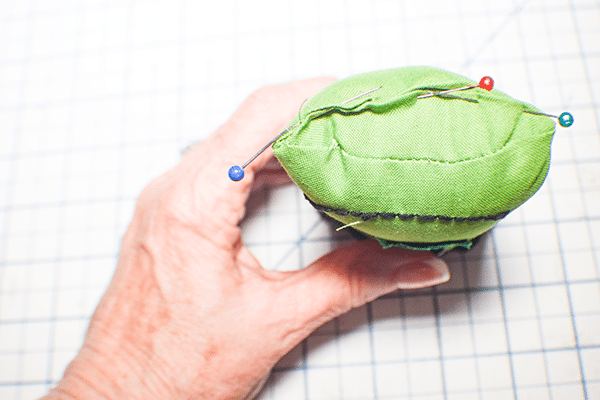
Place the front and back head pieces right sides together and stitch along the sides. Add the base and top pieces by placing them right sides together on the top and bottom. Stitch all the way around leaving an opening on the bottom to turn and stuff. Turn the head right sides out.
Step 7: Stuff the Head
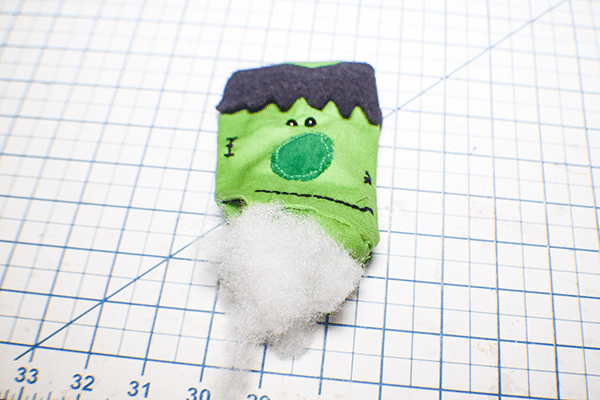
Add the polyester fiberfill to the head. Stuff so that it is taut. Stitch the opening closed using ladder stitch. Add the small golf tees to each side of the head. Add a bit of glue to secure.
Step 8: Add the Google Eyes to the Spider
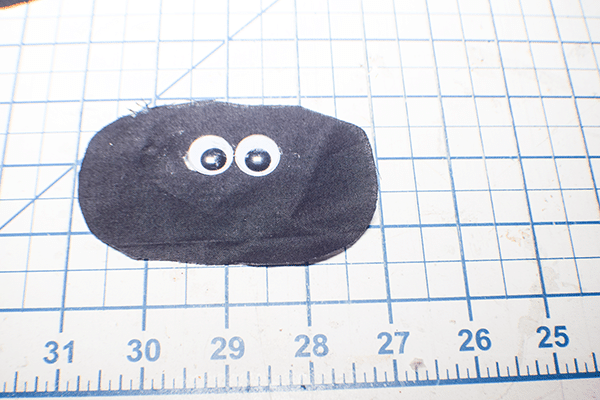
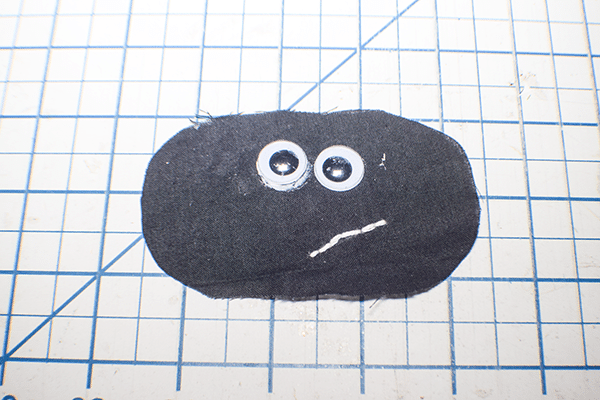
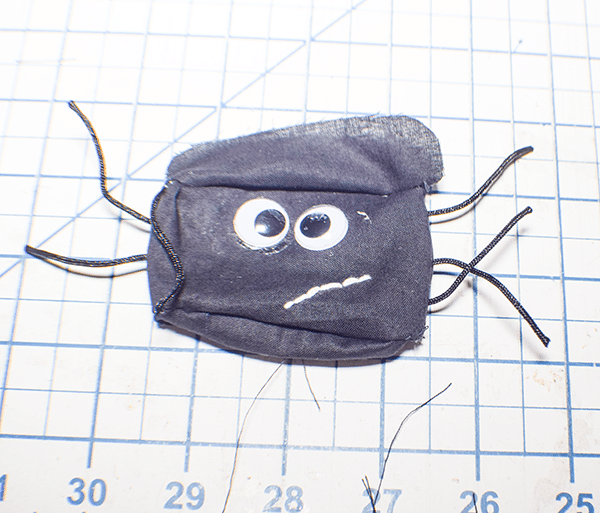
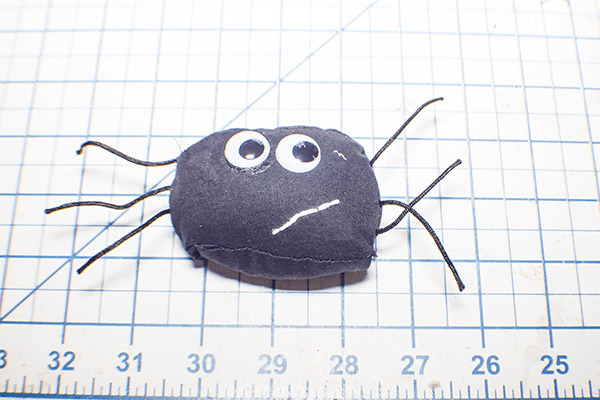
The spider is a round black piece. Place the google eyes on the spider as shown. I would add a bit of tacky glue to secure them.
Step 9: Stitch the Spider Mouth
Again using back stitch embroider the mouth using white embroidery thread.
Step 10: Add the Spider Legs
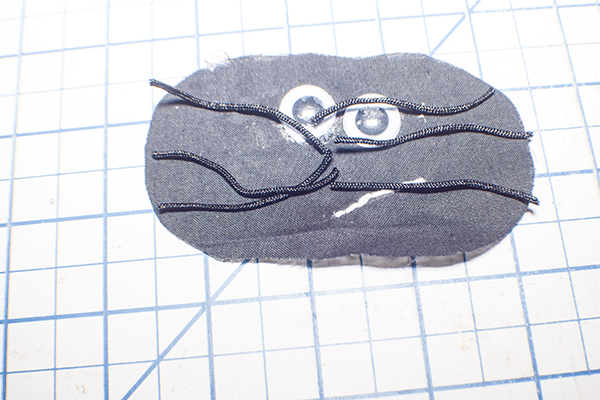
Cut the cording in six lengths that measure 2″. Place three pieces of cording along each side to create legs for the spider. Stitch them on the wrong side of the face.
Step 11: Stitch the Spider Together
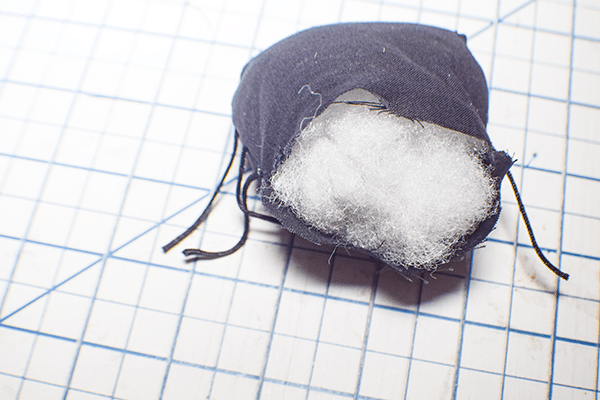
Place the the two spider pieces right sides together and stitch the sides. Add the bottom and top as you did for the head again leaving an opening for turning and stuffing. Turn right sides out. Stuff so that it is taut and close the opening with ladder stitch.
Step 12: Stitch and Stuff the Ghost
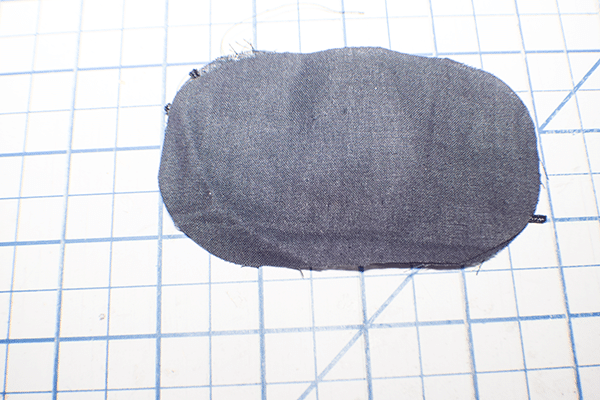
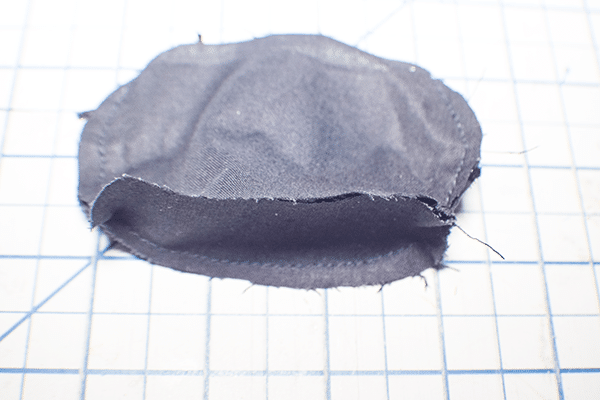
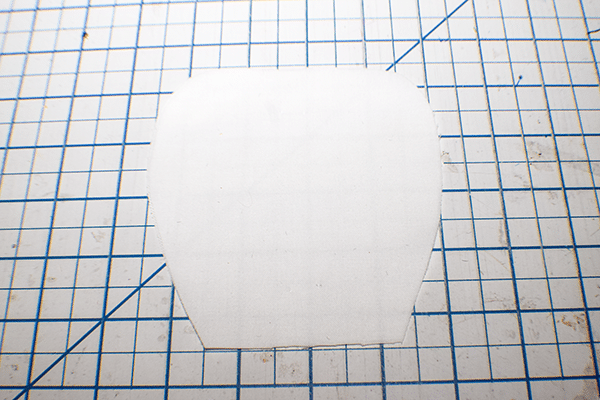
The ghost consists of of four pieces. Place the larger pieces right sides together and stitch along the sides. Add the top and bottom in the same way you did the others. You should trim the bottom piece to fit. Turn right sides out and stuff and close as before.

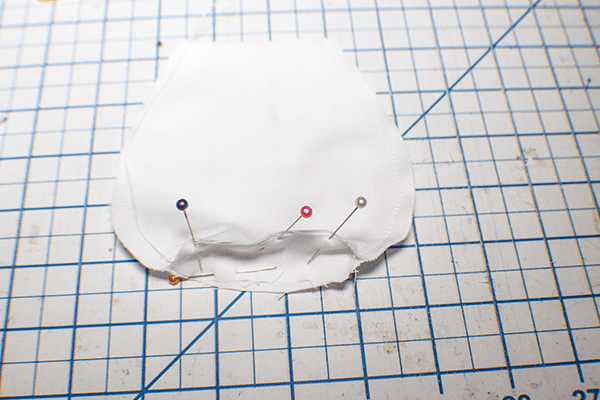
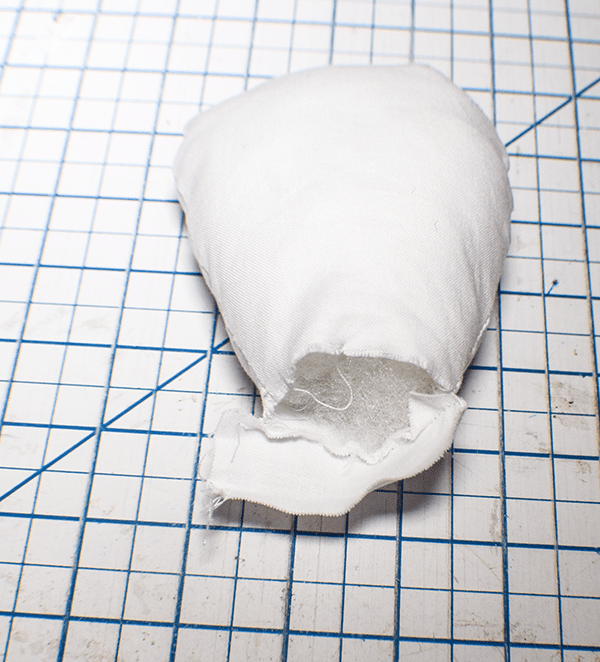
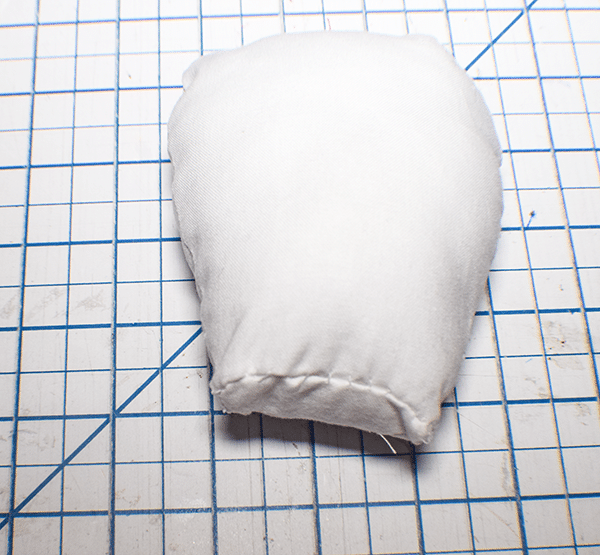
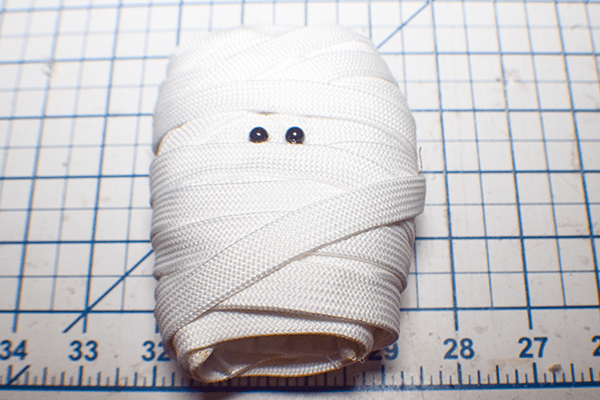
Step 13: Wrap the Ghost
Take your shoe laces and wrap the ghost using hot glue to secure as you wrap. Cross the laces as you go. Hot glue to secure the end.
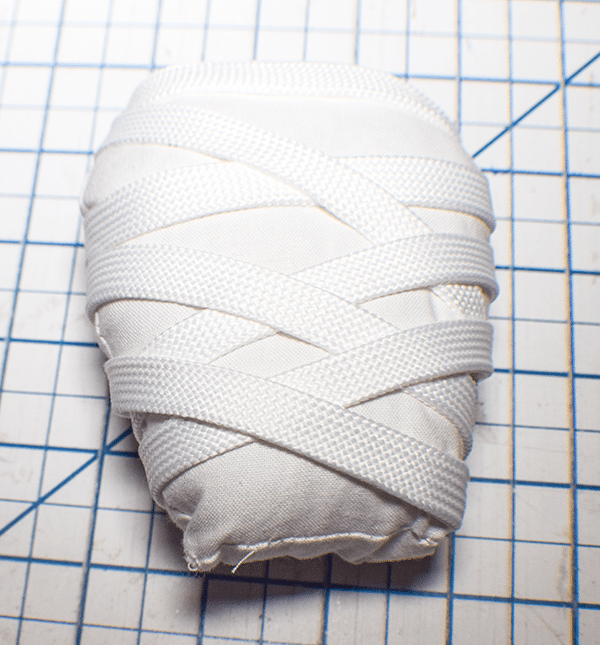
Step 14: Add the Ghost Safety Eyes
Add the ghost screw eyes. Because the ghost has been already been= stuffed you will not be able to put on the back. Simply poke a hole and insert the eyes. Add a bit of hot glue to secure.
Step 15: Add the Face to the Pumpkin
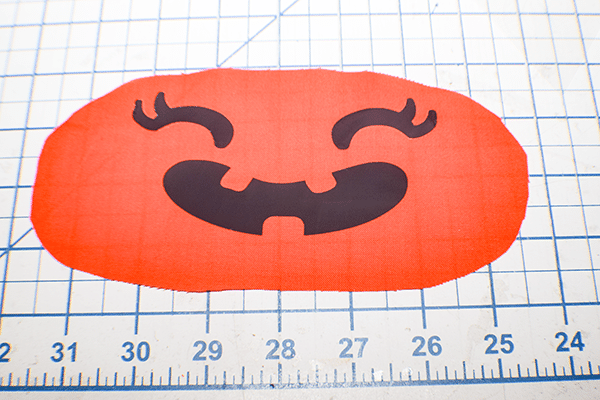
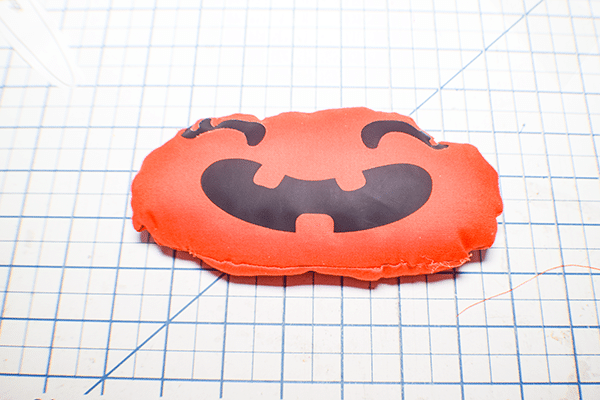
Add the face to the pumpkin. I used my Cricut to create the face for my pumpkin. I used iron on vinyl to make things easier. If you have a Cricut this is an easy make. If you do not simply cut out the pieces in the fabric of your choice and either stitch or glue.
Step 16: Stitch and Stuff the Pumpkin
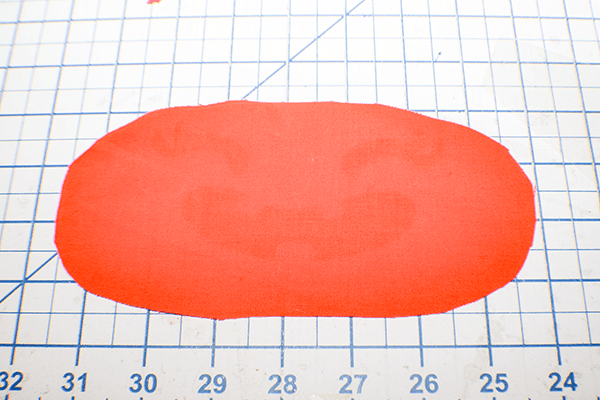
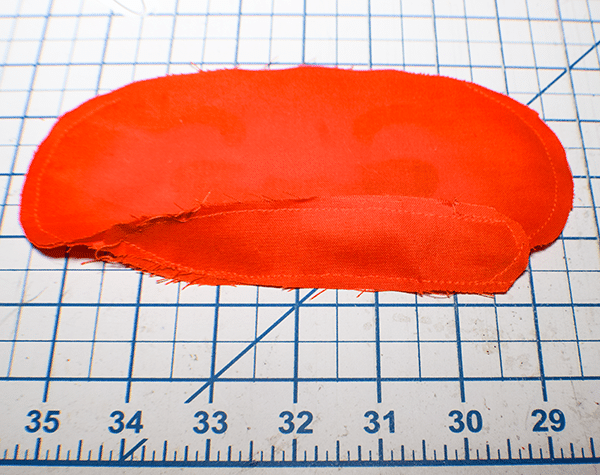
Stitch and stuff the pumpkin in the same way you did the other pieces. You have now finished all of the components of the Halloween Totem.
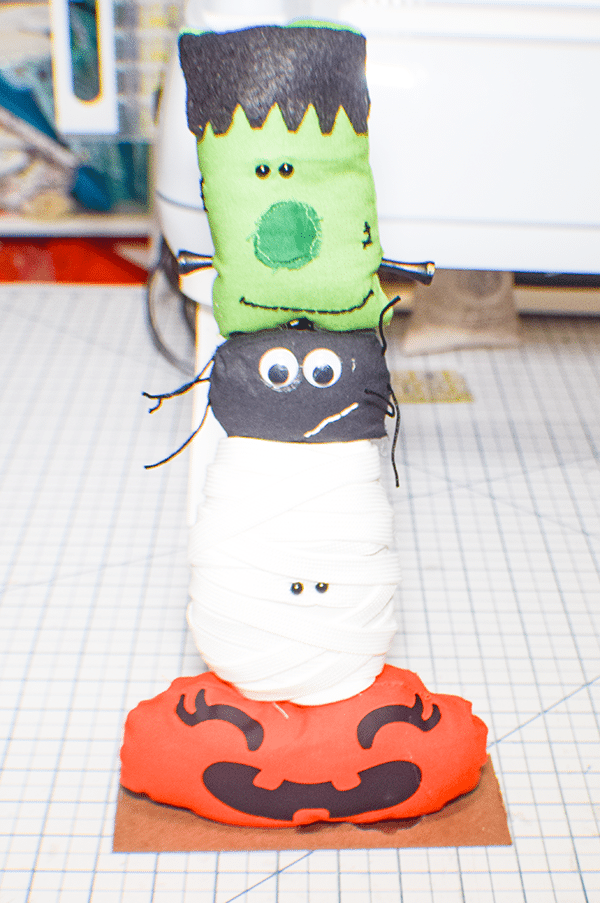
Step 17: Stack the Halloween Totem
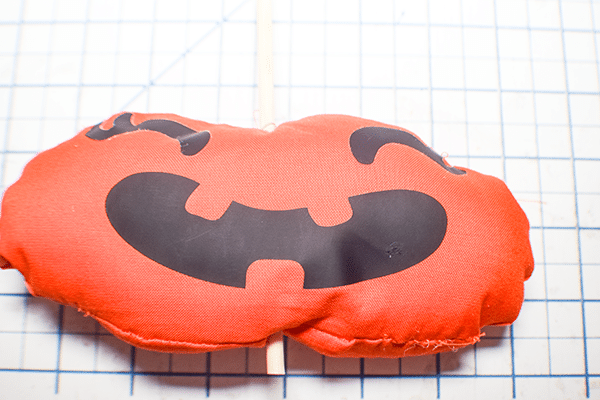
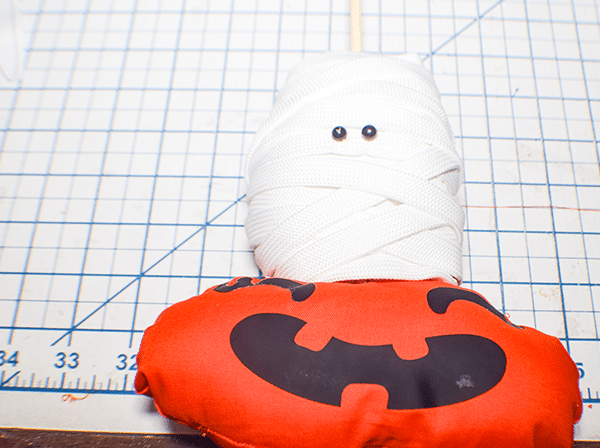
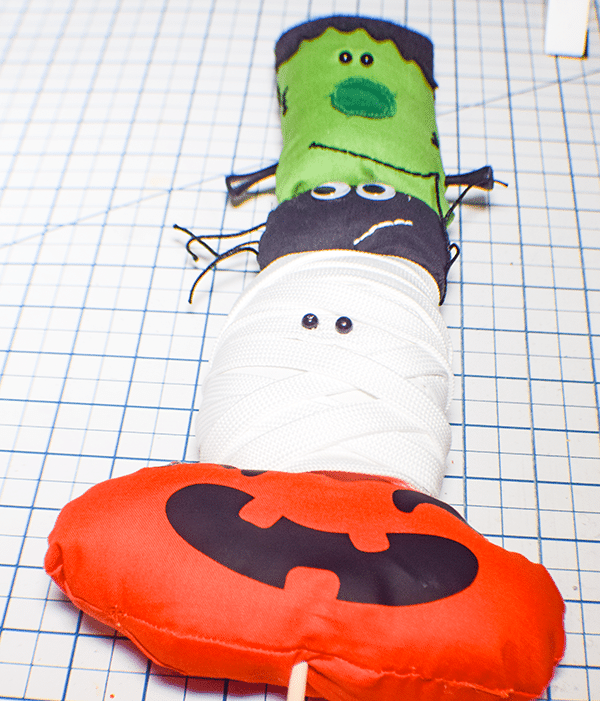
Starting with the pumpkin piece on the bottom add the skewer to the bottom center. The skewer has a pointy end and should go in easily. If it does not use an awl to create a small hole. Place the ghost on top of the pumpkin through the skewer. Then, stack the spider and the monster in the same way. Hot glue the pieces together. Break off the skewer. Then, hot glue the bottom of the pumpkin to a small piece of cardboard. You have now finished your small Halloween totem. Place it in a prominent place and enjoy.

I hope you enjoyed this fun Halloween totem. If you would like more sewing and crafting projects subscribe to our free Newsletter and receive access to our free printables library.
If you would like Video Tutorials of some of Sew Very Crafty's most popular posts subscribe to our free YouTube channel here.
