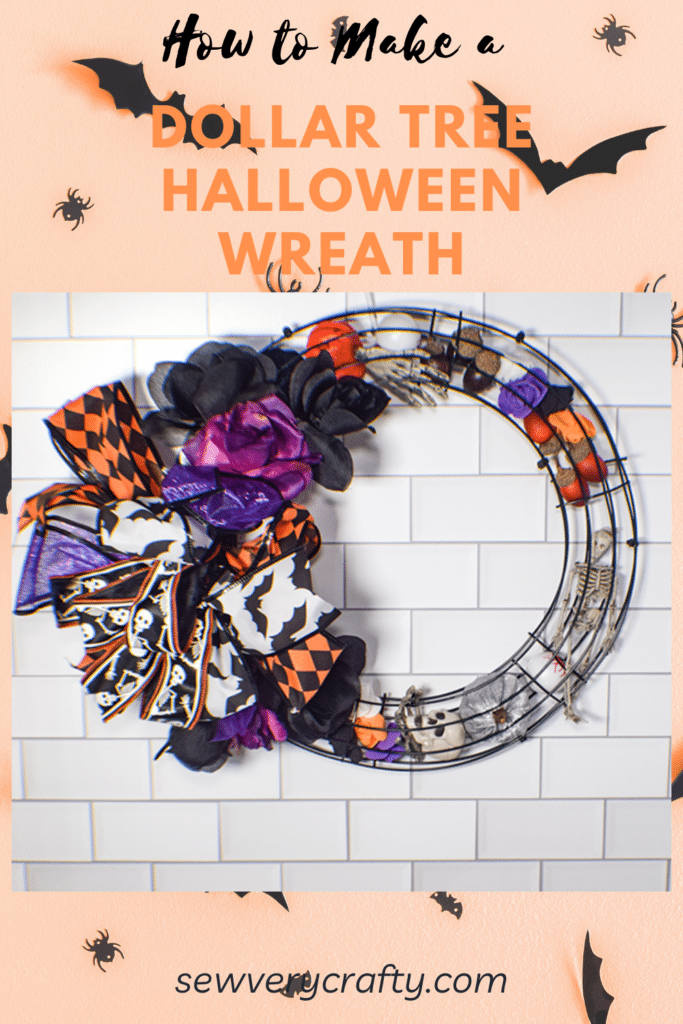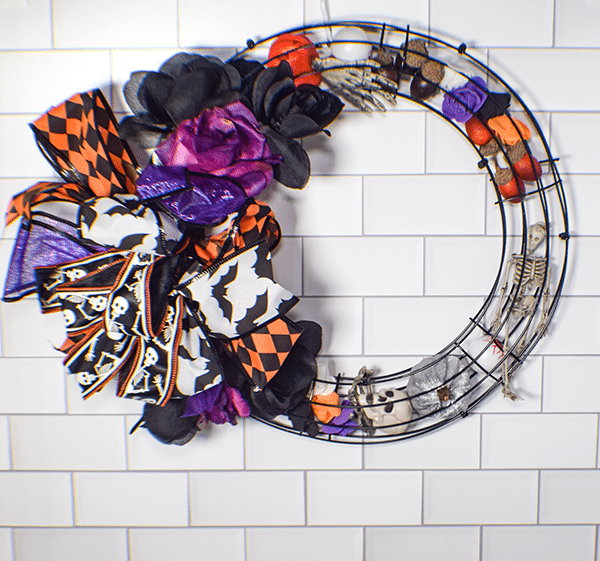
Dollar Tree has all of their Halloween craft items in the store now. I perused the Halloween section and came across a lot of little items that really depict the season. So, I bought a bunch of things to make a Dollar Tree Halloween wreath. It honestly does not get any easier than this project and it is super cute too. If you would like more Dollar Tree Crafts head over to my Dollar Tree page for many more.
This post contains affiliate links that if you click on them and make a purchase I may receive a small commission at no extra cost to you. As an Amazon Associate I earn from qualifying purchases.
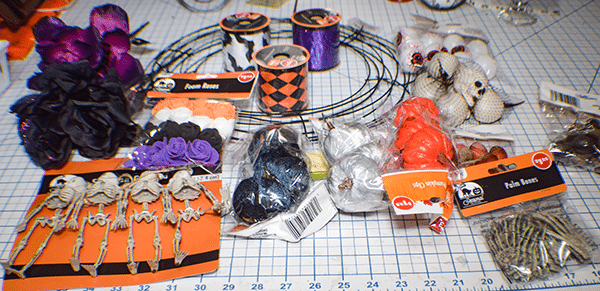
What you will Need: How to Make a Dollar Tree Halloween Wreath
- 2 round Dollar Tree Wreath forms
- Dollar Tree zip ties
- Packages of Dollar Tree Halloween craft pieces. I used:
- Four colors of Halloween ribbon. I used:
- 2 1/2″ Orange and black harlequin
- 2 1/2″ Purple
- 2 1/2″ White with black bats
- 1 1/2″ Black and white skeletons
- Halloween flowers
- Hot Glue and e6000 glue
- Bowdabra — Optional–
Step 1: Join the Wreath Forms
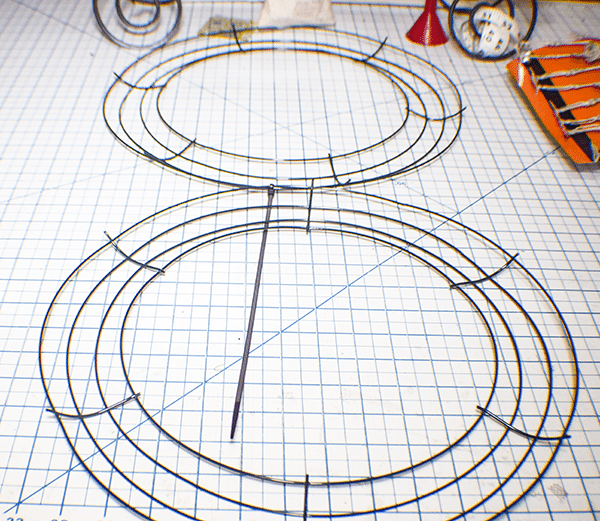
I started by joining the wreath forms back to back using one zip tie. This enabled me to open up the two forms so that I could fill them. Once you have added the zip tie. Open the two wreath forms.
Step 2: Add the Halloween Craft Supplies
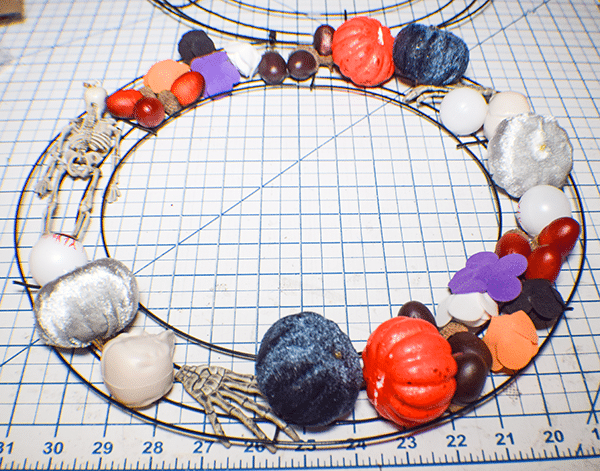
On one side of the wreath pair begin adding your Dollar Tree Halloween craft supplies. There is no set wAY to do this. Just fill the cavity in a way that pleases you.
Step 3: Join the Wreath Forms all the Way Around
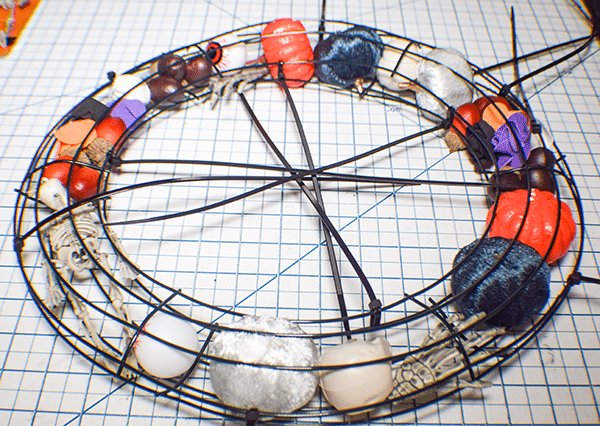
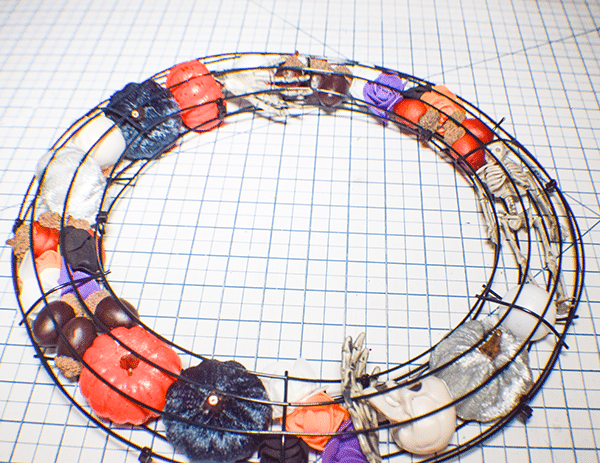
Fold the other wreath form over the filled wreath form. Secure the wreaths together using zip ties. Place the zip ties on the inside and the outside so that your items do not fall out. Once the zip ties are finished cut off the ends.
Step 4: Create the Bow
You can create this bow by hand but I used my Bowdabra to make the bow for this project. It makes creating any size bow simple and easy. I just love this product. It comes with a complete how to so that you can immediately make the perfect bow. In order to complete the bow for my Dollar Tree Halloween Wreath I used all four of the ribbons that I purchased.
I wanted to make a funky bow for Halloween so I used several different ribbons with loops and and raw ends. To Create this bow using Bowdabra follow these instructions:
- Place a 24″ piece of wire that has been folded in half in the Bowdabra
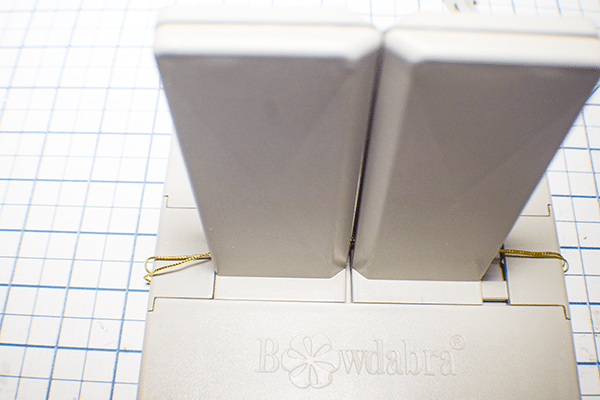
- Start with a piece of 2 1/2″ wide ribbon
- Place it in the Bowdabra so that there is a 6″ tail
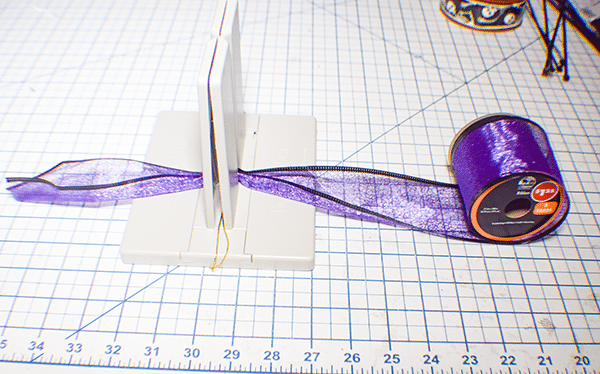
- Twist the ribbon so that there is a 5″ loop on the other side
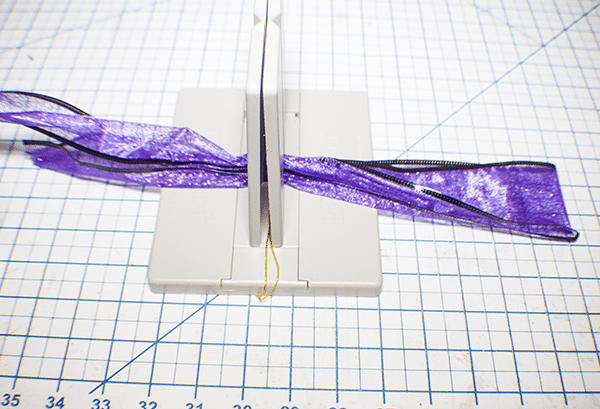
- Twist the ribbon again to create another 5″ loop then back again
- Cut the ribbon so that there is a 6″ tail
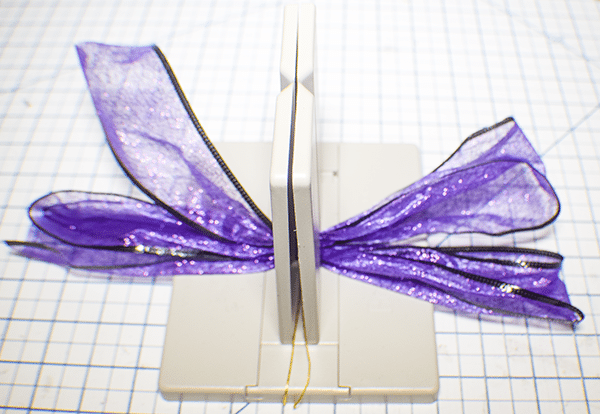
- Starting on the other side of the Bowdabra with another 2 1/2″ piece of ribbon and repeat the process. Then add a third piece.
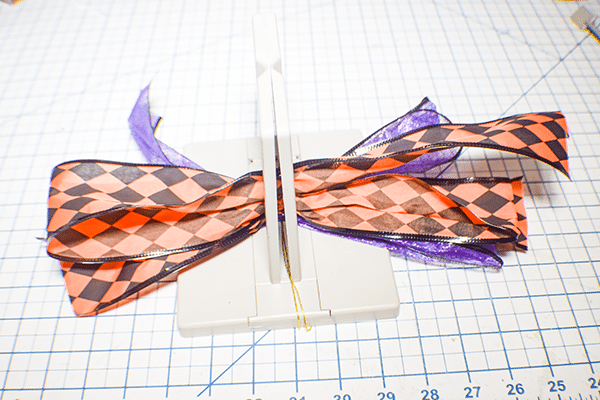
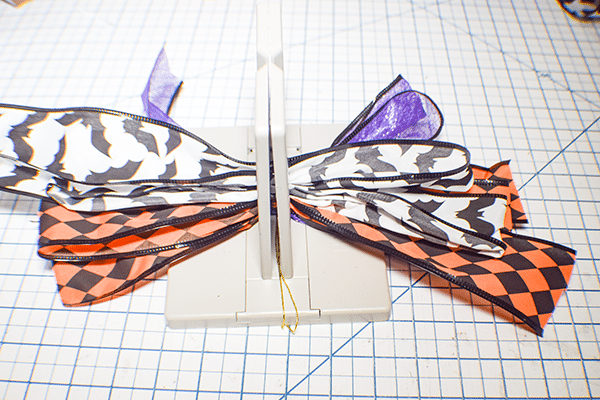
- Repeat again with the 1 1/2″ ribbon
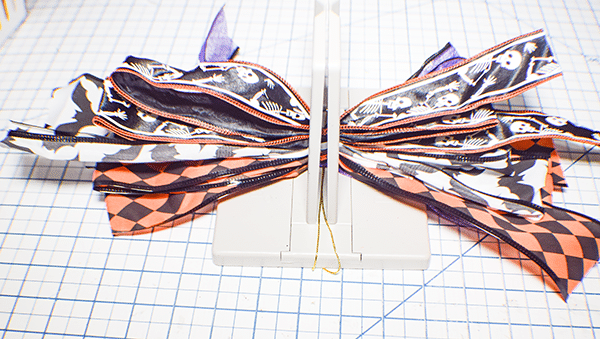
- Once all of the ribbon is in place insert the end of the wire through the loop and pull tight to secure. Wrap the wire to the back side and tie.
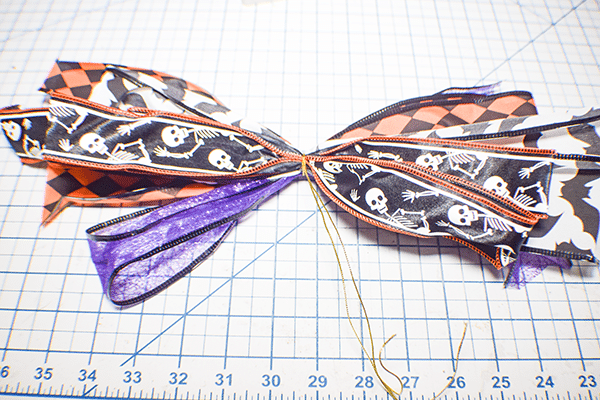
- Fluff out the ribbon
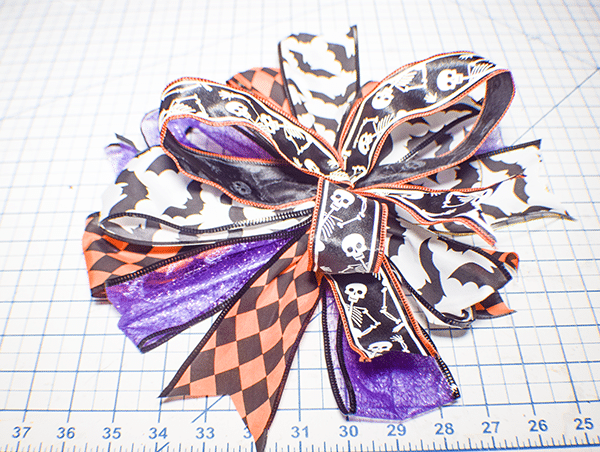
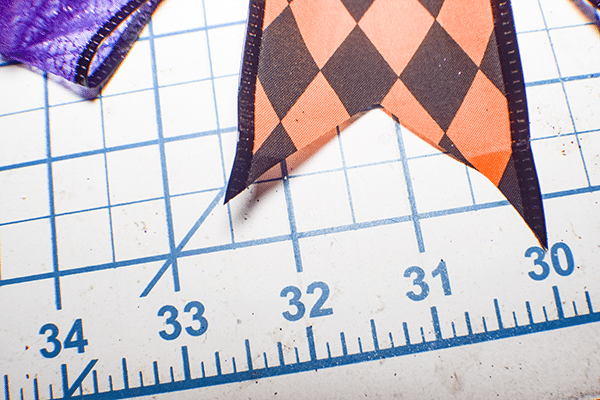
- Clip the tails in a dove tail so that the length is even with the loops
Step 5: Add the Bow
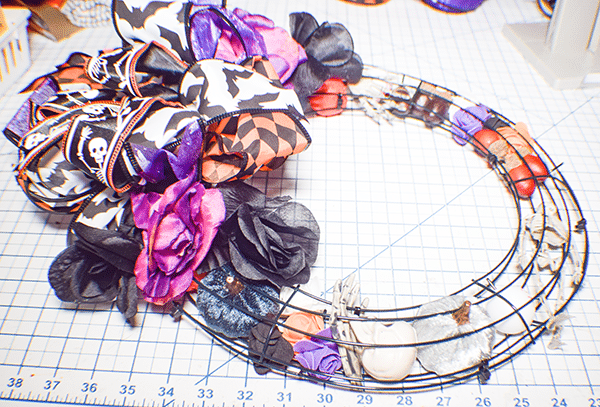
I add the bow using a Dollar Tree zip tie. Since the wreath is round you can add it 222any place.
Step 6: Add the Flowers
Dollar Tree has these great Halloween flowers in black and purple. I used some of those to insert on the sides of the bow. I used hot glue to attach them. Seperate them and place where you like. Once you have added the flowers you have finished your Dollar Tree Halloween Wreath. Enjoy!!

I hope you enjoyed this simple Dollar Tree craft. If you would like more sewing and crafting projects subscribe to our free newsletter and receive access to our free printables library.
If you would like video tutorials of some of Sew Very Crafty's most popular posts subscribe to our free YouTube channel Here.
