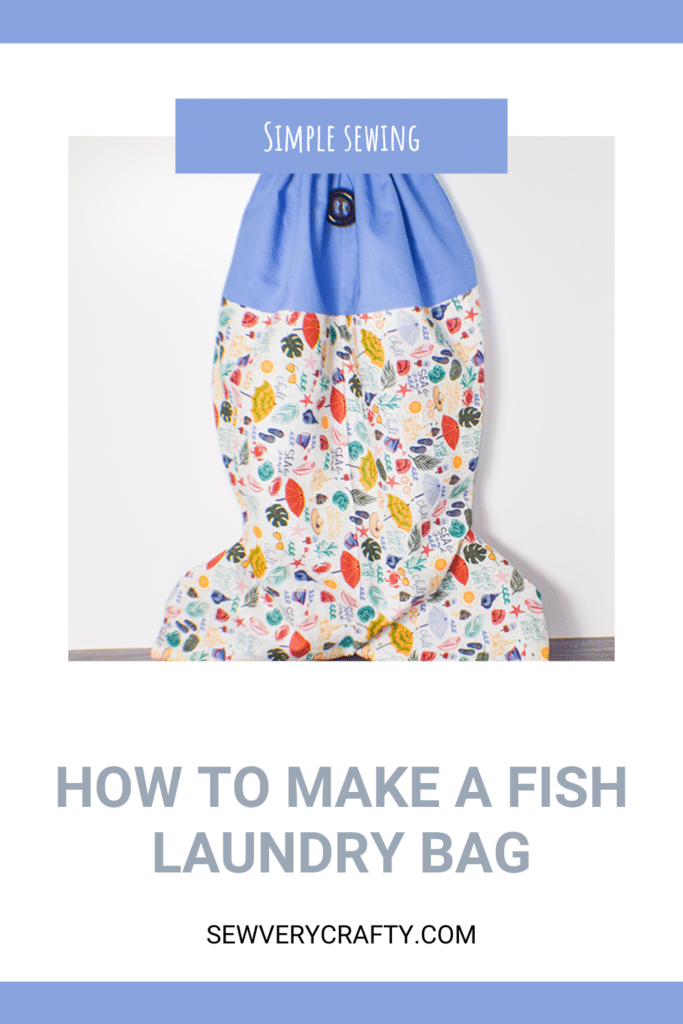
Fish laundry bags are very popular and especially fun for kids. I have seen them everywhere so I thought I would create my own pattern and share it with you. For this project I chose some fun novelty fabric that represents the sea to really get that sea vibe going. This is a super simple beginner sewing project that anyone with basic sewing skills can make. I shared a mesh laundry bag on the site before nut this one is all cotton.
This post contains affiliate links that if you click on them and make a purchase I will receive a small commission at no extra cost to you. As an Amazon Associate I earn from qualifying purchases.
What you will Need: How to Make a Fish Laundry Bag
- Pattern you can get by clicking on this link
- 2 yds of outer body fabric
- 3 yds of accent and lining fabric
- 3 Yds of 5/8″ ribbon
- 2 1 1/2″ buttons
- Sewing Machine
- Standard sewing supplies
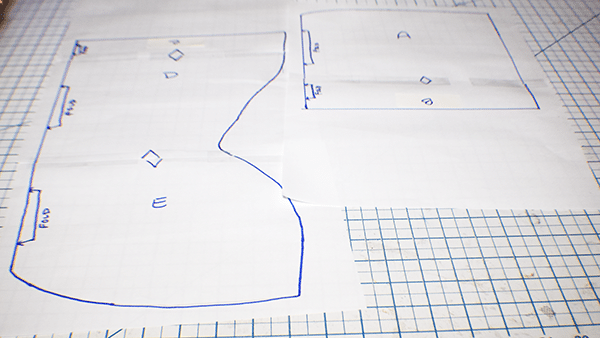
Step 1: Tape the Pattern Together
The pattern comes in five pieces. Three for the body and two for the head. Pieces A and B are the head. Tape them together matching the triangle markings. Pieces C, D, and E are the body. Tape pieces C and D together matching the markings. Add piece E to piece D again matching the markings.
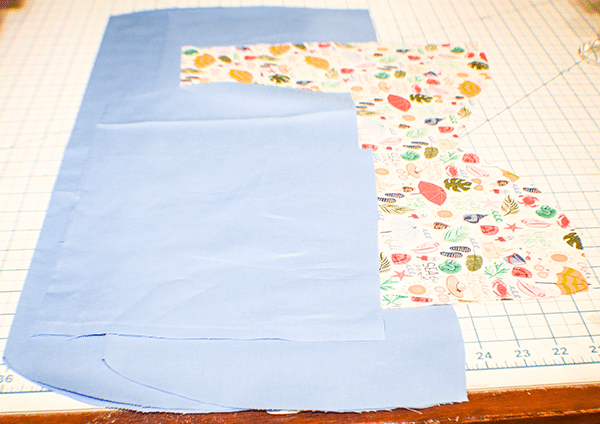
Step 2: Cut out the Fabrics
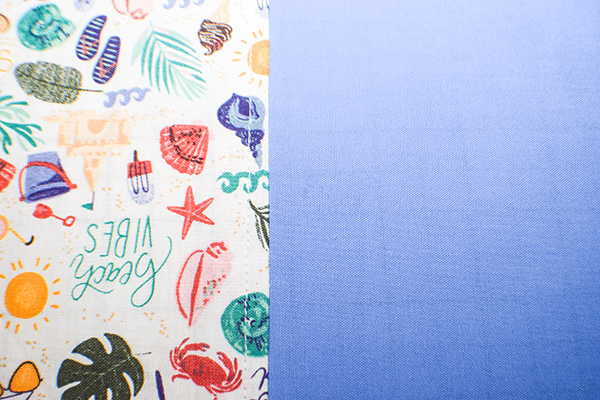
From the primary outer fabric cut two body pieces on the fold. Cut two accent pieces from the head also on the fold. Once you have cut out the outer pieces, tape the head pattern piece to the body pattern piece overlapping by 1 1/4″. Cut out two of these pieces from the accent fabric. This will be the lining of the laundry bag.
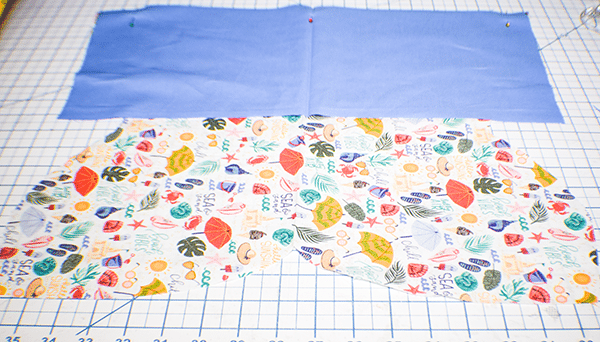
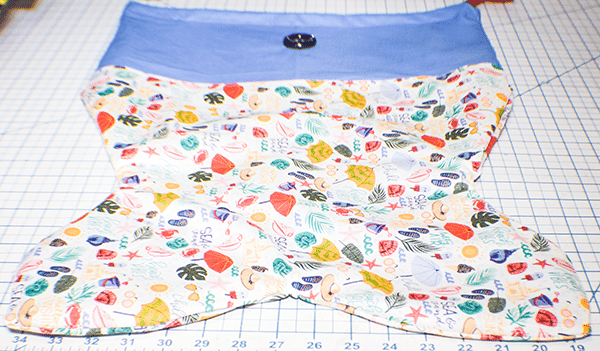
Step 3: Stitch the Head to the Body
Using a 5/8″ seam allowance stitch the outer head pieces to the body pieces. This will give you the two sides of the fish tail. Press the seam toward the main fabric. Topstitch along the seam.
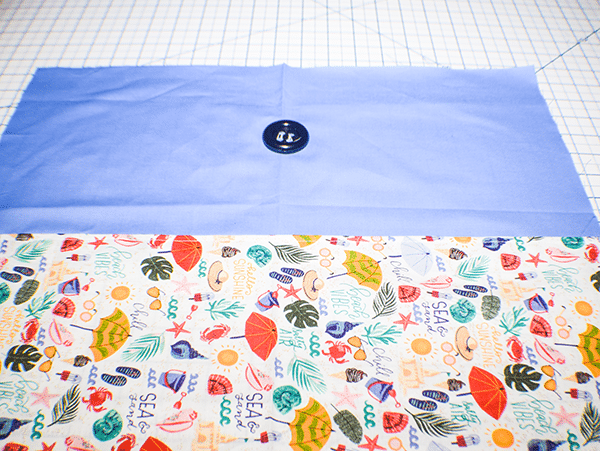
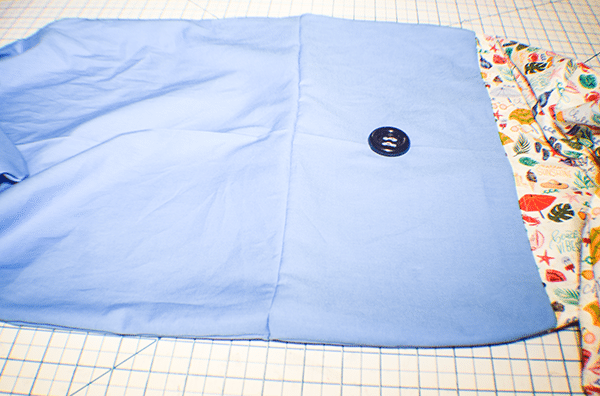
Step 4: Add the Buttons
Stitch the one button to each of the head pieces in the center of the head. These will act as eyes for the fish.
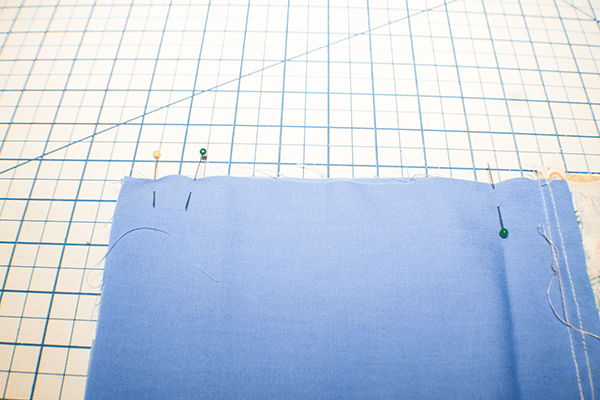
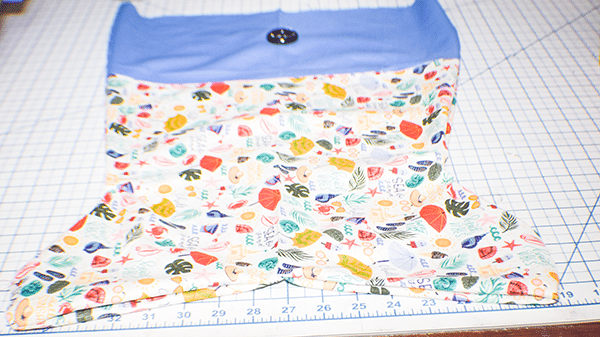
Step 5: Stitch the Outer Pieces Together
Place the outer pieces right sides together matching the seams. Stitch from the top down 5/8″ and backstitch. Measure down 7/8″ and start stitching all the way around the sides and bottom of the fish tail stopping 1 1/2″ from the top and back stitching. Measure up 7/8″ and finish stitching the bag to the top. This will leave an opening to add the ribbon.
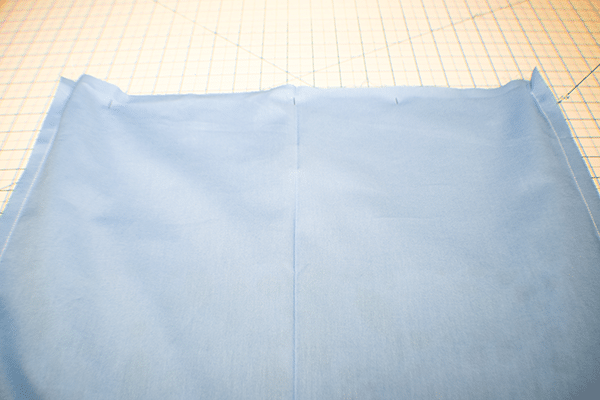
Step 6: Stitch the Lining Pieces Together
Place the two lining pieces right sides together and stitch all the way around using a 5/8″ seam allowance. Leave an opening on one side for turning.
Step 7: Stitch the Outer and Lining Pieces Together
Place the outer bag inside the lining bag so that they are right sides together. Stitch all the way around the top using a 5/8″ seam allowance. Turn right sides out. Stitch the opening closed using your machine or ladder stitch. Push the lining into the outer bag. Press.
Step 8: Stitch the Casing
Measure down 7/8″ from the top of the bag. Stitch all the way around through the outer fabric and the lining. This will create a casing.
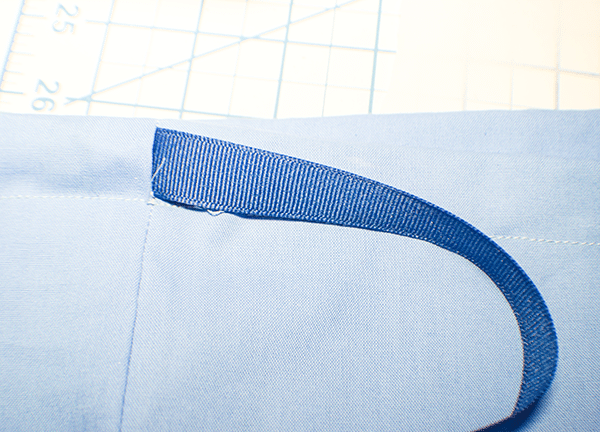
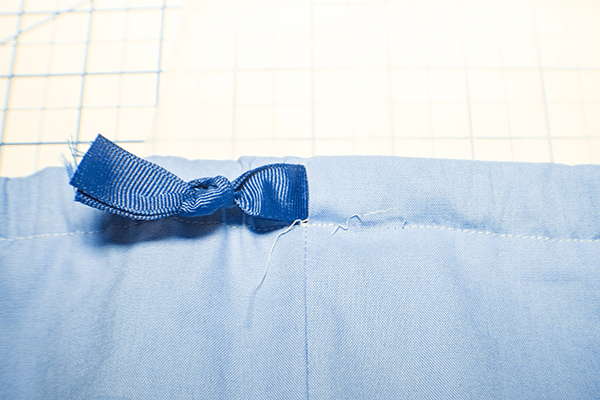
Step 9: Insert the Ribbon
Using a safety pin or a bodkin thread half of the ribbon through one opening all the way around until it comes out of the same opening. Tie the ribbon together. Repeat with the other half of the ribbon going in and out of the opposite opening. Insert clothes and pull tight.
I hope you enjoyed this simple fish laundry bag. If you would like more sewing and crafting projects subscribe to our newsletter and receive your free eBook of 15 handbag patterns and tutorials taken from the blog.
If you would liek video tutorials of some of Sew Very Crafty's most popular posts subscribe to our free YouTube channel here.