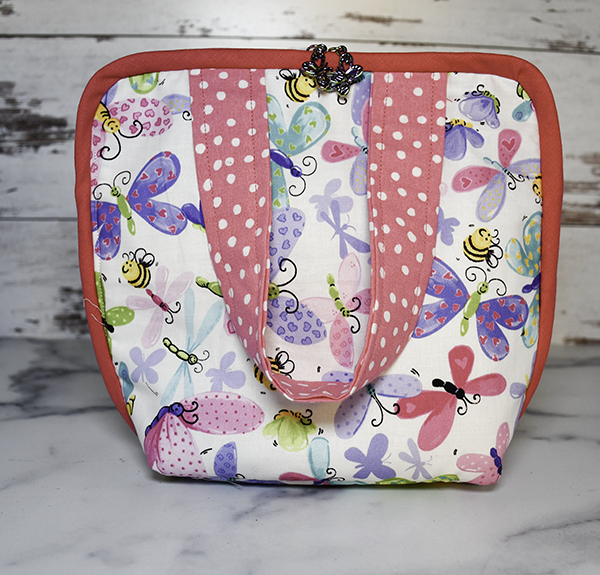
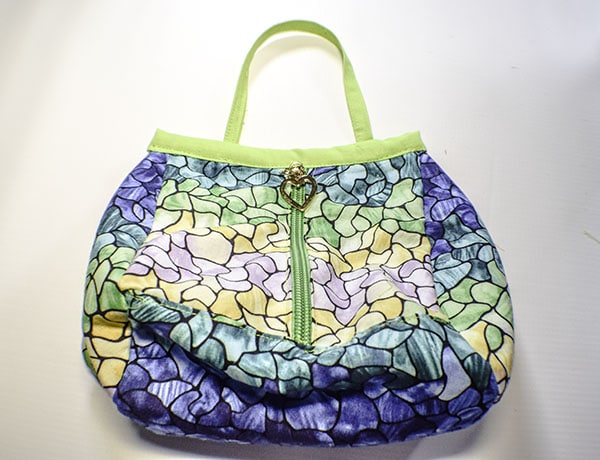
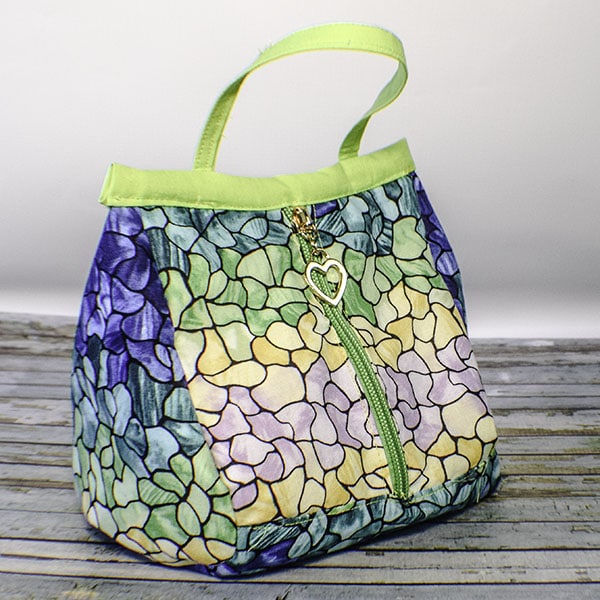
How to Make a Teardrop Zipper Pouch

I just can't have enough zipper pouches. They come in all shapes and sizes. This zipper pouch is a fun and functional version of the standard zipper pouch with a twist. It is in the shape of a teardrop. I found this pattern on JSDaily on Youtube and have attached the link and video at the bottom of this post. It is fairly simple to make though I would not call this a beginner project. I think you should have a few sewing skills and a few pouches under your belt before trying this one. I have included a pattern and all of the instructions but it can be a little fidgity. If you are going to tackle this teardrop zipper pouch read through the instructions first before deciding to tackle it.
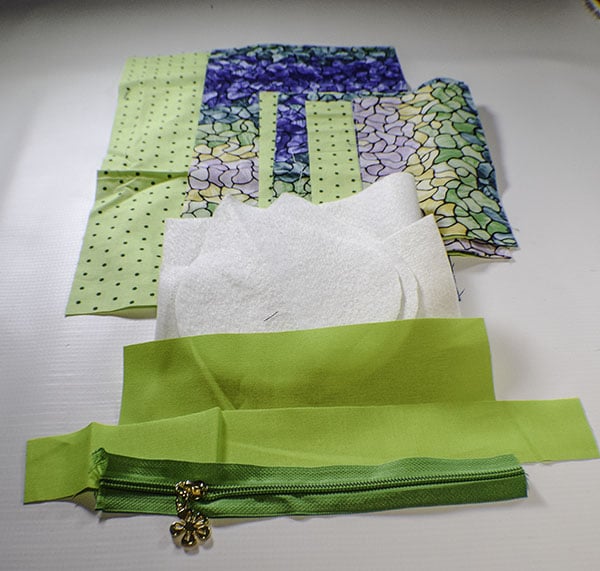
I chose a premium cotton fabric that I purchased at JOANN Fabric & Craft Stores![]() for this project but you could head to Hobby Lobby, Fabric.com, or Onlinefabricstore.net to get exactly what you need for your teardrop zipper pouch. I also used a #5 zipper for this project but you could use a standard zipper if you like. The beauty of the #5 continuous zipper is that you can cut them to be any size you want and you can buy really nice zipper sliders to go with them. This post contains affiliate links that if you click on them and make a purchase I may receive a small commission at no extra cost to you.
for this project but you could head to Hobby Lobby, Fabric.com, or Onlinefabricstore.net to get exactly what you need for your teardrop zipper pouch. I also used a #5 zipper for this project but you could use a standard zipper if you like. The beauty of the #5 continuous zipper is that you can cut them to be any size you want and you can buy really nice zipper sliders to go with them. This post contains affiliate links that if you click on them and make a purchase I may receive a small commission at no extra cost to you.
What you will Need: How to Make a Teardrop Zipper Pouch
- Pattern you can get by clicking on this link
- 1/2 yd outer fabric
- 1/2 yd lining fabric
- 1/8 yd accent fabric
- 1/2 yd Fusible Fleece like TP971F
- 1 8″ zipper
- 1 zipper slider if you are using a continuous zipper
- Standard sewing supplies
Step 1: Cut your Fabrics
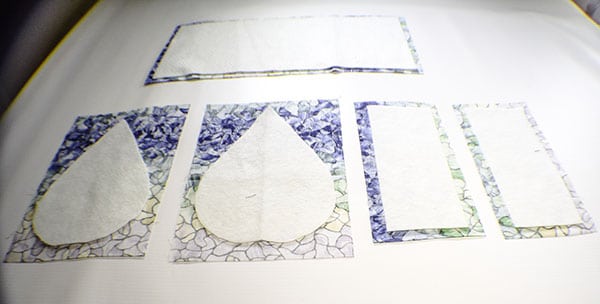
Start by cutting your fusible fleece as follows:
- Using the pattern piece cut two teardrop pieces on the fold
- 2 — 3″ x 7″ pieces
- 1 — 6 3/8″ x 14 1/4″ piece
Cut the Fabrics as Follows:
- Outer Fabric
- 2 — 3 3/4″ x 8″ pieces
- 2 — 6 3/8″ x 8 3/4″ pieces
- 1 — 7″ x 15″ piece
- Lining Fabric
- 2 — 3 3/4″ x 8″ pieces
- 2 — 6 3/8″ x 8 3/4″ pieces
- 1 — 7″ x 15″ piece
- Accent Fabric
- 1 — 11 3/4″ x 1 5/8″ piece
- 1 — 8″ x 2 3/8″ piece
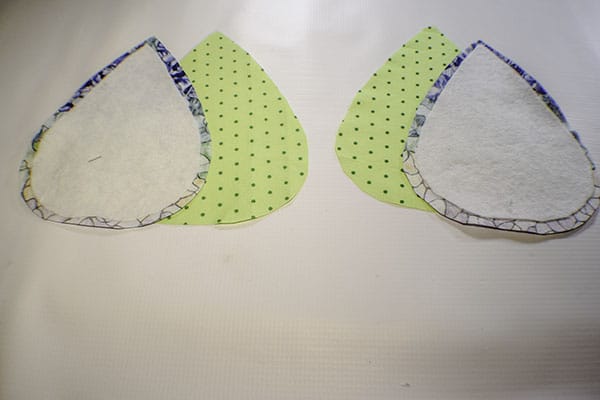
Step 2: Fuse your Fleece
Fuse the teardrop fleece pieces to the wrong sides of the 6 3/8″ x 8 3/4″ outer pieces following the manufacturers instructions. Fuse the 3″ x 7″ pieces to the 3 3/4″ x 8″ outer pieces and the 6 3/8″ x 14 1/4″ to the 7″ x 15″ outer piece. Place the outer piece with the teardrop together with the corresponding lining piece. Trim the teardrop outer and lining fabric so that there is a 3/8″ seam allowance all the way around the fleece and the fabric is now in the shape of the teardrop.
Step 3: Add the zipper
Take one of the 3 3/4″ x 8″ outer pieces and lay it right sides up on your work surface. Place your zipper right sides down on the piece and stitch the zipper to the fabric. Lay the other 3 3/4″ x 8″ piece right sides down onto the right side of the other side of the zipper and stitch. Top stitch along both sides of the zipper for a more professional look.
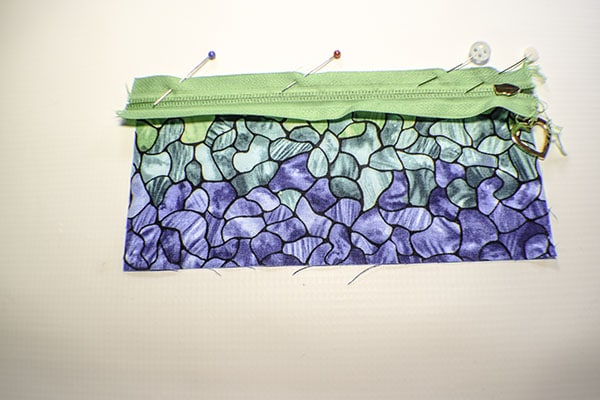
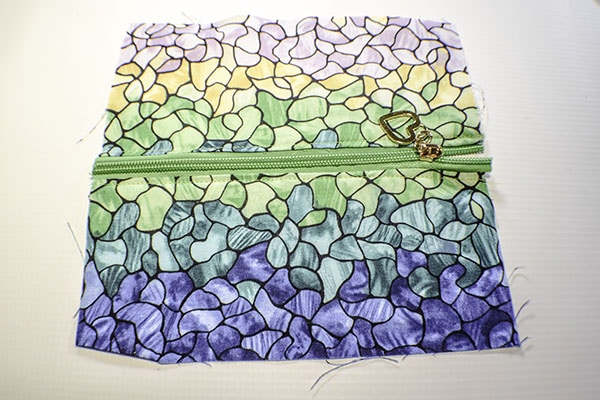
Step 4: Add the zipper Placket to the Body
Place the zipper placket you just made right sides together with the 7″ x 15″ outer piece matching the short edges and stitch using a 3/8″ seam allowance. Top stitch along the seam.
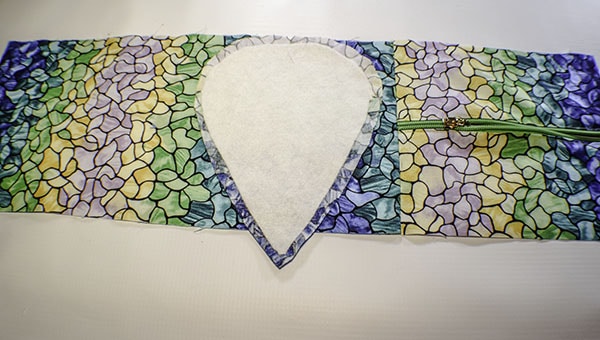
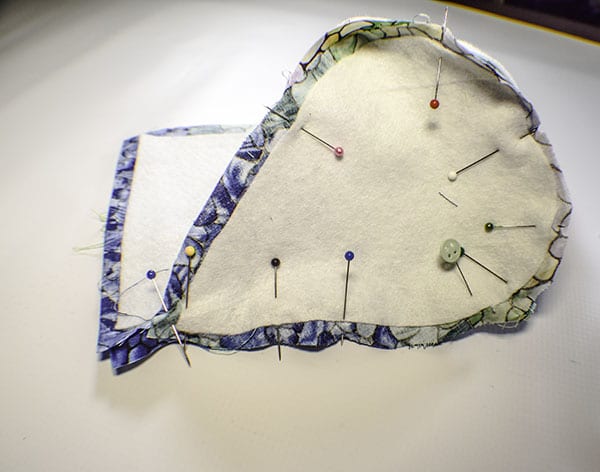
Step 5: Add the teardrop sides
Fold the long zipper body piece in half to find the center. Mark. Fold the teardrop pieces in half lengthwise and mark the center point. Lay the long outer piece on your work surface right sides up. Place the first teardrop so that the center of the bottom matches the center marking of the long side of the zipper piece and pin. Pin the rest of the side to the teardrop piece on both sides of the first pin. Repeat for the other side. Stitch the teardrops to the main zipper body piece using a 3/8″ seam allowance. Trim the top so that it is even with the top of the tear drops if it is not already.
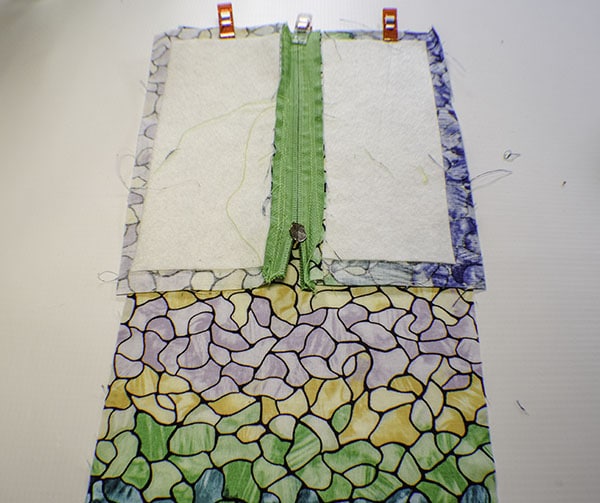
Step 6: Create the lining
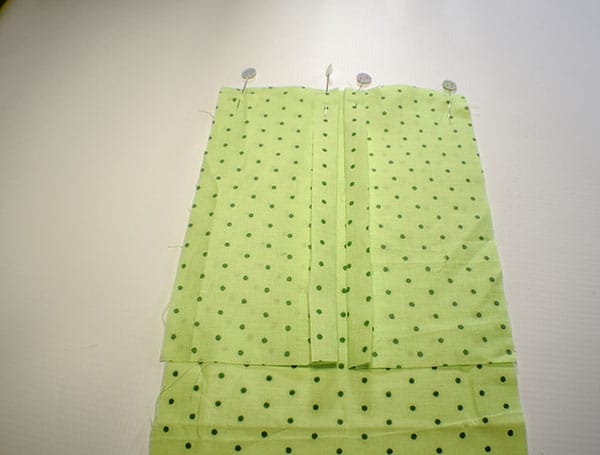
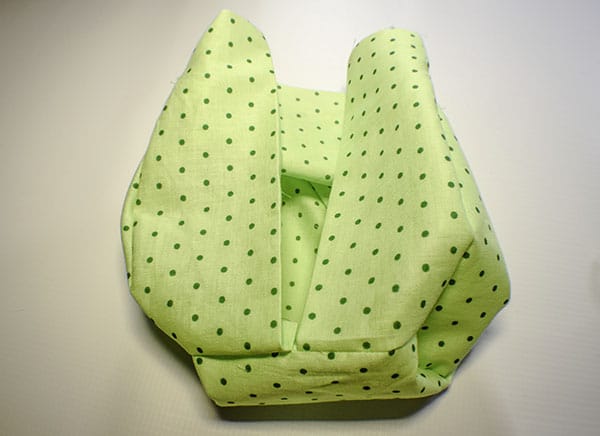
Take the 3 3/4″ x 8″ piece of lining fabric and fold one long side of each piece by 1/2″ and press. Place the two pieces right sides together with the 7″ x 15″ lining piece so that the are on either side of one end of the long piece as shown. Stitch the pieces together along the short edge. Add the teardrop sides in the same way that you did for the outer bag. Turn right sides out.
Step 7: add the lining to the outer bag
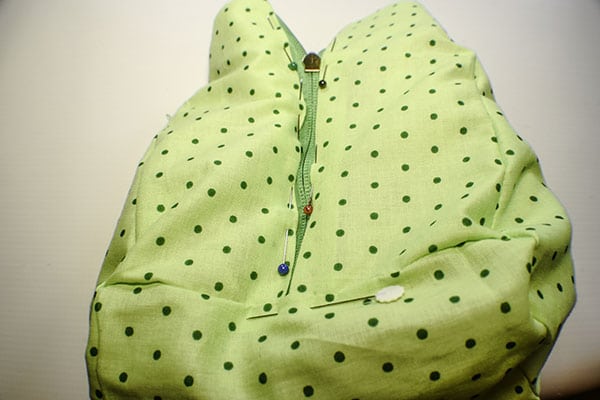
Turn the outer bag wrong sides out. place it into the lining bag so that the wrong sides are facing and the opening in the short pieces matches the zipper. Pin the lining to the zipper and hand stitch the lining to the zipper like you would a drop in zipper. Turn the whole bag right sides out.
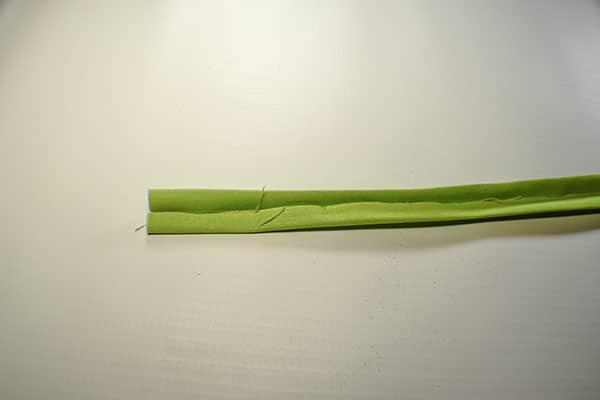
Step 8: Create the strap
Take the 11 3/4″ x 1 5/8″ accent piece and fold the long raw edges in toward the center and press. Fold the handle in half enclosing the raw edges and press again. Top stitch along both sides of the handle.
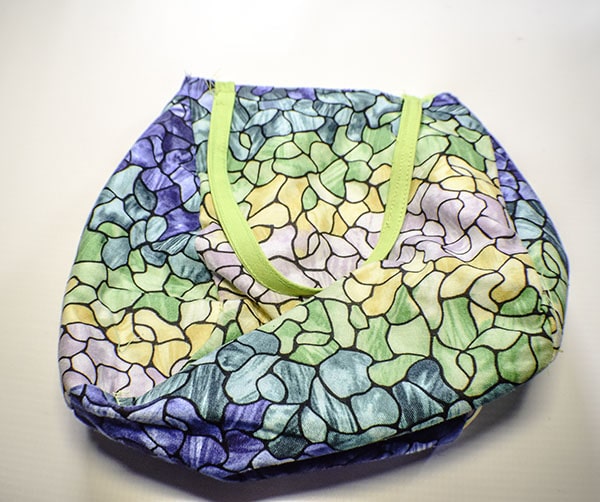
Step 9: Add the handle
Find the center of the top of the back of the bag. Measure 2″ on either side of the center and mark. Place one end of the handle on one mark and the other end of the handle on the other mark matching the raw edges and pin so the the handle is facing down toward the bag. Stitch the handle in place.
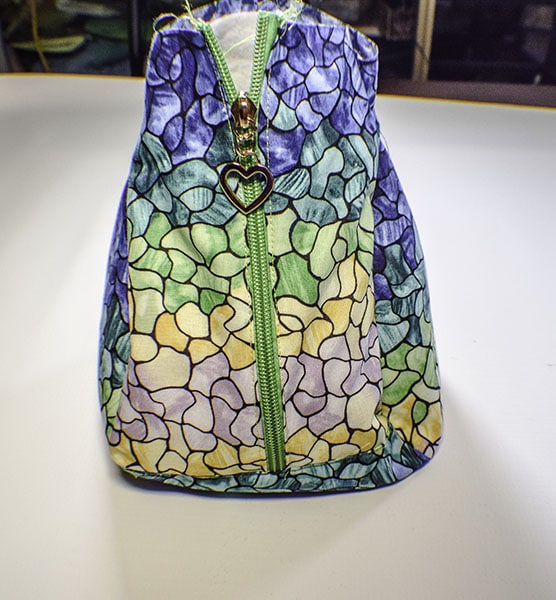
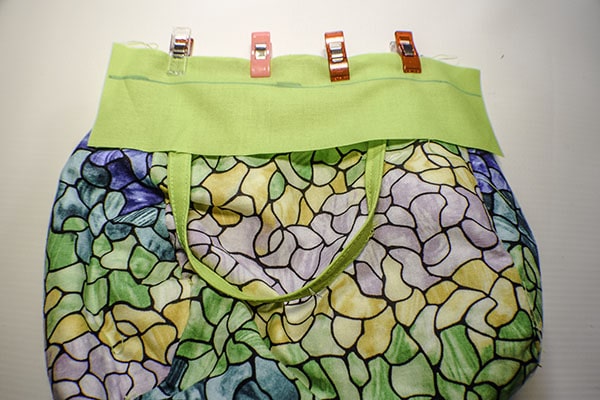
Step 10: Add the top
Place the 8″ x 2 3/8″ piece on your work surface. Mark a line on the long edge that measures up 3/4″. Place the piece on top of the handles with the 3/4″ line toward the top. Stitch along the 3/4″ line through all layers. Trim the top about 1/2″. Flip up the handles and the top and stitch the handles again to the top so that they are anchored to the top of the bag. Fold in the sides and clip. Fold down the top twice and clip the top. Stitch along the top through all layers. You have now completed your Teardrop zipper pouch.
I hope you enjoyed this project. If you would like more sewing and crafting projects sign up for our newsletter and receive your free eBook of 15 handbag patterns and tutorials taken from the blog.
If you would like video tutorials of some of Sew Very Crafty's Most Popular tutorials subscribe to our free Youtube Channel here.