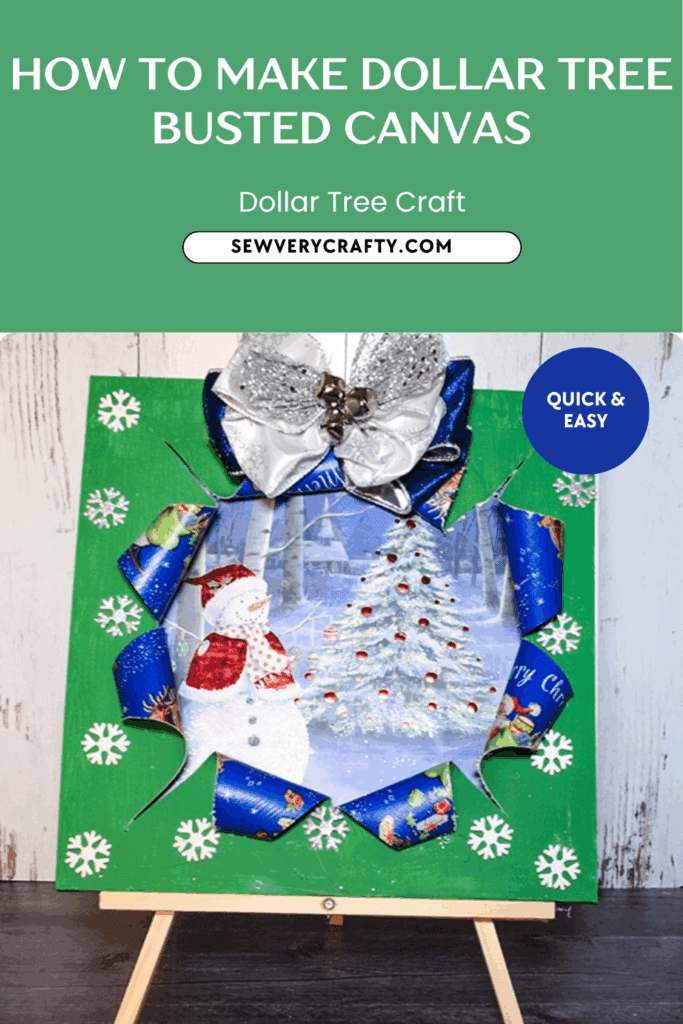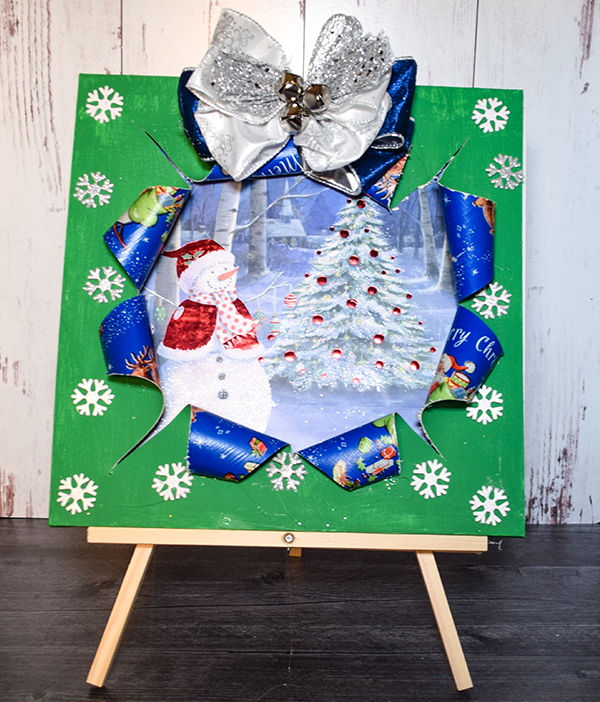
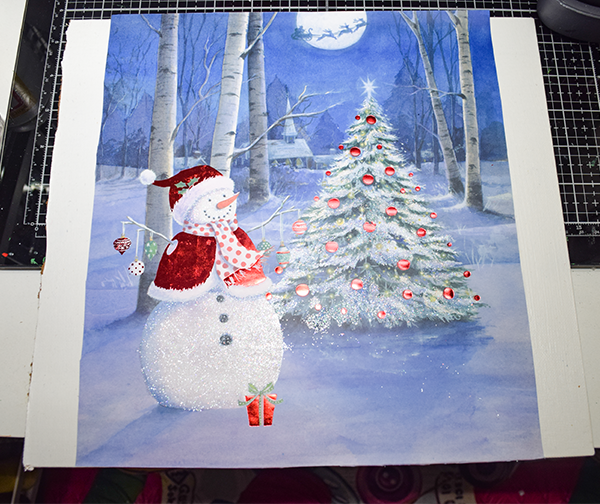
These busted canvases are all the rage in crafting circles. I decided to make one for the Christmas season using items from Dollar Tree. This is a super simple crafting project even though it looks complicated. This project is great for any holiday because they use decoupage techniques and hot glue for the most part. For this project Dollar Tree came to the rescue. You will need a few canvases and some paper to get started. I hope you like this project. If you would like more Dollar Tree projects head over to my Dollar Tree page. For more holiday sewing and crafting projects check out my holiday project vault.
Note: This post contains affiliate links that if you click on them and make a purchase I will receive a small commission at no extra cost to you. As an Amazon Associate I earn from qualifying purchases.
What you will Need: How to Make a Dollar Tree Busted Canvas
- 12″ x 12″ stretched canvas
- 11″ x 14″ canvas board
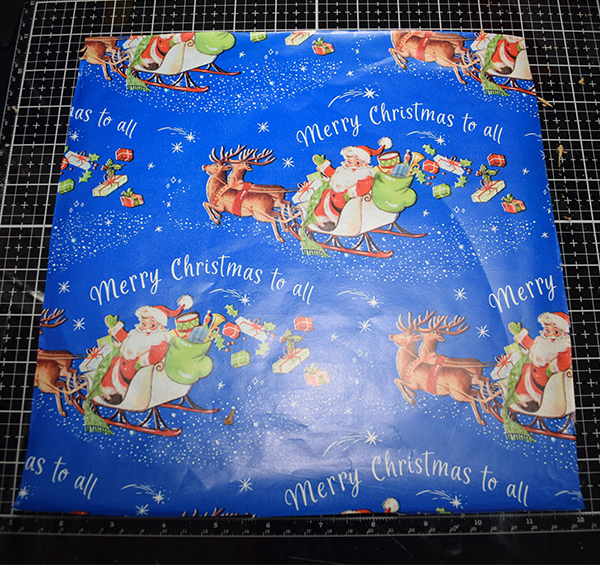
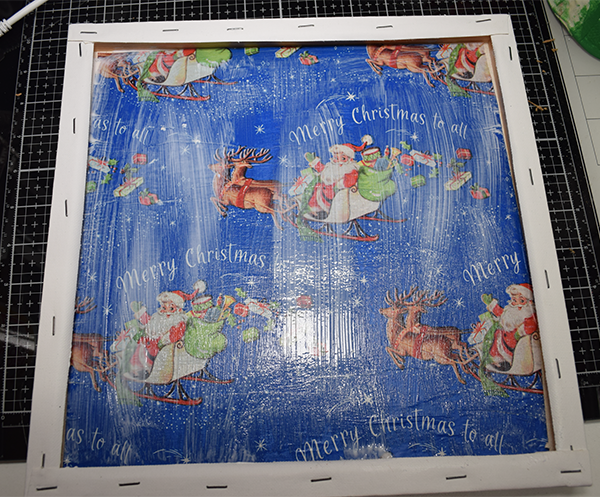
- Dollar Tree wrapping paper
- Dollar Tree gift bag with an image or sene
- Acrylic paint
- Mod Podge
- Christmas ribbon
- Jingle bells
- Hot Glue
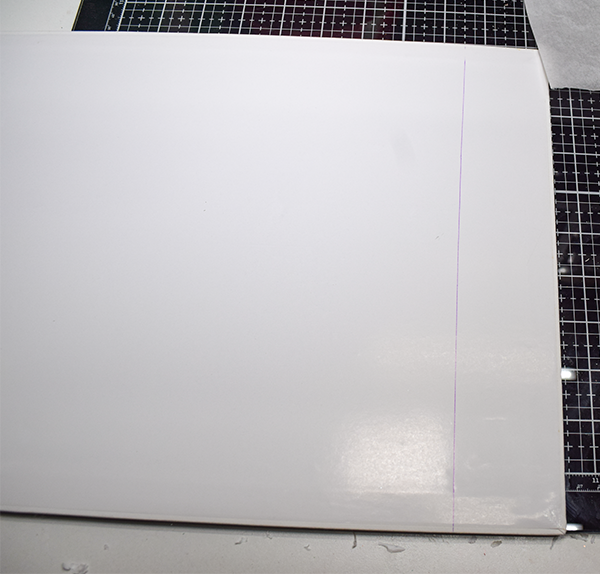
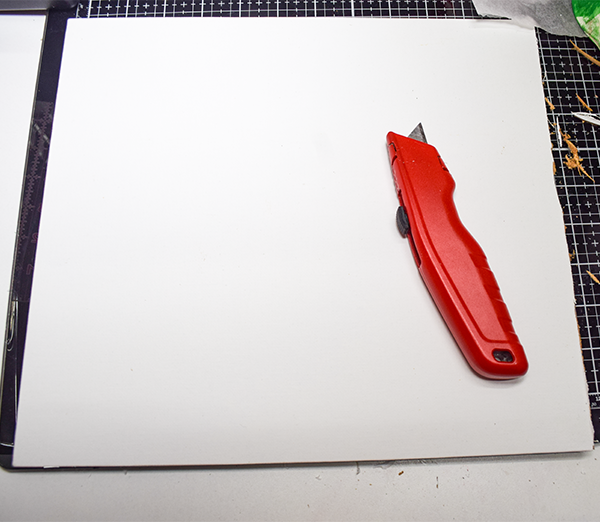
Step 1: Cut the Canvas BoarD
Using a utility knife reduce the size of the canvas board to 11″ x 11″. I just placed a ruler where I wanted the cut and followed the line with my knife twice. I folded the board where the cut was and then cut down the remaining cardboard.
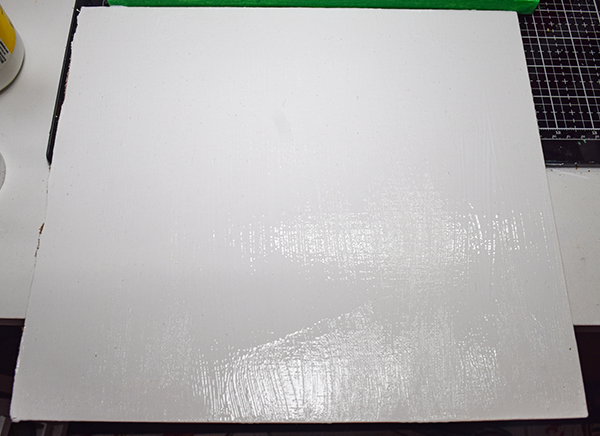
Step 2: Decoupage the canvas Board
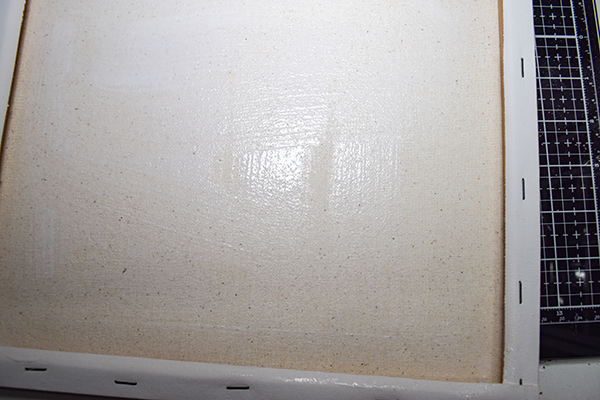
Add a relatively thick layer of Mod Podge. Because I used a Dollar Tree gift bag I used a thicker coat because of the thickness of the bag. Let the Mod Podge dry. Cut out the scene you want to show through and place it onto the board. Cover it with a piece of parchment paper and press with an iron to adhere the bag to the board.
Step 3: Decoupage the Stretched Canvas
Add Mod Podge to the underside of the stretched canvas. Let dry. Cut a piece of wrapping paper to fit the inside of the stretched canvas. Again add some parchment paper and press.
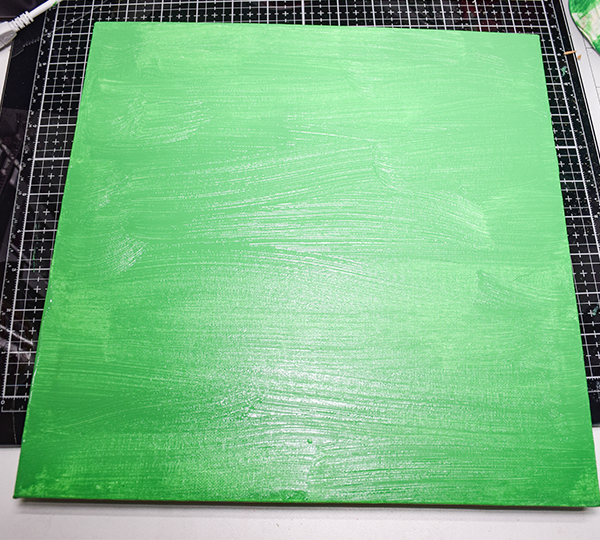
Step 4: Paint the top of the canvas
Paint the front of the stretched canvas in a color that coordinates with your wrapping paper. I used green to counter all of the blue and to emphasize the trees.
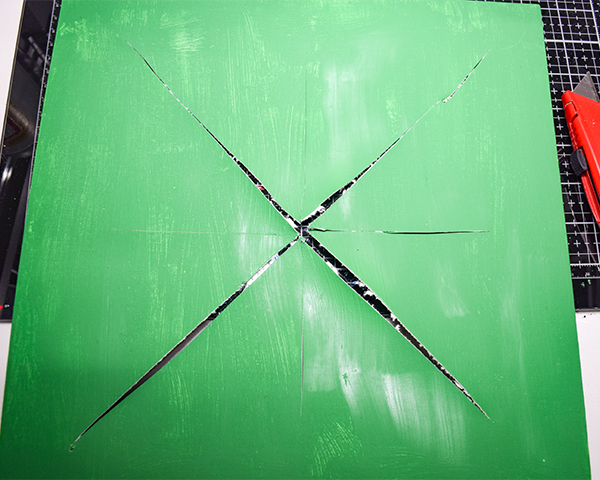
Step 5: Cut the Stretched Canvas
Take a craft knife and cut the canvas from corner to corner and then from side to side. I used a ruler for this but you can eyeball if you like. Hot glue the canvas board to the back of the canvas.
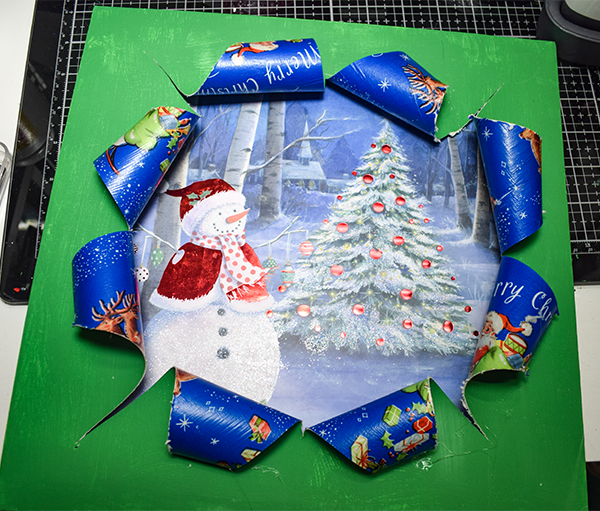
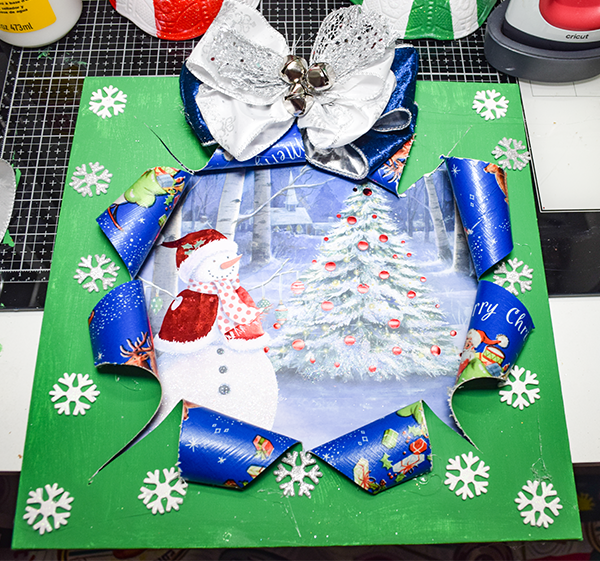
Step 6: Roll Back the Cut Canvas
Using a pencil roll back the cut pieces of the canvas. Hot glue the corners to the front of the canvas.
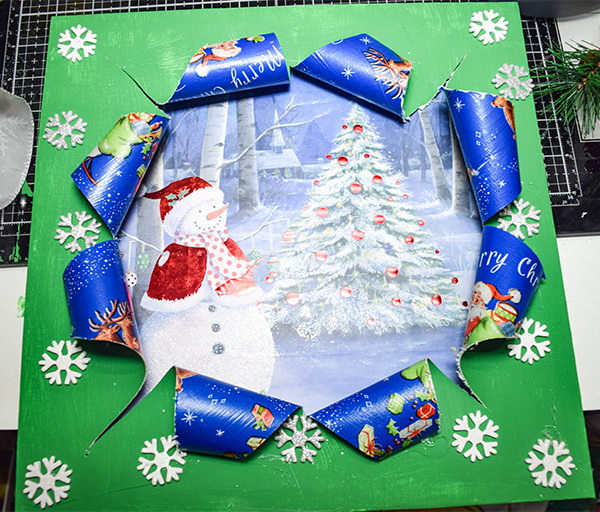
Step 7: Add the snowflakes
Step 8: Add the Bow
Take some ribbon and create a bow. Once the bow is created add some jingle bells as further embellishment. Once the bow is added you have finished your busted canvas craft. Enjoy.
I hope you enjoyed this simple Dollar Tree craft. If you would like more sewing and crafting projects subscribe to our free newsletter and receive your free Dollar Tree Holiday eBook.
For video tutorials of some of Sew Very Crafty's most popular posts subscribe to our free YouTube channel here.
Join our Sew Very Crafty Fans Facebook group
If you want to ask questions and share your projects join our Facebook group here. The community will help to achieve your sewing and crafting dreams.