
I am still on a travel kick and decided to create this DIY Train case for you. This may seem a little more complicated than the typical project on Sew Very Crafty but I really have been wanting to make one of these. It is a great travel project like many of the sewing projects I have been creating lately. This train case is the perfect makeup bag or carryon for small things like medications. There are a few more steps to this particular sewing project but it is worth it in the end. This is definitely an intermediate project. I would not recommend it for beginners. Any intermediate sewist should be able to complete this project with no problem so lets get started.
I used standard Cotton Fabrics for my DIY train case, some interfacing and a zipper. That's it. I purchased my fabrics at Joann's but you could head to Fabric.com or online fabricstore.net to get exactly what you need for your train case. This post contains affiliate links that if you click on them and make a purchase I may receive a small commission at no extra cost to you. As and Amazon Associate I earn from qualifying purchases.
What you will Need: How to Make a DIY Train Case
- Pattern Piece you can get from clicking on this link
- 1 yd outer and lining fabric
- 1/4 yd Pellon 808 interfacing
- 22″ zipper
- 52″ long bias binding to made from lining fabric
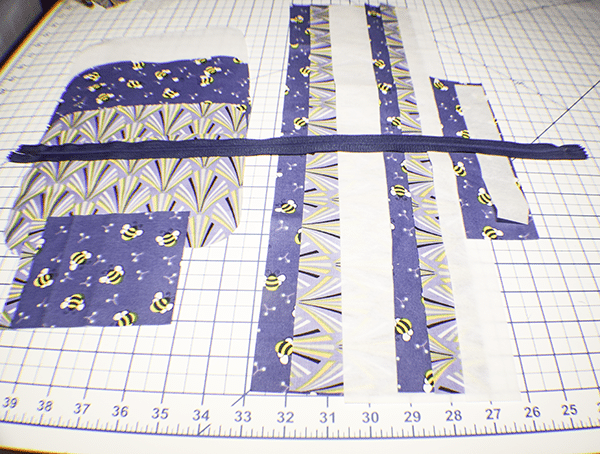
Step 1: Cut the Fabrics and Interfacing
- From the pattern piece cut two outer, two lining and two interfacing pieces.
- Cut one outer, lining and interfacing that measures 20 1/2″ x 3 1/2″
- Cut one outer, lining and interfacing that measures 20 1/2″ x 1 1/2″
- One outer that measures 2 3/8″ x 8 3/8″
- One interfacing piece that measures 1 1/8″ x 7 7/8″
- Cut one each of outer, lining and interfacing that measured 4″ x 4 3/4″
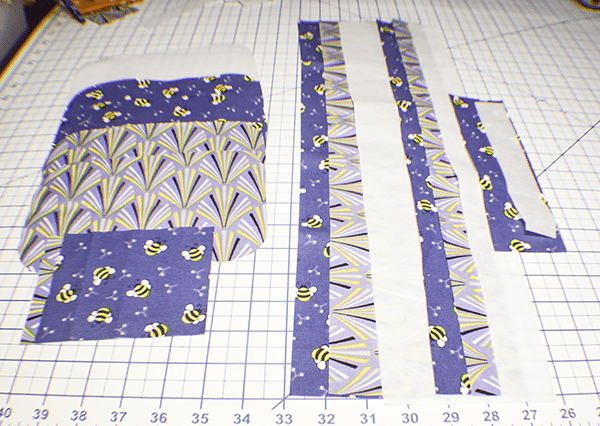
Step 2: Fuse the Interfacing
Using a hot iron and following the manufacturer's instructions fuse the interfacing to the wrong side of the outer fabric pieces.
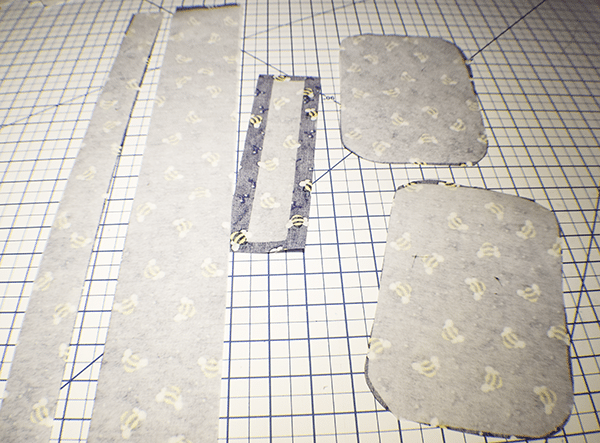
Step 3: Add the Zipper
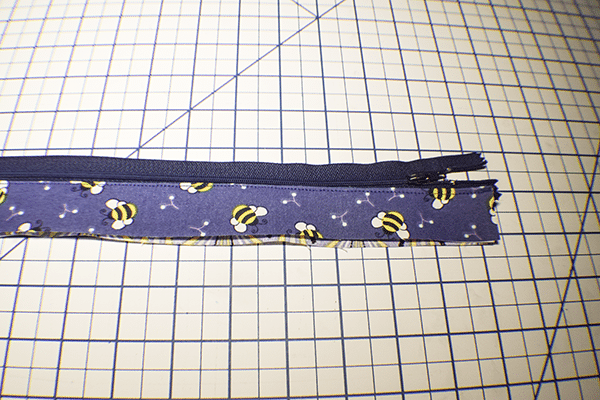
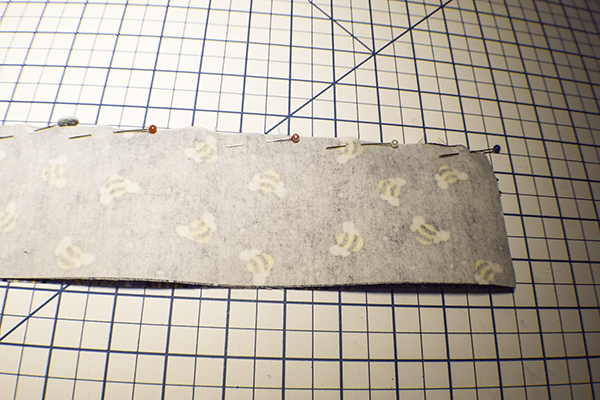
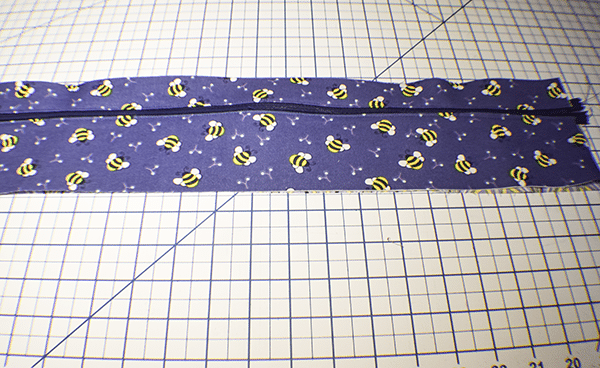
Place the lining piece that measures 20 1/2″ x 1 1/2″ right sides up n your work surface. Place the zipper right sides up on the lining piece and centered. Lay the outer piece that measures 20 1/2″ x 1 1/2″ wrong sides down on the zipper and pin making a zipper sandwich. Stitch the zipper through all layers using a zipper foot. Open up the zipper and press. Top stitch along the zipper. Place the right side of the other side of the zipper onto the lining of the 20 1/2″ x 3 1/2″ piece. Lay the corresponding outer piece on top of the zipper to make a zipper sandwich. Pin. Stitch the zipper through all layers. Open the zipper, press and top stitch.
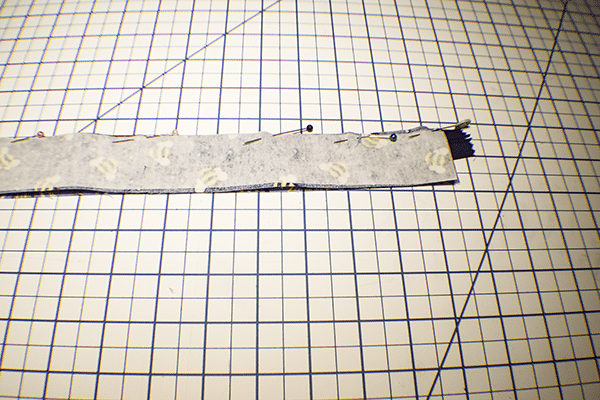
Step 4: Add the Back Tab
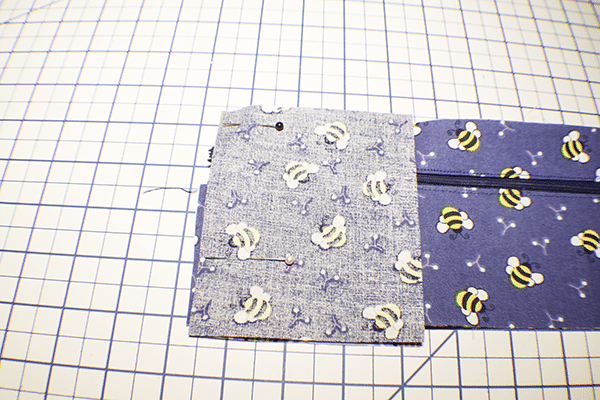
Take the outer and lining pieces that measure 4″ x 4 3/4″ and place them right sides together on the left side of the zipper placket making a sandwich. Stitch using a 3/8″ seam allowance. Press open and top stitch along the seam. Place the other end of the zipper placket right sides together with the outer back tab piece only and stitch using a 3/8″ seam allowance. Roll up the placket so that the lining part of the back tab can fold over the roll and meet up with the end of the zipper placket. Stitch together using a 3/8″ seam allowance. Unfold and press. Topstitch along the seam.
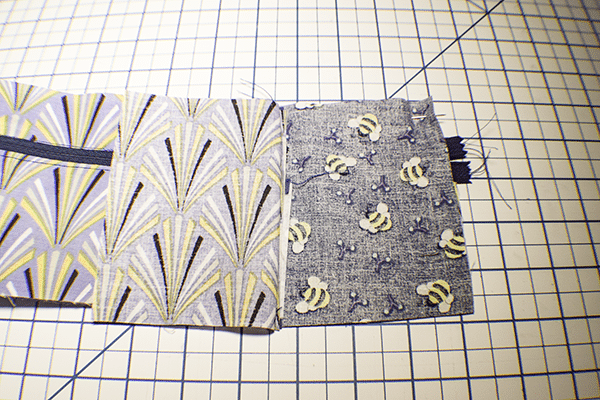
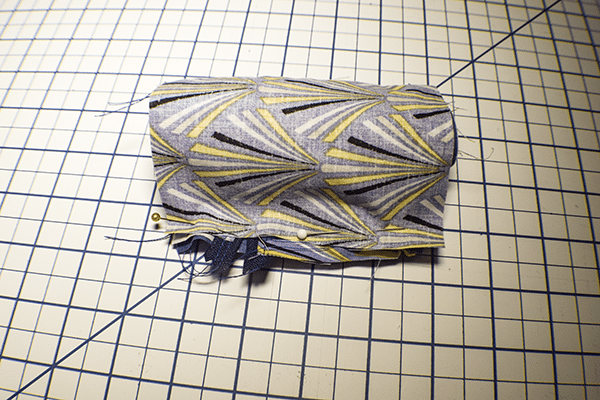
Step 5: Create the Bottom Panel
Place the outer bottom panel and the lining bottom panel wrong sides together and pin. Stitch together using a 1/4″ seam allowance.
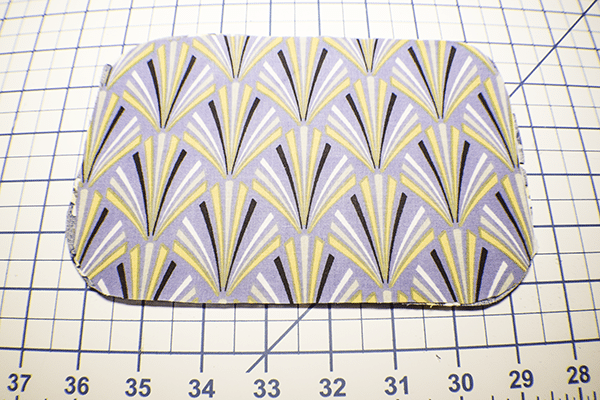
Step 6: Add the Bottom Panel
Take the zipper placket and fold it in half to find the center points and mark. Fold in half the opposite direction and find the other center points. Do the same thing for the bottom panel. Place the panel right sides together with the zipper placket matching all the center marks. Clip the corners when necessary to match them. Stitch the bottom to eat zipper placket.
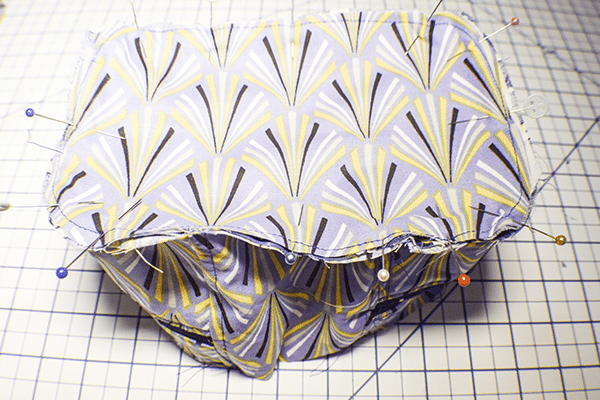
Step 7: Add the Back Bias Binding
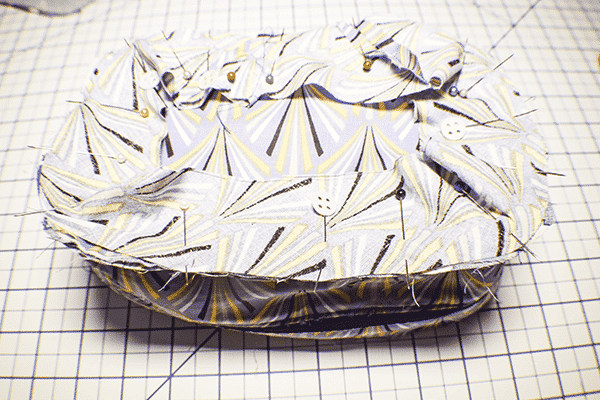
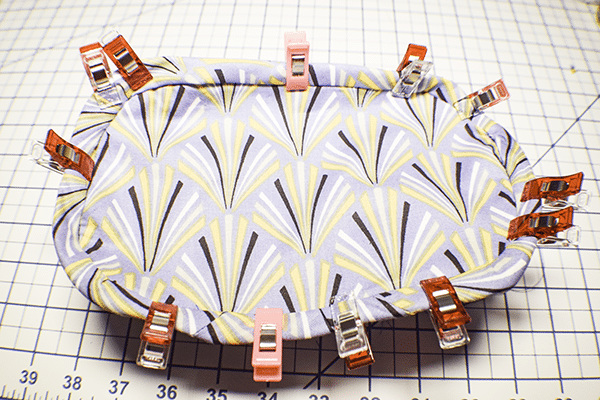
Create your own bias binding using my how to create bias binding tutorial or use pre-made bias binding. I used 2″ bias binding but you could use 1 1/2″ and it would look a bit cleaner. +Place the raw edge of the binding on the bottom raw edge of the train case. Pin the binding all the way around the raw edge. Cut the raw edges of the binding to meet comfortably and stitch right sides together. Stitch the binding to the bottom along the first fold. This can be a little fidgety so take your time. Fold the binding over the raw edge and fold the the raw edge under and pin. Hand stitch the binding to the zipper placket concealing the raw edges. Use ladder stitch to keep the stitches invisible.
Step 8: Create the Handle
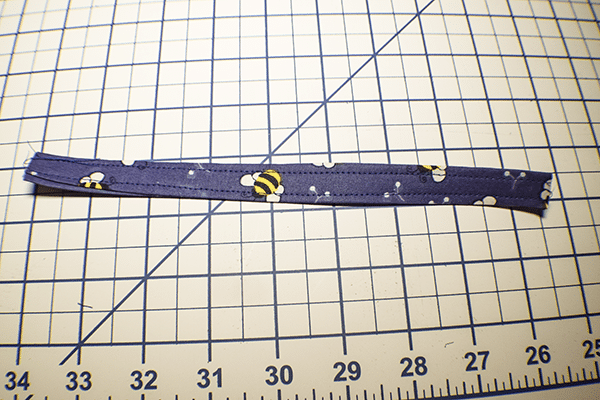
Take the 2 3/8″ x 8 3/8″ and fold in the long edges and press. Fold in half lengthwise and press again. Topstitch along both sides to secure.
Step 9: Add the Handle to the Top
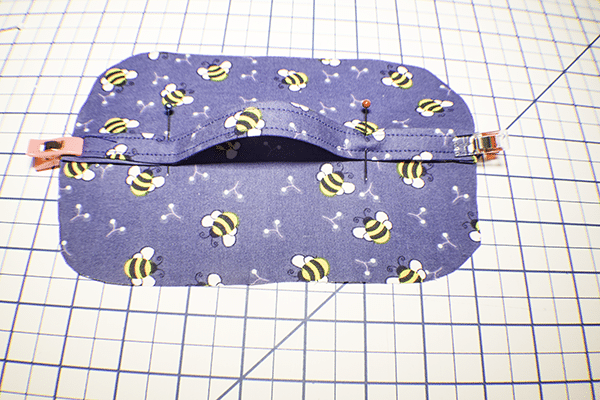
Fold the outer top piece in half lengthwise to find the center points and mark them. Place the handle on the marks and pin. Measure in 2″ from each side and pin the handle. Stitch the handle to the top by stitching a rectangle along each side of the handle.
Step 10: Create the Top
Add the top lining piece wrong sides together with the outer lining piece top and stitch using a 1/4 inch seam allowance.
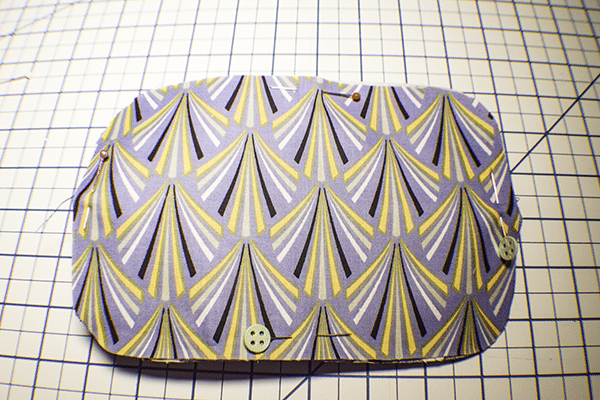
Step 11: Add the Top to the Train Case
Add the top of the train case in exactly the same way you added the bottom. Make sure the zipper is unzipped when you do this or you won't be able to get it open.
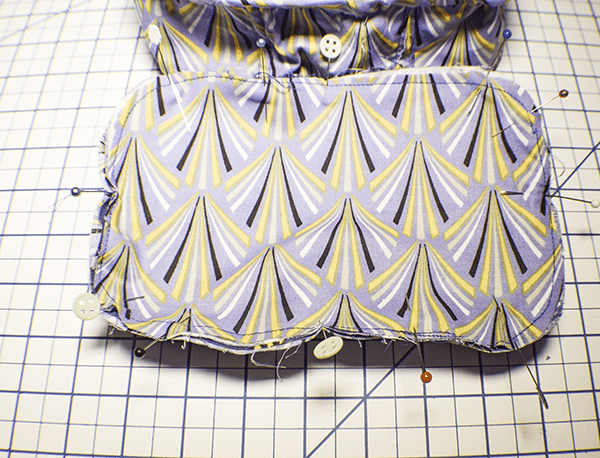
Step 12: Add the top Bias Binding
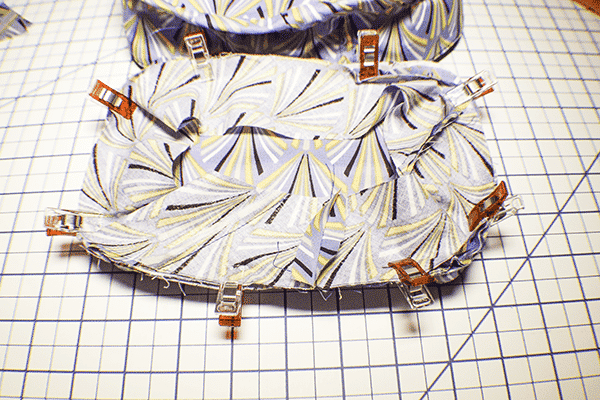
Add the top bias binding in the same way that you added the bottom bias binding. You have now finished your DIY Train Case.


I hope you enjoyed this DIY train case tutorial. If you would like more sewing and crafting tutorials subscribe to our newsletter and receive your free eBook of 15 handbag patterns and tutorials taken from the blog.
If you would like video tutorials of some of Sew Very Crafty's most popular posts subscribe to our free YouTube channel here.


