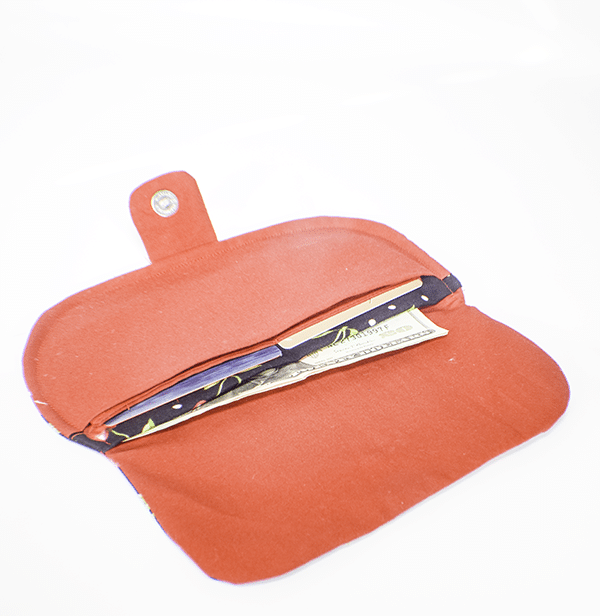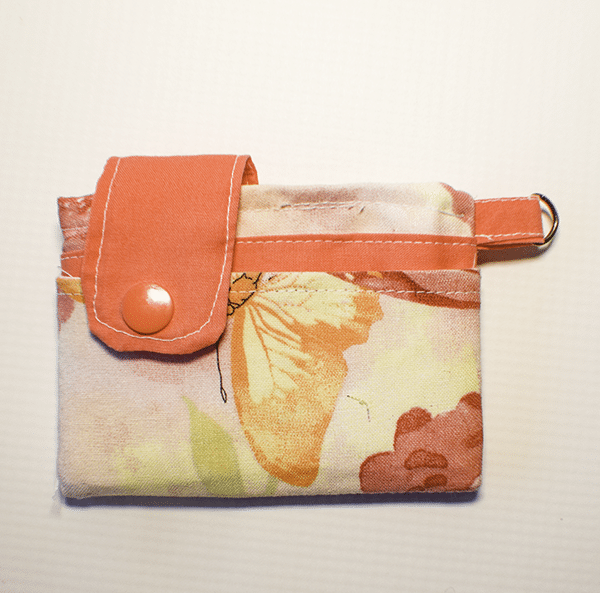
This small credit card holder is another project I got from Sewing Times on YouTube. Its a simple and cute little credit card holder that any beginning sewist can make using basic sewing skills. You can put your ID, credit cards and some money into this little holder and attach if to your keys toss it in your purse or backpack. It is super convenient for travel since I am in a travel mood these days. I am tired of being cooped up and am planning a trip. This little credit card holder will be very convenient and handy as a trek along the way.
I used basic cotton and SF 101 for this project. I purchased all of my fabrics and interfacing at JOANN Fabric & Craft Stores![]() but you can head to Fabric.com or onlinefabricstore.net to get exactly what you need for your project. This post contains affiliate links that if you click on them and make a purchase I may receive a small commission at no extra cost to you. As an Amazon Associate I earn from qualifying purchases.
but you can head to Fabric.com or onlinefabricstore.net to get exactly what you need for your project. This post contains affiliate links that if you click on them and make a purchase I may receive a small commission at no extra cost to you. As an Amazon Associate I earn from qualifying purchases.
What you will Need: How to Make a Small Credit Card Holder
- 1/4 yd each of outer, and two lining fabrics; one patterned and one solid
- 1/4 yd Pellon SF101 or similar interfacing
- 1 Kam Snap
- 1 1/2″ D Ring
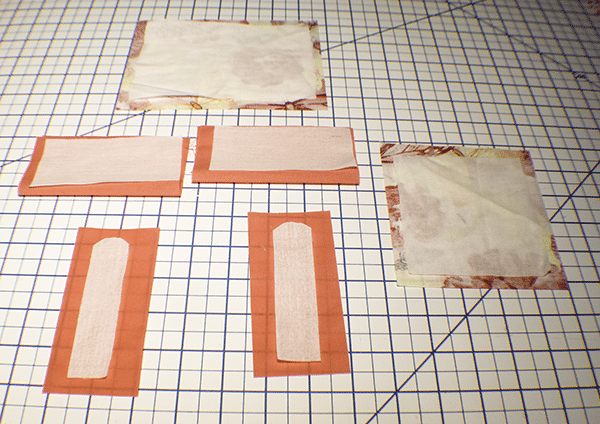
Step 1: Cut the Fabrics
- 1 outer and patterned lining fabric that measures 5″ x 6 3/4″
- 1 outer, 1 patterned lining and 2 solid lining that measure 5″ x 4 3/4″
- 2 Solid fabric pieces that measure 1 3/4″ x 4 3/4″
- 1 Solid piece that measured 1 5/8″ x 2″
- SF101 that measures 4 1/4″ x 6″, 4 1/4″ x 4″, two that measure 4 1/4″ x 2″ and two that measure 1″ x 4″
Step 2: Fuse the Interfacing
Fuse the 4 1/4″ x 6″ piece of interfacing to the wrong side of the outer piece that measured 5″ x 6 3/4″. Fold the solid fabric pieces that measure 5″ x 4 3/4″ in half lengthwise to find the center. Fuse the 4 1/4″ x 2″ interfacing pieces to one half of each of the solid colored pieces. Fuse the 4 1/4″ x 4″ piece of interfacing to the 5″ x 4 3/4″ outer piece. Take the 1″ x 4″ Pieces of interfacing and fold in half lengthwise. round the corners at one end . Fuse the interfacing pieces to the 1 3/4″ x 4 3/4″ pieces of solid colored fabric.
Step 3: Stitch the Squares
Take the 5″ x 4 3/4″ outer and patterned lining pieces and place them right sides together. Stitch along the top and bottom long edges using a 3/8″ seam allowance. Turn right sides out and press. Topstitch along the top and the bottom seams. Fold the solid colored pieces right sides together. Stitch the bottom raw edges of the folded solid pieces also using a 3/8″ seam allowance. Turn right sides out and press. Topstitch along the fold.

Step 4: Create the Snap Tab
Place the 1 3/4″ x 4 3/4″ pieces right sides together and stitch all the way around the interfacing leaving an opening at the side for turning. Trim around corners, notch and turn right sides out and press. Topstitch all the way around enclosing the opening.
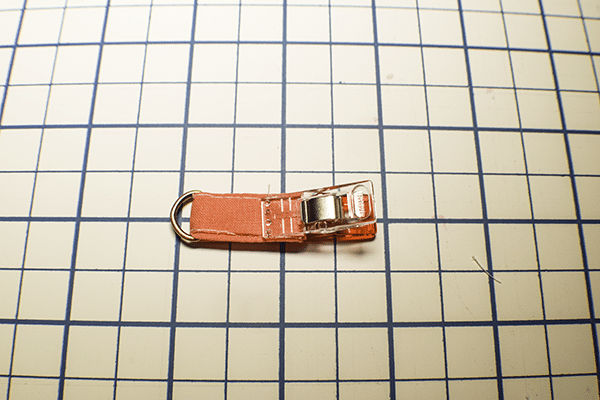
Step 5: Create the D-Ring tab
Take the 1 5/8″ x 2″ piece and fold the raw edges into the center and press. Fold in half to enclose the raw edges and press. Topstitch along both sides.
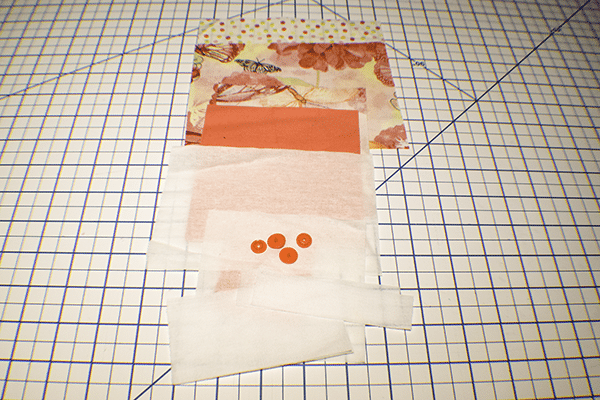
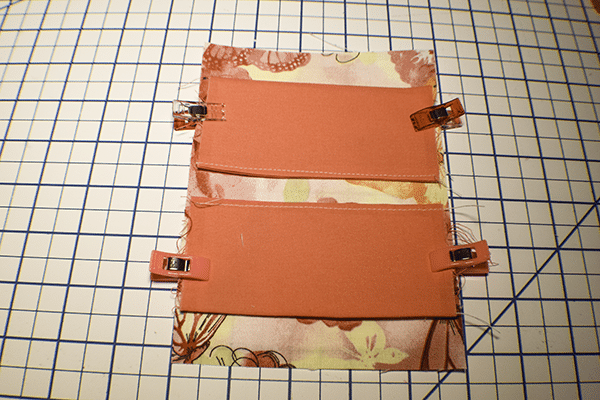
Step 6: Add the Solid Colored Pieces to the Main Outer Piece
Take the main outer piece that measures 5″ x 6 3/4″ and measure down 7/8″ from the top and up 7/8″ from the bottom and mark. Place the folded side of the solid colored pieces on the marks you just made. Stitch along the bottoms of the solid colored fabric opposite of the topstitching. ******NOTE the pieces in the picture are upside down.*******

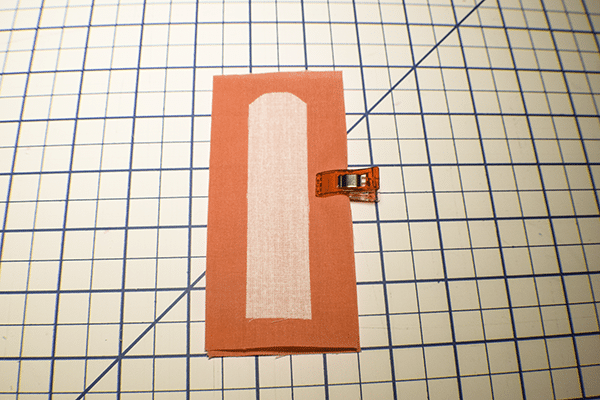
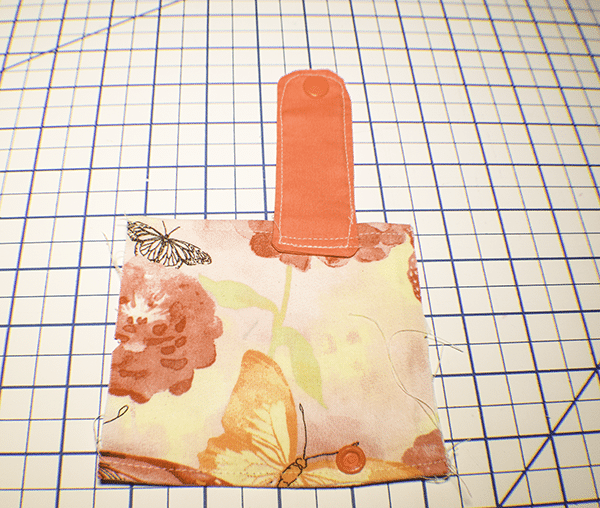
Step 7: Add the Snap Tab
Take the solid colored snap piece and measure up 5/8″ from the bottom and mark. Take the square piece you stitched in step 3 and measure in from the right side 1 3/4″. Place the snap piece on that mark lining up the 5/8″ mark with the top raw edge. Stitch the bottom of the snap piece to the square using two lines of stitching.
Step 8: Add the Kam Snap
Measure down 3/8″ from the curve of the snap piece and mark. Place one half of the Kam Snap on this mark so that the snap part is facing away from the outer fabric. Place the other half of the Kam Snap on the bottom of the square. With the patterned lining side facing you measure 1 3/4″ from the left and make a mark. Measure up from the bottom 3/8″ and make another mark. Place the other half of the Kam snap where the two marks intercept with the snap part facing to the opposite side.
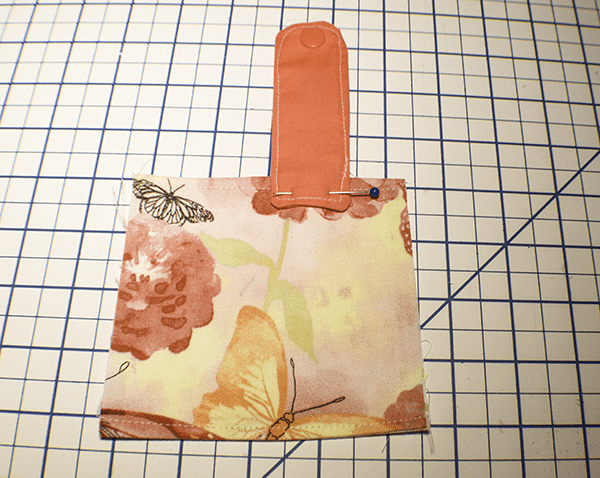
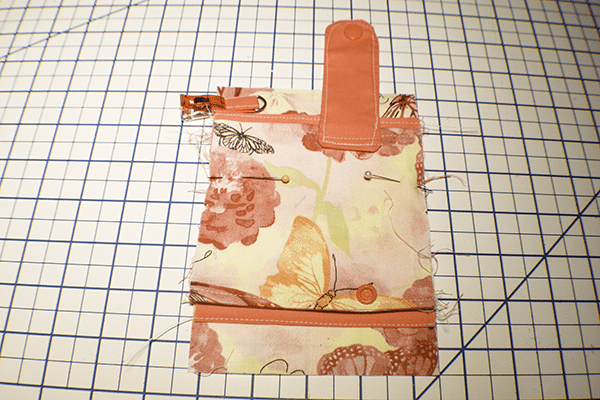
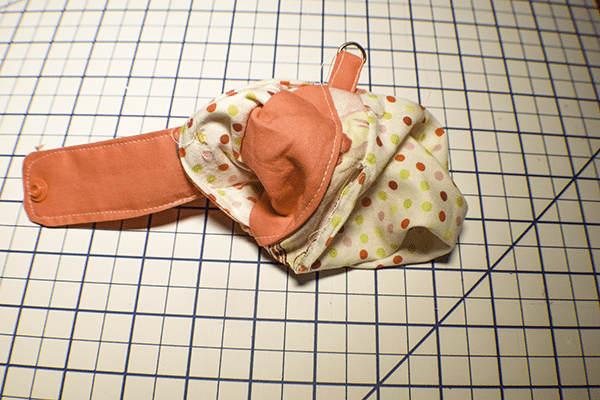
Step 9: Assemble to Holder
Find the center of the main piece and the square piece. place the square piece onto the main piece matching the centers and clip. Place the d-ring tab just above the top solid colored pocket piece and clip. Stitch across the center and along the D-Ring tab.
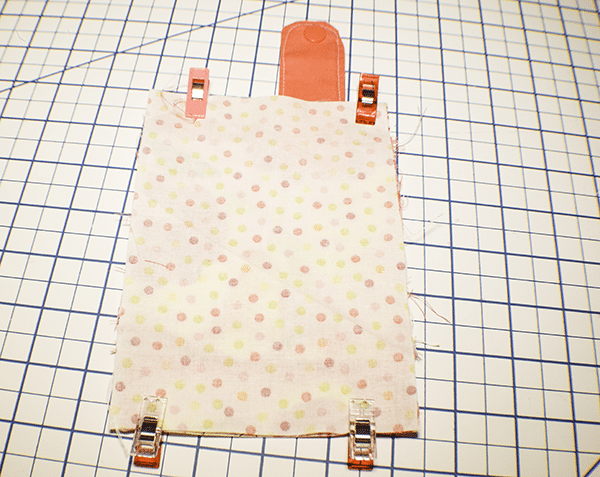
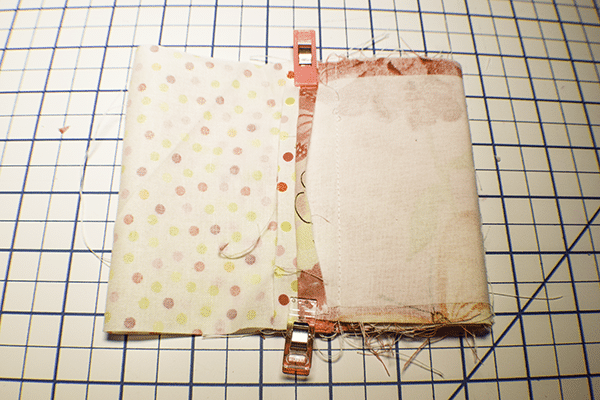
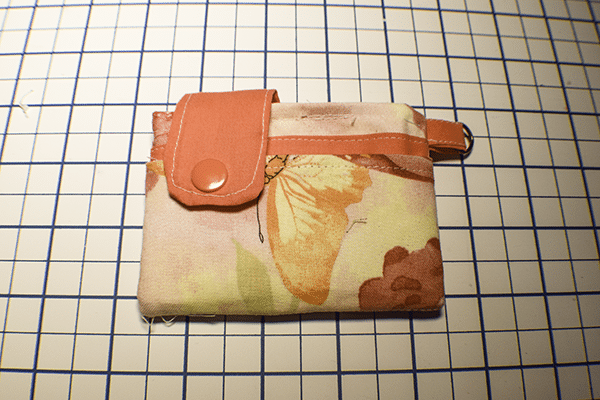
Step 10: Add the Final Lining Piece
Place the final main lining piece right sides together with the holder. Stitch along the top and bottom leaving an opening where the snap piece is. Fold the piece so that the outer pieces are matching and the lining pieces are matching and clip. Stitch along both sides. Clip the corners. Trim the seams. Turn the holder right sides out through the opening in the snap tab. Topstitch all along the top of the holder to close up the opening and for a more professional look.
I hope you enjoyed this credit card holder. I f you would like more sewing and crafting projects sign up for our newsletter and receive access to our free Printables Library
If you would like video tutorials of some of Sew Very Crafty's most popular posts subscribe to our free YouTube channel here.