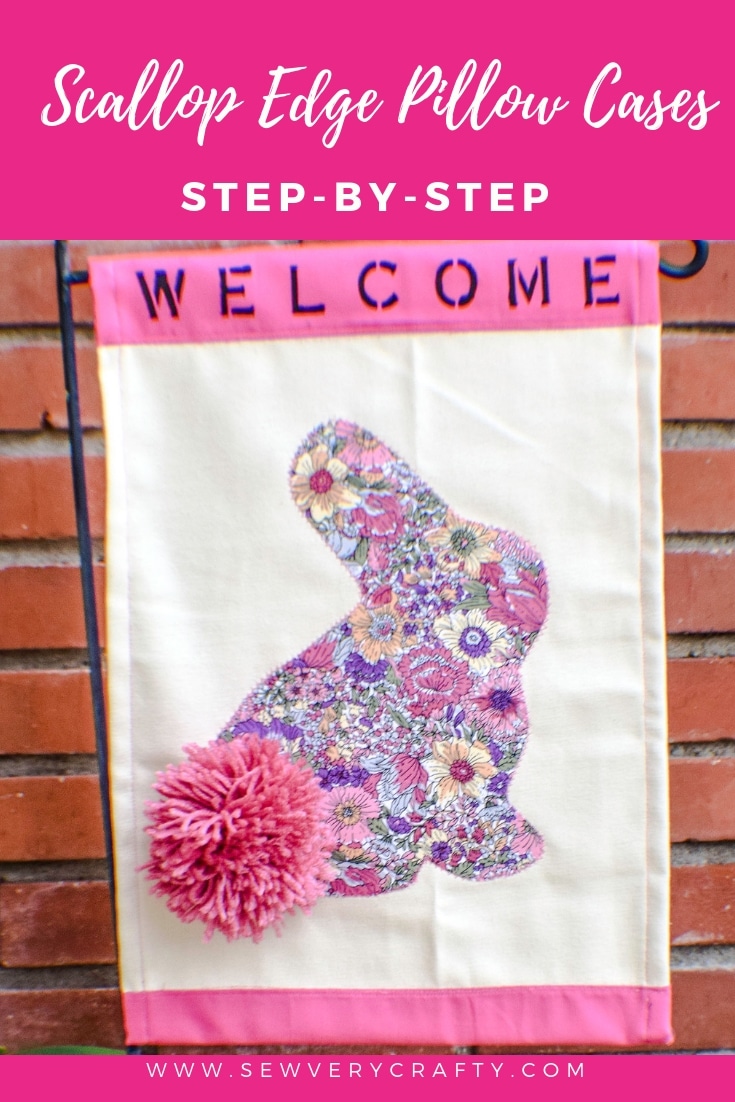
Make an Easter Garden Flag
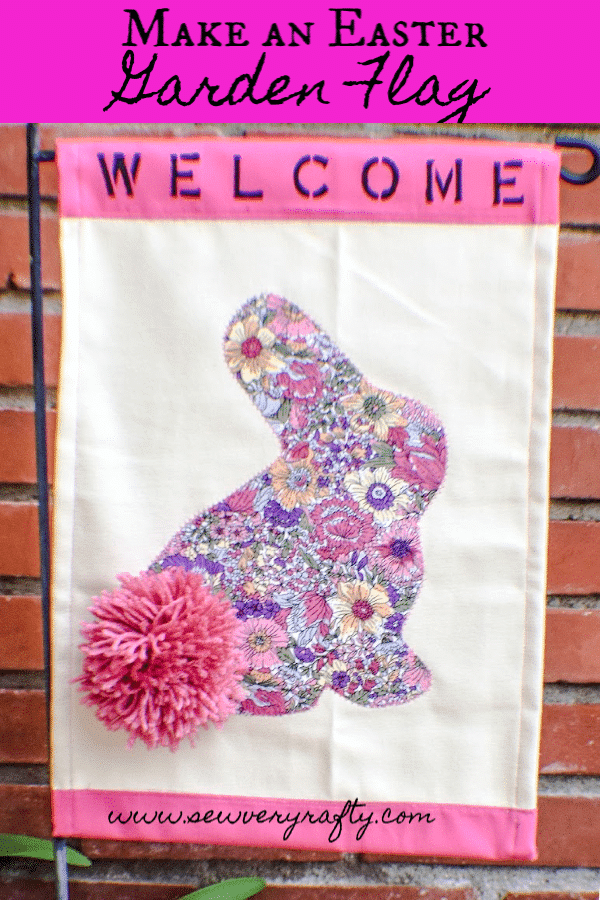
I always have a welcome or holiday garden flag at the front of my home. I just love changing them out for the different times of year so I thought I would make one for Easter this year. Of course, I have a store bought version but I really wanted to make one myself so I dove into my stash of remnants to see what I had that would work for this project. I managed to pull together some fabrics that I thought would work for this project but you could use just about anything. Ripstop Nylon would be a good primary fabric for an outdoor flag but I didn't have any on hand so I used what I had. Why not?
This is a simple project to make and you can decorate your flag for whatever season or holiday that you like. I used remnants as I often do because it saves me money. Remnants are half off at my local fabric store. But, if you need fabrics for this project I recommend that you head to Hobby Lobby and Fabric.com to get exactly what you need quickly and inexpensively. This post contains affiliate links that if you click on them and make a purchase I may receive a small commission at no extra cost to you.
What you will Need:
- Pattern
- 21 1/2″ x 14 1/2″ Primary fabric
- 10″ x 14 1/2″ contrast Fabric
- Fat quarter of accent fabric
- 1/4 yd fusible web
- Yarn
- Stencil
- Fabric or acrylic paint
- Sponge brush
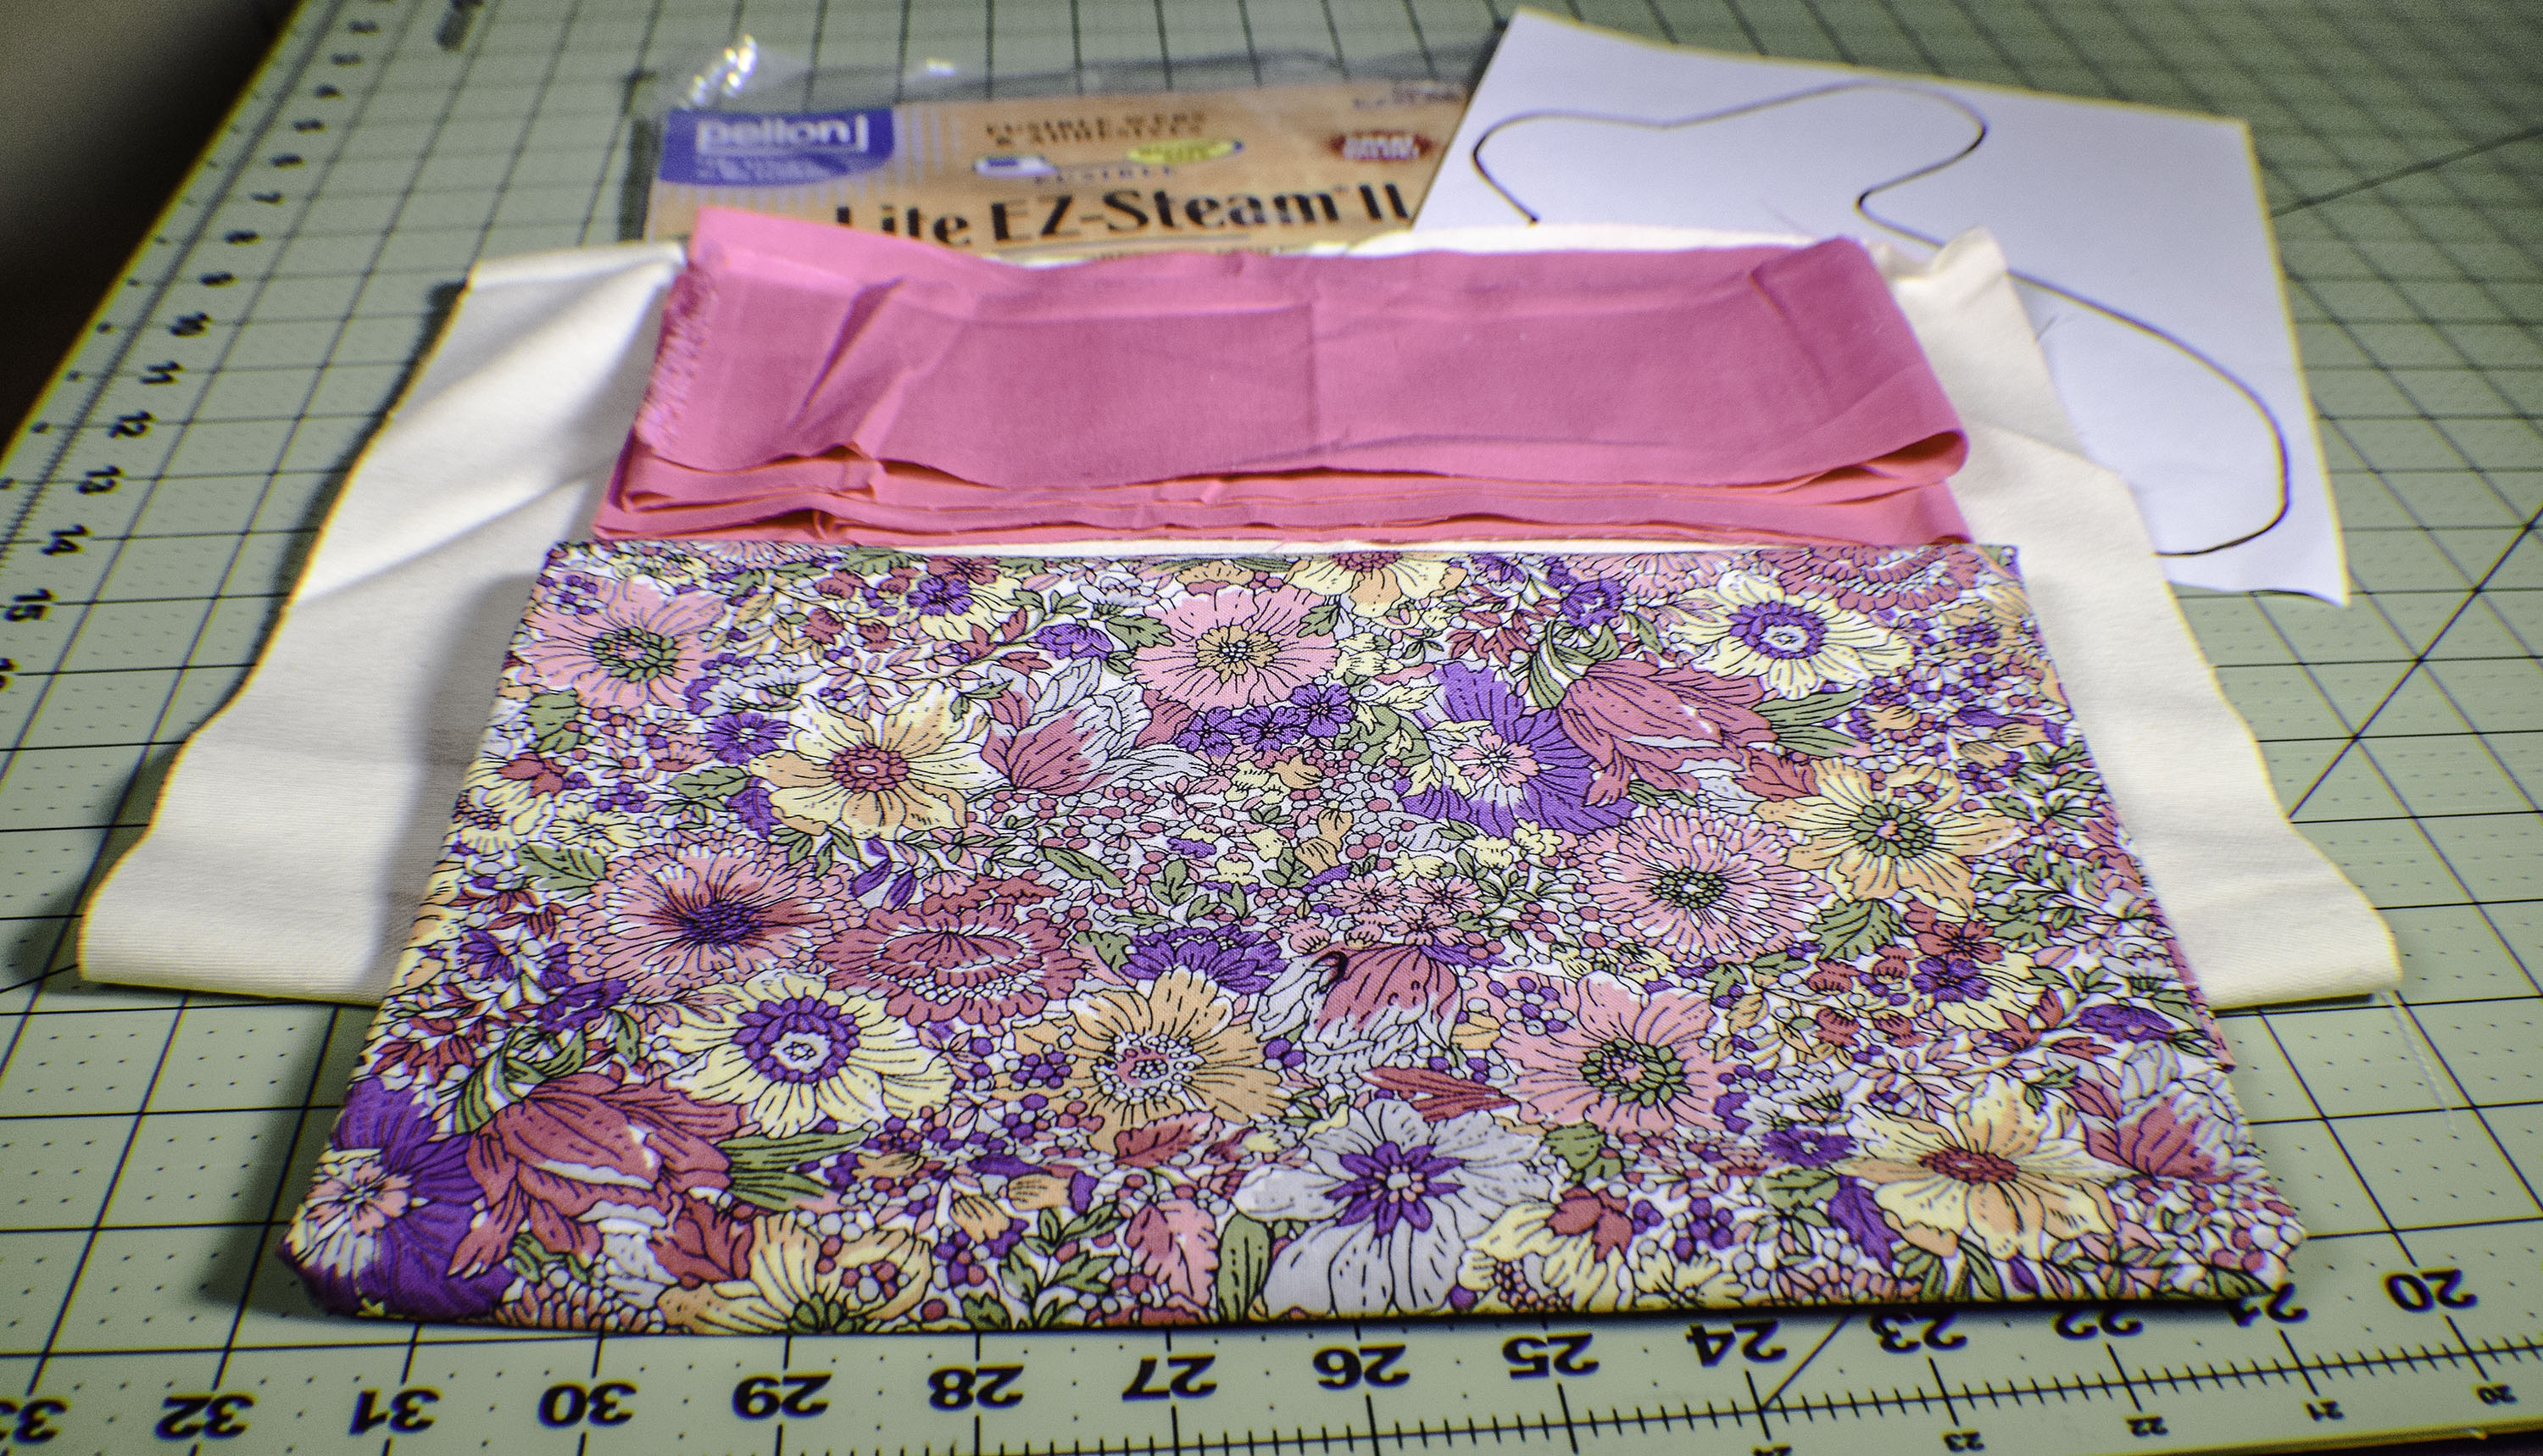
Step 1: Cut out Your Fabrics
Cut your fabrics as follows:
- 21 1/2″ x 14 1/2″ primary fabric. I used Denim
- 3 1/2″ x 14 1/2″ contrast fabric. I used cotton.
- 5″ x 14 1/2″ contrast fabric
- Cut the pattern piece from the accent fabric
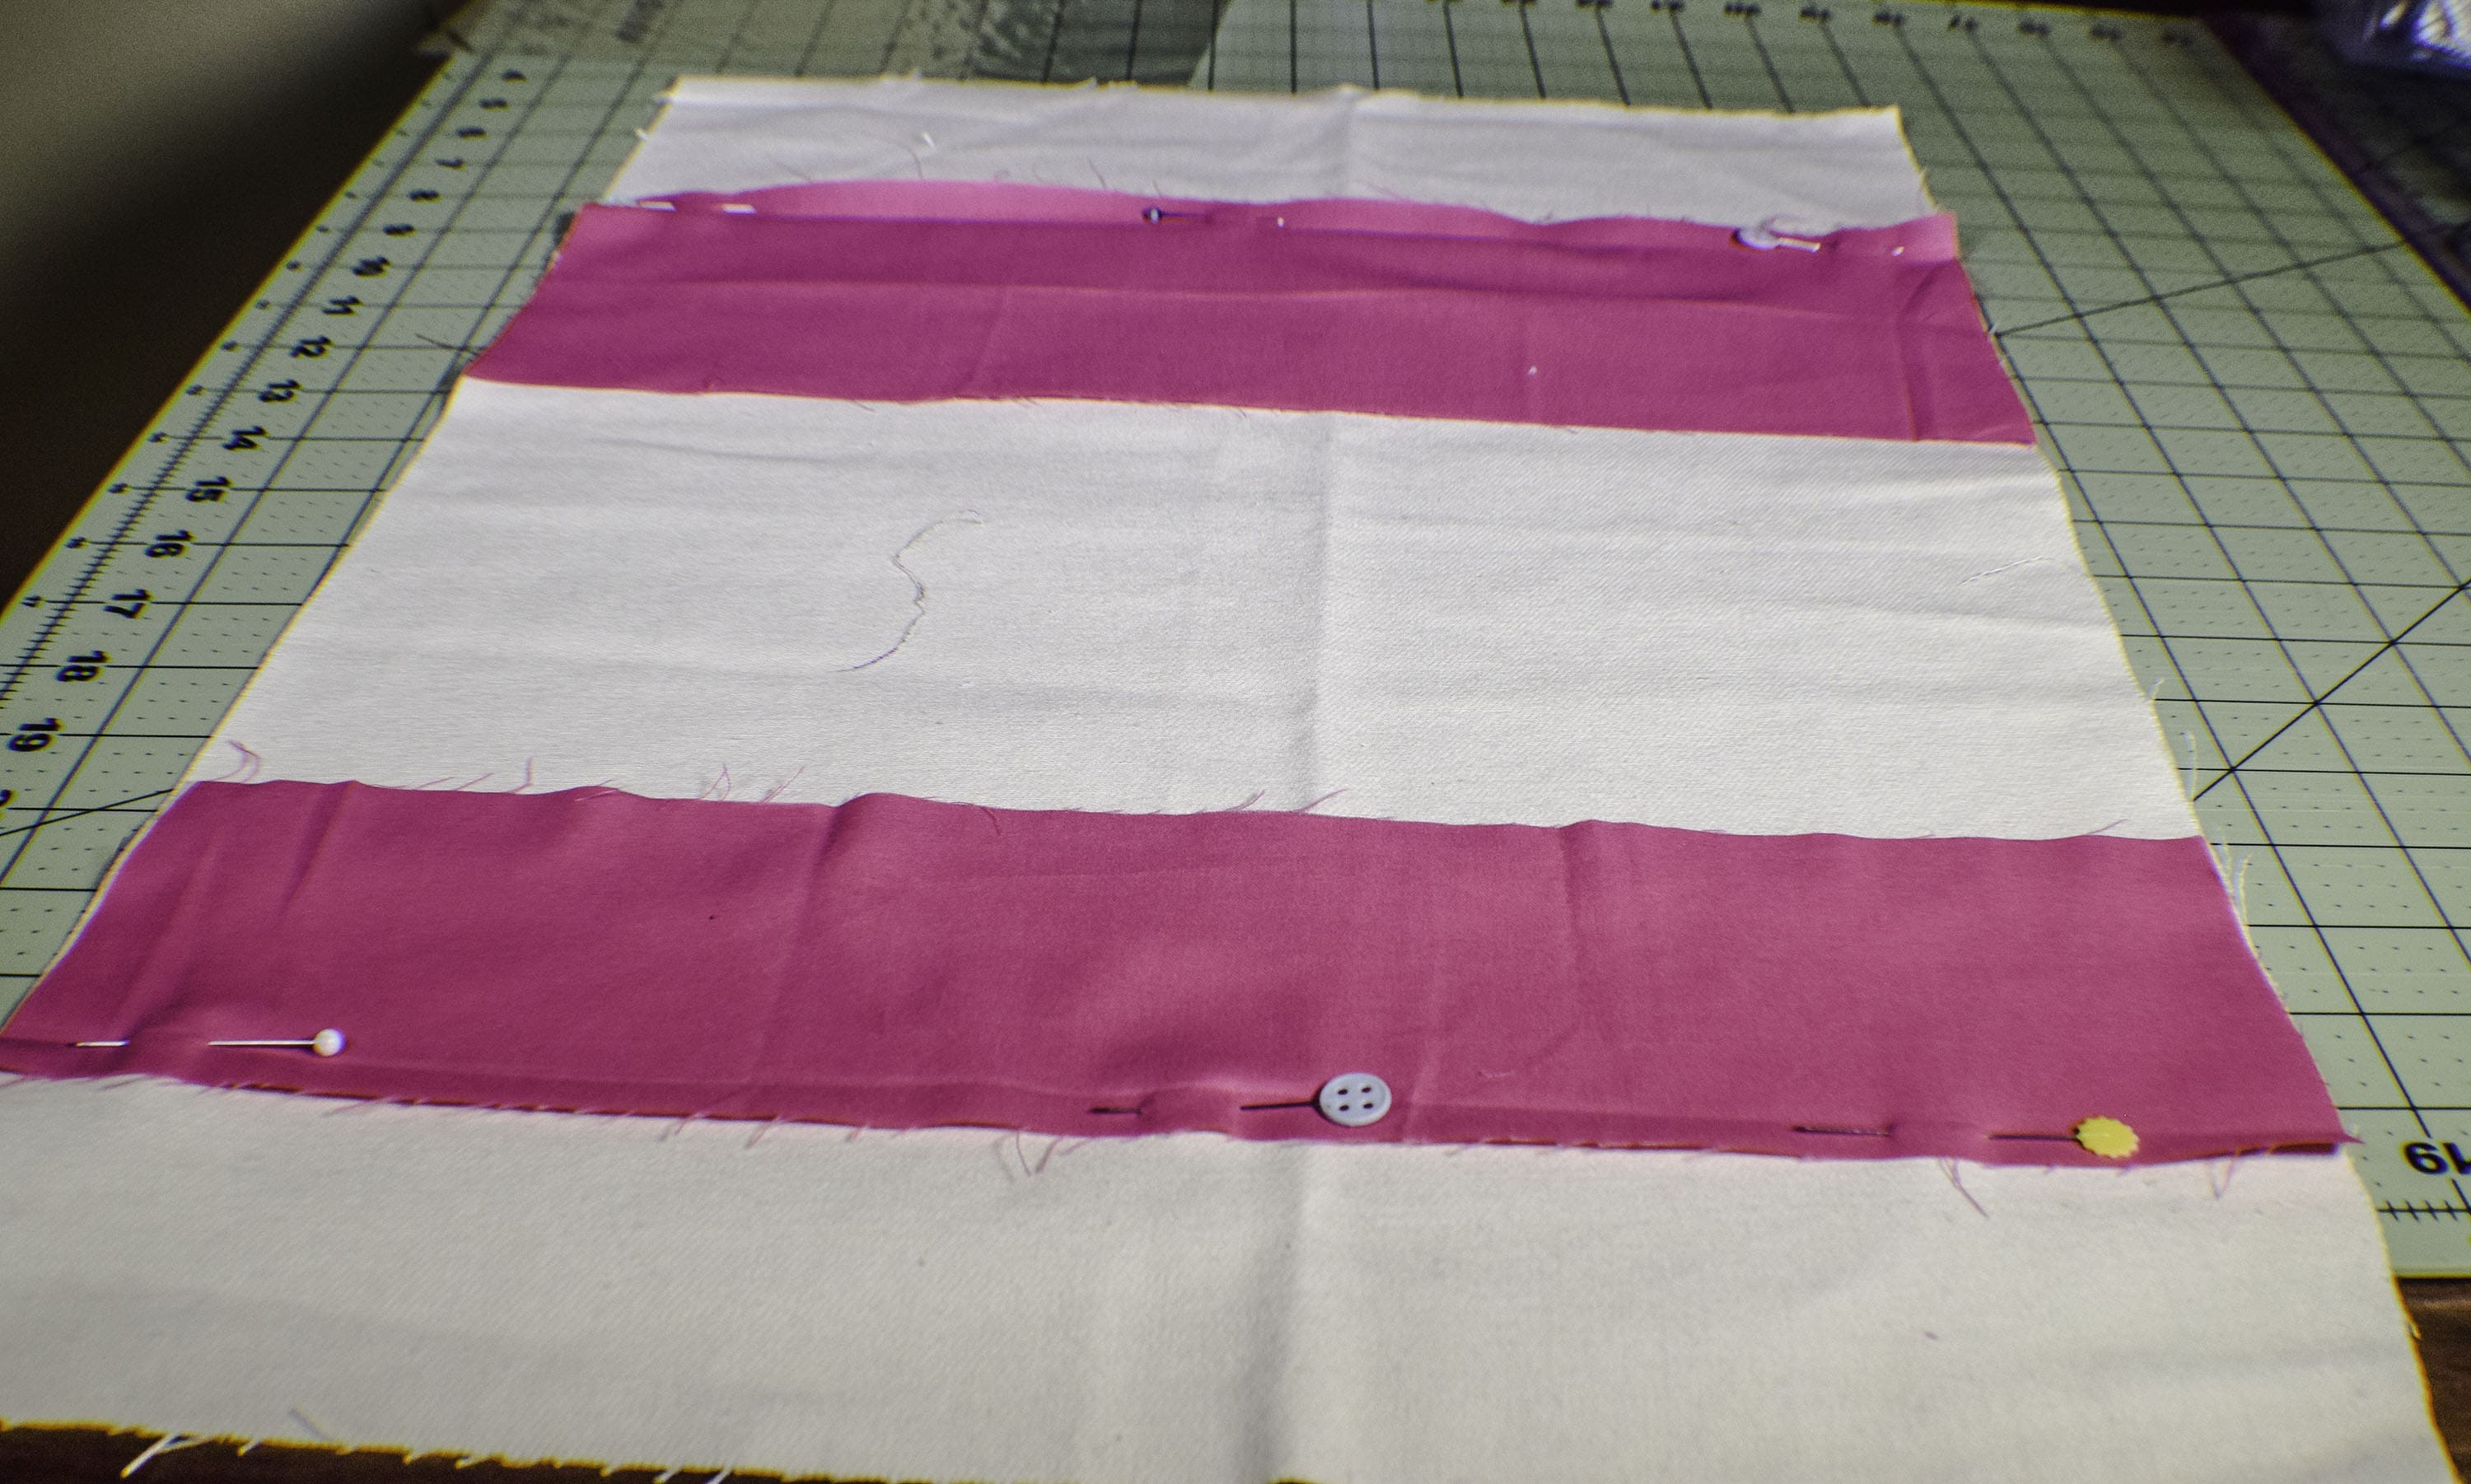
Step 2: Add the Contrast Fabric
From the top, measure down 4 3/4″ and place the 5″ contrast fabric so that it is facing wrong sides down. Sew the contrast fabric using a 1/4″ seam allowance. Measure up from the bottom 2 1/2″ and place the other contrast piece wrong side down. Again attach it using a 1/4″ seam allowance.
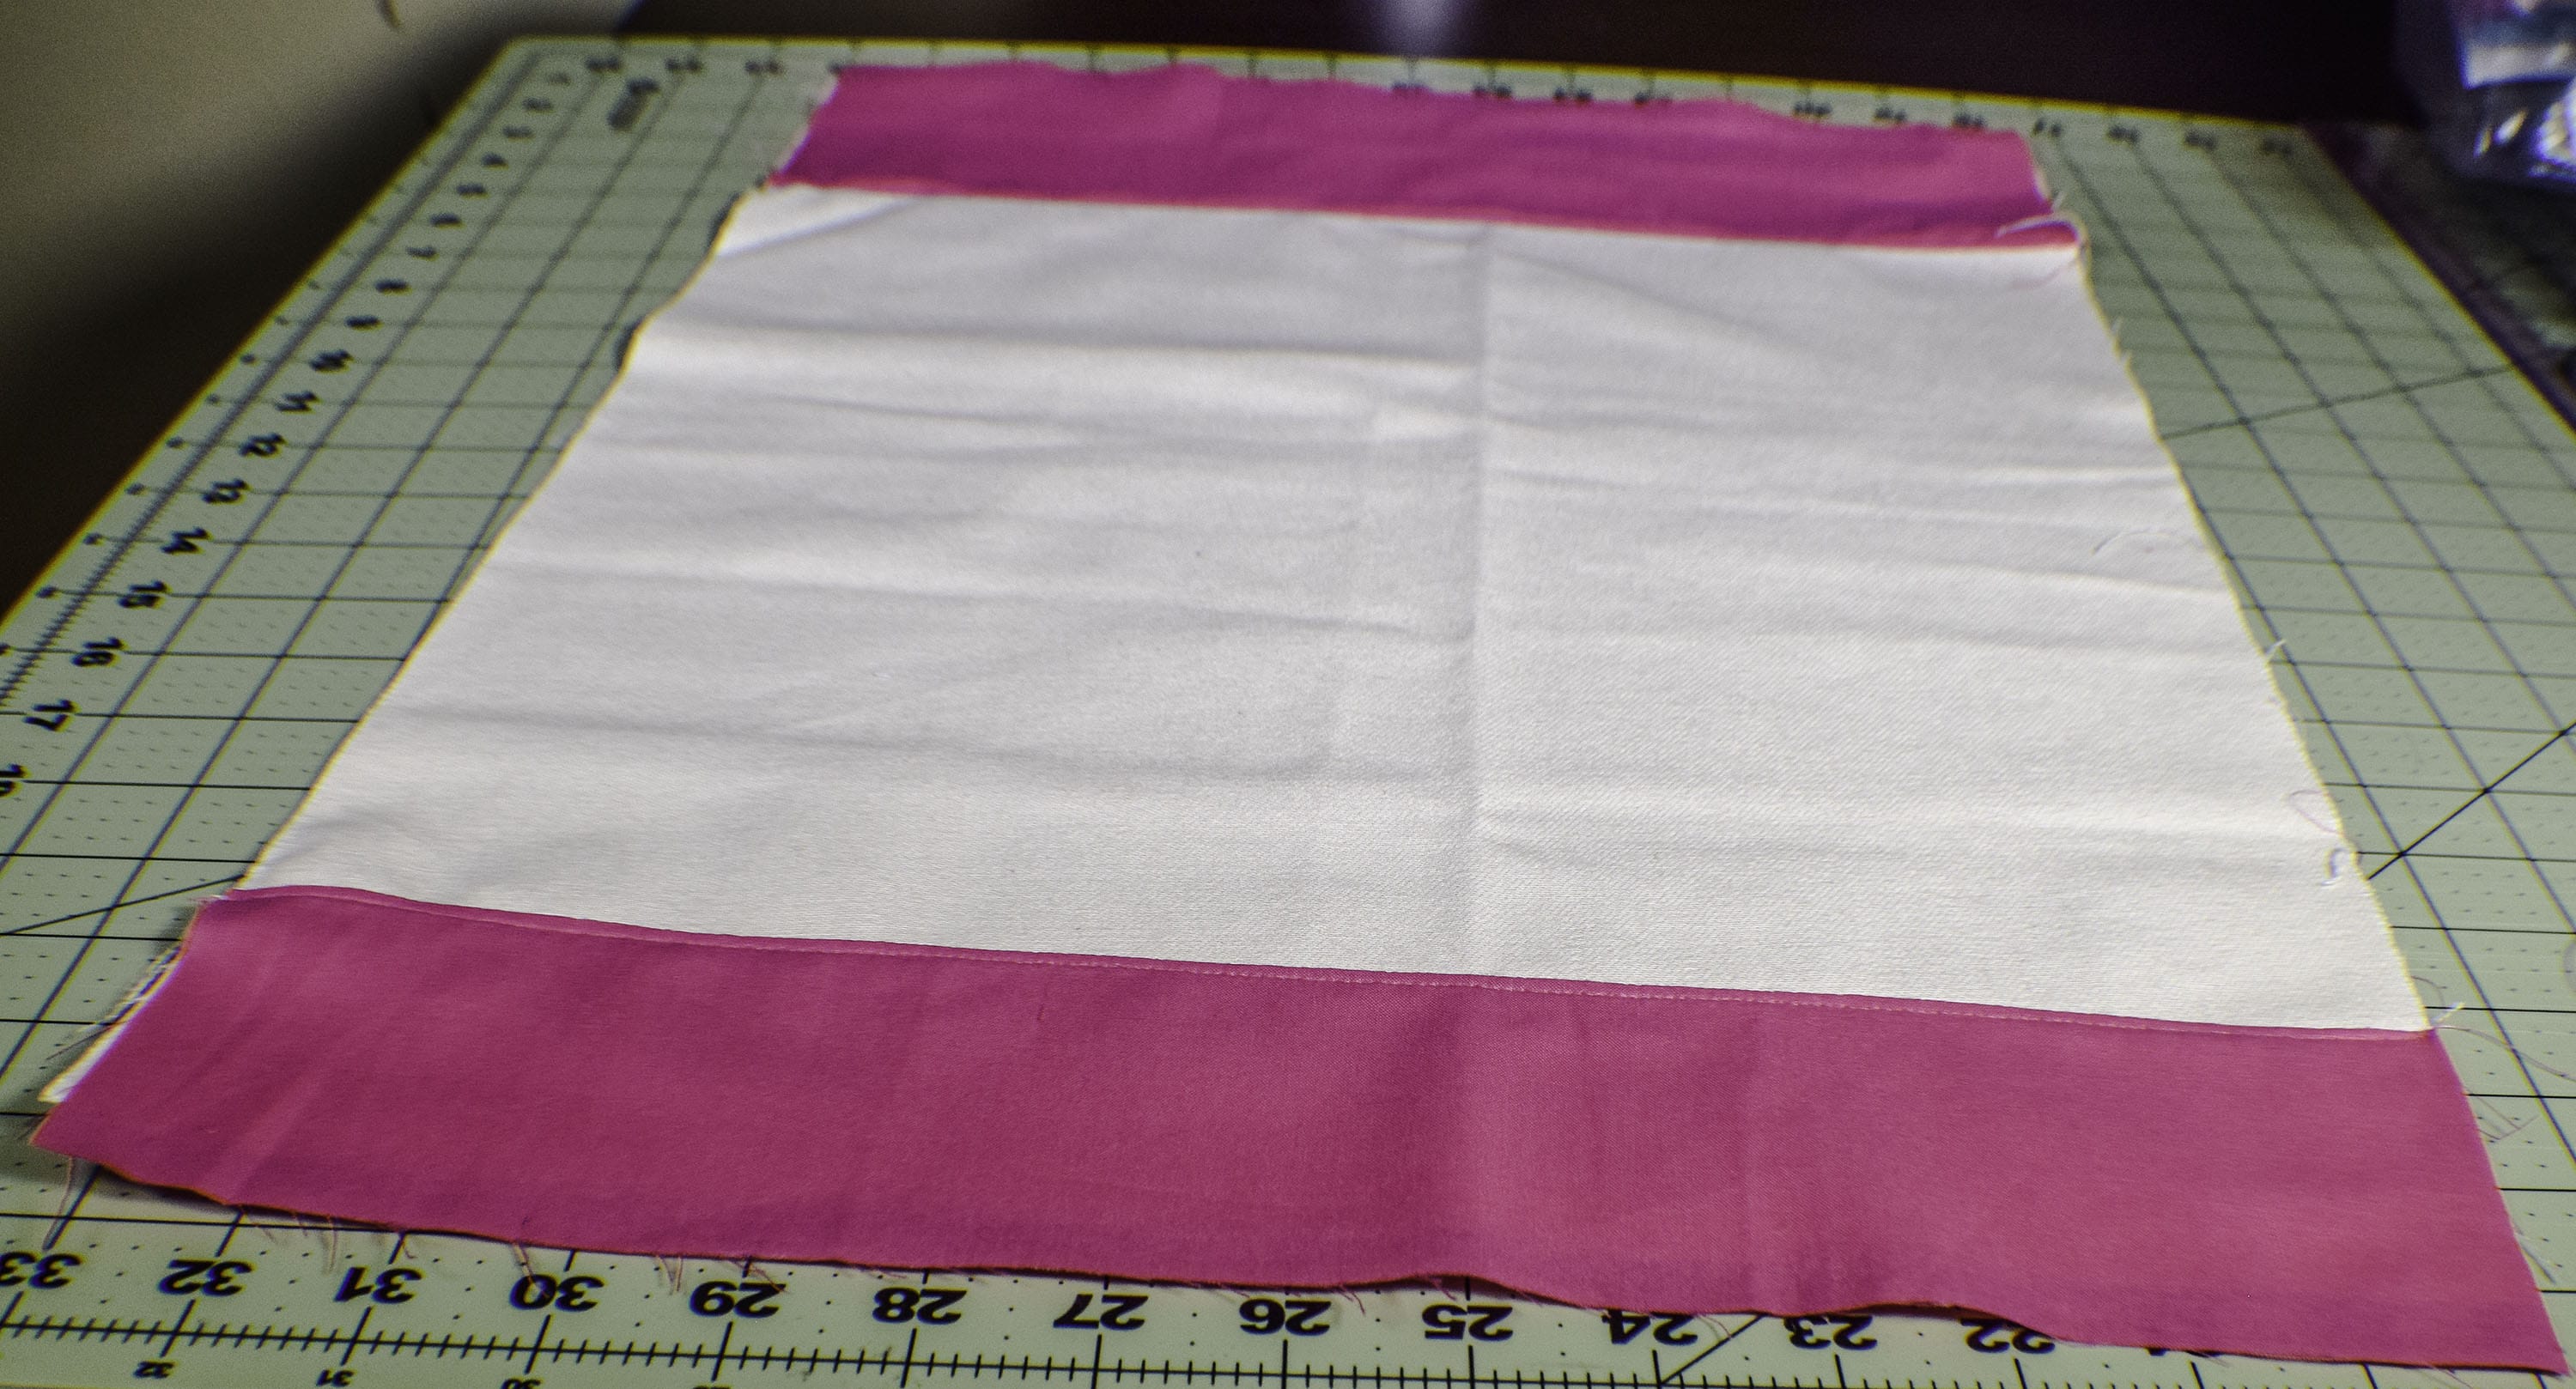
Step 3: Stitch the Contrast Fabric
Fold the contrast pieces down so that the raw edges meet and press. Top stitch along both folded edges for a finished look.
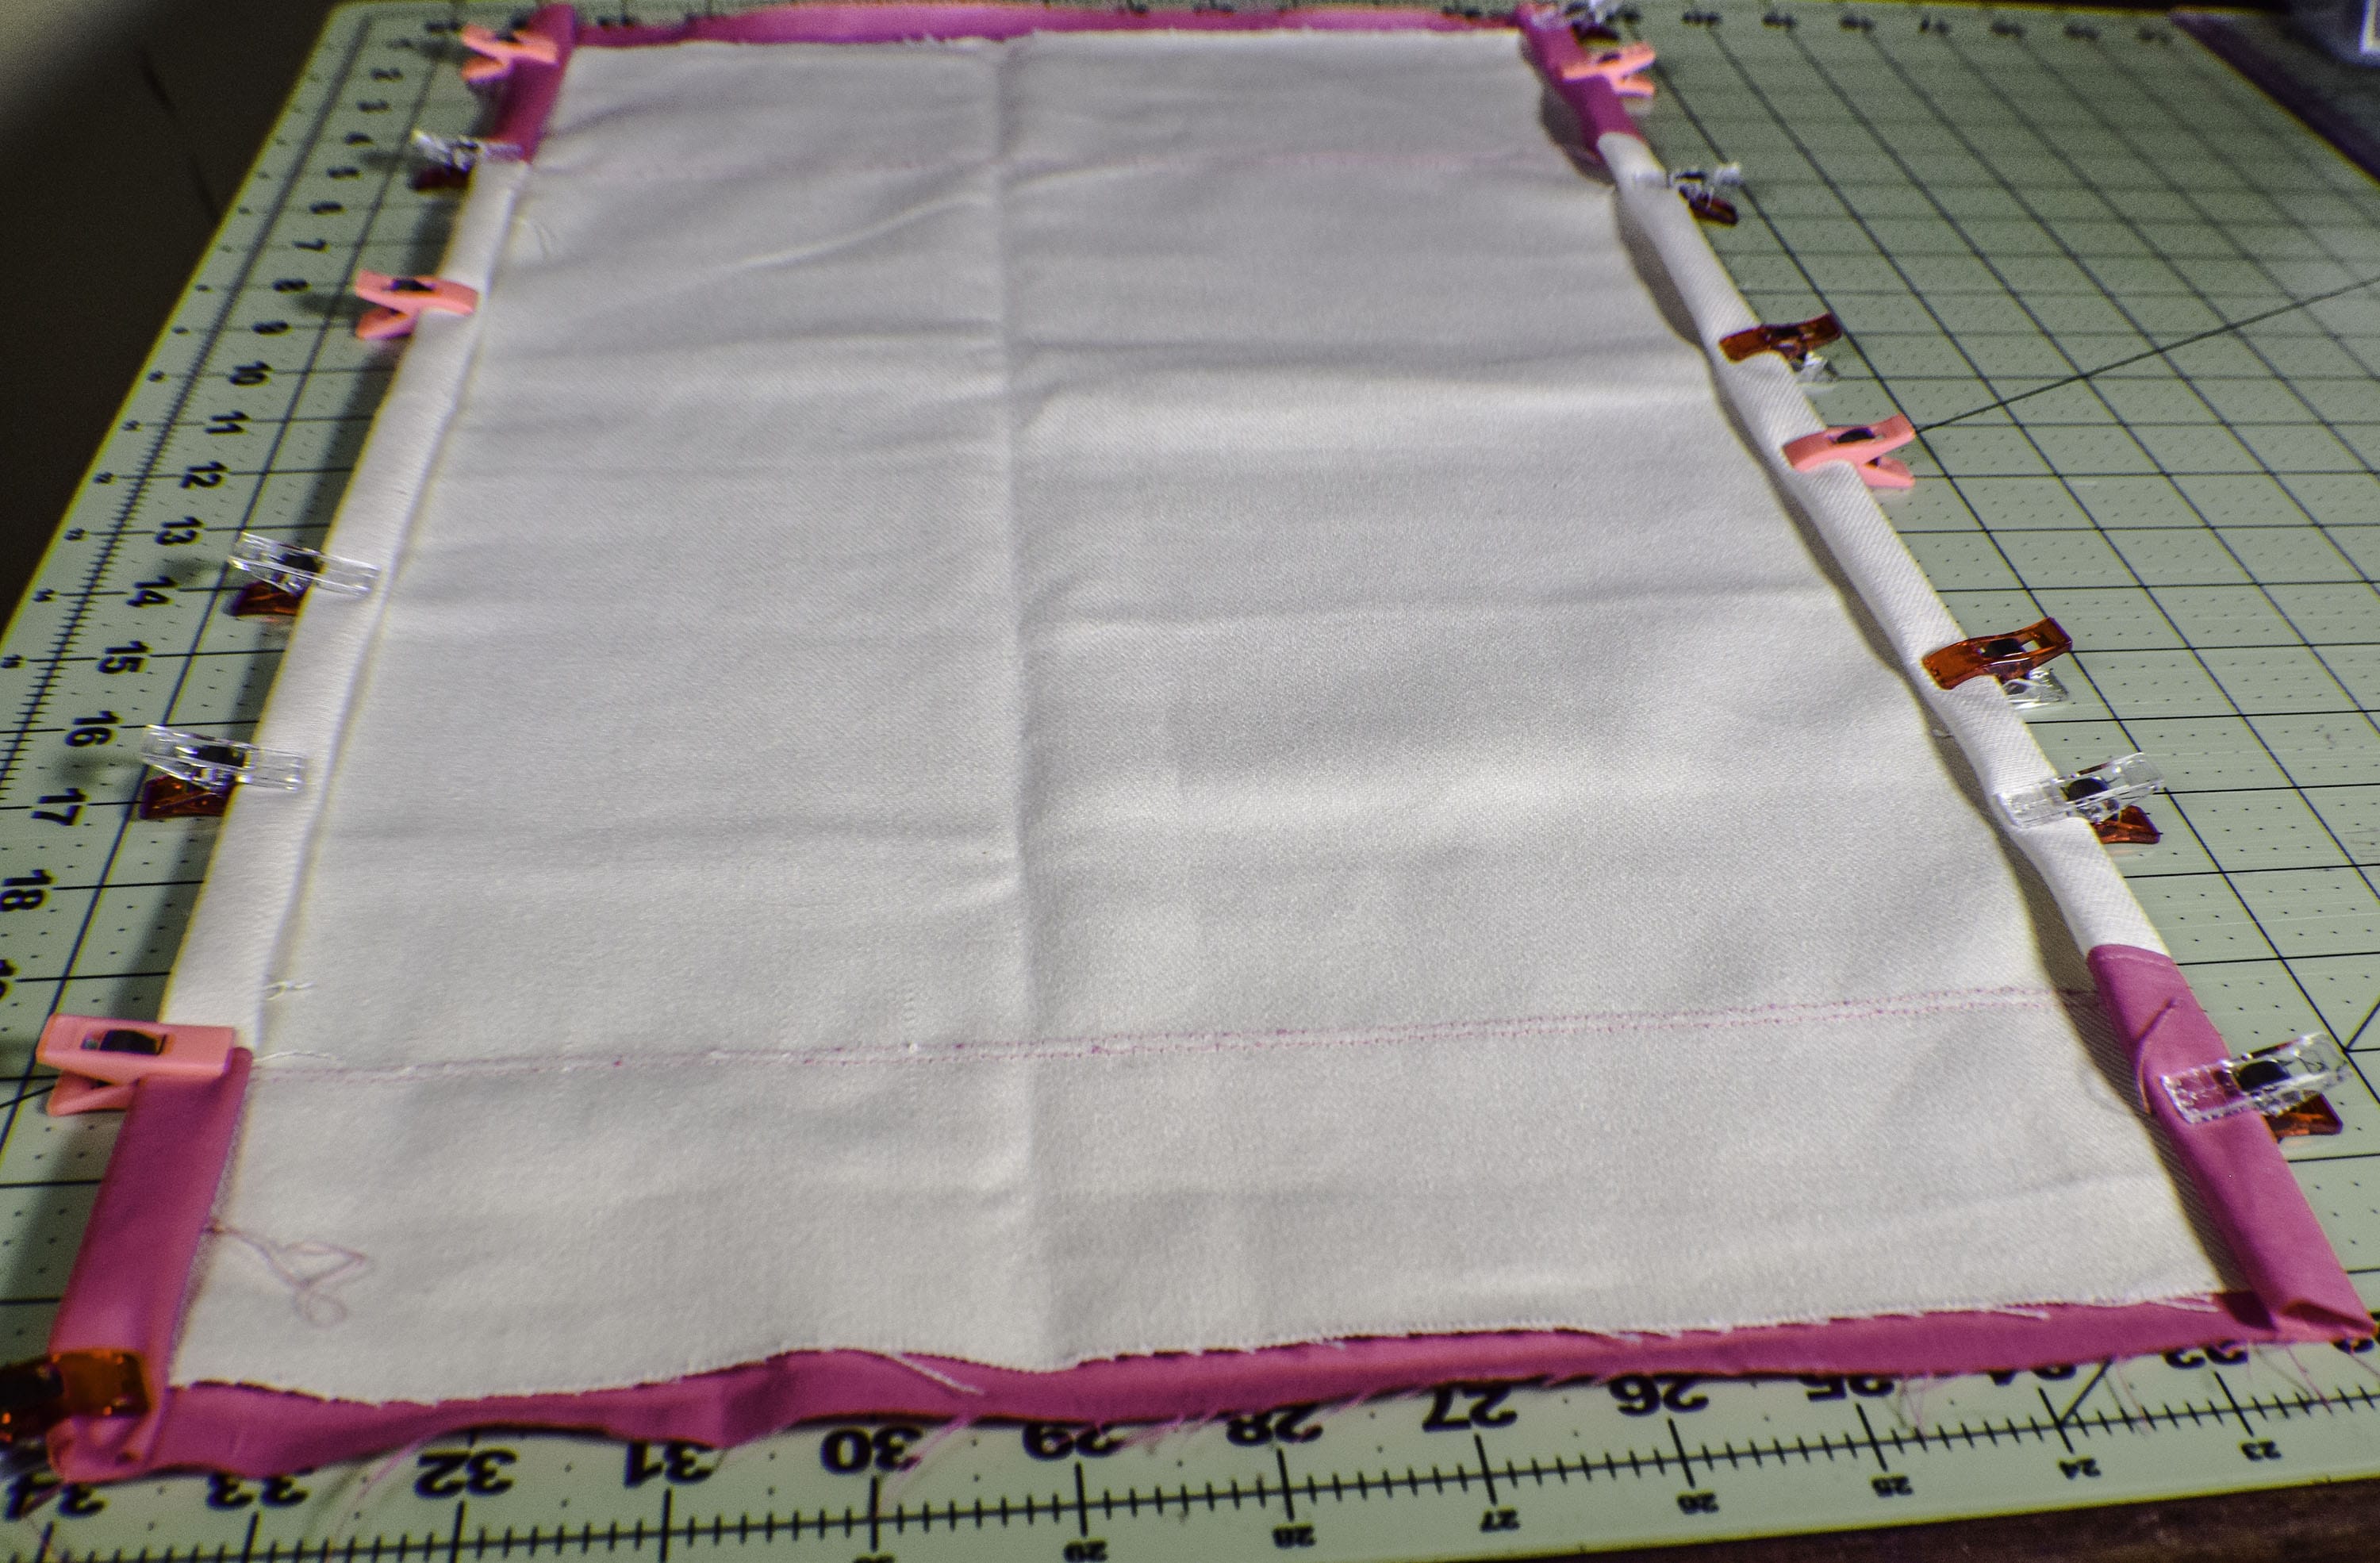
Step 4: Stitch the Sides
Fold the long sides 1/2″ and again 1/2″ to create a hem. Stitch along the sides.
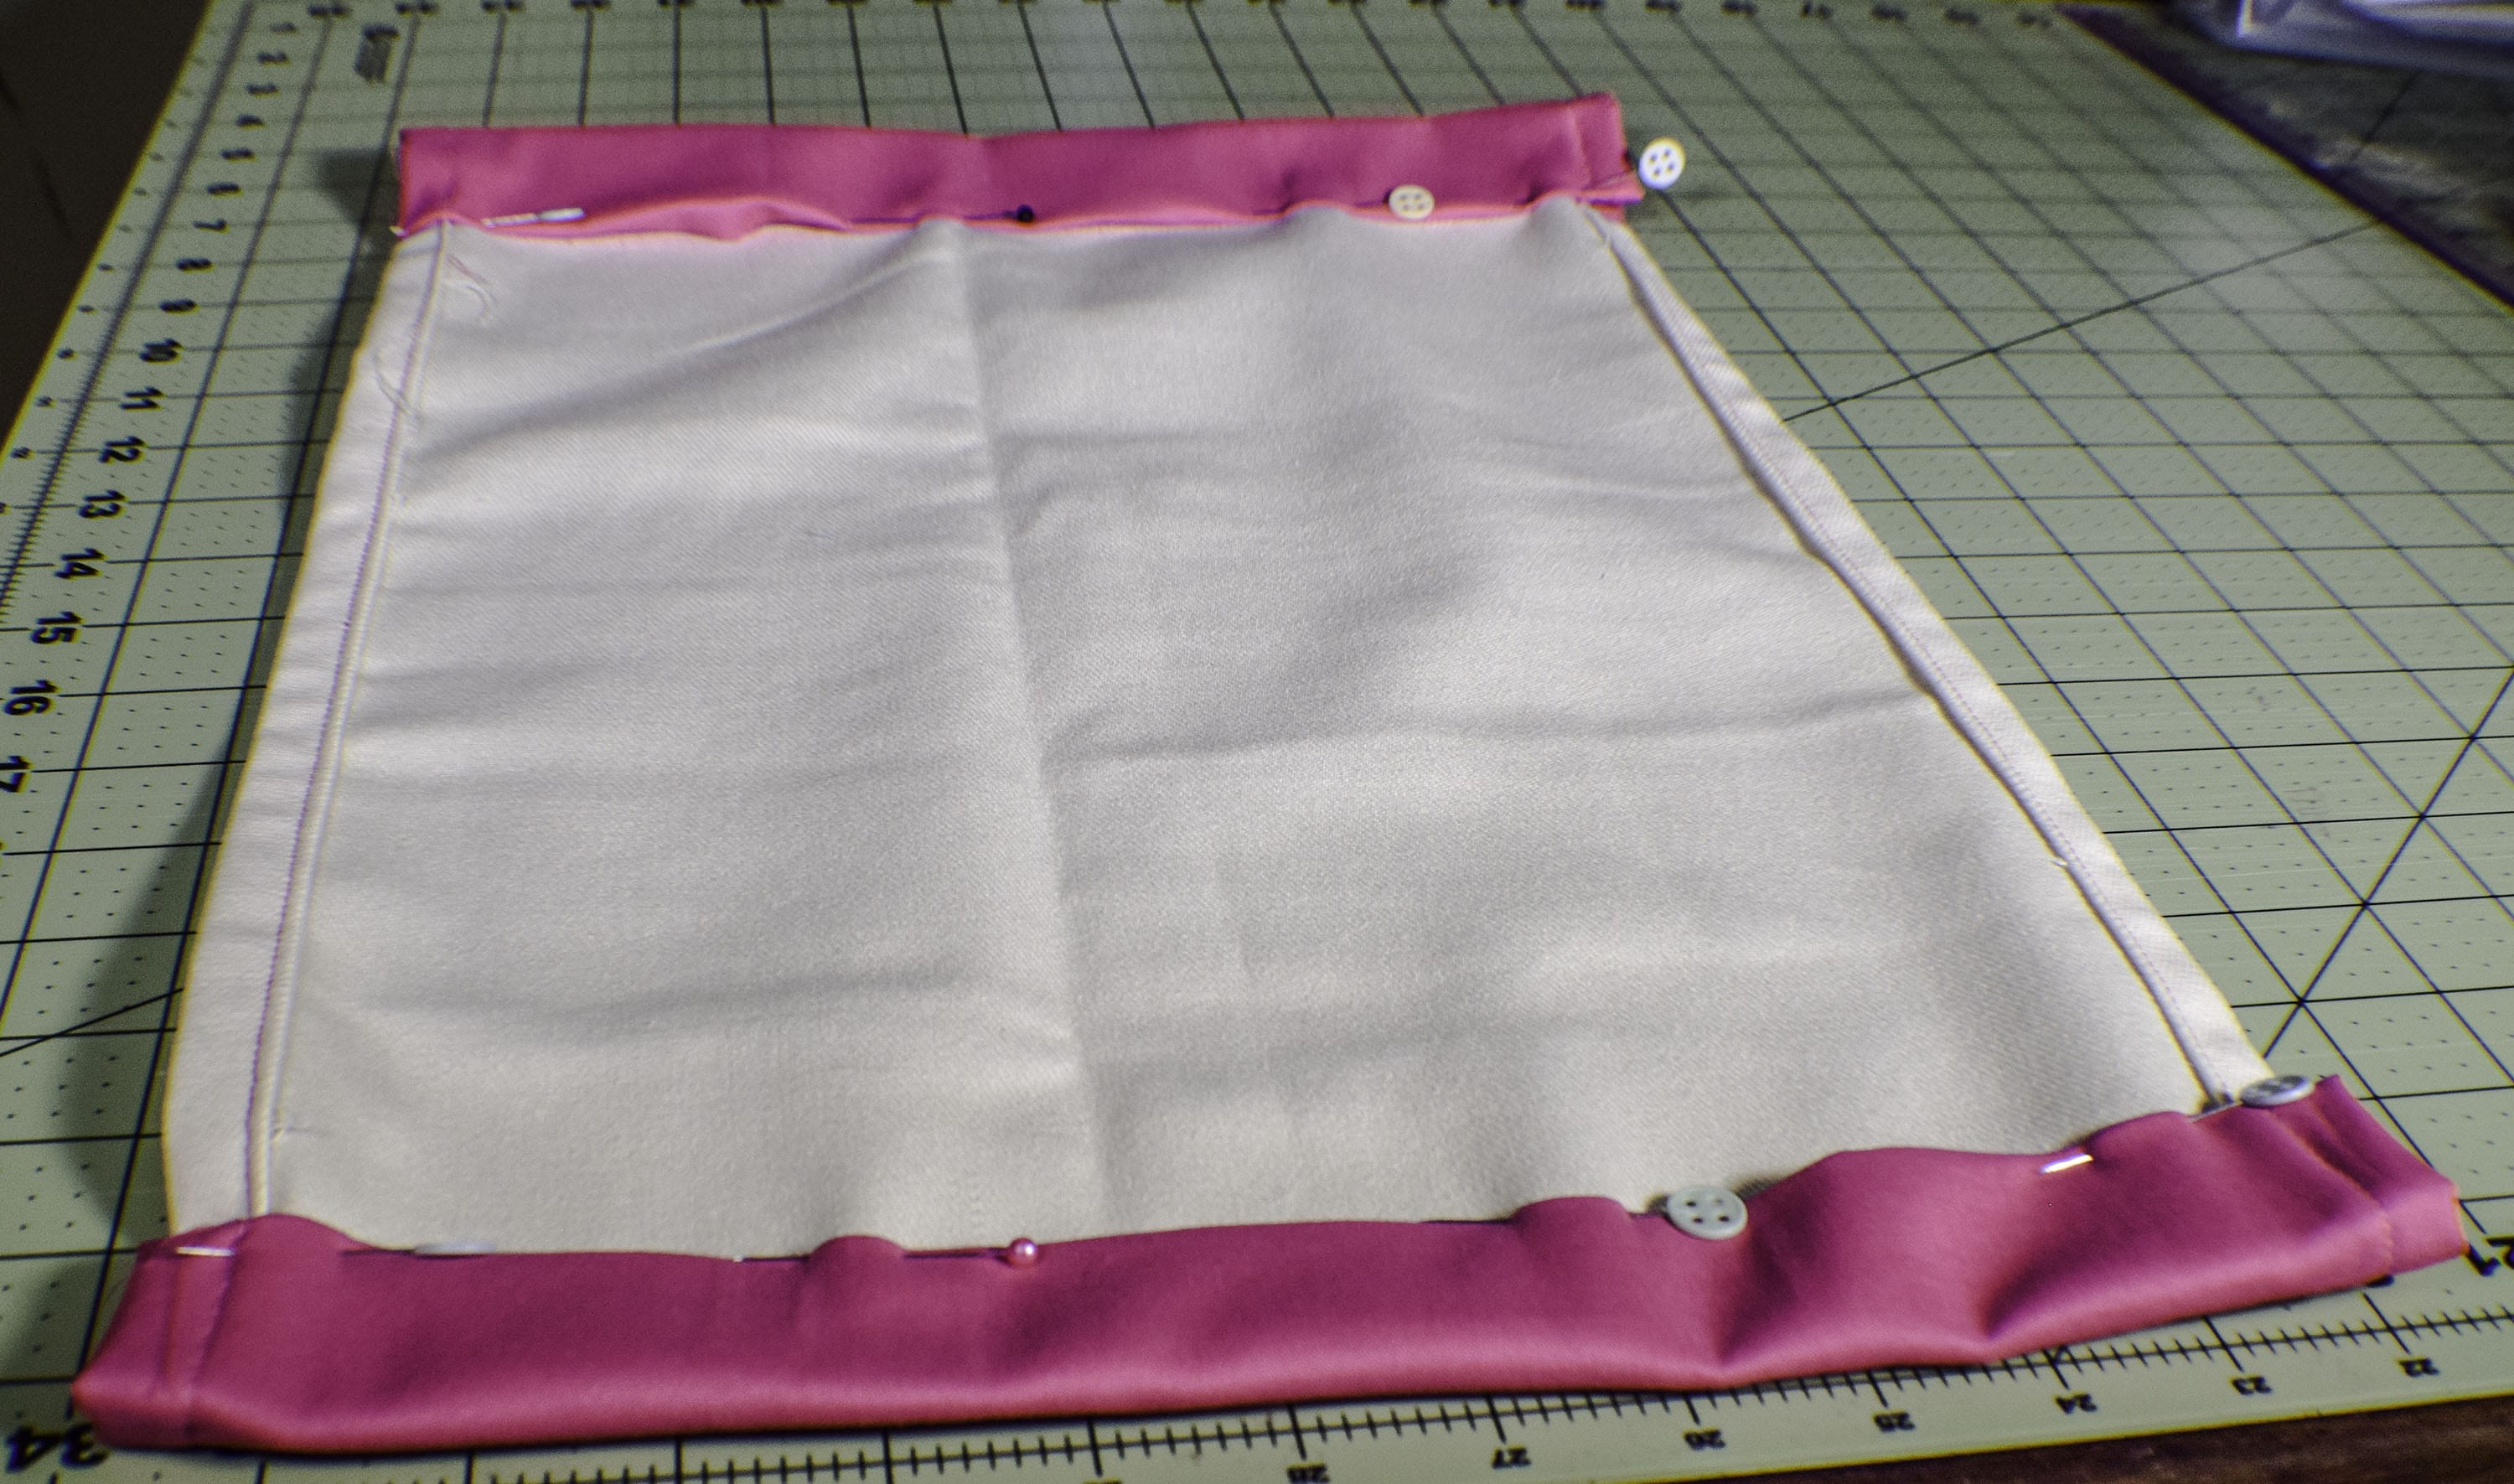
Step 5: Fold the Contrast Fabric
You will notice that the contrast fabric is a bit longer than the primary fabric. This was done on purpose. You are going to fold the top and the bottom to the wrong side and fold the accent fabric under the raw edge of the primary fabric for a clean edge. On the top you will fold down about 2″ and fold under the contrast fabric so that you can sew over the top stitching a second time. You will fold up the bottom edge about 1 1/4″ and fold and sew in the same way. Keep in mind that the top opening will need to fit your garden flag stand so make it large enough to fit.
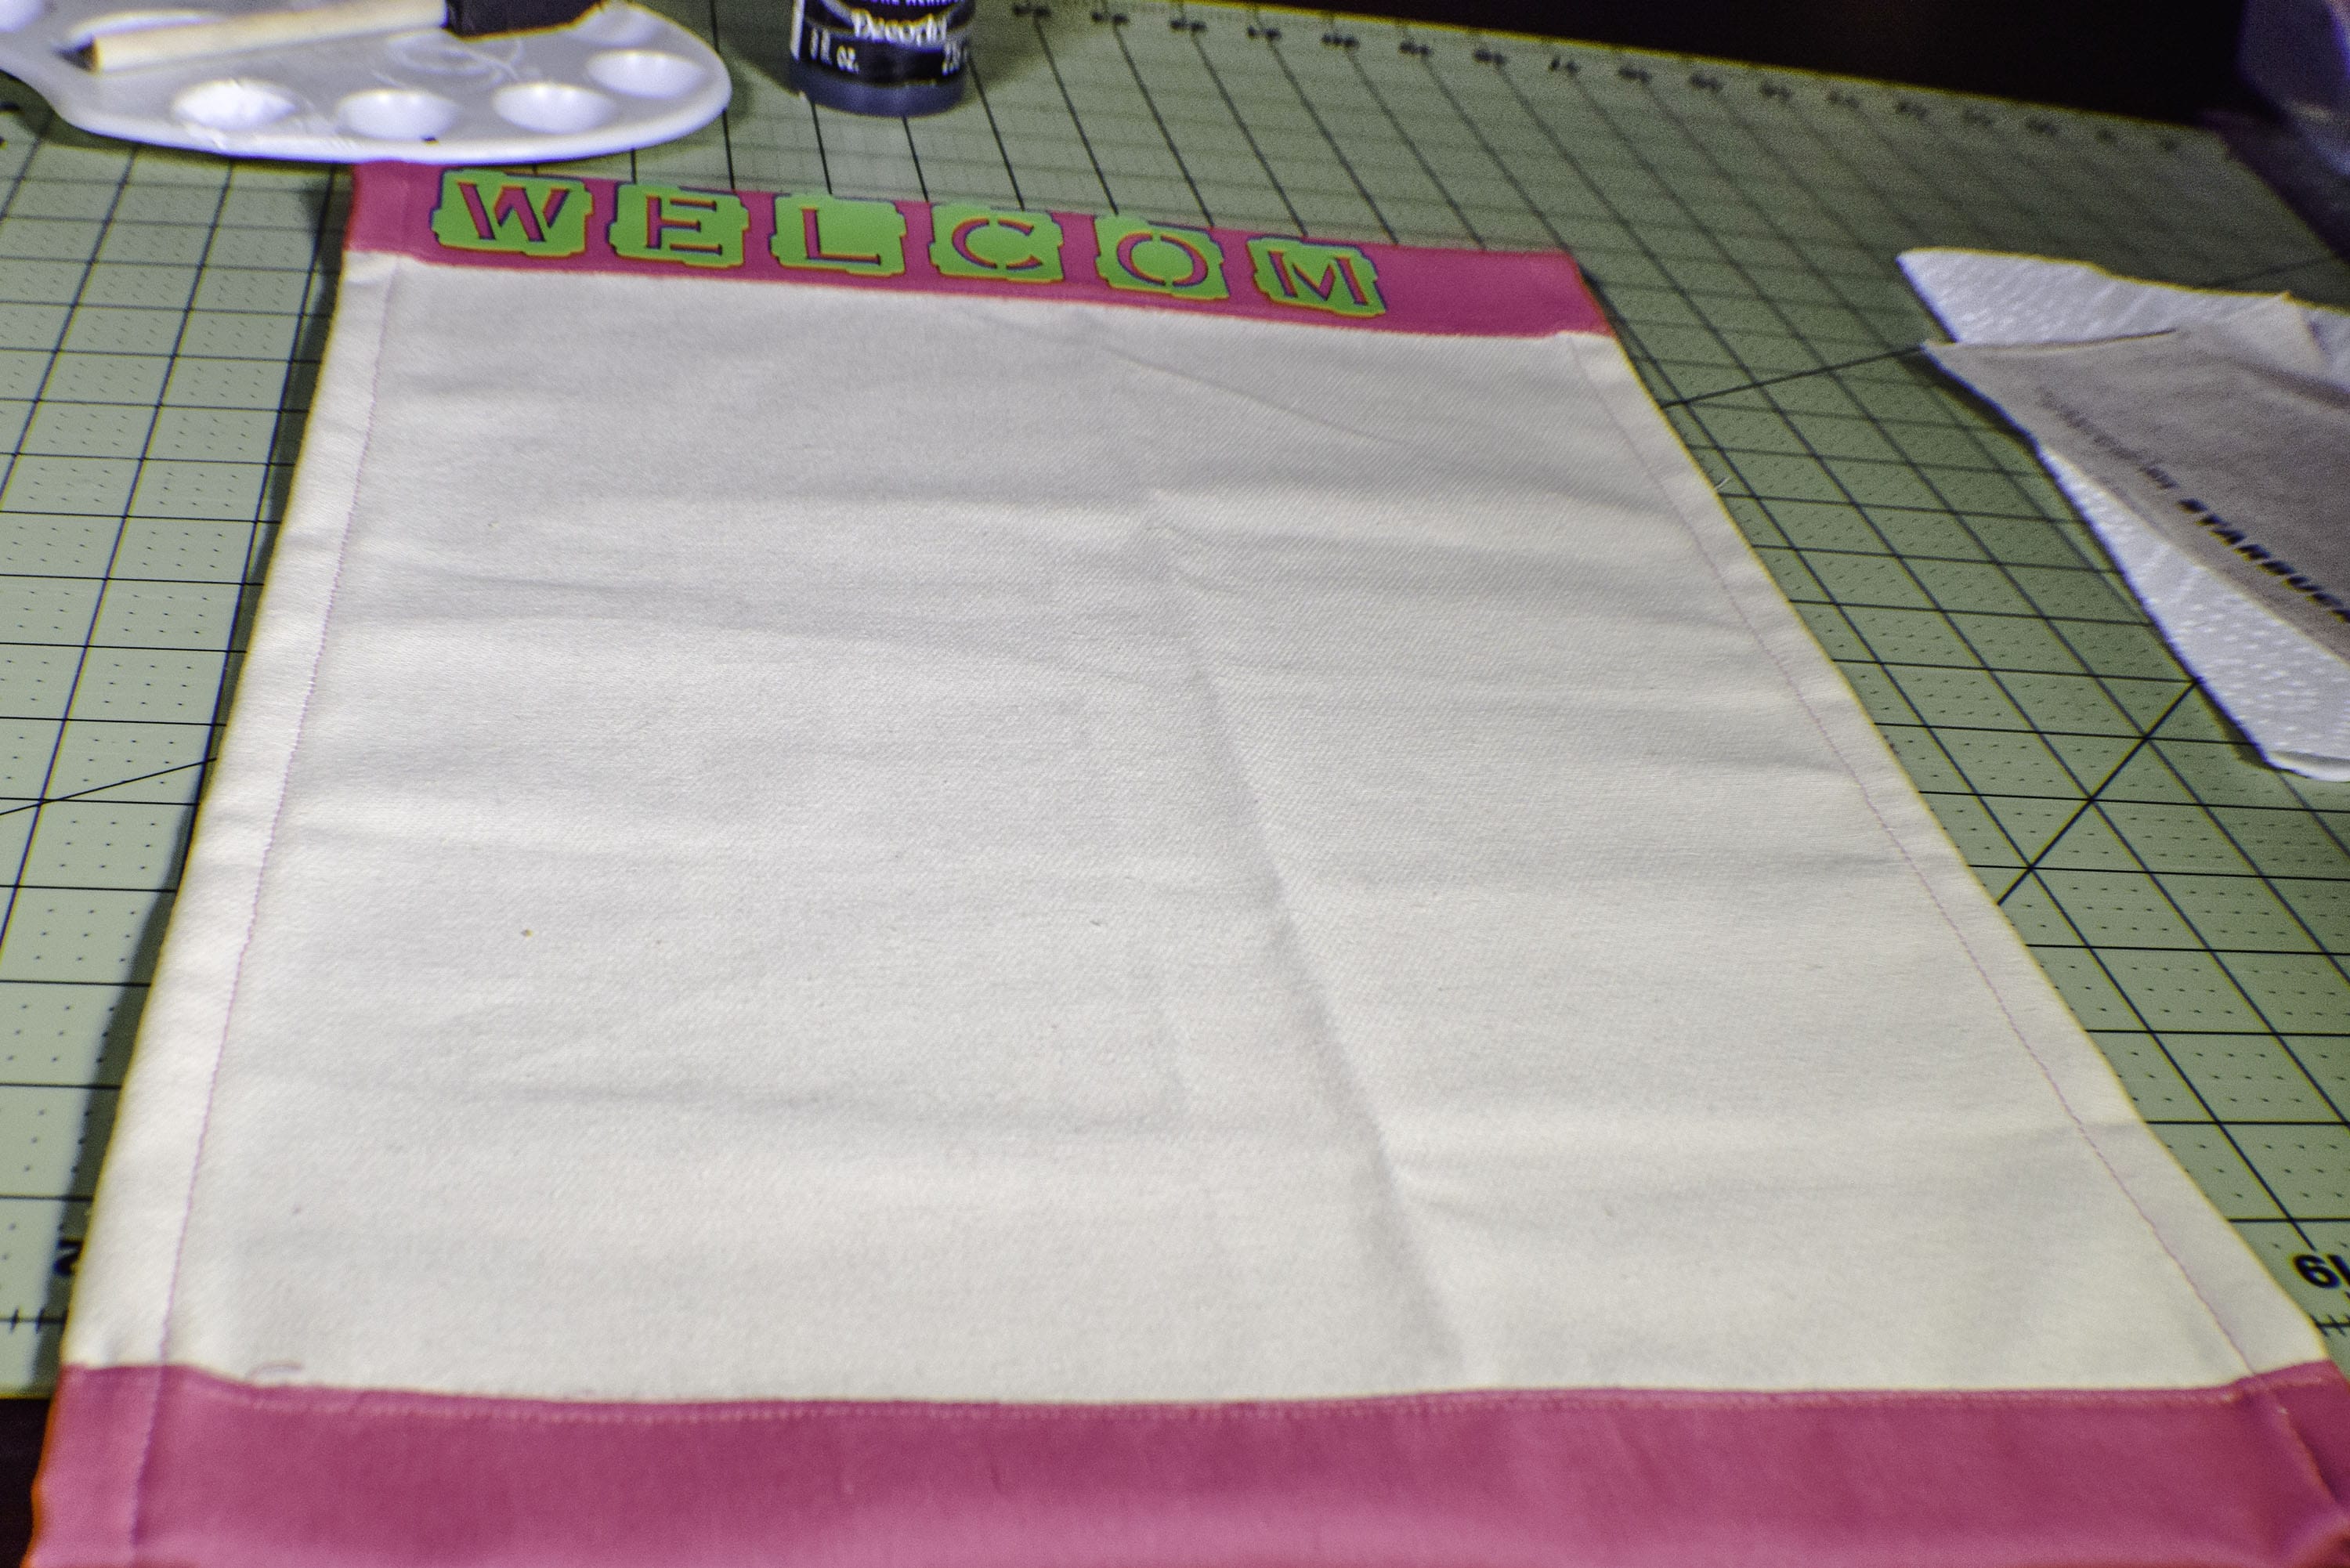
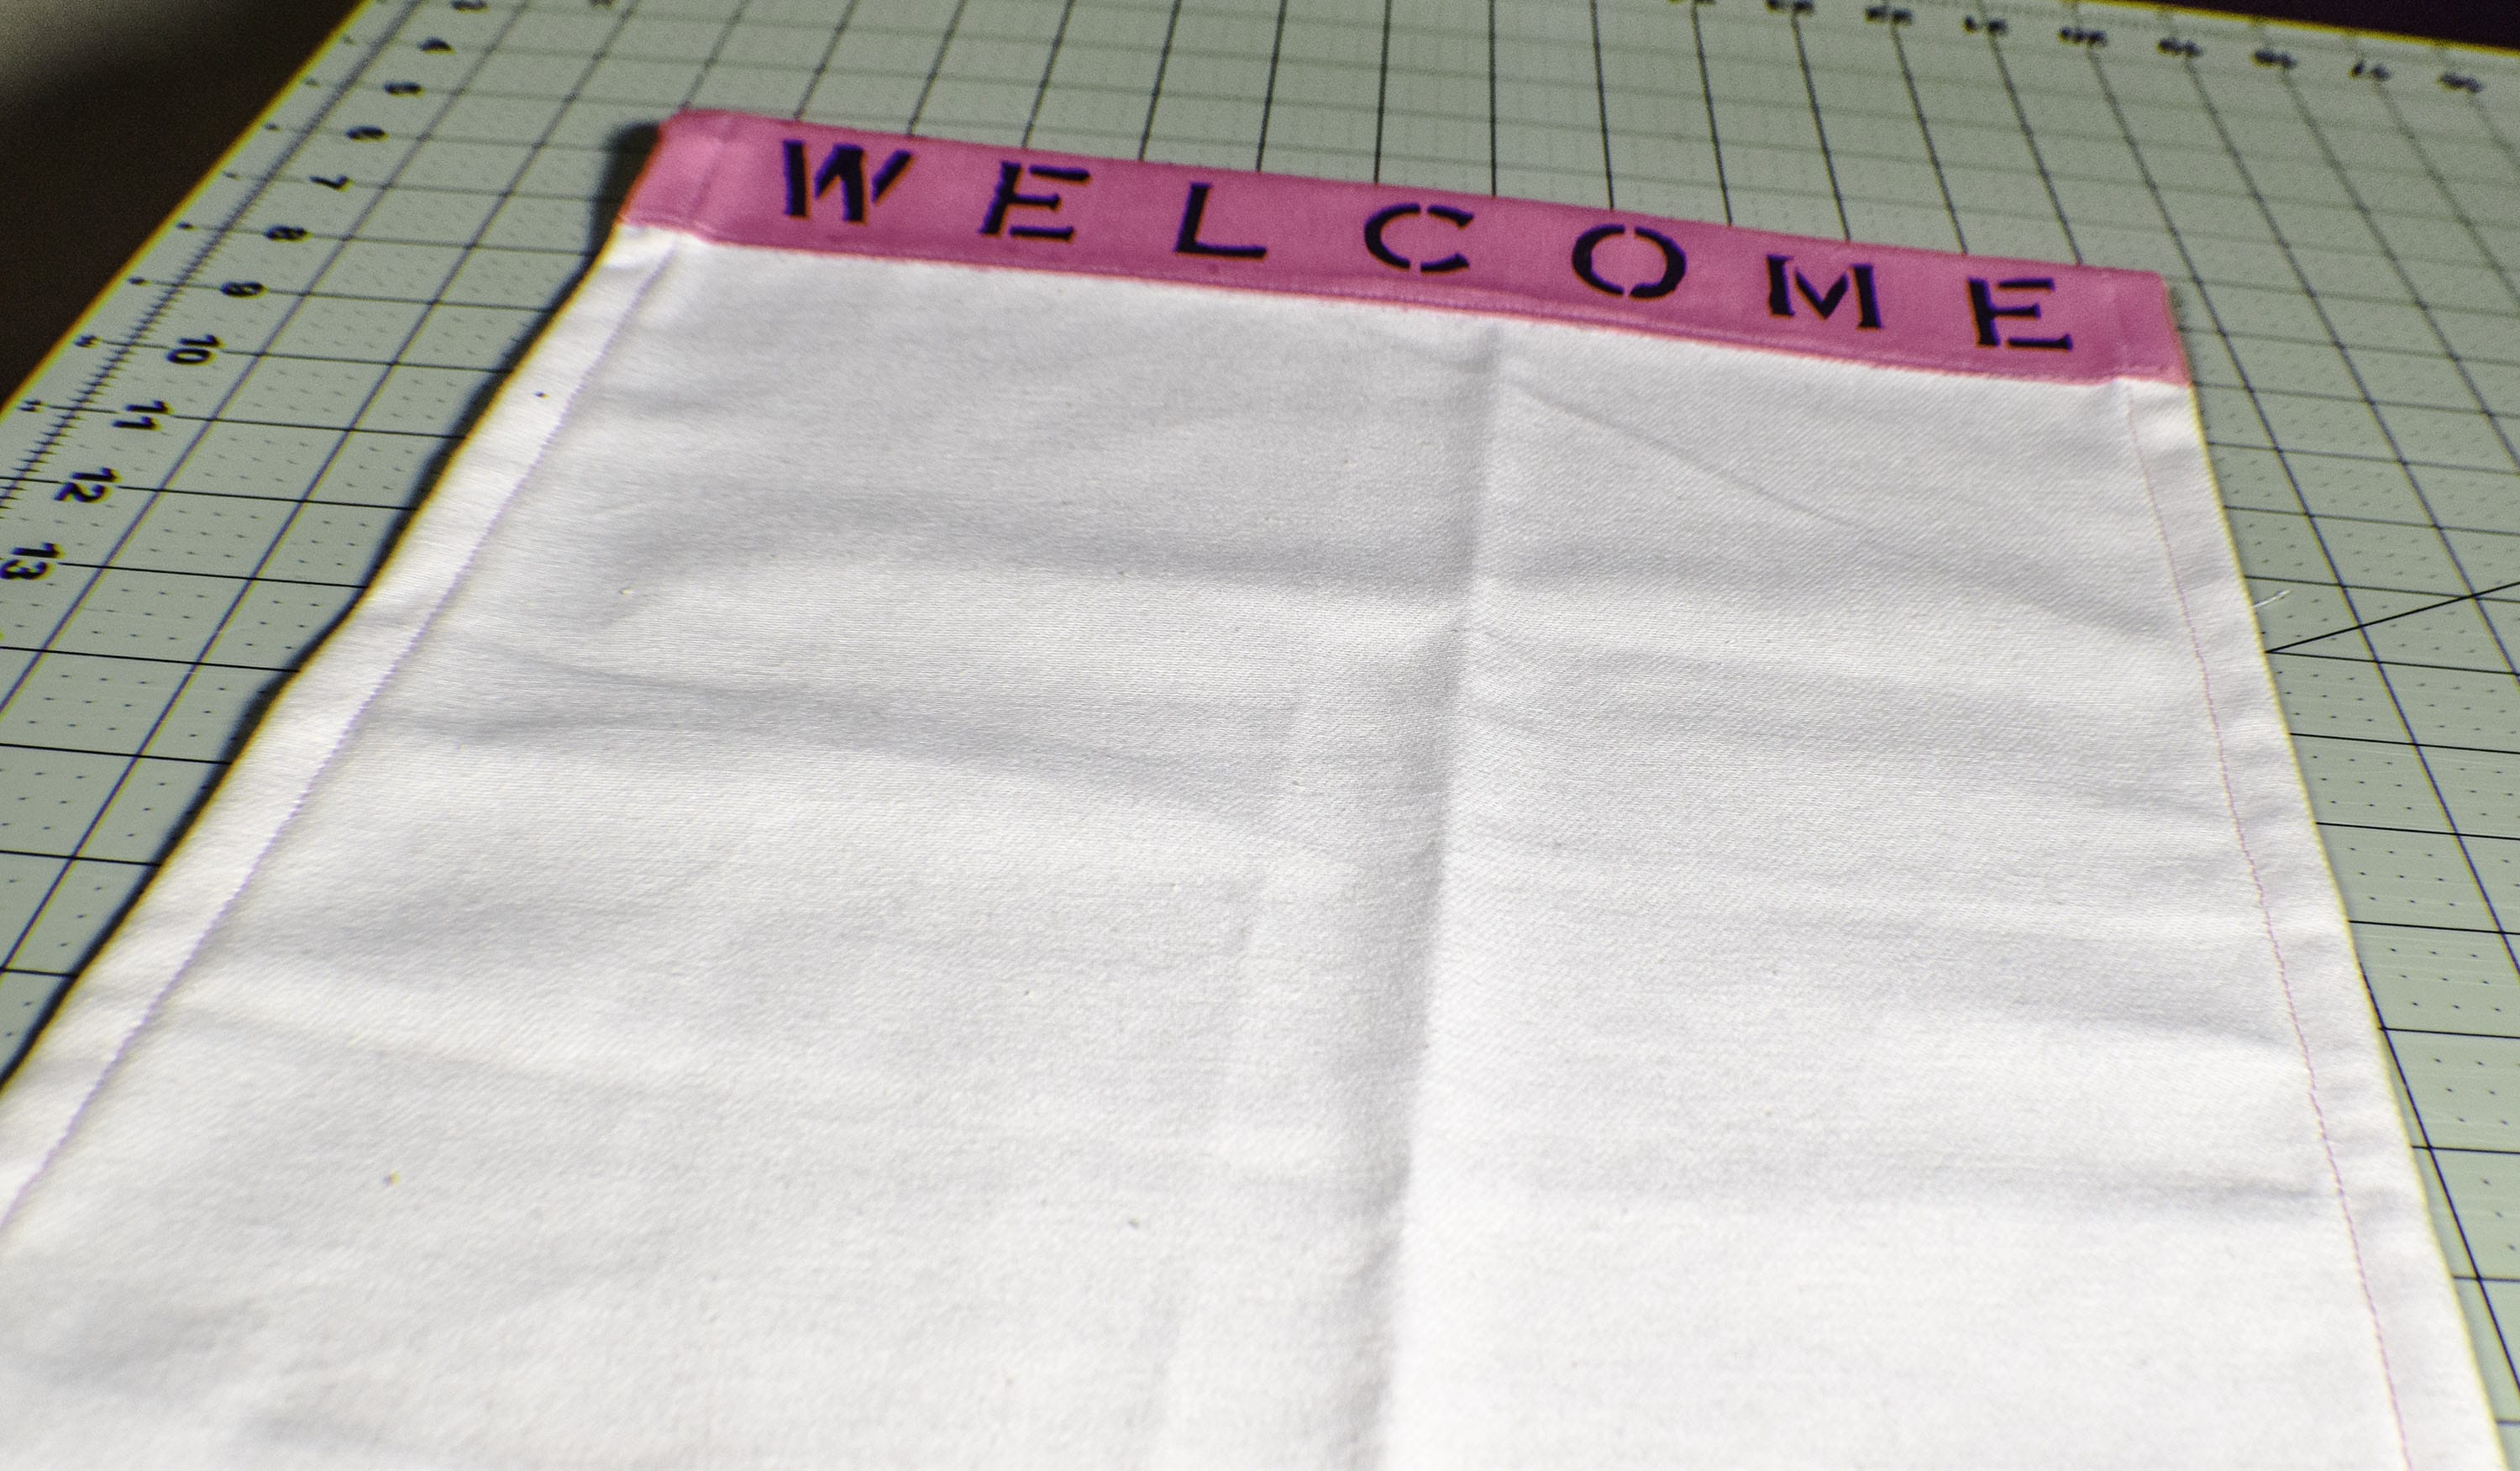
Step 6: Stencil the Letters
On the top contrast fabric place your stencil letters and paint inside them whatever you like. I painted Welcome on my flag using black acrylic paint. Let the paint dry.
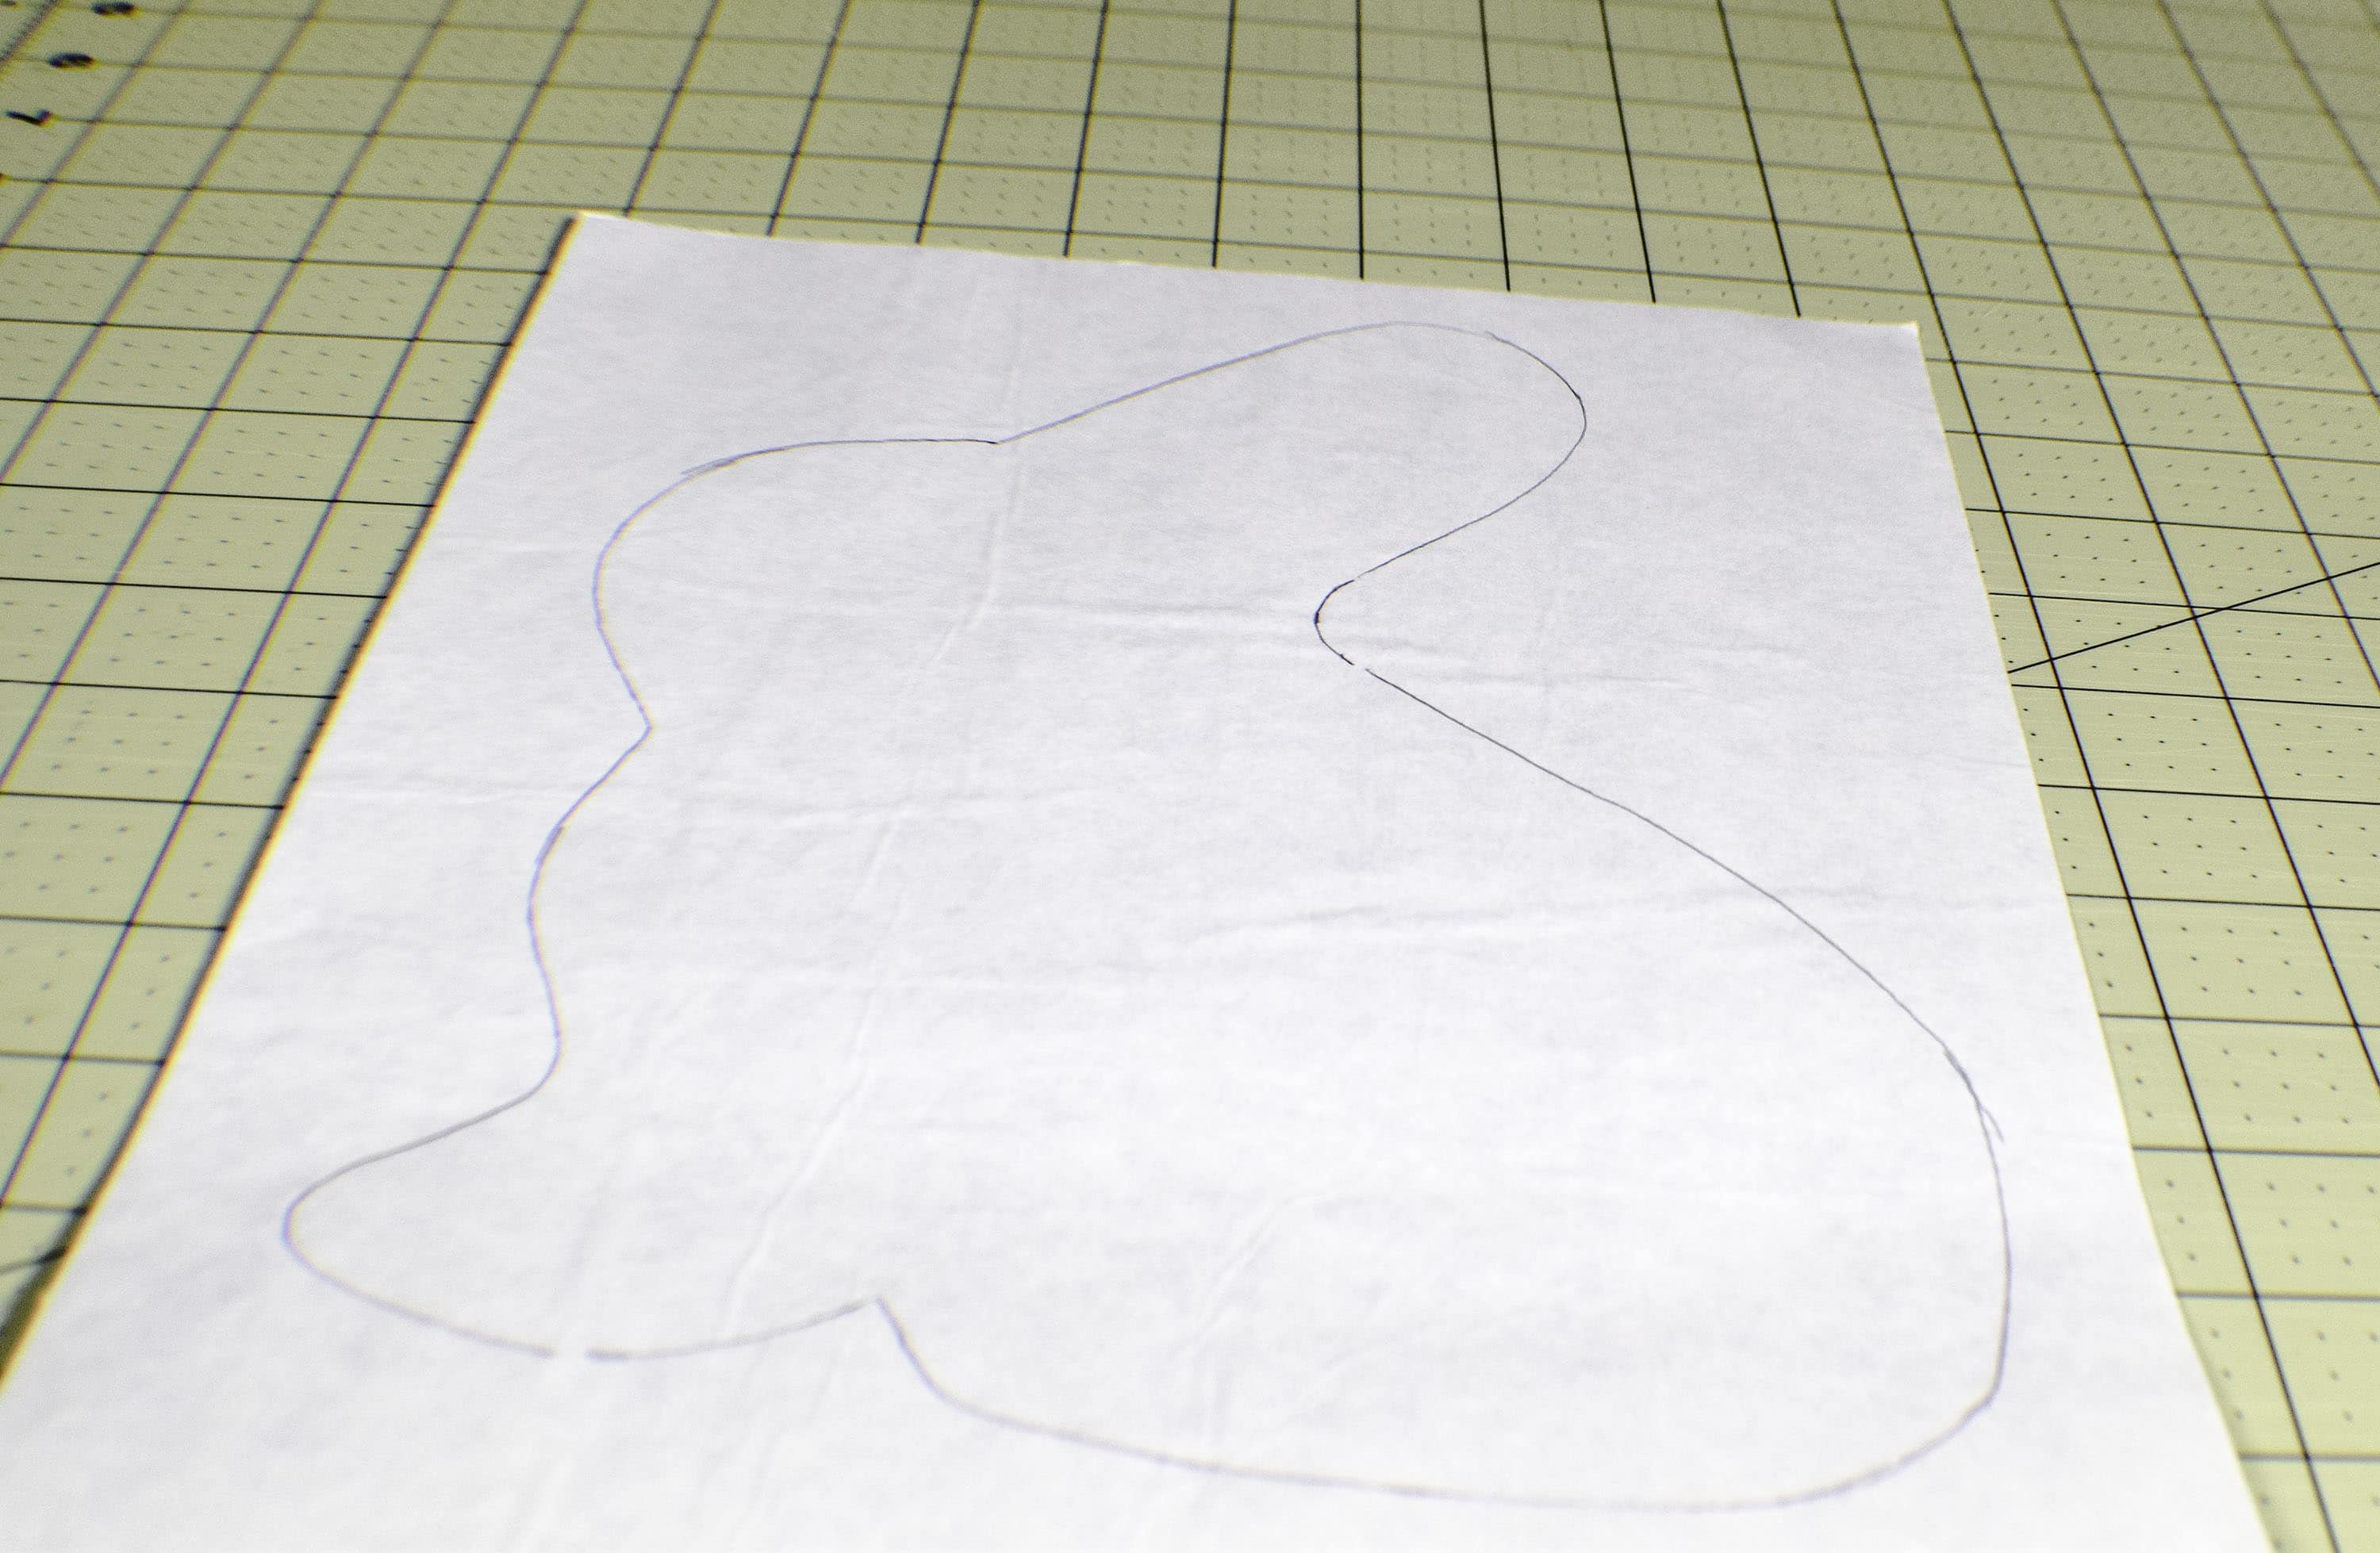
Step 7: Fuse the Pattern Piece
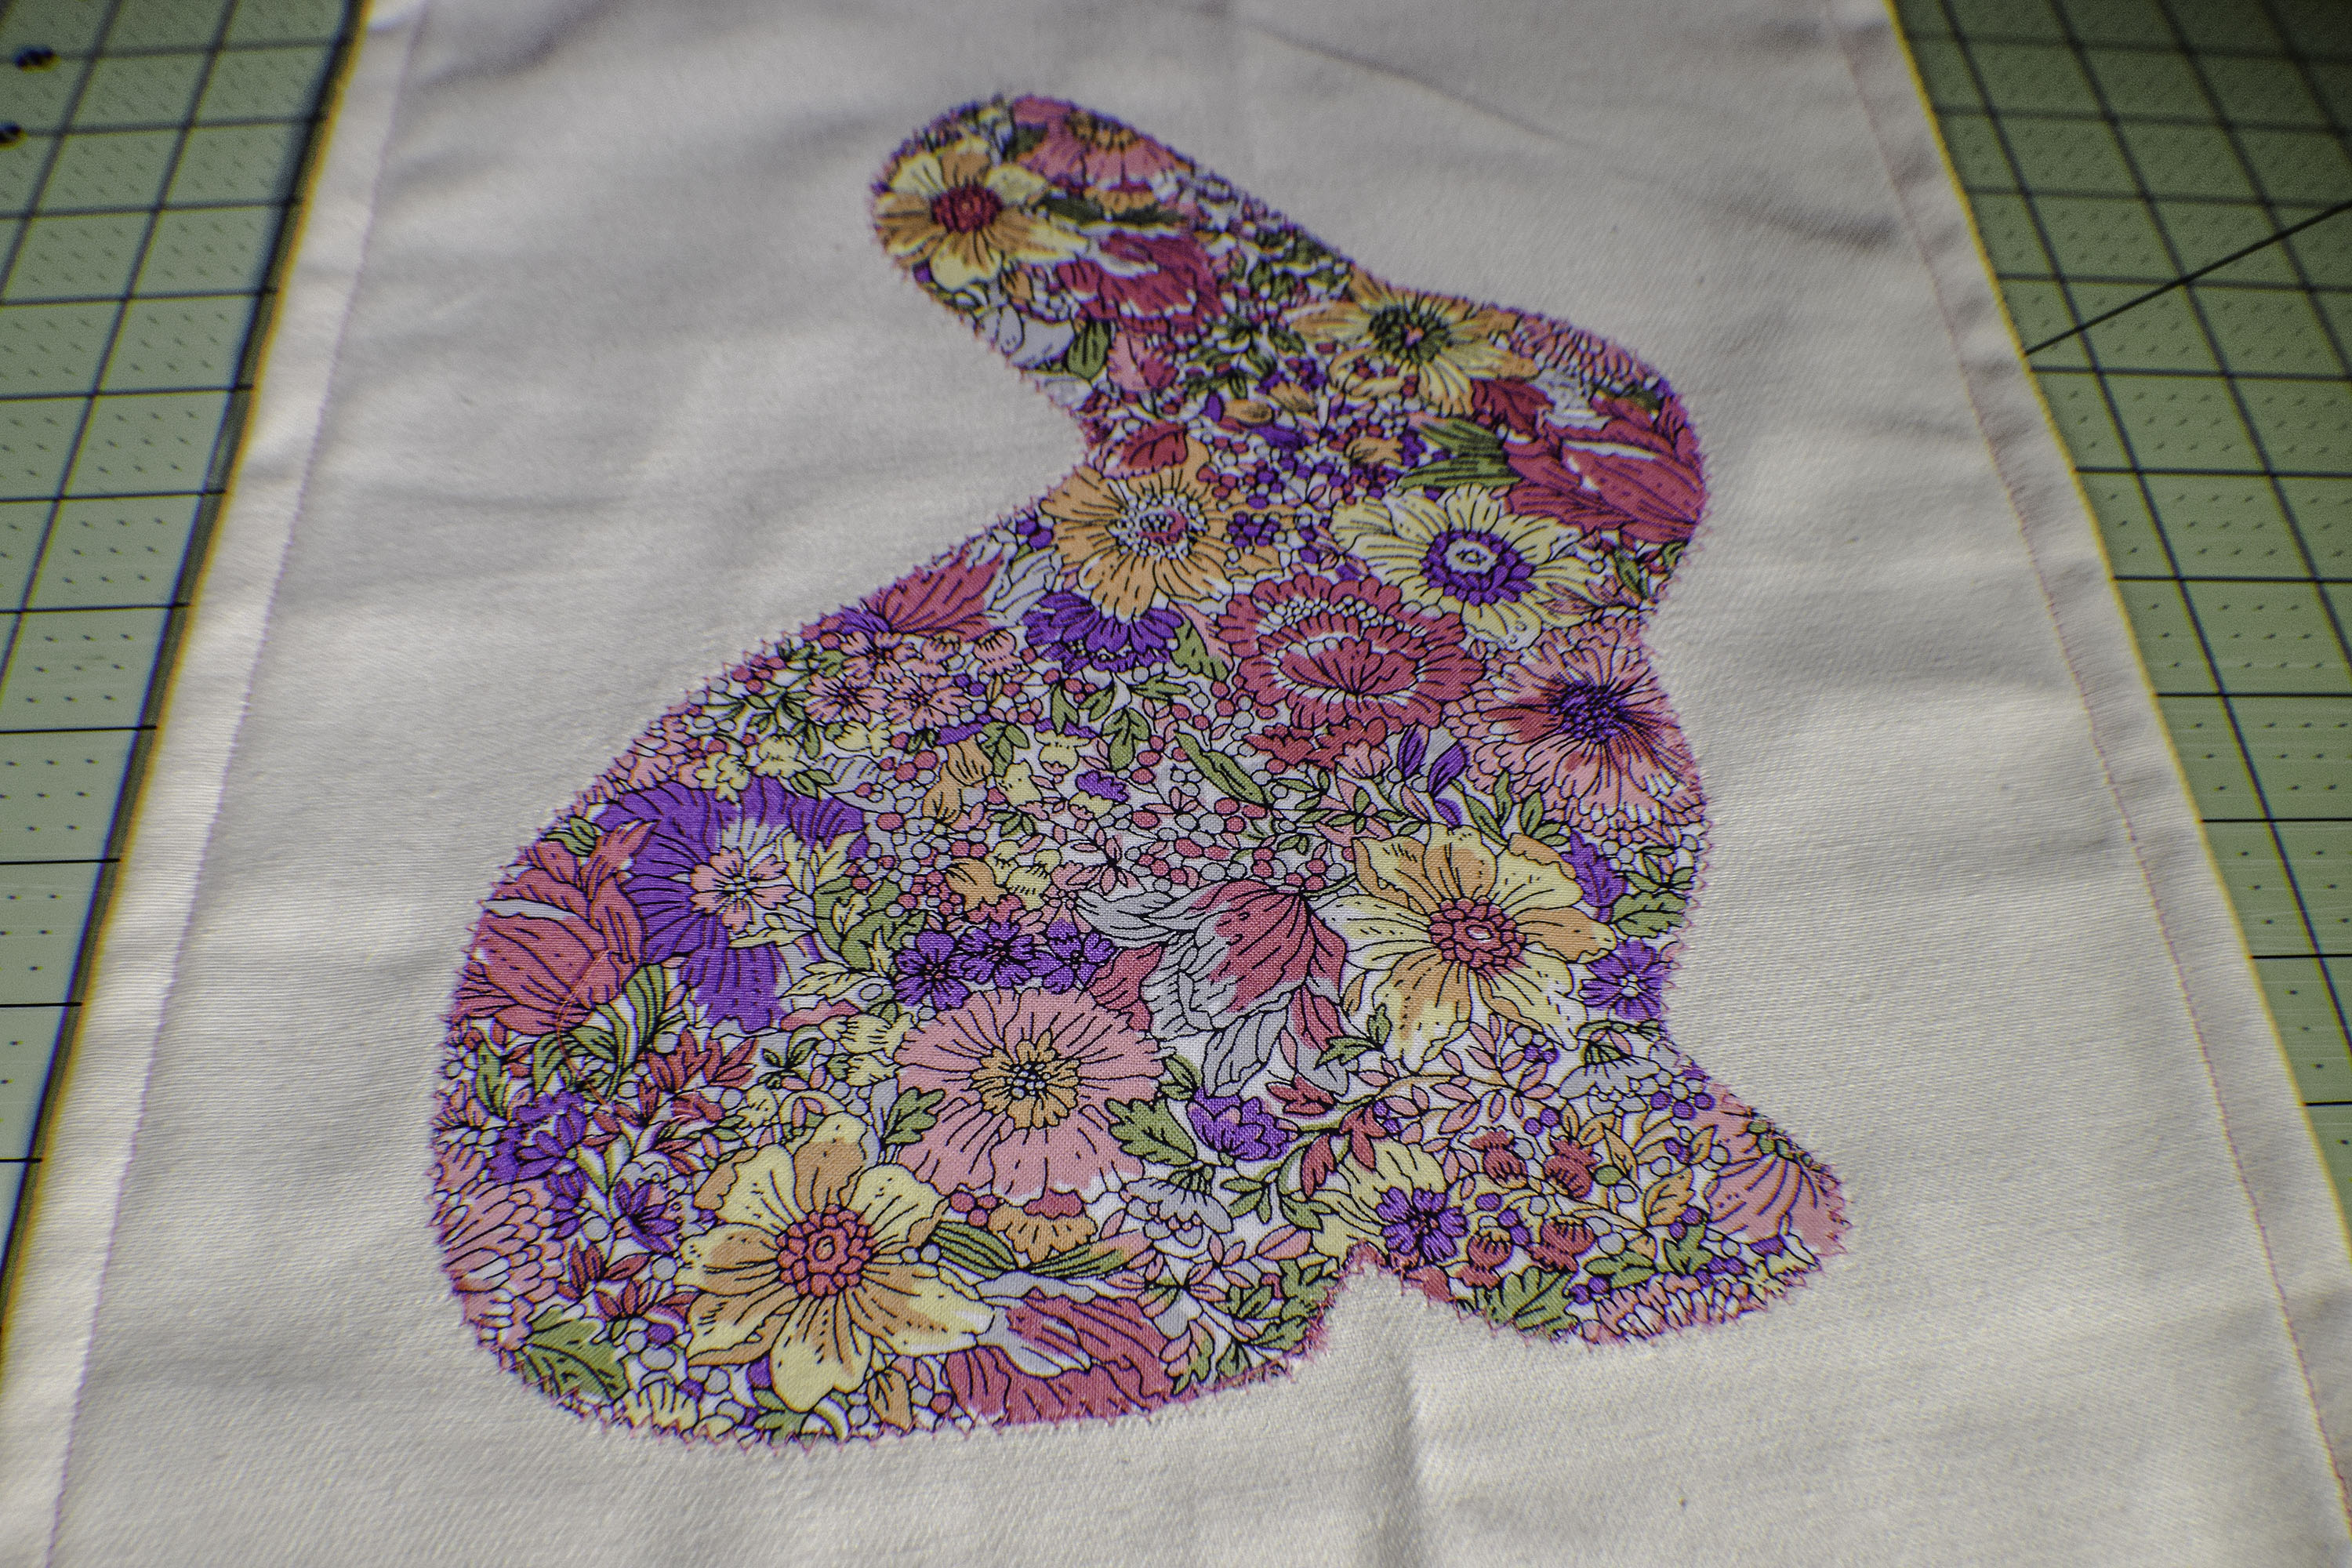
Take a piece of fusible web. You will note that the web has a matte paper side and a shiny paper side. Print out the pattern and trace it onto the matte paper side of the web. Cut out the shape. Remove the shiny paper only revealing the adhesive. Press it onto the reverse side of the accent fabric. Cut out the shape from the accent fabric. Remove the matte paper to revel more adhesive. Press the shape onto the center of your flag with the adhesive side down and press with a hot iron so that the adhesive fuses with the fabric of the flag. Keep in mind that your image will be reversed from the drawn shape so make sure that you have drawn the shape opposite of how you want the final image to appear.
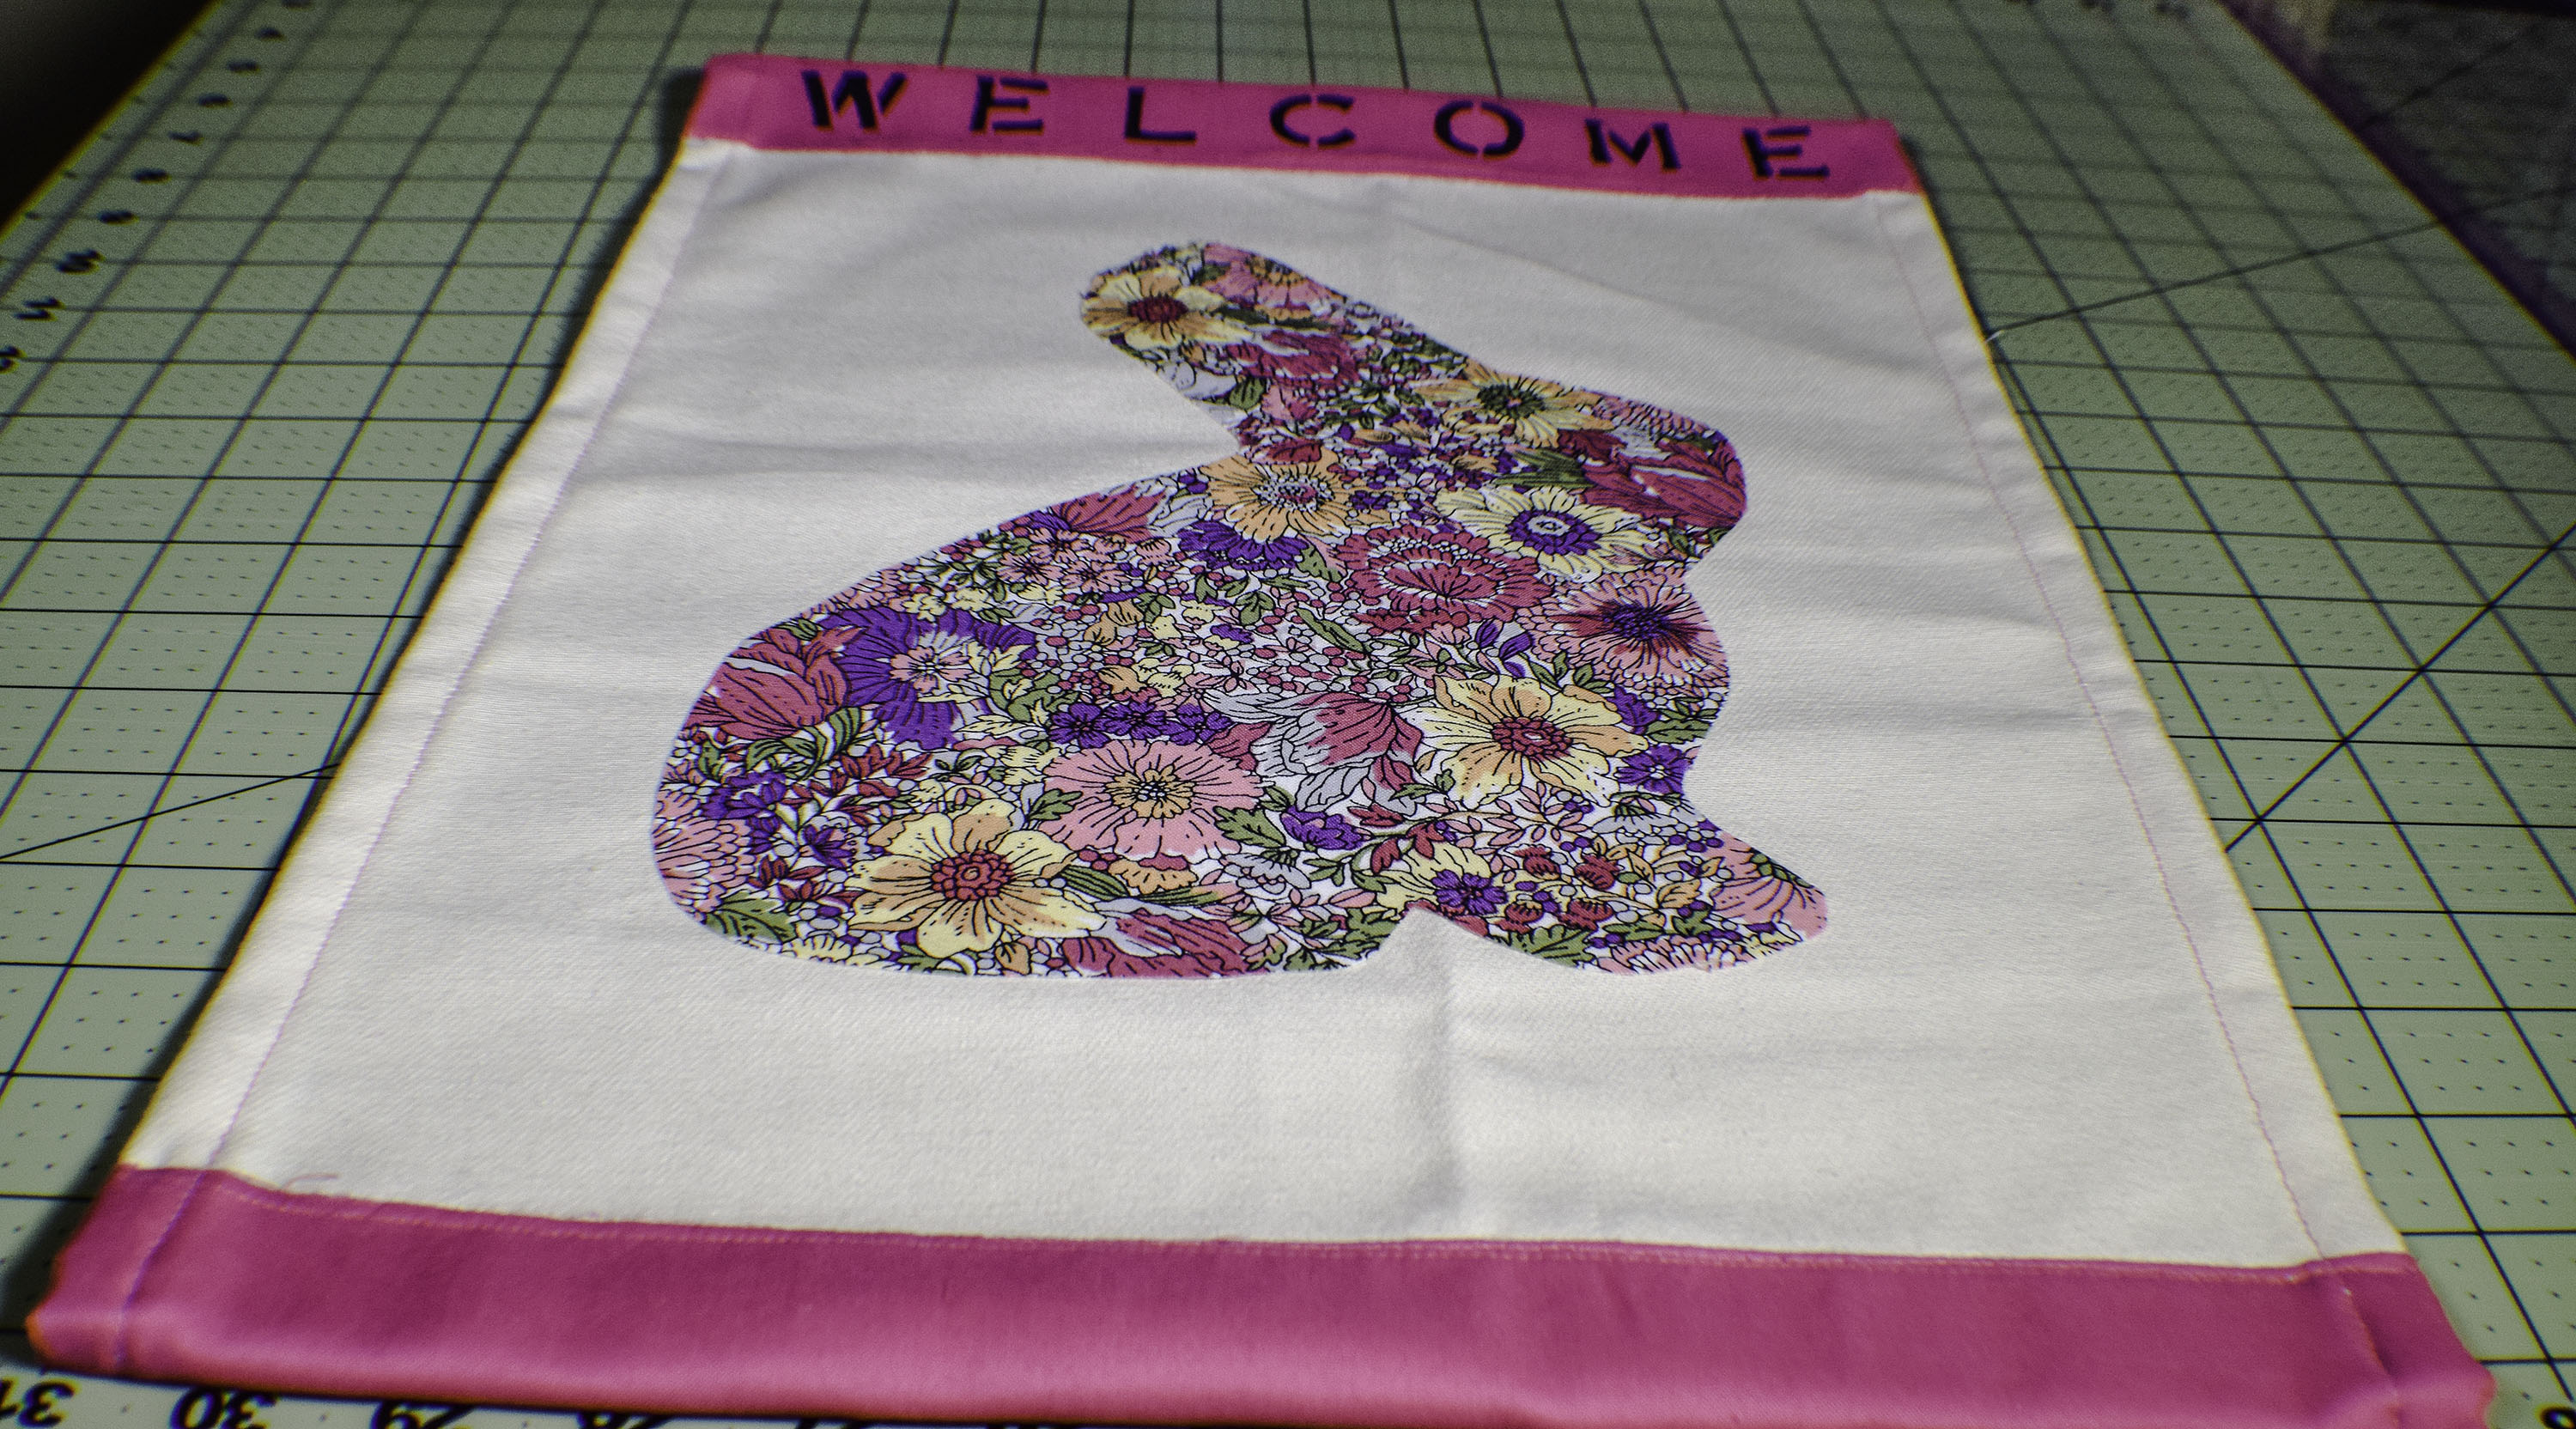
Step 8: Stitch the Appliqué
You can leave the shape fused to the flag or sew around it as I did. Because this is going to be outdoors I chose to take the extra step of sewing around the shape. You could use a decorative stitch, a straight stitch or a zigzag stitch whichever you prefer. I chose a nice even zig zag stitch for my bunny.
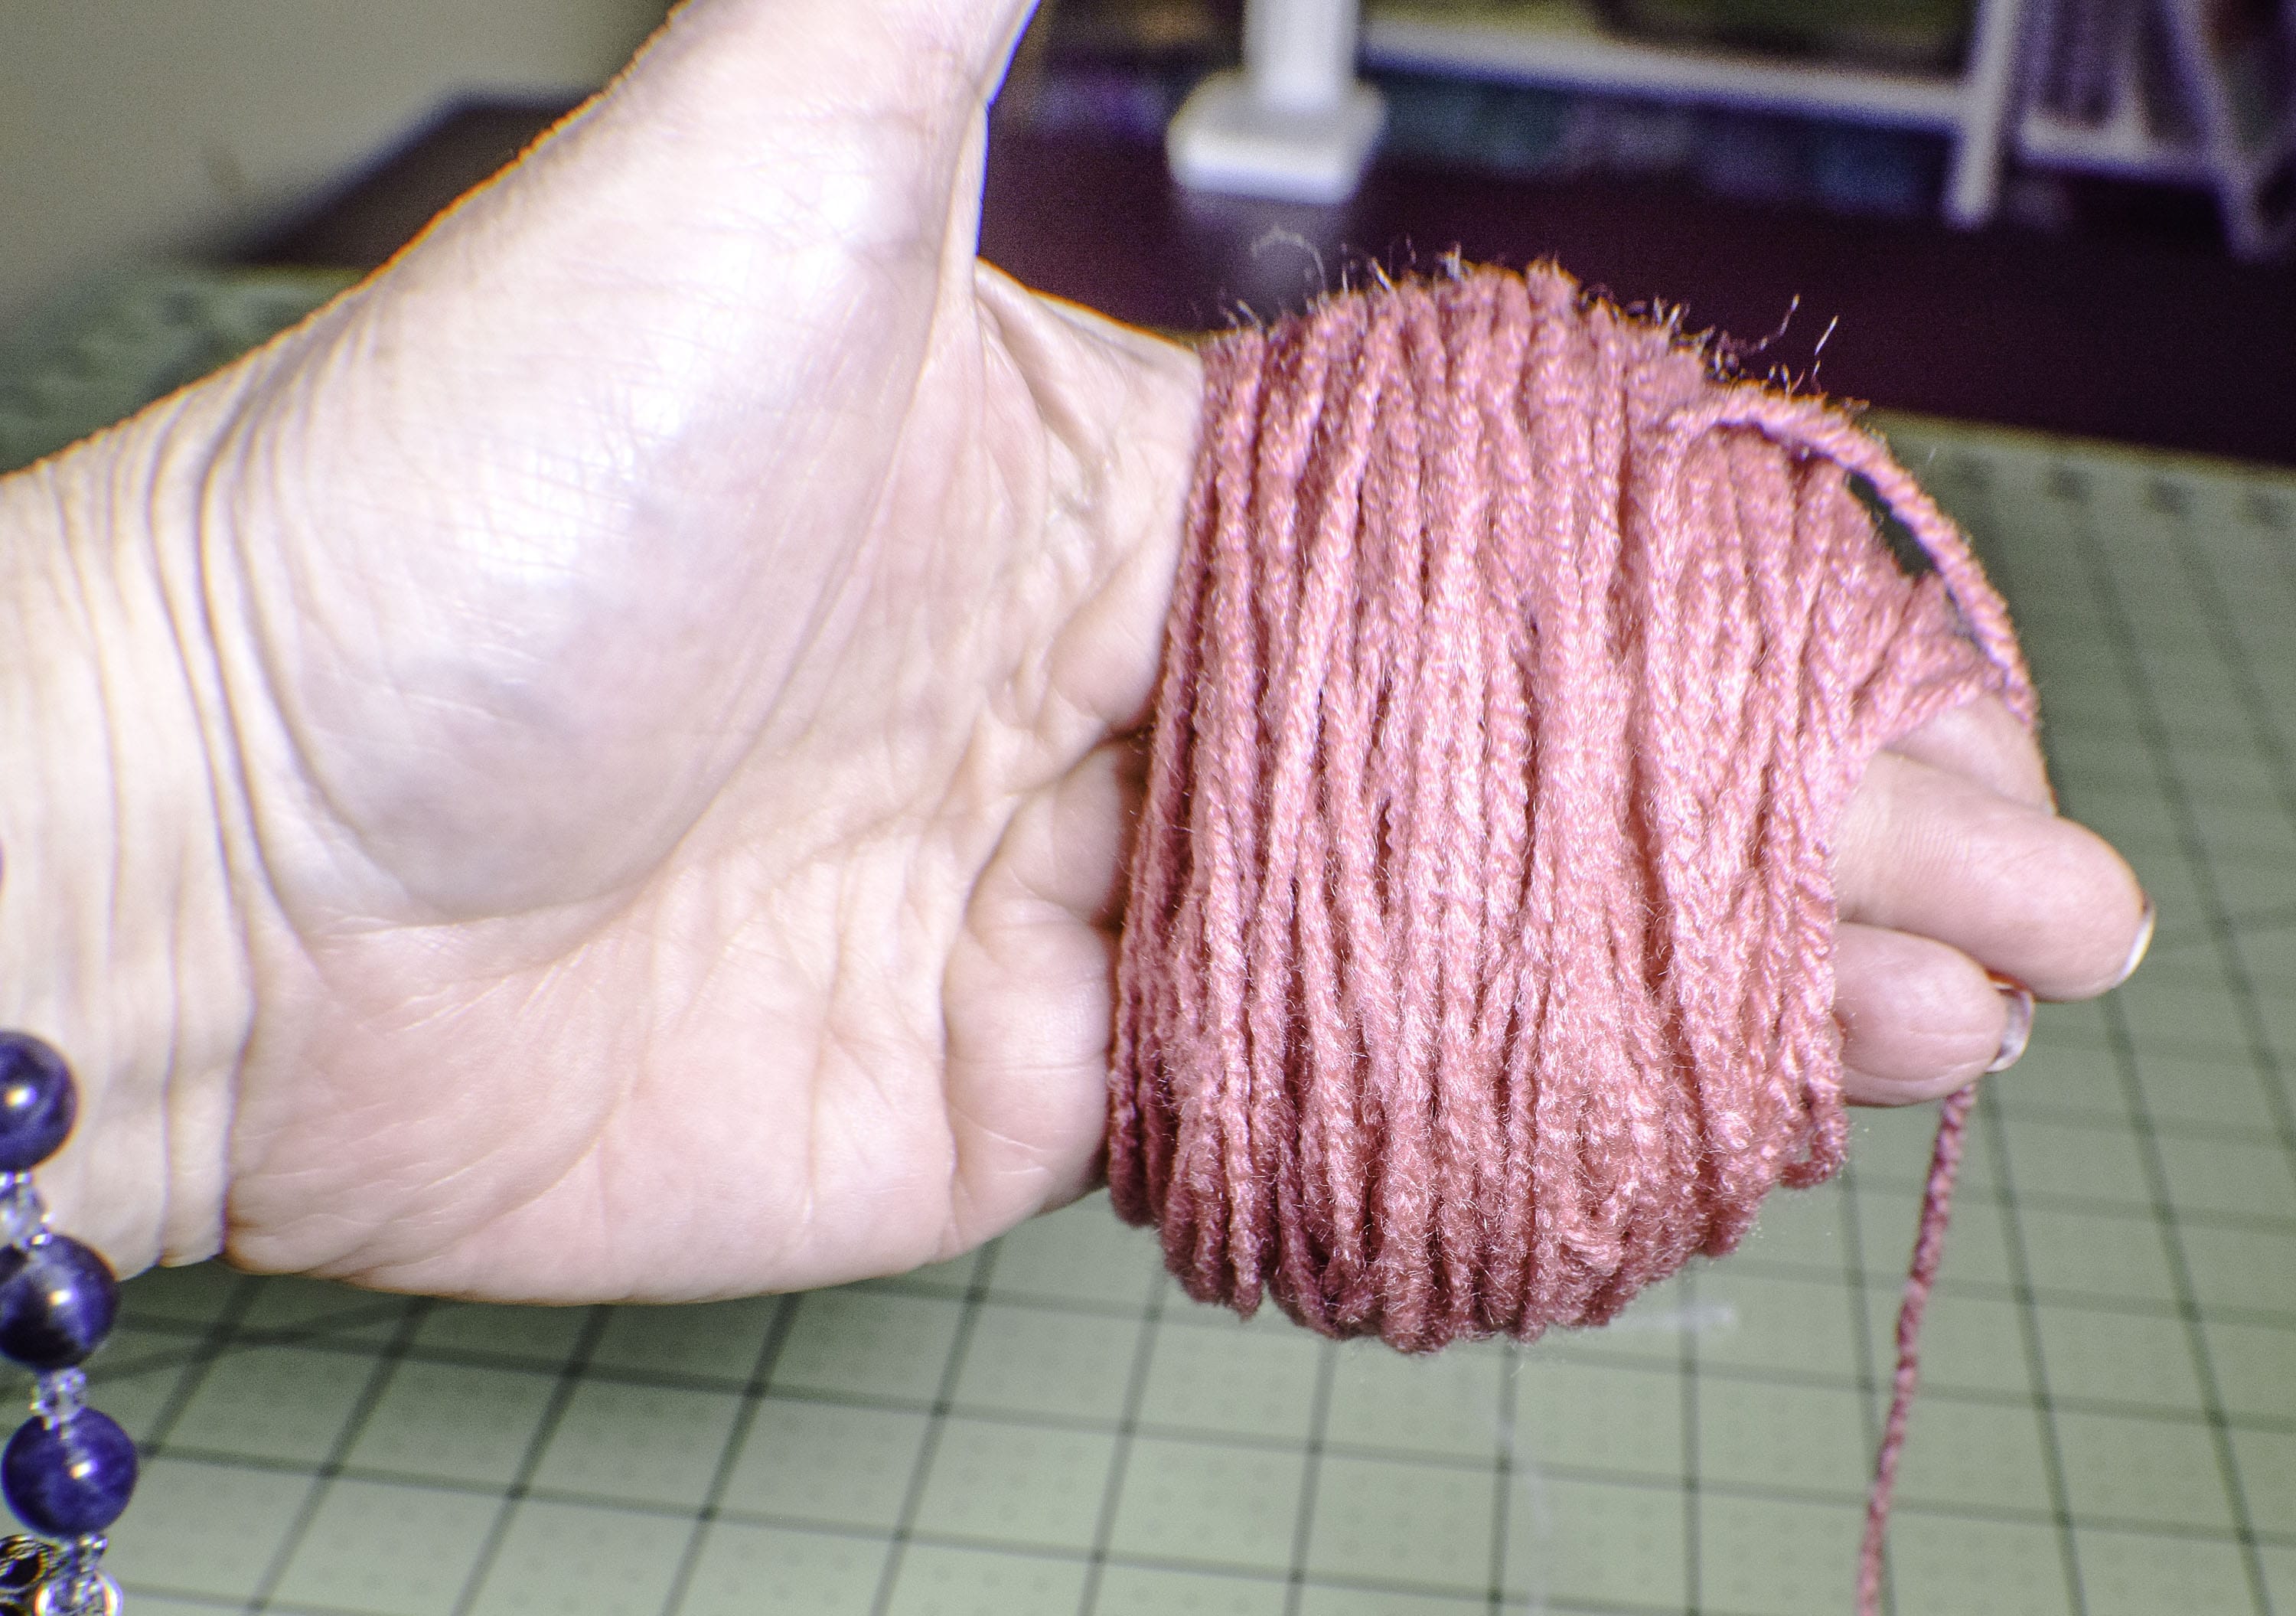
Step 9: Wrap the Yarn Around your Hand
Now that you have adhered your bunny it is time to make the tail. I chose to do a pom pom tail to give my flag a little dimension. You could use a pom pom maker or you could do it by hand like I did. Wrap the yarn around your hand about 150 times.
Step 10: Tie the Bundle
Slide the bundle of yarn off your hand and lay it on the table in front of you. Take an 8″ piece of yarn and tie it around the bundle. Knot it a few times to keep it sturdy.

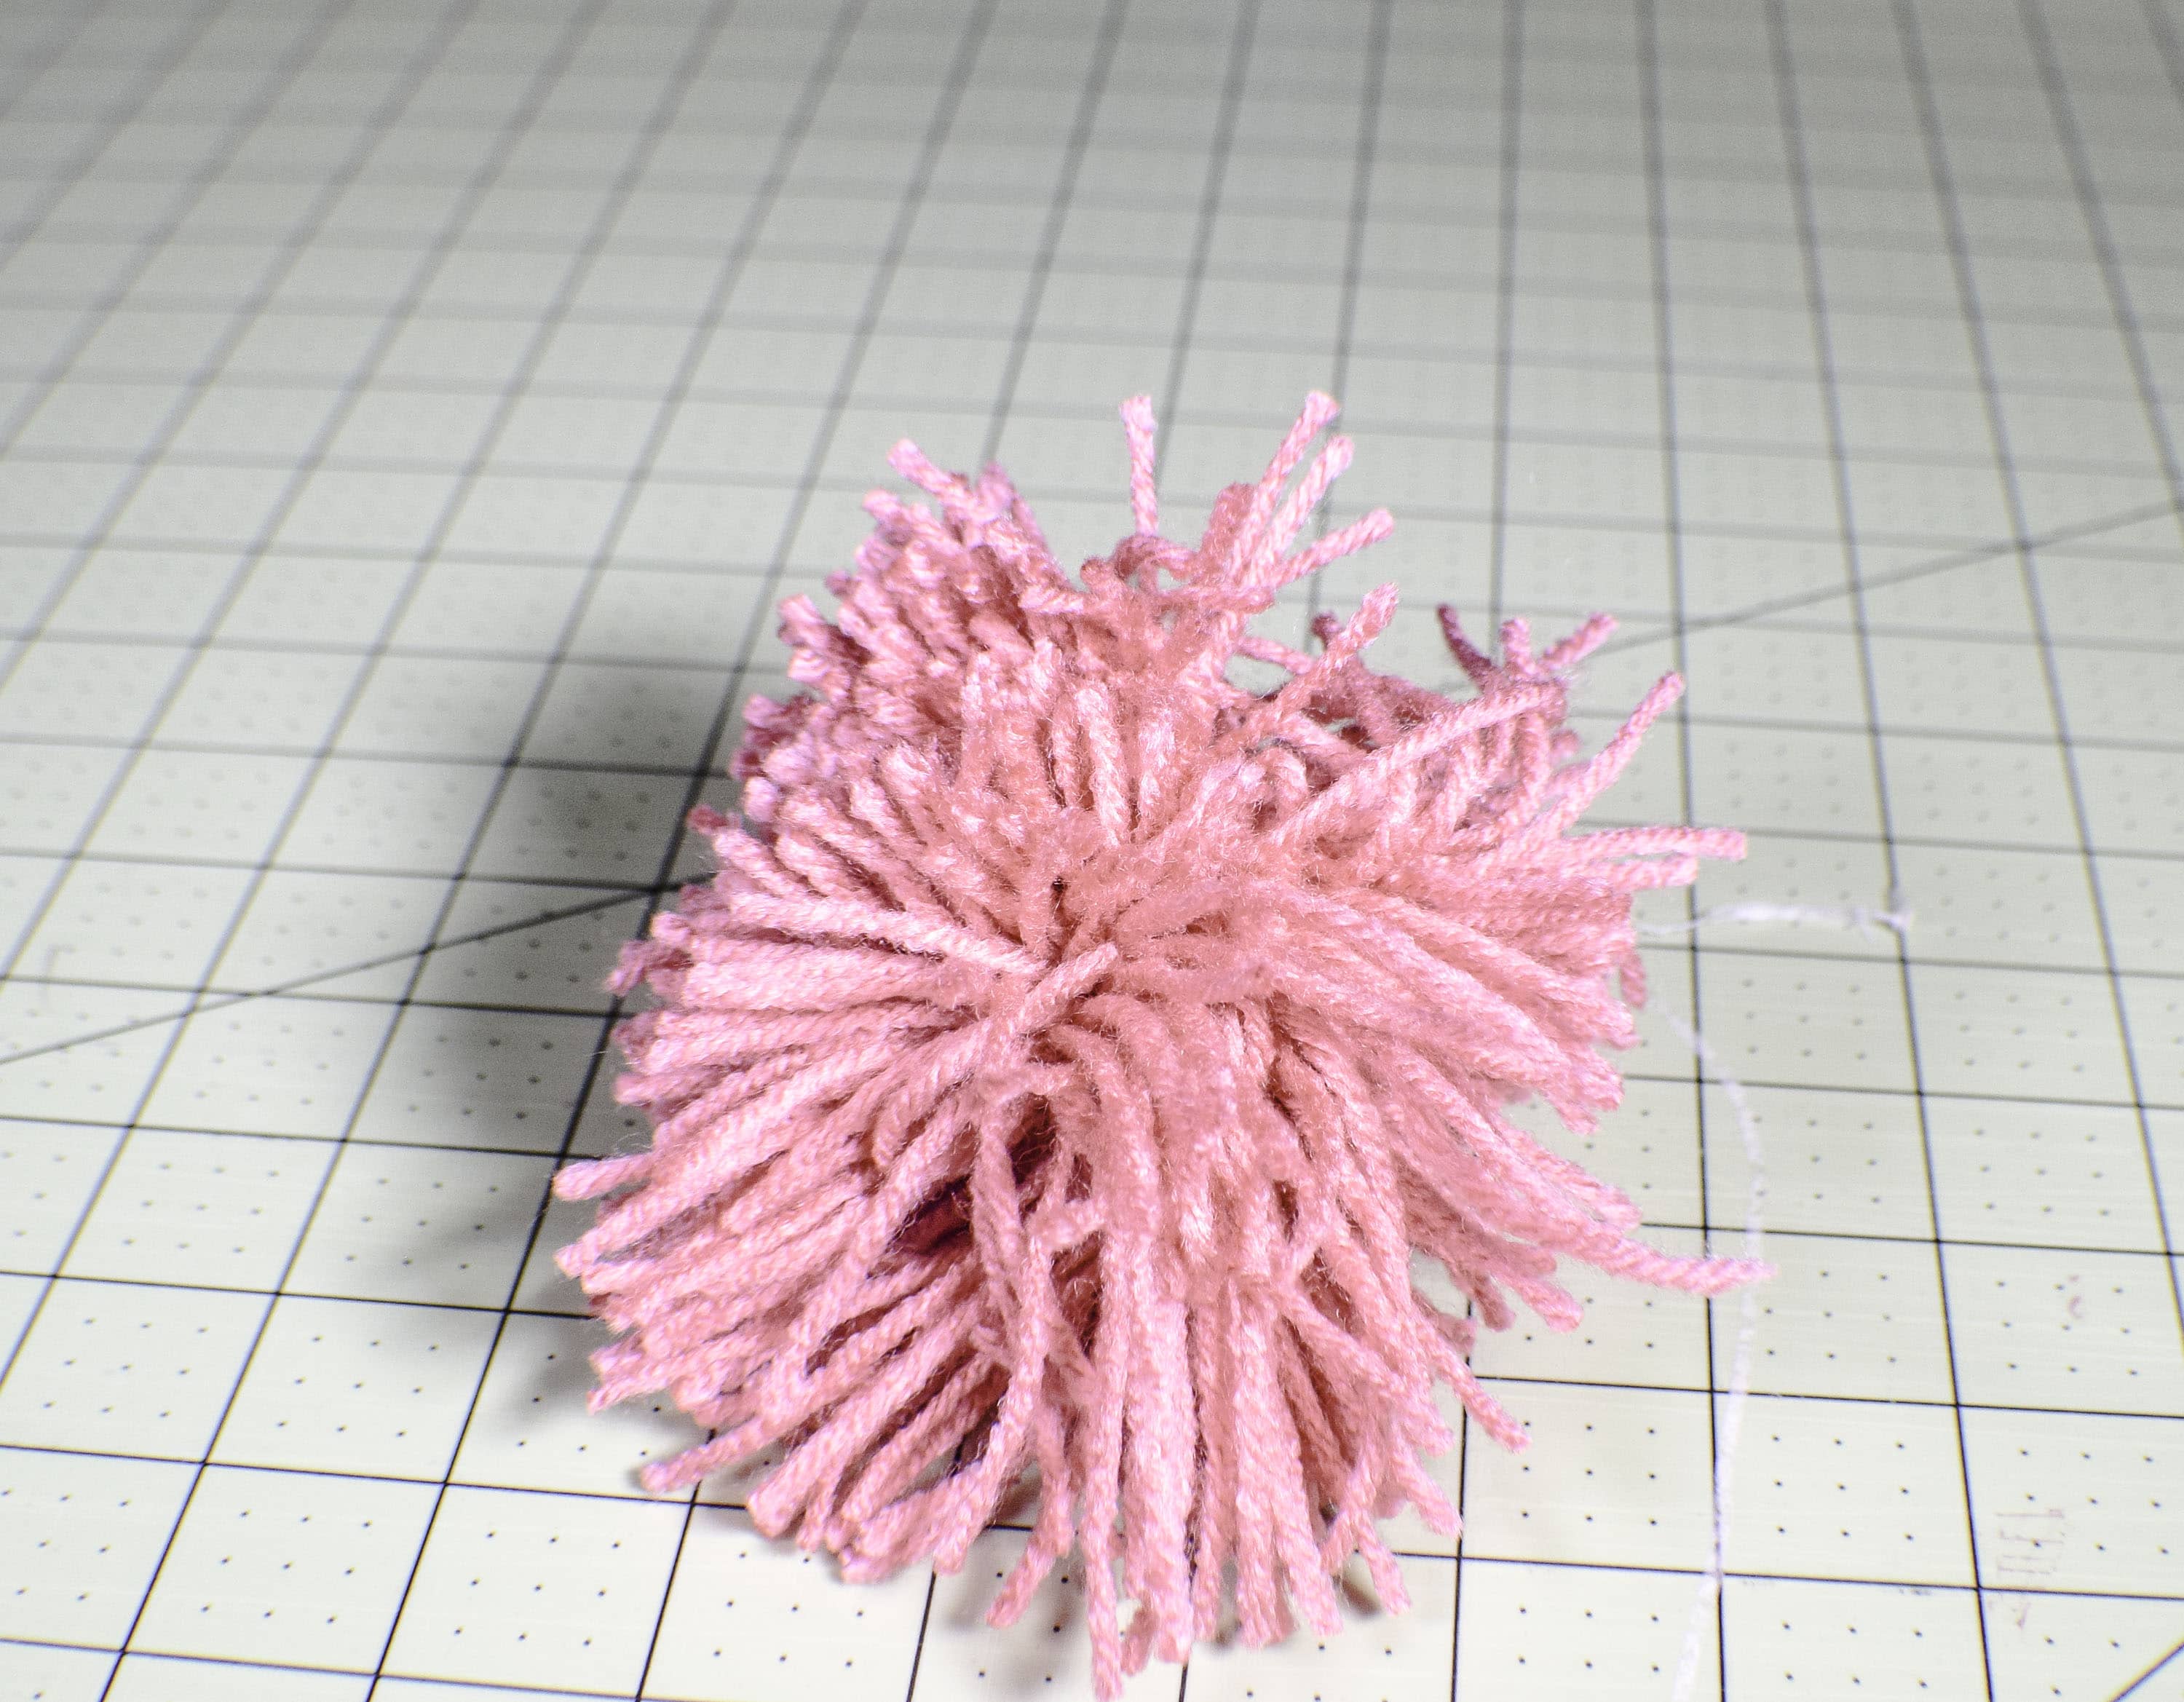
Step 11: Cut the Loops
Cut the loops off the bundle. The yarn ends will pop free and create the pom pom. Trim the yarn ends to make a nice pom pom shape.
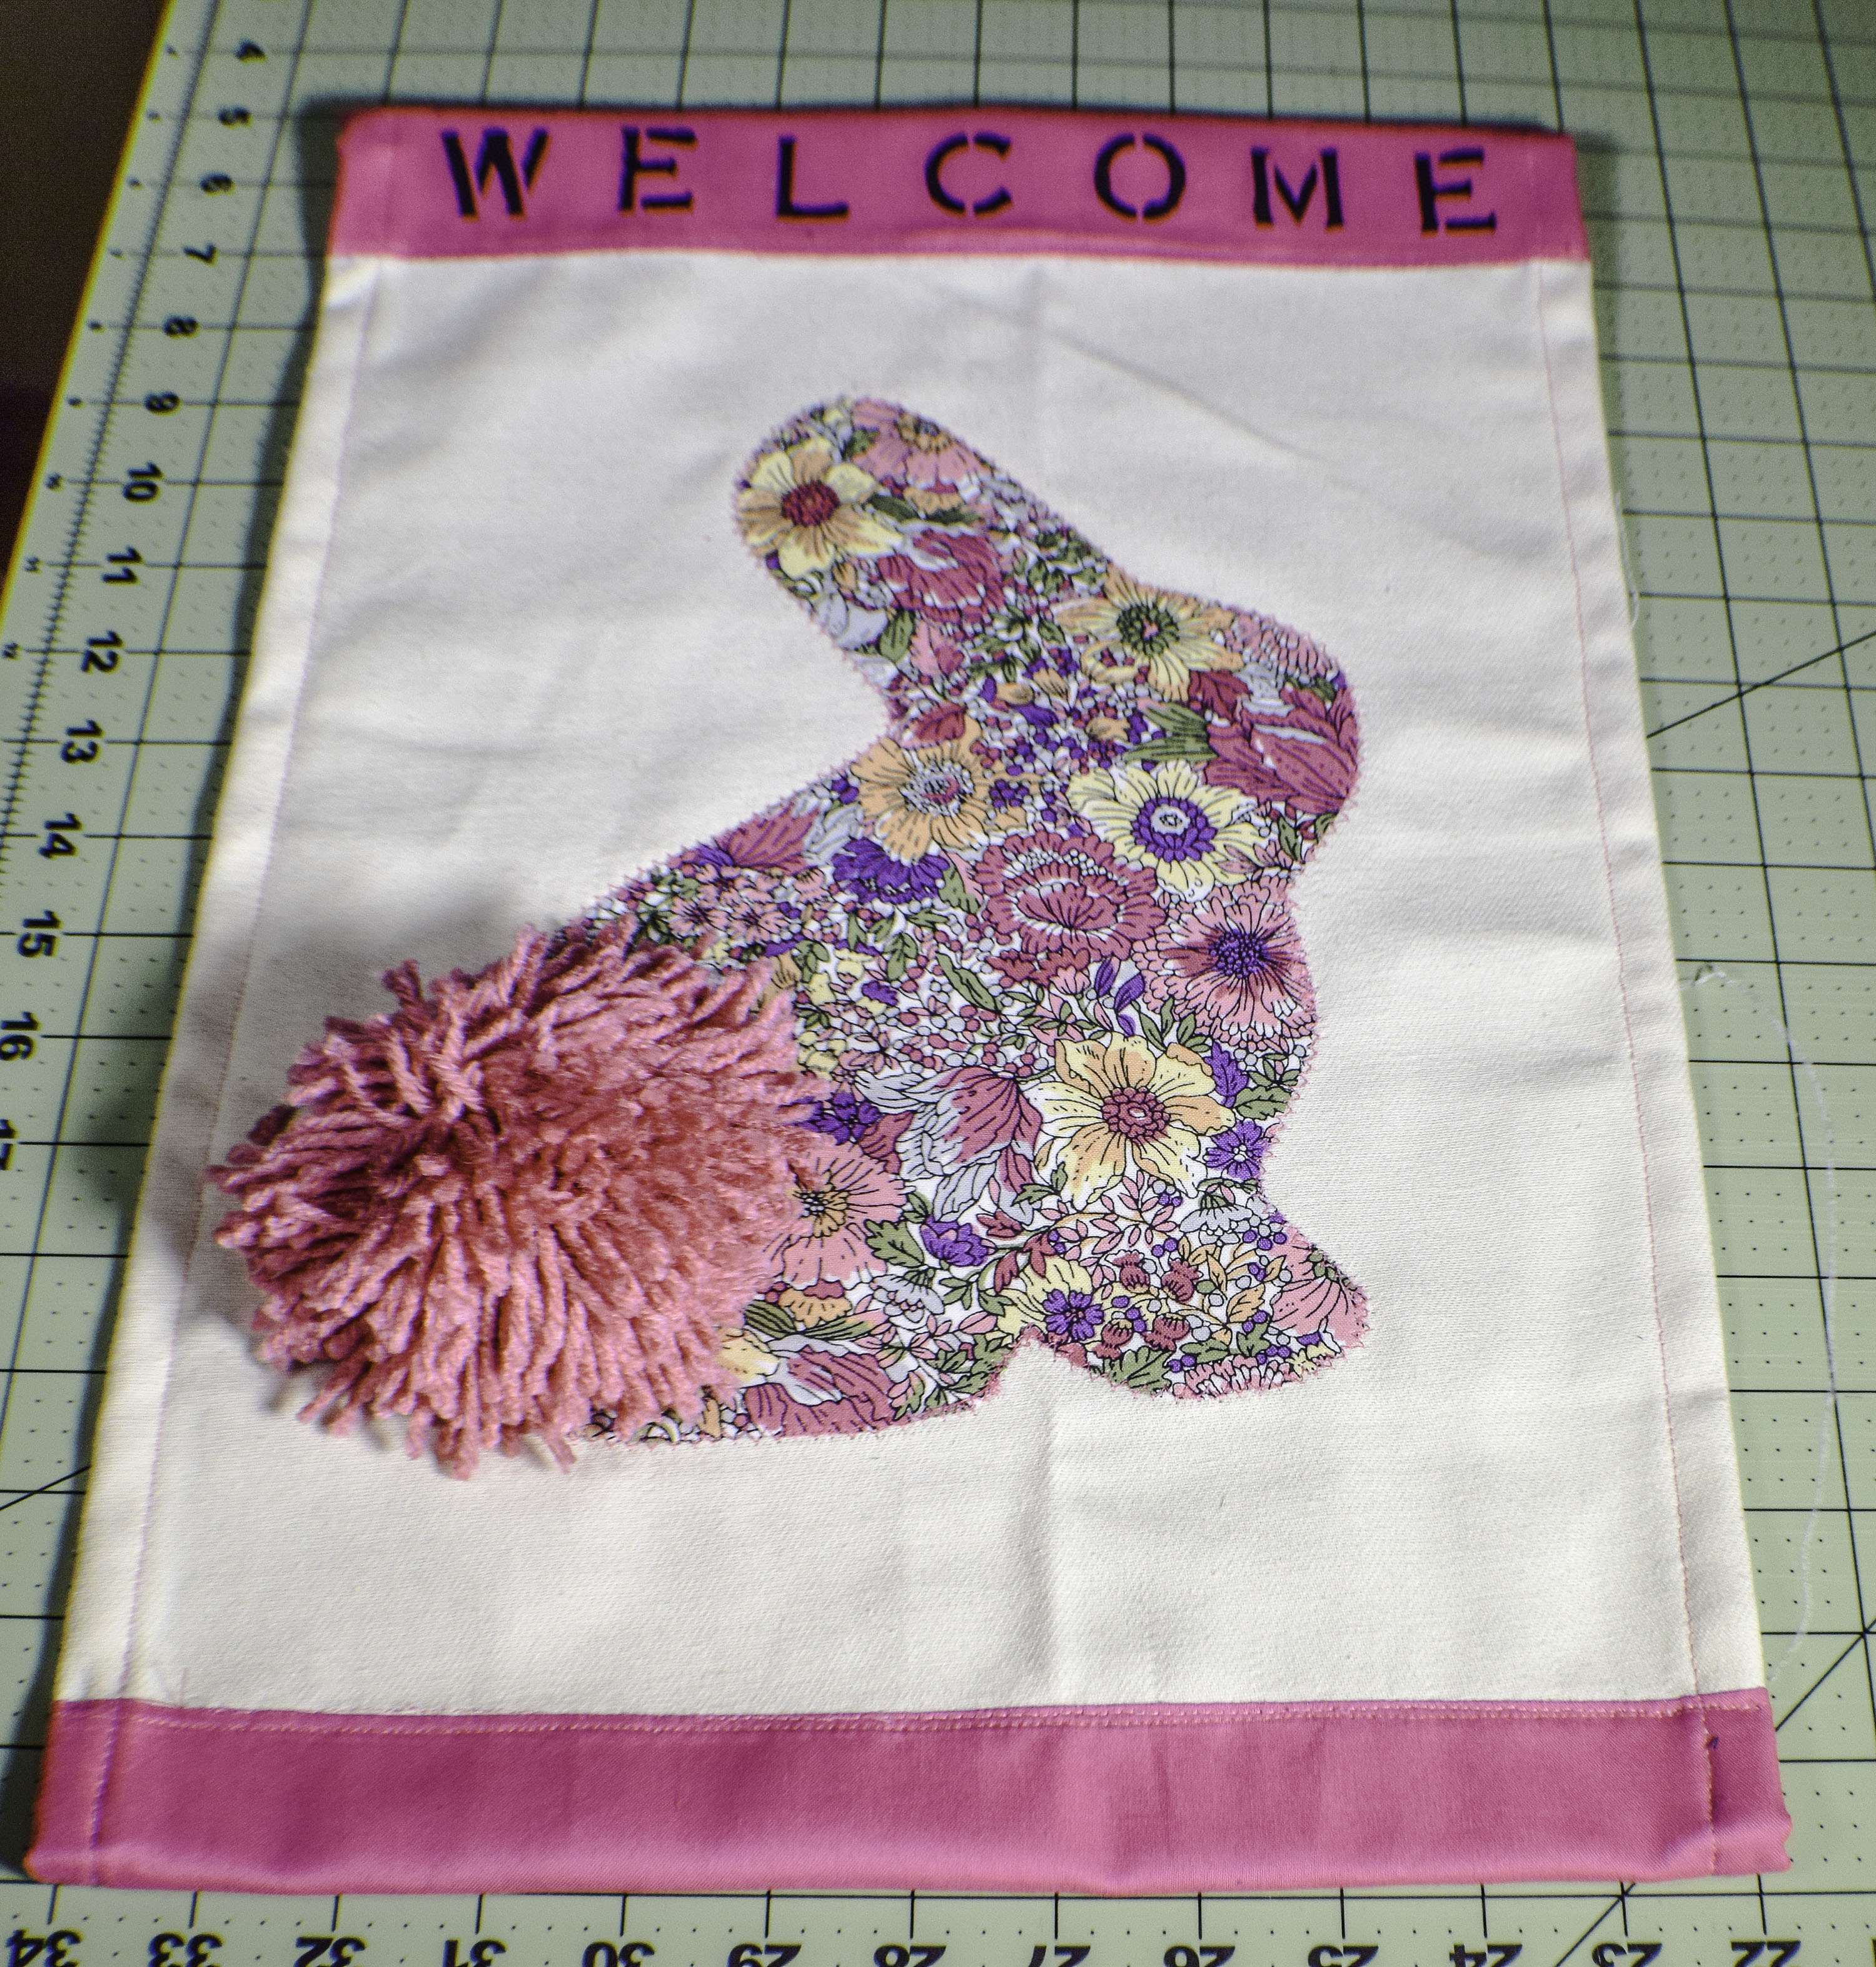
Step 12: Stitch on the Tail
Sew or hot glue the pom pom to the bunny and you have completed your Easter garden flag. If you want you can go one step further and make your garden flag waterproof by spraying it with waterproofing spray. I recommend Thompson's Water Seal Spray for this purpose.
If you enjoyed this project please sign up for our newsletter and receive a free list of sewing room must haves.