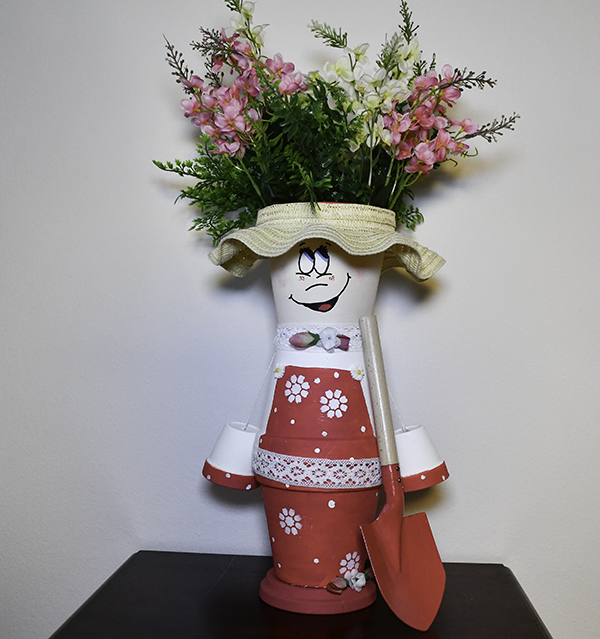
These projects are all over Facebook and I just had to make one for you and shoe you hoe to do it step-by-step. I just love how easy this project comes out looking fantastic. You can find a lot of inspiration for this project. I have seen cartoon characters, penguins, gardeners, scarecrows and even leprechauns. You can choose anything you like using this basic method. Even if you don't paint wall there are stickers you can buy to help you along to the look you would like. I really hope you enjoy this project.
Note: This post contains affiliate links that if you click on them and make a purchase I will receive a small commission at no extra cost to you. As an Amazon Associate I earn from qualifying purchases.
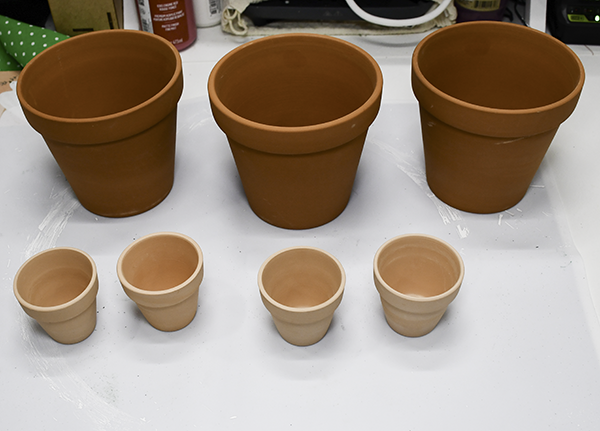
What you will Need: How to Make a large flower pot character
- 3 6″ flower pots and 1 saucer
- 2 2.5″ flower plots
- Paint to match your character. You can use either acrylic or chalk paint for this
- Lace ribbon
- A dollar tree hat
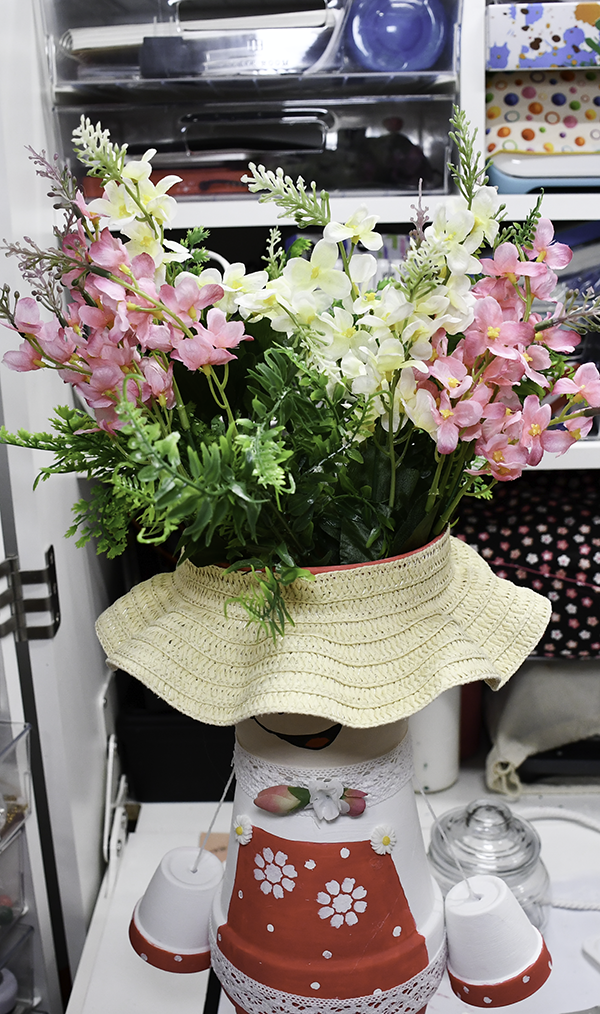
- Plant or faux flowers
- Paint pens or stickers for the face
- Stencil to decorate the apron if you are making the gardener
- Macrame Cord
- Shovel
Stop 1: Attach the Pots
There are three 6″ pots for the body of my gardener. Start by gluing the two of the pots so that the openings are connected.
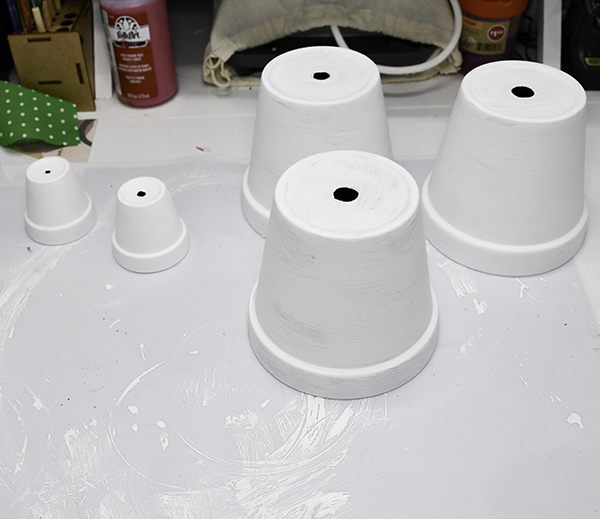
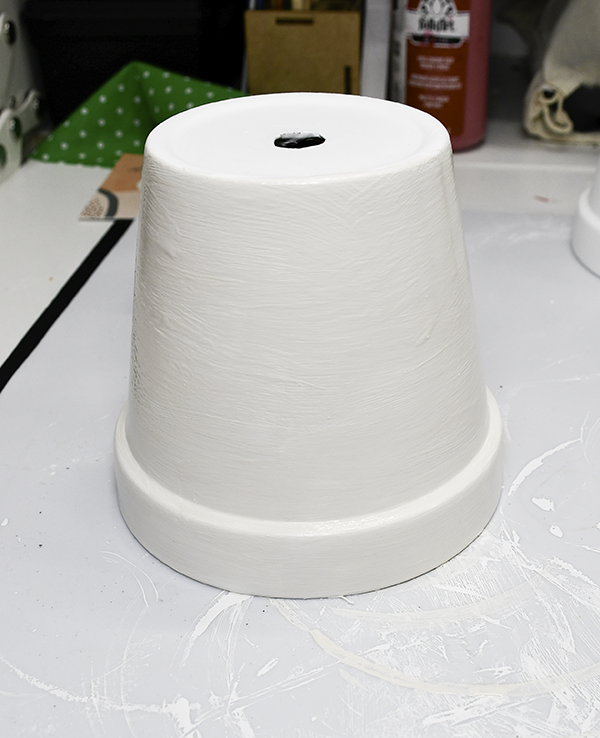
Step 2: Paint all of the pots white
I painted all of the pots including the small pots white. For this, I chose chalk paint. I found that with a base of white I could better get the colors I wanted to use their chance to shine. Let the white paint dry. Use two coats if you need to .
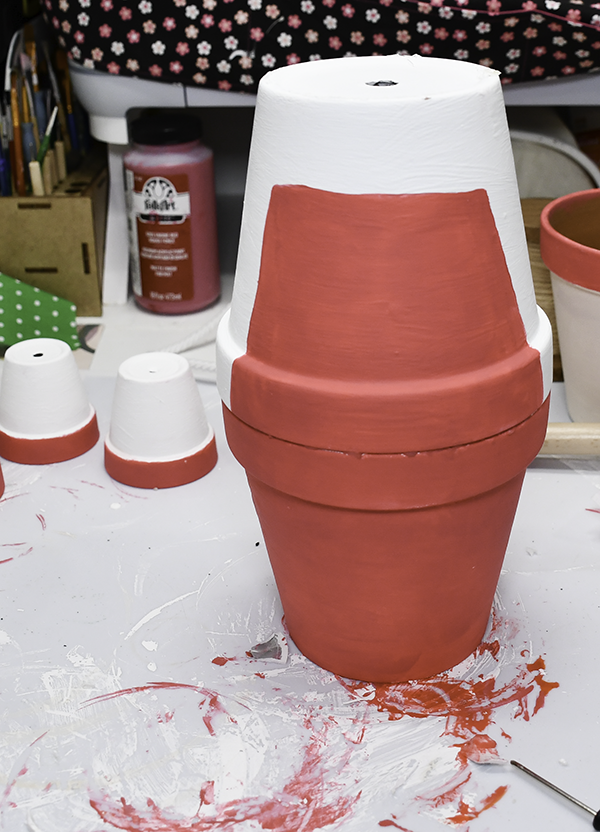
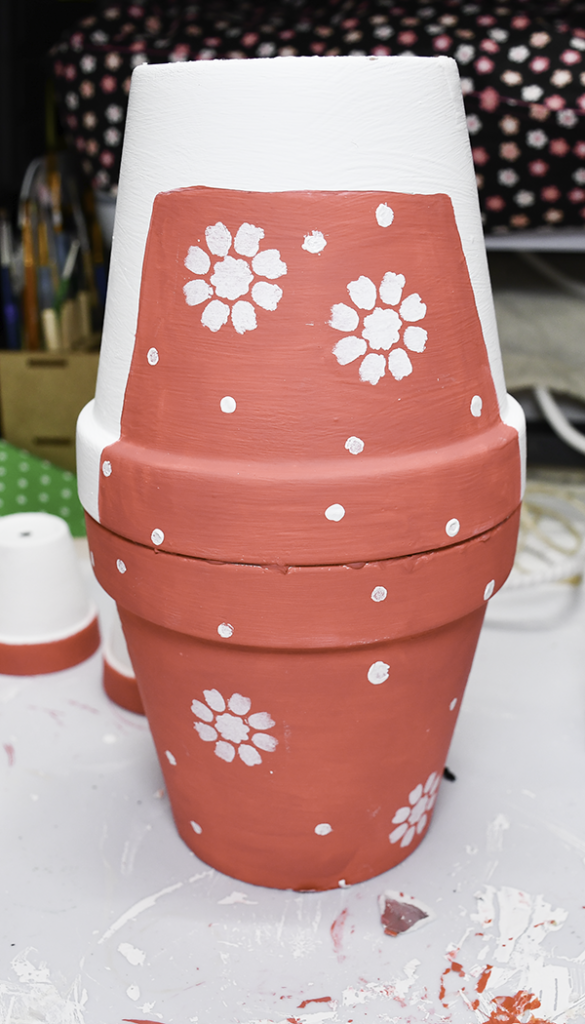
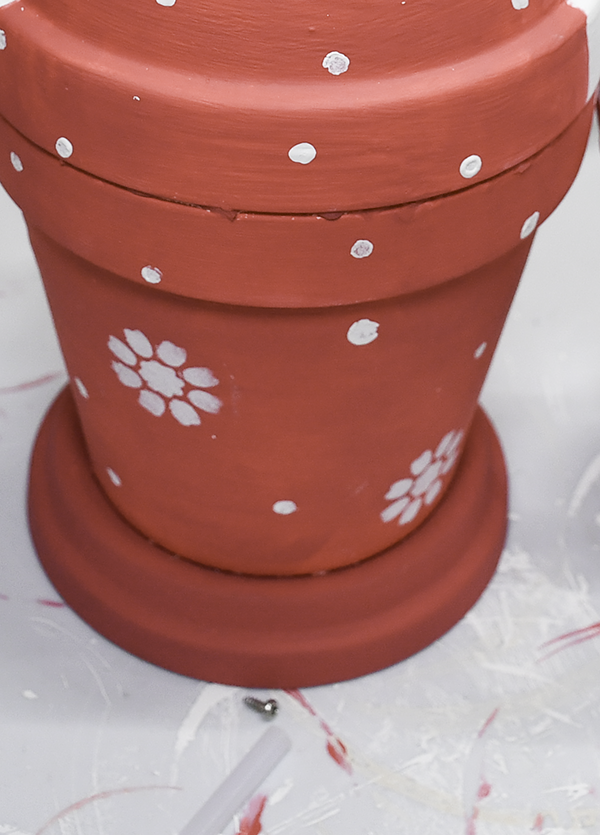
Step 3: Paint the Accent Colors
I used a bright pink for my apron and accent colors. Start by painting the small pots with the pink or color of your choice just around the lip. Paint the front of the larger pot combination with the pink or other color. Remember, if you are making the apron, you just want to paint the front in an apron shape. You will do this to the bottom two pots as this is the body of your character.
Step 4: Stencil the apron and accents
I used a small stencil with flower shapes on it. Place the stencils randomly on the apron and along the lip of the smaller pots. Paint dots around the flowers. I used white for continuity but you could add another color if you like.
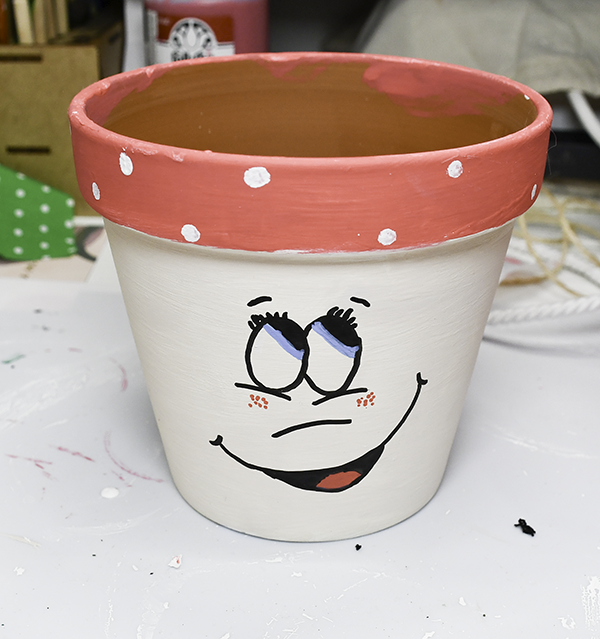
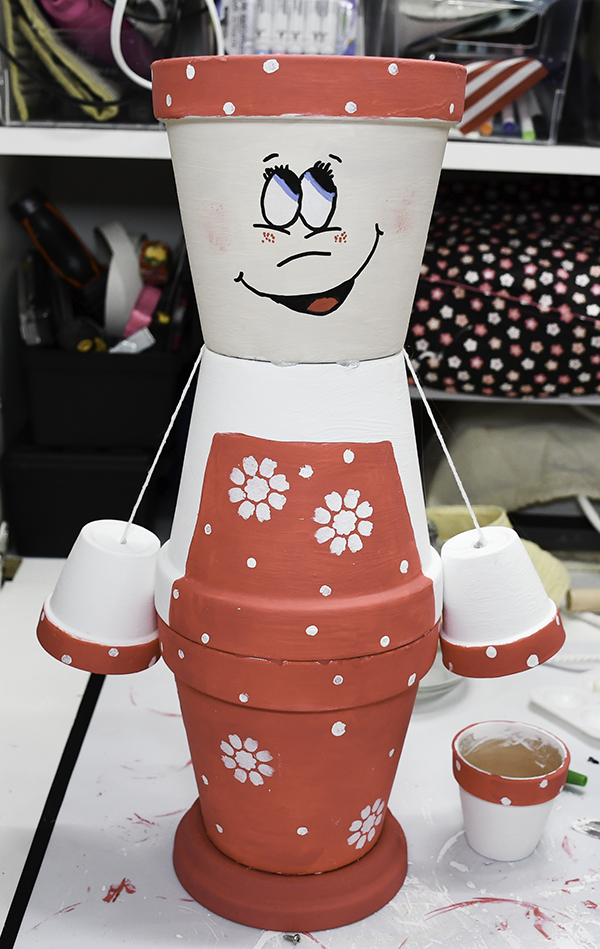
Step 5: Paint the Face
Start by painting the pot the skin color of your choice. I chose milk jug chalk paint because I had it on hand. Let the face color dry completely. Once the face paint has dried draw the face or add some face stickers to get the look that you like.
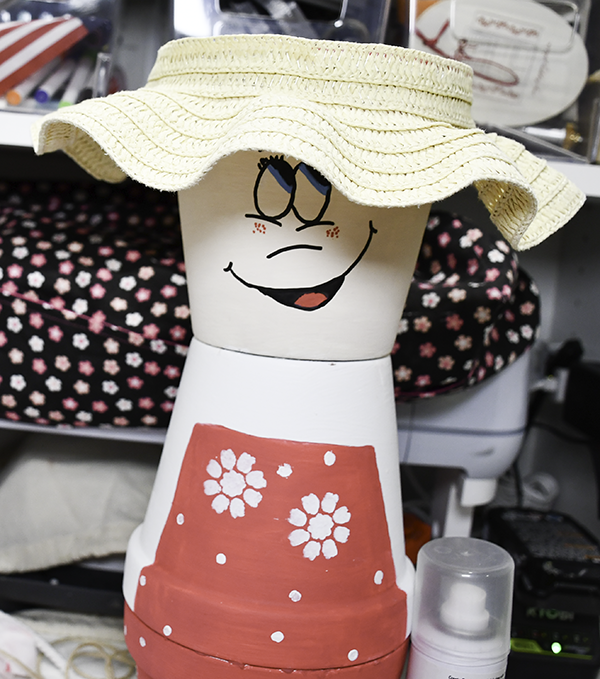
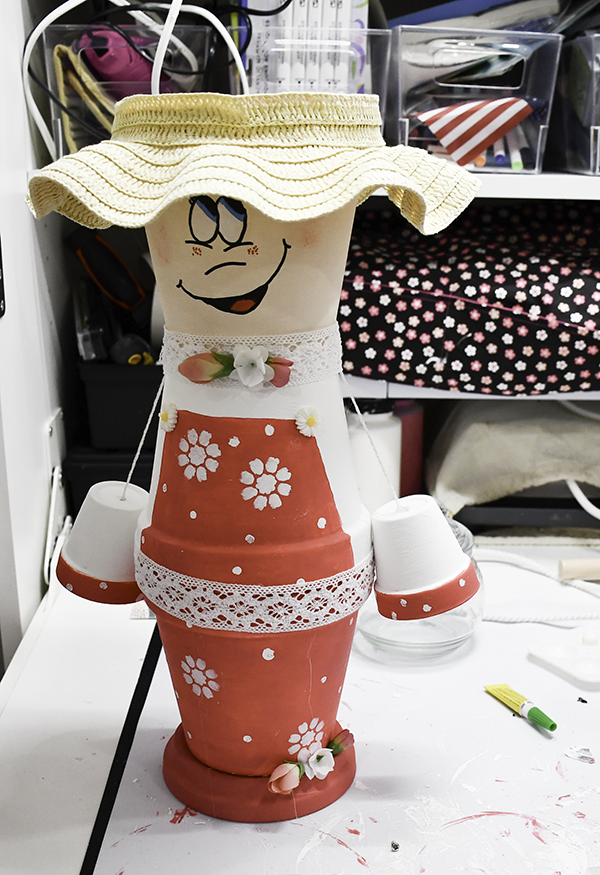
Step 6: Add the Hat
Take the hat and remove the crown of the hat by simply cutting it and unravelling it until you get to the brim. Once you reach the brim add a bit if hot glue so that it does not unravel any more. Then, hot glue the hat to the top of the head pot.
Step 7: Add the saucer
Place the two pots onto the upside down saucer and glue.
Step 8: Attach the Hands
Take length of cord you added to the large pots and feed them through the holes in the pots. Tie them into a knot to secure them. Drape them across the top of the two pots that make up the body.
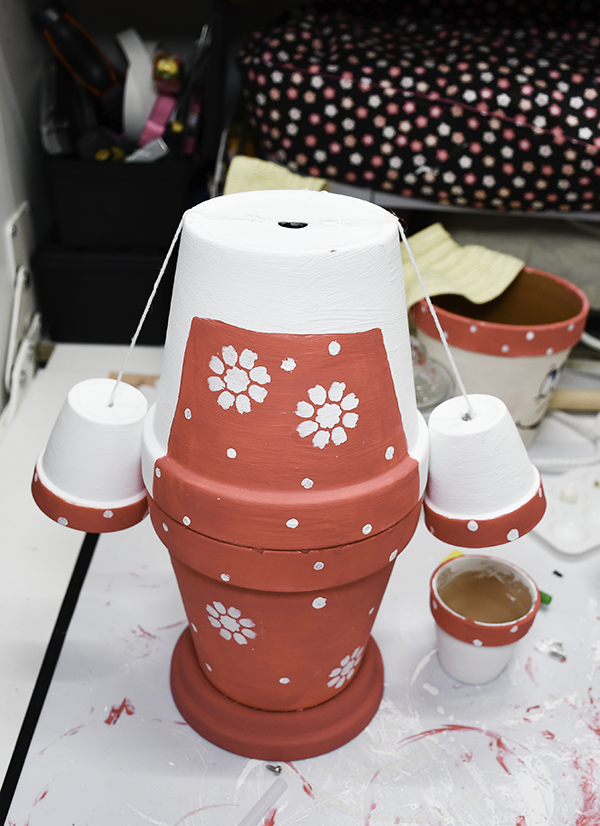
Step 9: Add the Head
Place a piece of cord on top of the second pot and glue it using the hot glue and epoxy. For this project I used a combination of hot glue and and epoxy though you can use e6000 if you like. Make sure the twine is long enough to attach the small pots to act as the arms in a later step. Glue the head onto the body and on top of the cord.
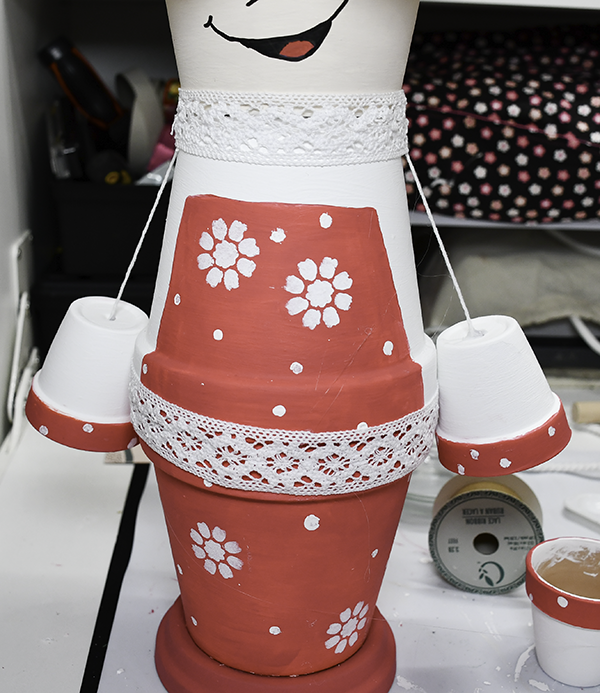
Step 10: Add the embellishments
Using hot glue, add some lace at the top of the apron and around the neck and center where the pots are joined. Add some button accents to the top of he apron also using hot glue.
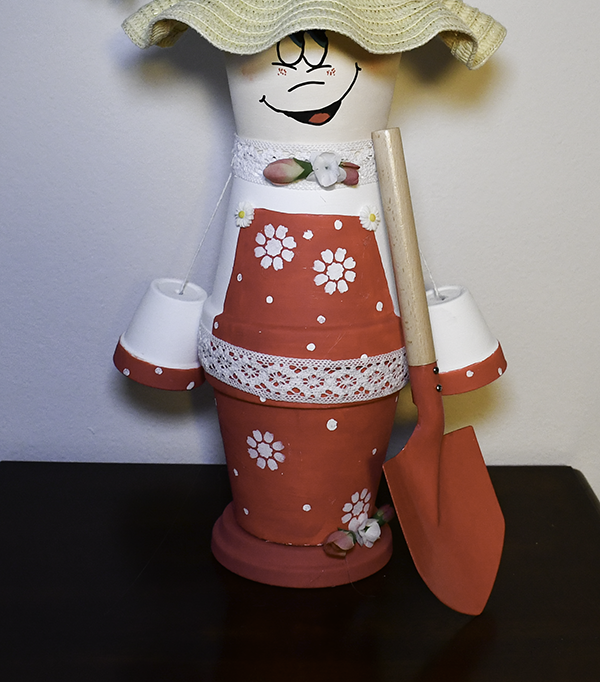
Step 11: Add the shovel
I had two shovels that were left over from a previous project. The shovel was longer than I wanted so I unscrewed the handle and cut the wood part down the length I wanted. I did not add the top back to the wood part. Attach the shovel to the body of the pots using hot glue and epoxy to secure.
I hope you enjoyed this project. If you would like more sewing and crafting projects subscribe to our free newsletter and receive access to our Dollar Tree Holiday eBook.
Subscribe to our Free YouTube Channel!
Join our Sew Very Crafty Fans Facebook group
If you want to ask questions and share your projects join our Facebook group here. The community will help to achieve your sewing and crafting dreams.