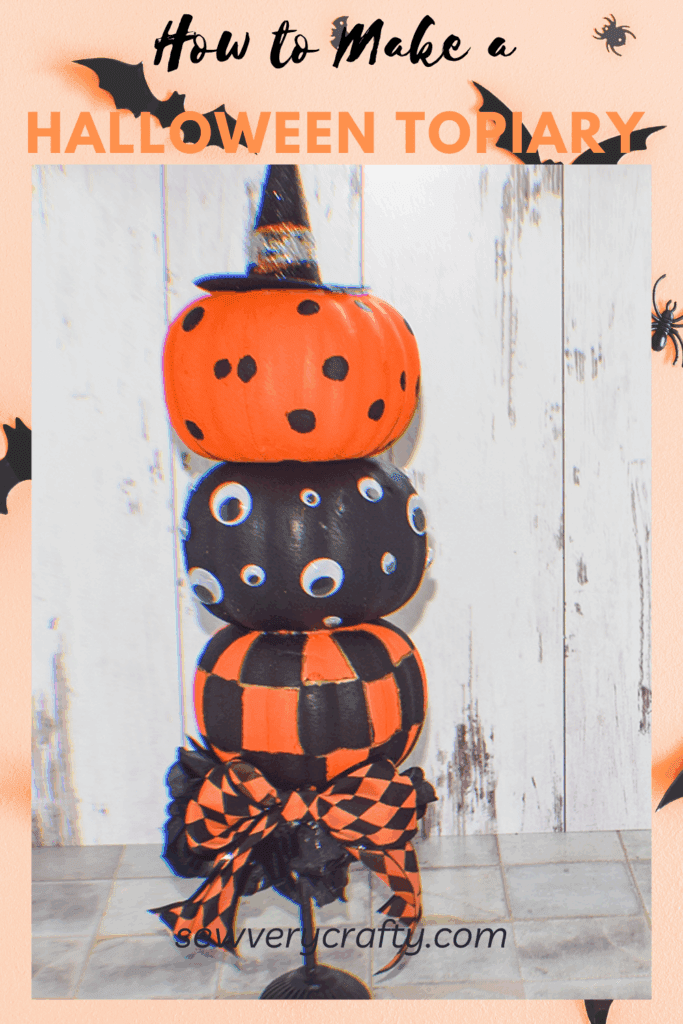
Halloween is closer than you think. I have been spending a lot of time at Dollar Tree getting ready for this year's Halloween festivities. As I perused the store I saw the foam pumpkins that they have every year and decided they were perfect for a small topiary. This Dollar Tree Halloween Foam Pumpkin Topiary is a super simple craft project that anyone can make with all Dollar Tree supplies. If you would like more Dollar Tree Crafts head over to my Dollar Tree page. If you would like more holiday sewing and crafting projects check out my Holiday Project Vault.
Note: This post contains affiliate links that if you click on them and make a purchase I will receive a small commission at no extra cost to you. As an Amazon Associate I earn from qualifying purchases.
What you Will Need: How to Make a Dollar Tree Halloween Foam Pumpkin Topiary
- 3 Dollar Tree Foam Pumpkins
- 1 Dollar Tree Candle Holder
- Acrylic Paint
- Halloween Florals
- Dollar Tree Witch Hat Pick
- Dollar Tree Bamboo Skewer
- Google Eyes
- e6000 glue
- Hot Glue
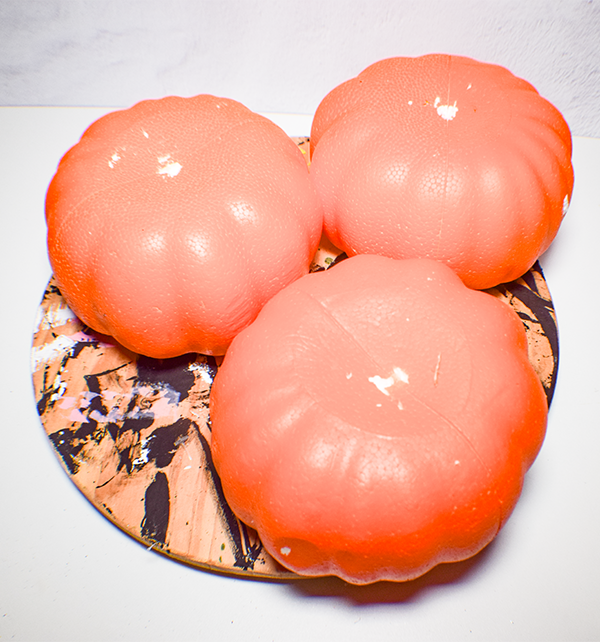
Step 1: Remove the Stems
Remove the green stems from each of the pumpkins. They just pull out so this is a simple process.
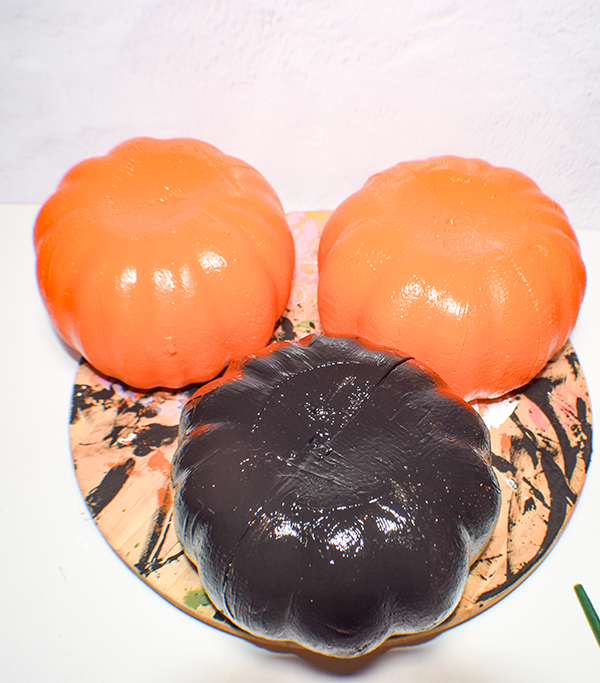
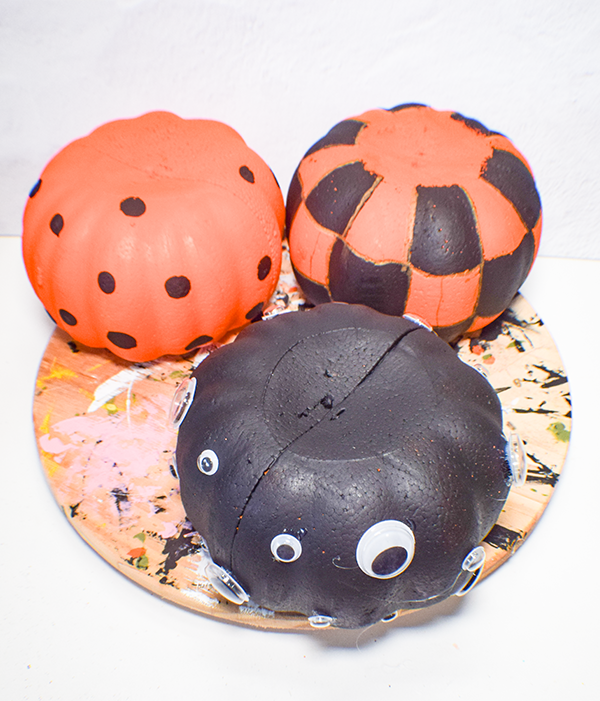
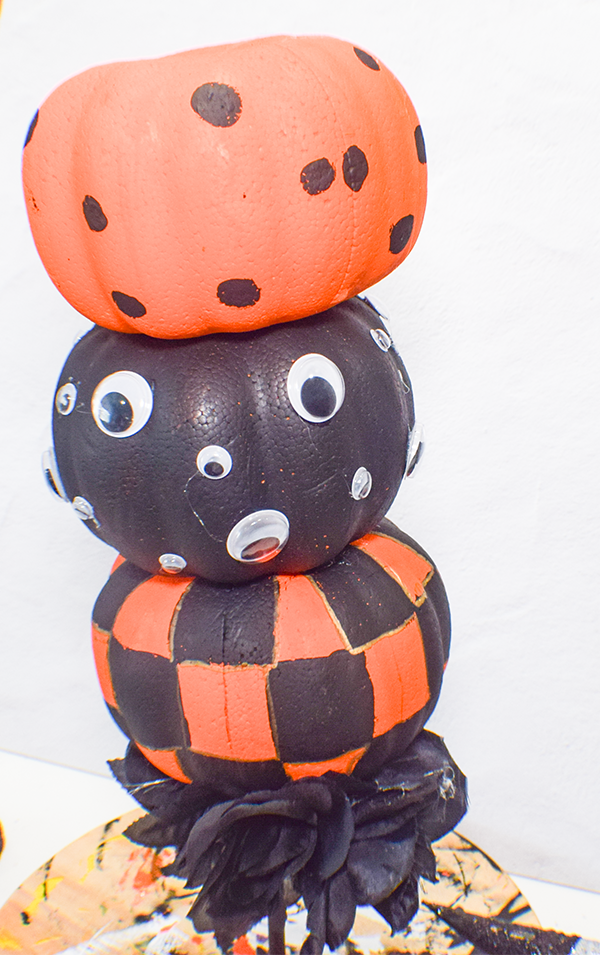
Step 2: Paint the Pumpkins
Paint each of the three pumpkins in colors of orange and black. I painted one pumpkin using orange acrylic paint even though the pumpkin is already orange. Then I added black dots all over. The second pumpkin was painted black. I added google eyes to the entire pumpkin. For the final pumpkin I used the ribs of the pumpkin to paint orange and black stripes. Let the pumpkins dry completely.
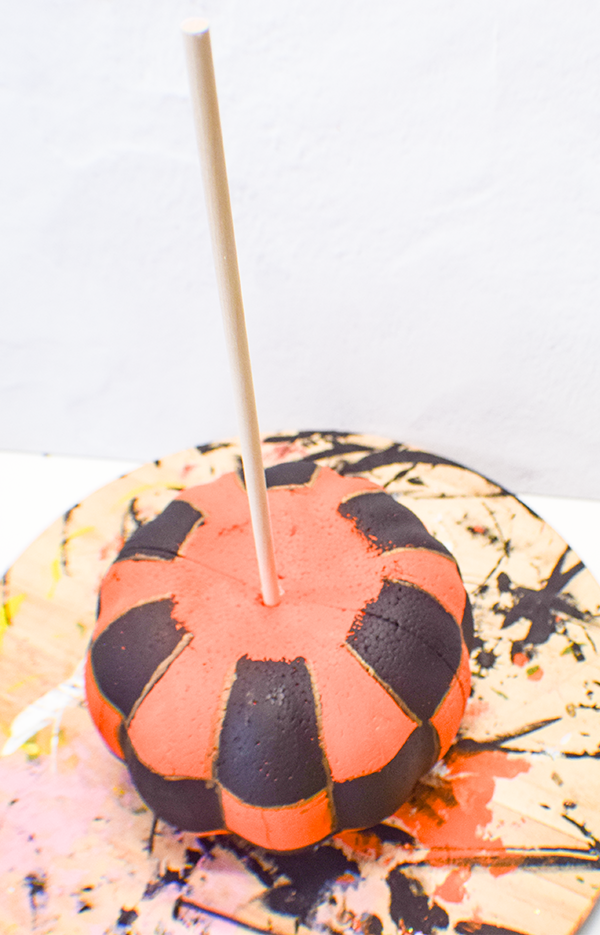
Step 3: Stack the Pumpkins
Take the bamboo skewer and push it through the center of the bottom pumpkin. Push the skewer through the middle pumpkin and then through the top pumpkin. Cut off the excess skewer. Set aside.
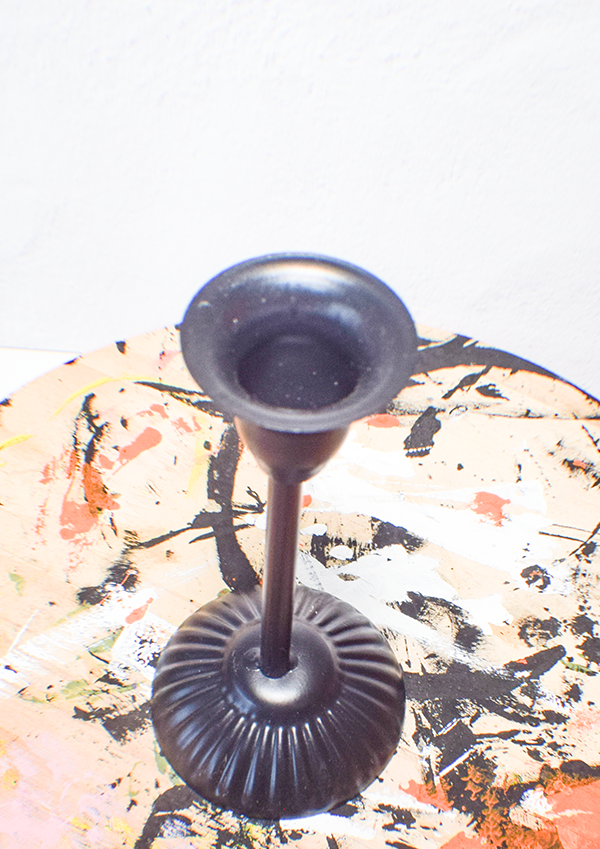
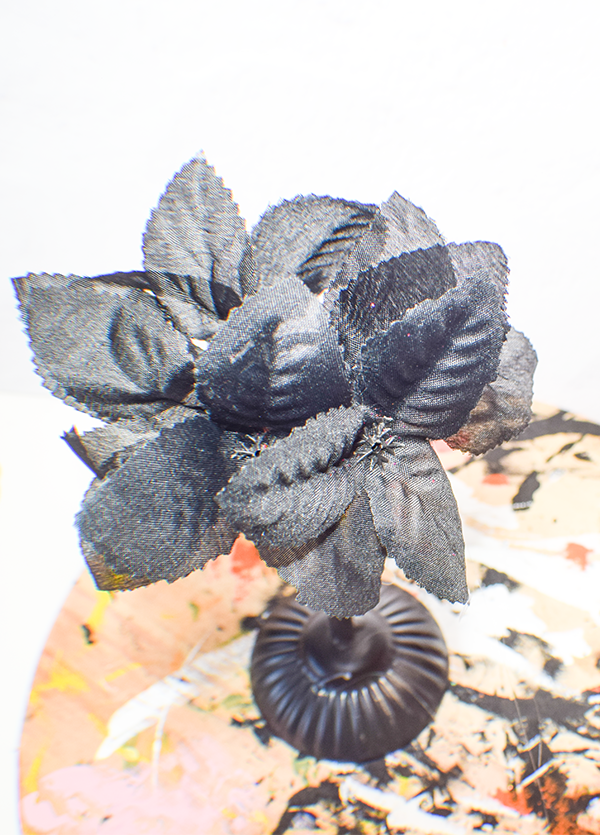
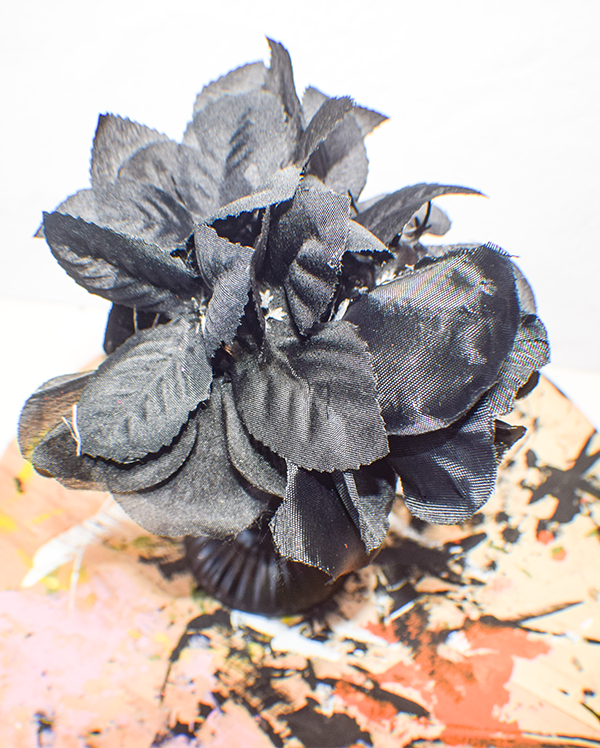
Step 4: Add the Florals
Take the candle holder and place hot glue on the rim. Glue the leaves and flowers to the rim so that they hang over the edge.
Step 5: Add the Pumpkins
Once you have finished with the florals glue the pumpkin stack to the candle holder. I used a combination of e6000 and hot glue.
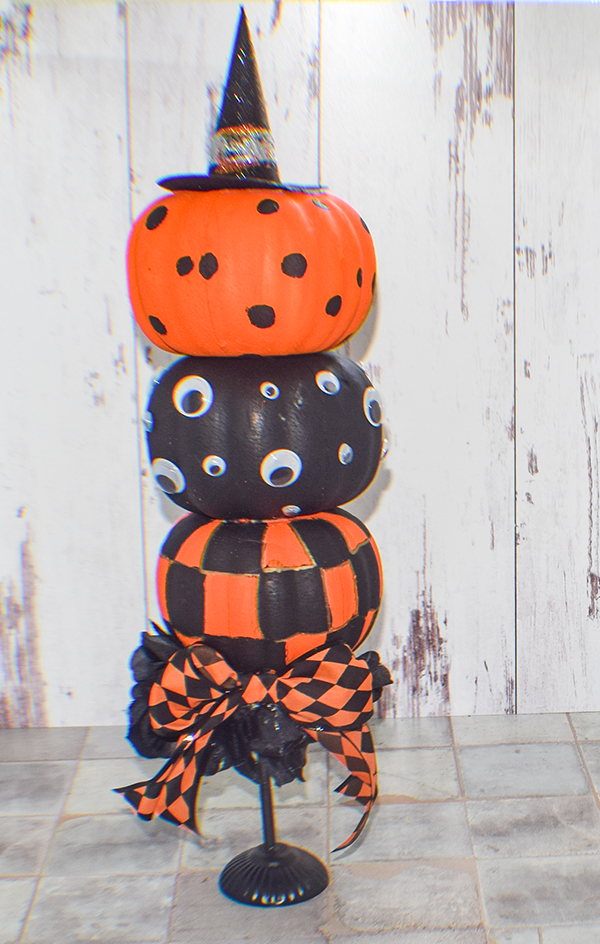
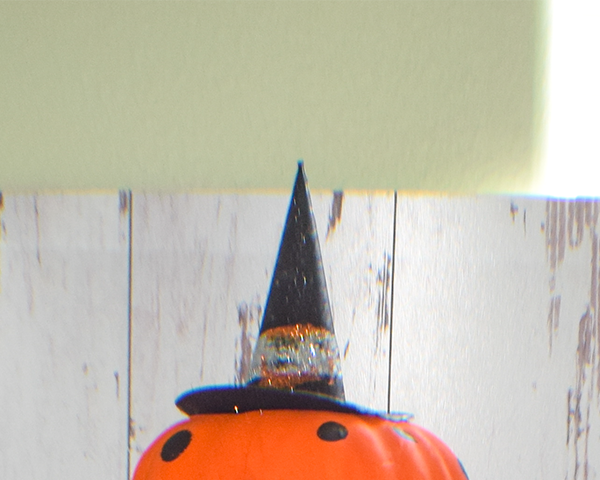
Step 6: Add the Witch Hat
Place the witch hat pick into the top pumpkin. Once you have added the hat you are all finished with this fun Halloween topiary.
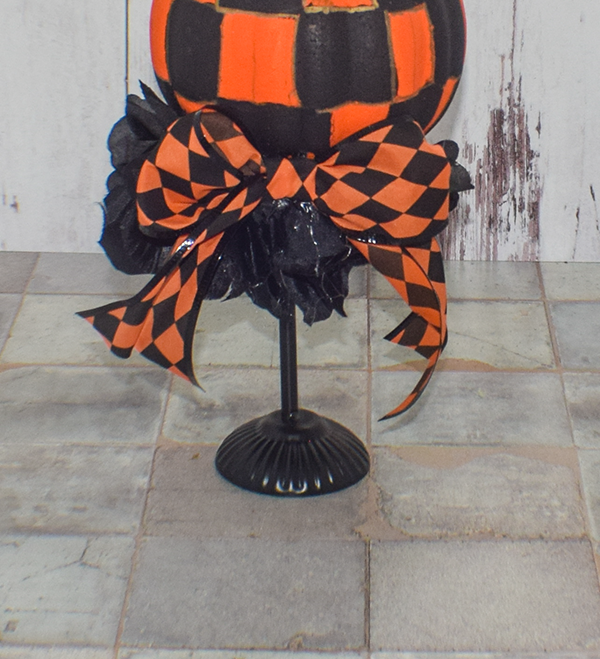
Add the Bow
Create a simple bow from Halloween Ribbon. Hot glue it to the bottom of the pumpkin stack.
I hope you enjoyed this simple halloween project. If you would like more sewing and crafting tutorials subscribe to our free newsletter and receive your free Holiday Dollar Tree eBook.
If you would like video tutorials of some of Sew Crafty's most popular posts subscribe to our free YouTube channel here.
Join our Sew Very Crafty Fans Facebook group
If you want to ask questions and share your projects join our Facebook group here. The community will help to achieve your sewing and crafting dreams.