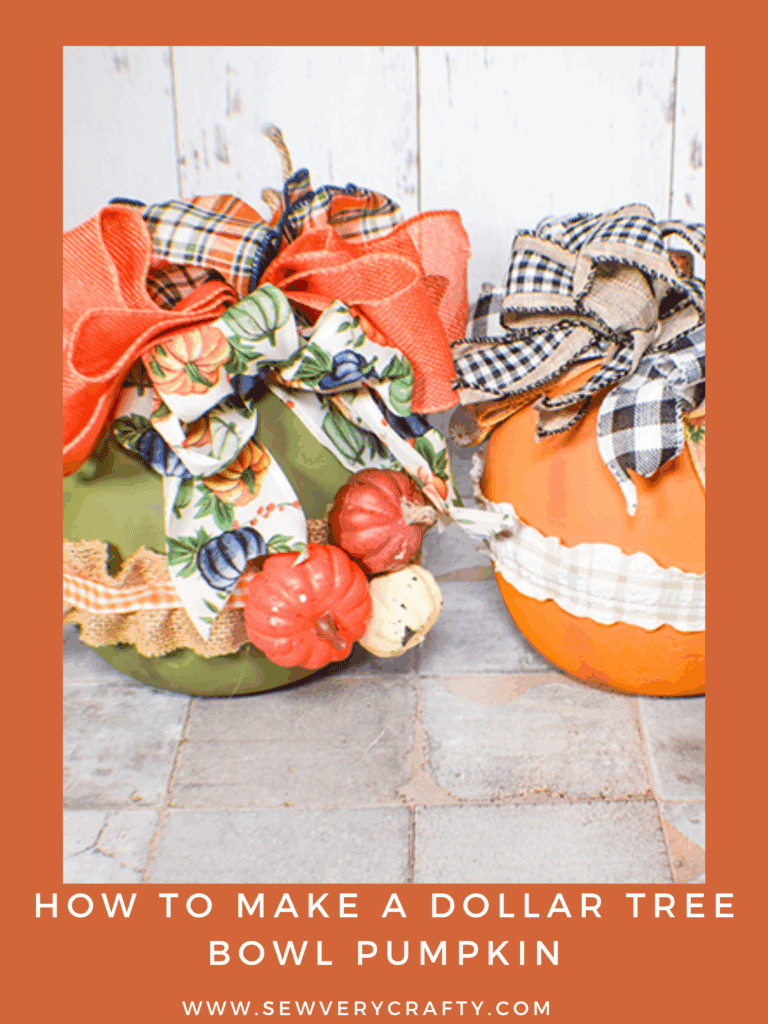
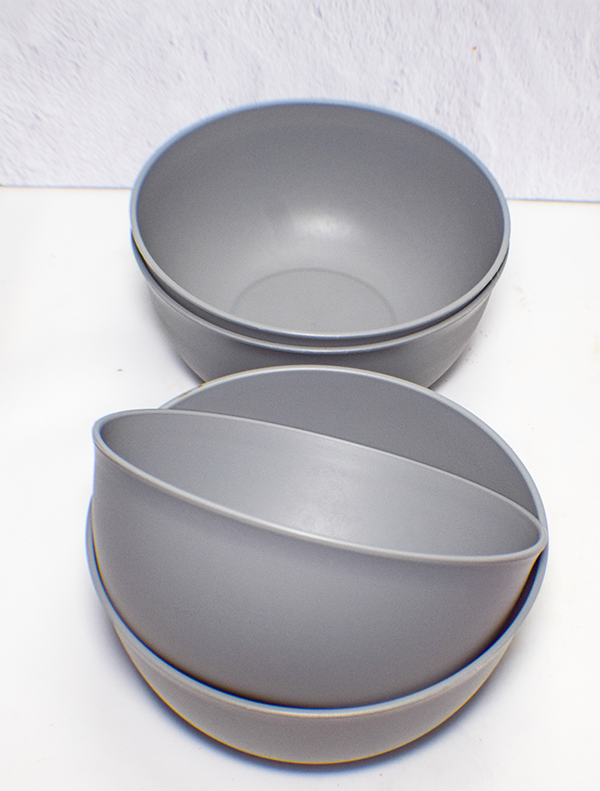
I saw this two pack of plastic bowls at Dollar Tree a year ago so then they were only $1.25. I wasn't sure what I was going to do with them but I knew I could do something. So, I dug them out of my Dollar Tree stash and decided that they would make perfect Dollar Tree Plastic Bowl pumpkins. I thought they really came out well so I thought I would share them with you. If you would like other holiday or seasonal sewing and crafting projects head over to my Dollar Tree page or my Holiday project vault.
Note: This post contains affiliate links that if you click on them and make a purchase I will receive a small commission at no extra cost to you. As an Amazon Associate I earn from qualifying purchases.
What you will Need: How to Make Dollar Tree Plastic Bowl Pumpkins
- Two Dollar Tree plastic bowls
- One wine cork
- Chalk Paint – orange, green and copper
- Espresso Distress Oxide
- Blending Brush
- Two pieces of Dollar Tree wired jute
- Autumn Ribbon
- Twine
- Leaves and flowers
- Hot glue
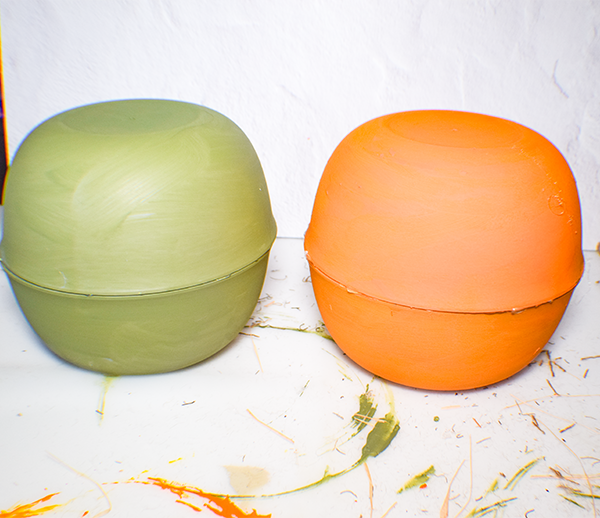
Step 1: Paint the Bowls
I made two pumpkins for this project so I had four bowls. Paint them different colors if you like. I painted two bowls orange and two bowls green. Chalk paint is perfect for this project. Paint each piece separately. Let dry thoroughly. Paint a second coat. I used a foam pouncer for an even finish.

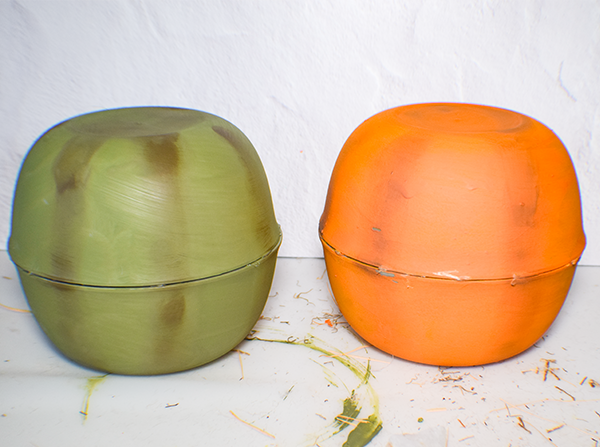
Step 2: Glue the Bowls
Using hot glue attach the tops of the bowls together to create the pumpkin shape.
Step 3: Age the Pumpkins
Use the blending brush and the distress oxide and brush the distress oxide in vertical stripes and on the top. This process creates age and dimension to the pumpkins.
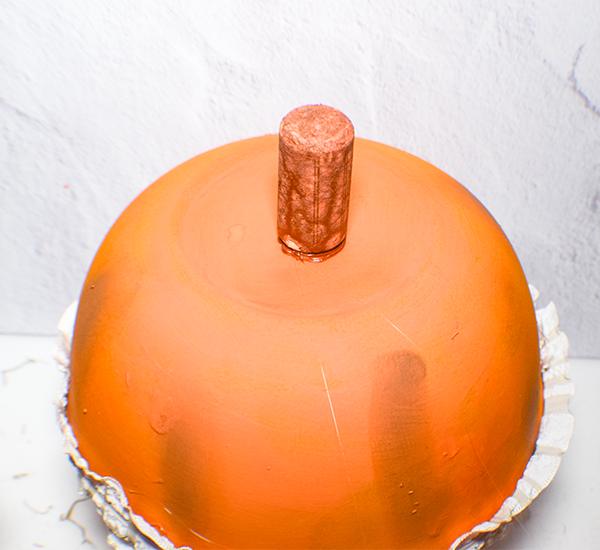
Step 4: Paint the Wine Cork
Using chalk paint, paint the wine cork. I used copper chalk paint for the cork. After the paint is dry, add dimension to the cork using espresso distress oxide. I used a blending brush for this.
Step 5: Glue the Wine CorK
Again, using the hot glue attach the wine cork to the top of the pumpkin shape.
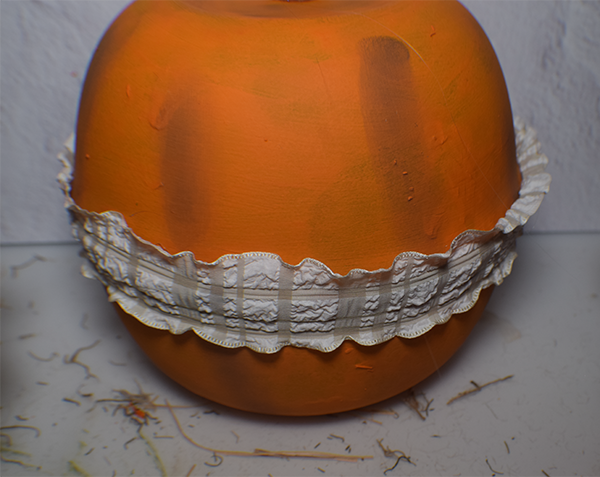
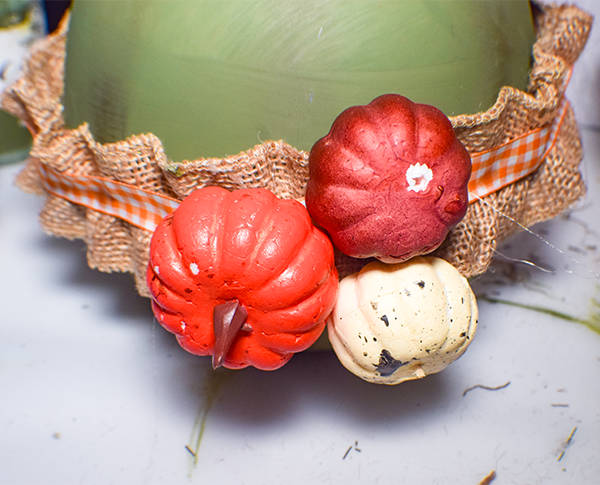
Step 6: Embellish the Center
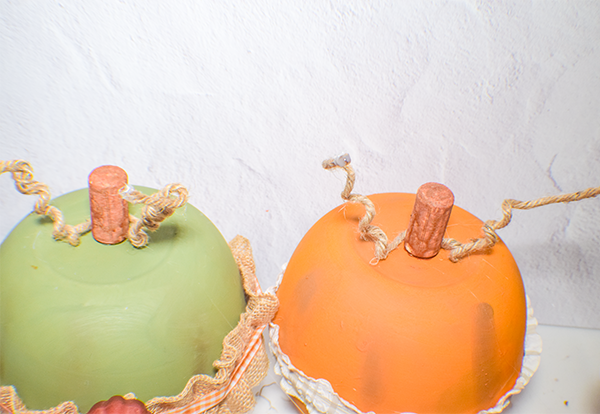
Step 7: Add the Vines
To create the vines, take a __” piece of wired jute and wrap it around a pencil to create a coil. Create two coils. Hot glue the coils to the top of the pumpkin shape near the wine cork.
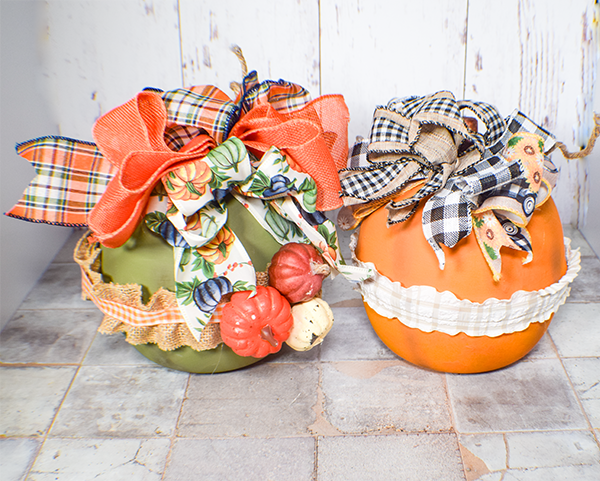
Step 8: Embellish the Top of the Pumpkin
To embellish the top of the pumpkin add some leaves and a flower. You could also add a bow using some autumn ribbon.
I hope you enjoyed this simple pumpkin project. If you would like more sewing and crafting projects subscribe to our free newsletter and receive your free Dollar Tree Holiday eBook.
If you would like video tutorials of some of Sew Very Crafty's most popular posts subscribe to our free YouTube channel here.
Join our Sew Very Crafty Fans Facebook group
If you want to ask questions and share your projects join our Facebook group here. The community will help to achieve your sewing and crafting dreams.