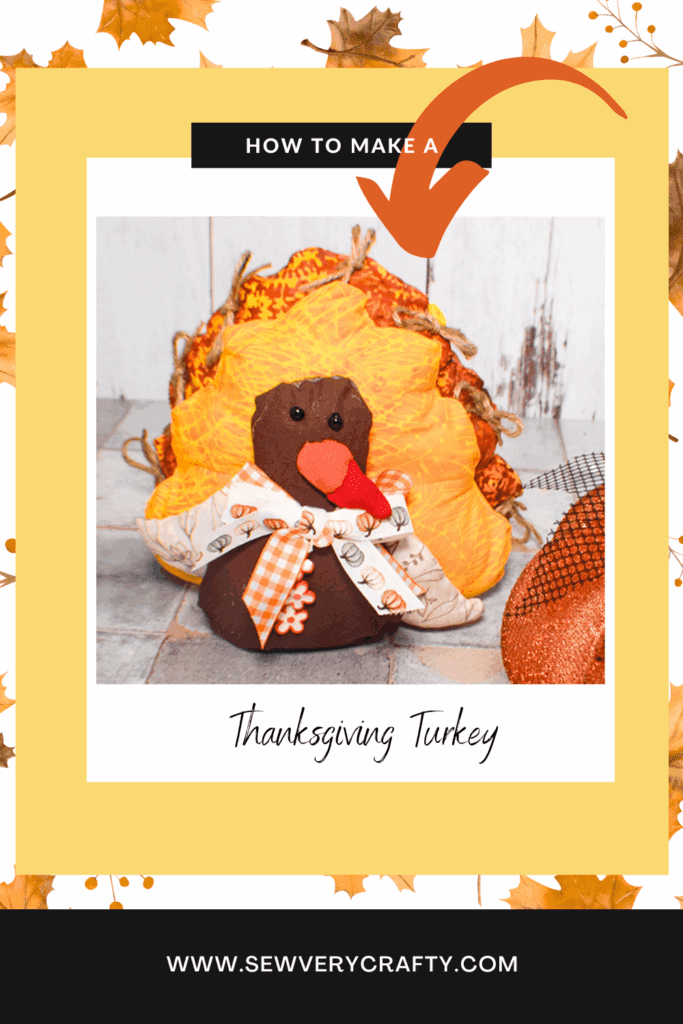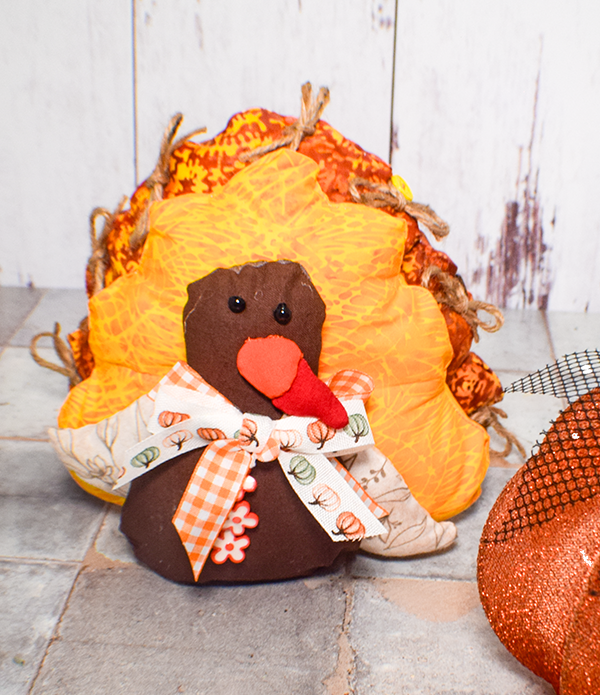
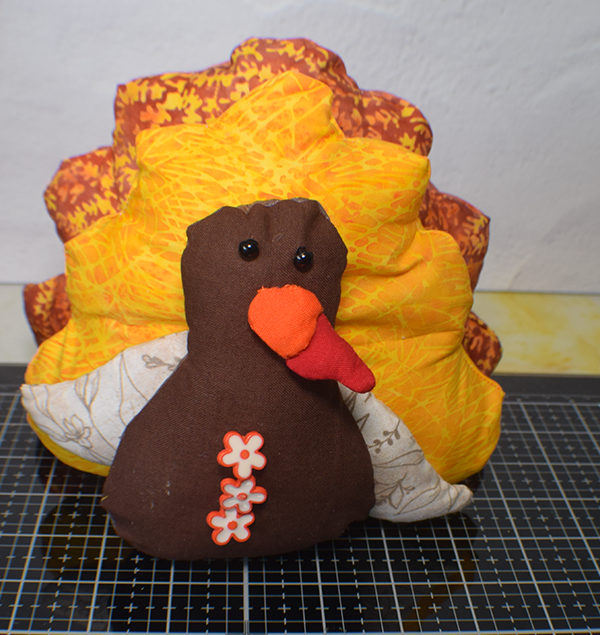
Believe it or not Thanksgiving is closer than you think. It is definitely time to start creating some Thanksgiving decor pieces. In that vein I decided to create this cute turkey decoration. It is a simple sewing project that anyone with basic sewing skills can make. This turkey makes a great shelf sitter to add to your Thanksgiving fun. If you would like more holiday sewing and crafting projects head over to our holiday project vault for many more. This pattern was modified from one on Sewing.org.
I used a variety of different autumn colored fabrics for this project that you can get from Michaels, Amazon or Mood Fabrics. I also used standard sewing supplies.
Note: This post contains affiliate links that if you click on them and make a purchase I will receive a small commission at no extra cost to you. As an Amazon Associate I earn from qualifying purchases.
What you will Need: How to Sew a Thanksgiving Turkey
- Pattern you can get by clicking on this link
- Scrap pieces of autumn colored fabric — I used orange batik, gold batik, grey, greyand black print, orange and red — I used fat quarters and remnants
- Seven 1/2″ buttons
- 2 black screw eyes
- Ribbon
- Polyester fiberfill
- Standard sewing supplies

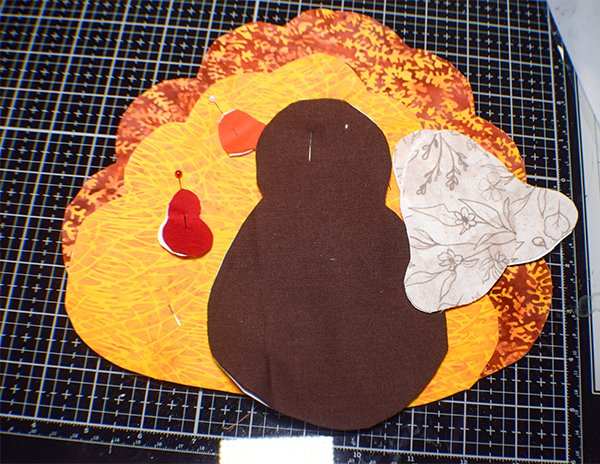
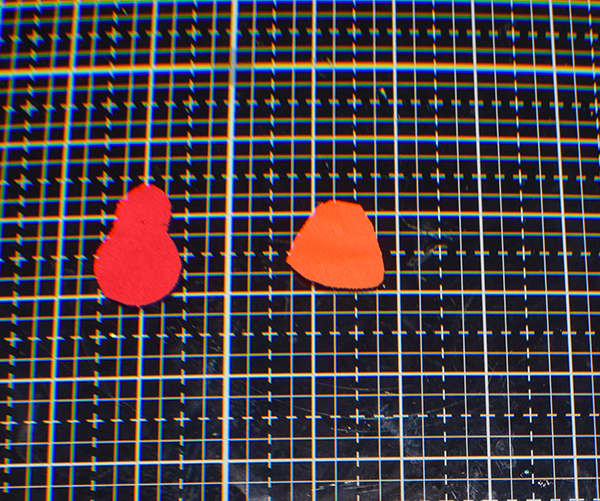
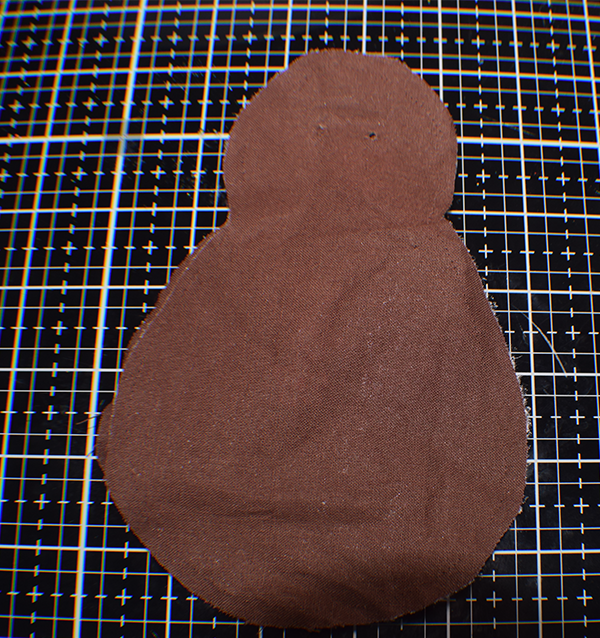
Step 1: Cut the Fabrics
Using the free pattern cut two pieces of orange fabric for the back tail, two pieces of gold fabric from the inner tail, and two pieces each of the dark brown, light brown, solid orange and red fabrics. Remember that fabrics from your stash will work great for this project.
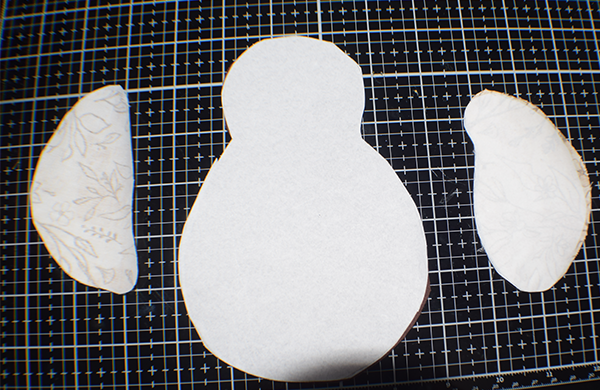
Step 2: Add the Wonder Under
Add Wonder Under to the right side of two opposite facing wings where it will fit under the body and one body piece. To do this, trace the wing pieces and the body piece onto the paper side of the Wonder Under. Cut out the pieces. Press the Wonder Under to the pieces on the right side using a hot iron.
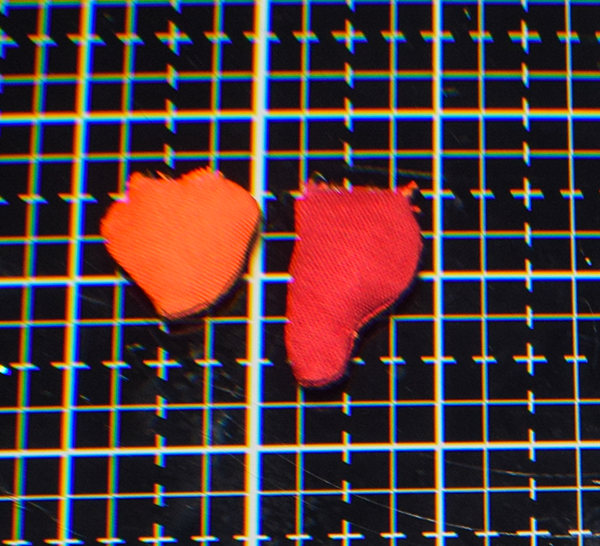
Step 3: Create the Nose and Waddle
For the nose and waddle, place the pieces right sides together and stitch all the way around but leaving an opening for turning. Turn right sides out. Place a small amount of fiberfill into each. Close the opening using ladder stitch.
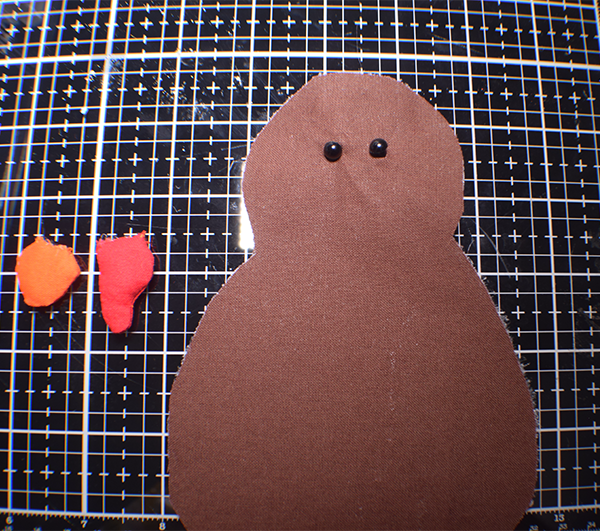
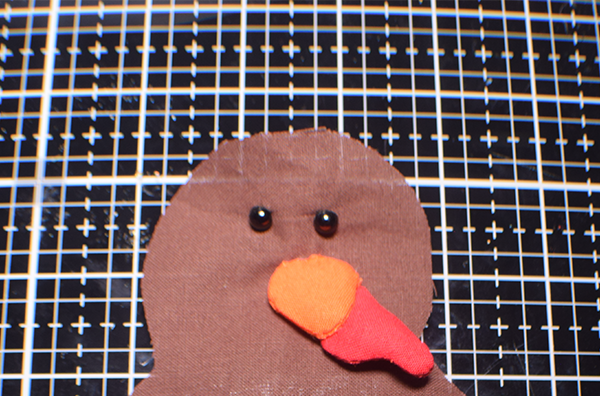
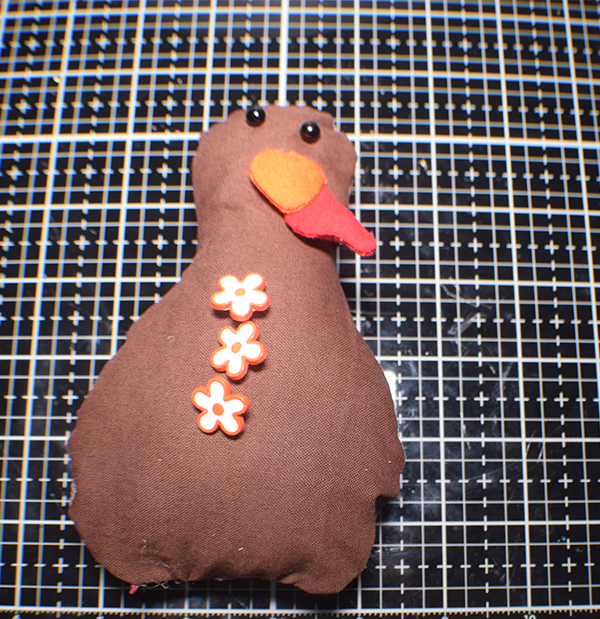
Step 4: Create the Body
Start by adding the eyes, nose, waddle and buttons to the side of the body without the Wonder Under. Push the screw eyes into the head. Stitch the beak and waddle just below the eyes. Add the buttons down the front of the body as show. Place the body pieces right sides together. Stitch using a 1/4″ seam allowance leaving an opening for turning and stuffing. Turn right sides out. Stuff the body just slightly to give it dimension. Make sure the body is evenly stuffed.

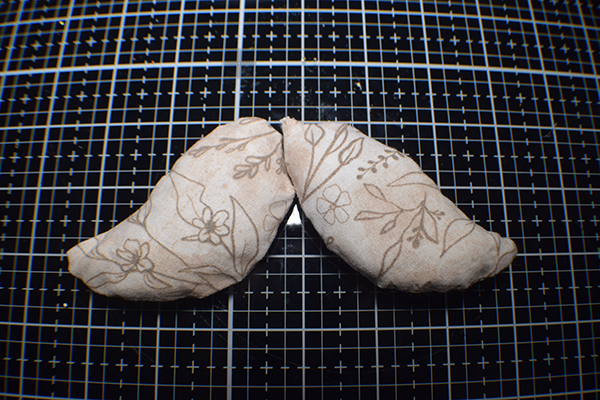
Step 5: Create the Wings
Place two wing pieces right sides together. Stitch using a 1/4″ seam allowance leaving an opening for turning and stuffing. Turn right sides out. Stuff slightly using the fiberfill. Repeat for the other two wing pieces.
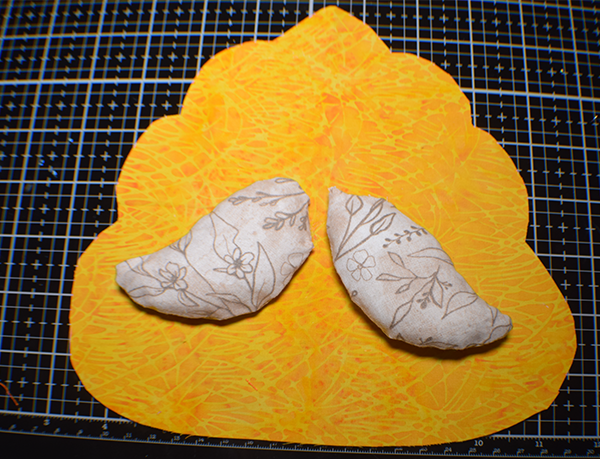
Step 6: Add the Wings
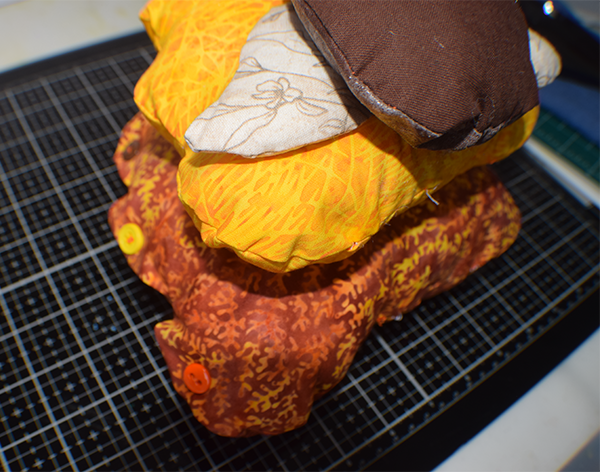
Place the wings to the right side of one gold tail piece so that they are even on the tail as shown. Make sure the Wonder Under faces the tail. Press the wings to the tail so that the Wonder Under adheres to the tail. Hand stitch from behind through just the back layer of the yellow tail and the wings.
Step 7: Add the Body
Place the body in the center of the tail on top of the wings with the Wonder Under facing the down. Press the body to the tail using apiece pf parchment paper to protect the face and buttons. Stitch the body and wings.
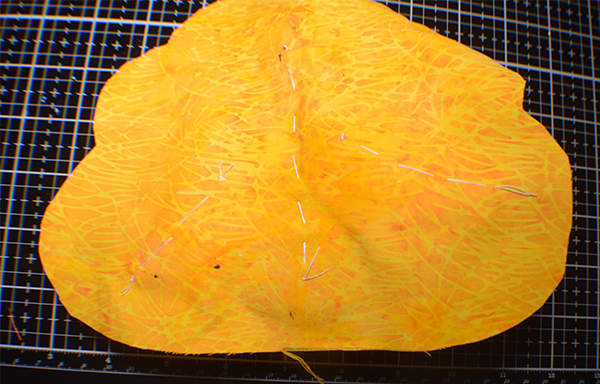
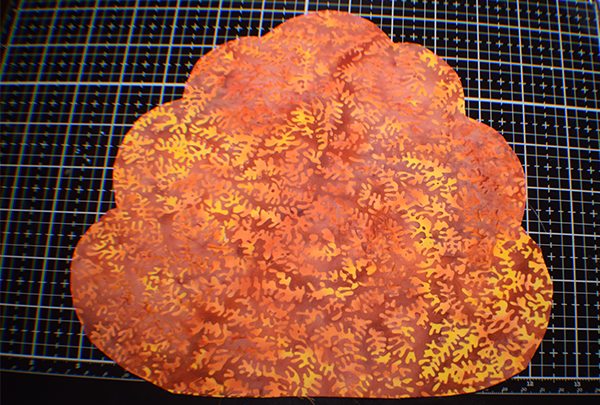
Step 8: Stitch the Tail Pieces
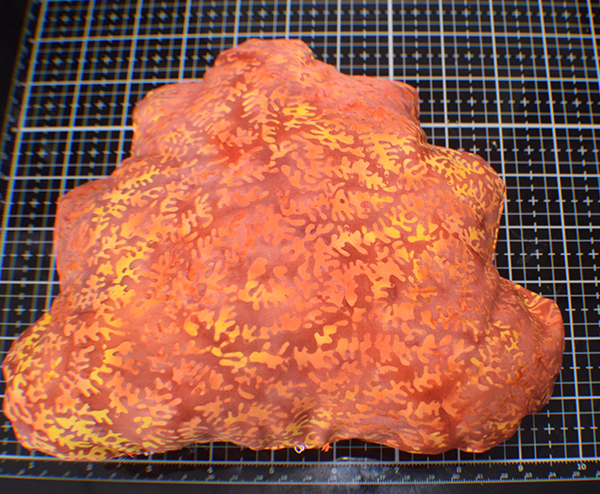
Start with the two back tail pieces. Place the two pieces right sides together and stitch them using a 1/4″ seam allowance leaving an opening for turning and stuffing. Turn the tail right sides. Using the fiberfill, stuff the tail. Turn under the raw edges under and pin or clip. Close the opening using ladder stitch. Repeat this process for the inner tail with the body and wings attached.
Step 8: Attach the tails
Place the gold tail on top of the orange tail so that the tails are centered. Using a piece of parchment paper to protect the face and buttons. Press the gold tail to the orange tail. Secure with a few stitches.
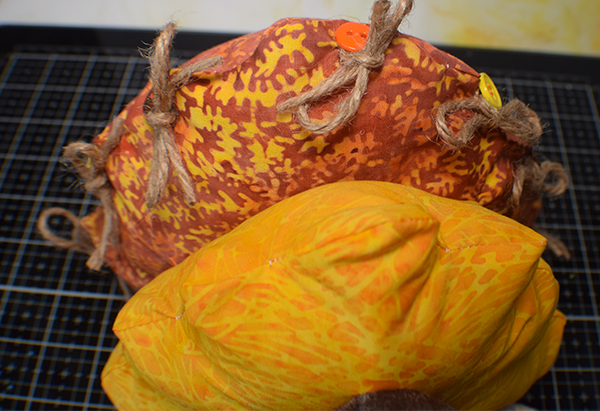
Step 9: Embellish the Orange Tail
I added buttons and twine to each of the curved parts of the orange tail.
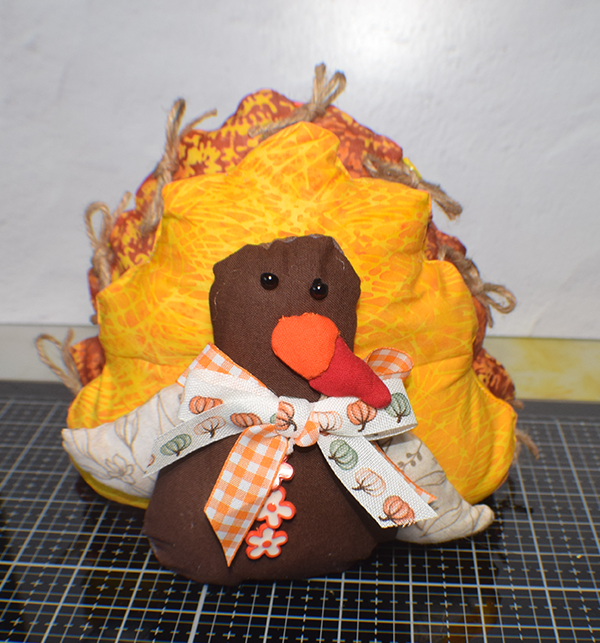
Step 10: Create and add the bow
Take a 9″ piece of ribbon and create a bow. Stitch the bow to the neck of the turkey using a few stitches. Once you have added the bow you have now finished your Thanksgiving Turkey.
I hope that you enjoyed this simple sewing project. I you would like more sewing and crafting projects subscribe to our newsletter and receive your free handbag ebook.
If you would like video tutorials of some of Sew Very Crafty's most popular posts subscribe to our free YouTube channel here.
Join our Sew Very Crafty Fans Facebook group
If you want to ask questions and share your projects join our Facebook group here. The community will help to achieve your sewing and crafting dreams.