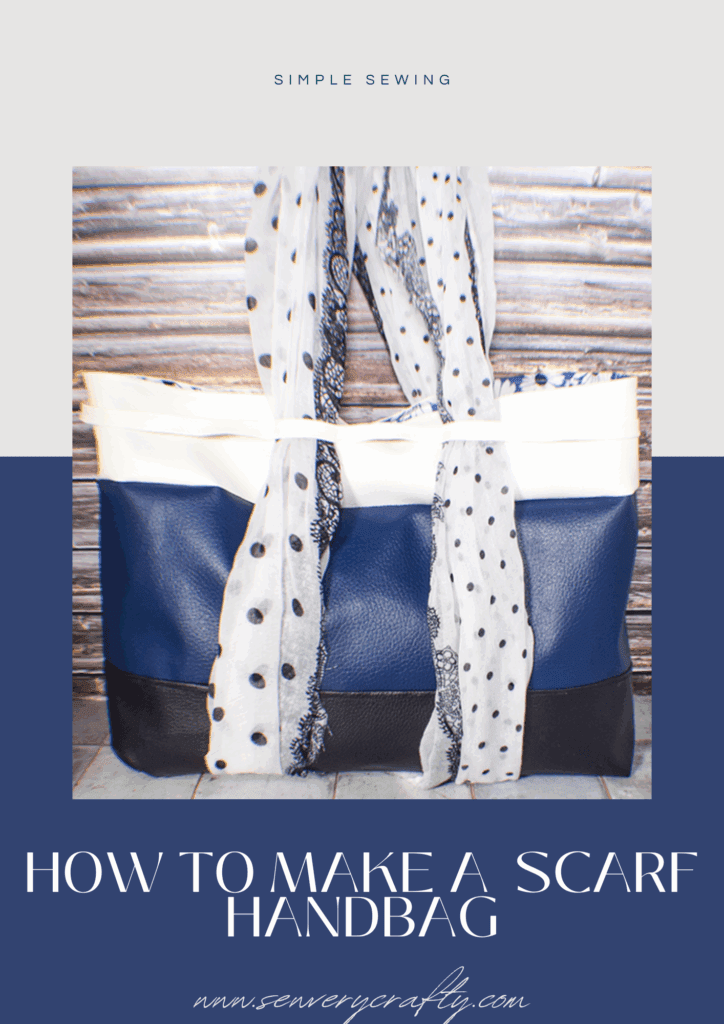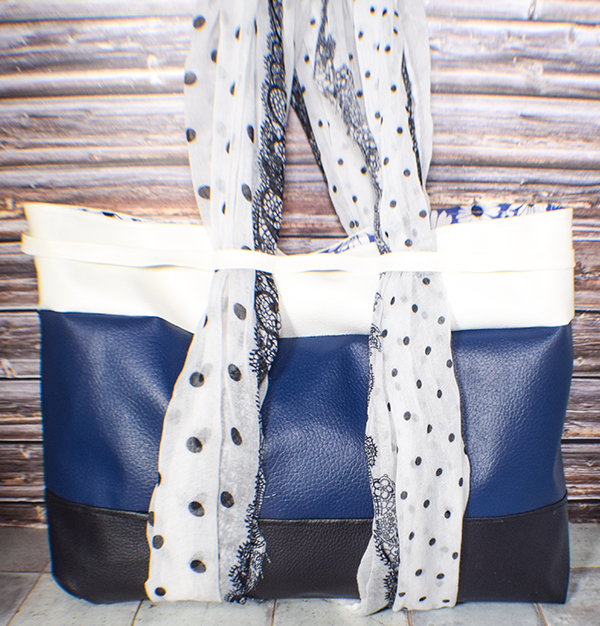
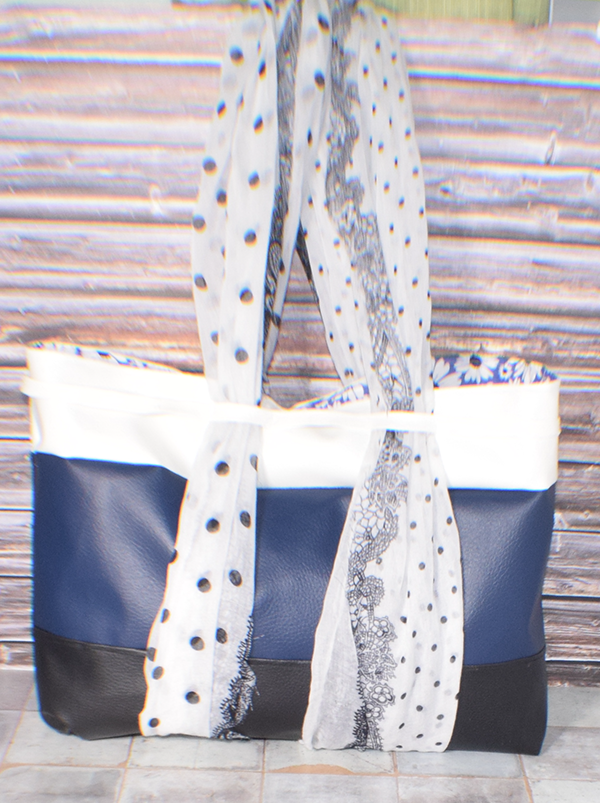
I saw a photo of this bag on Sew Daily and thought to create my own version of this trendy scarf bag. I was determined to use the faux leather I purchased at Dollar Tree. Unfortunately, I did not have enough of one color so I used what I had and thought it came out pretty well. The scarf was one that I had on hand so I used that as the strap. This is a simple bag making project that anyone with basic sewing skills can make. If you would like more handbag projects check out my handbag page for many more.
Note: This post contains affiliate links that if you click on them and make a purchase I will receive a small commission at no extra cost to you. As an Amazon Associate I earn from qualifying purchases.
What you will Need: How to Make a Trendy Scarf Bag
- Three packages of Dollar Tree faux leather
- One yard of lining fabric
- One scarf
- 12″ zipper
- One magnetic snap
- Two small pieces of interfacing
- Standard Sewing Supplies
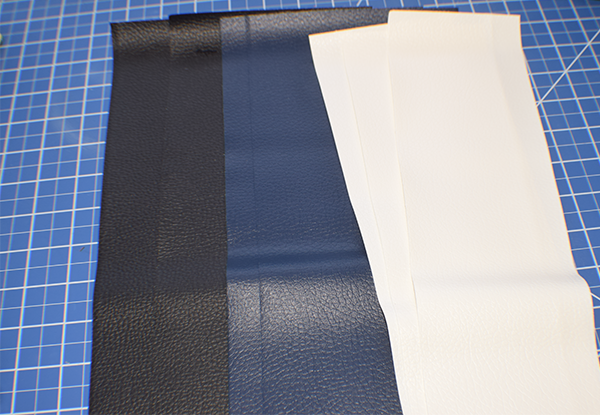
Step 1: Cut the Faux Leather
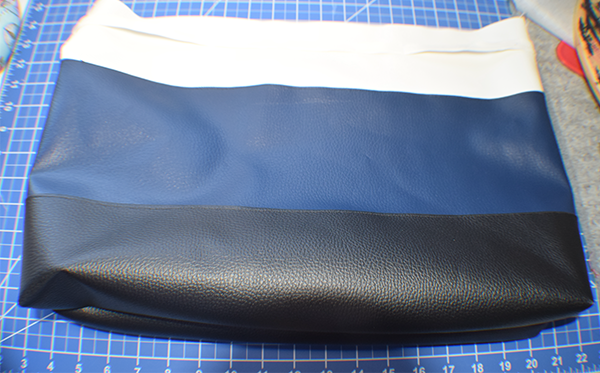
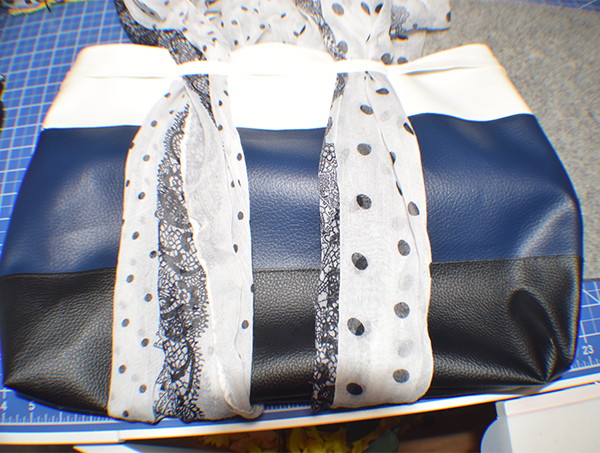
I had black, blue and white faux leather. Cut the black piece in half. Cut the other two colors in thirds.
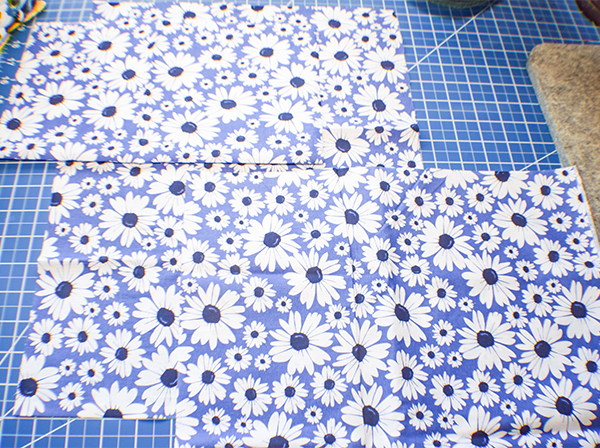
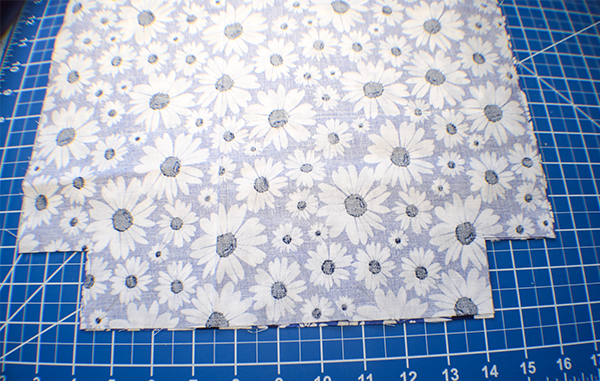
Step 2: Cut the Lining Fabric
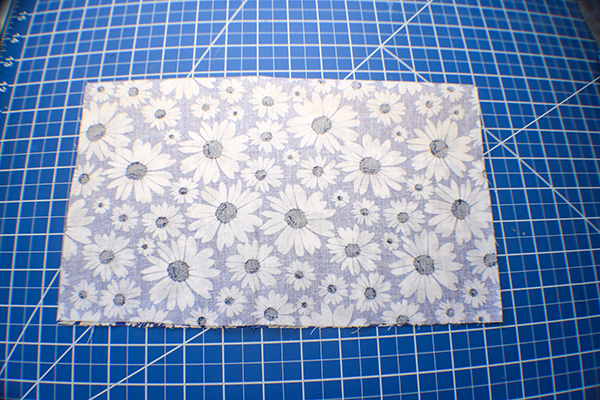
Take the lining fabric and cut two pieces that measure 20″ W x 14 1/2″ L, two pieces that measure 12″ x 7″ for the slip picket and 13″ x 17 1/2″ for the zipper pocket.
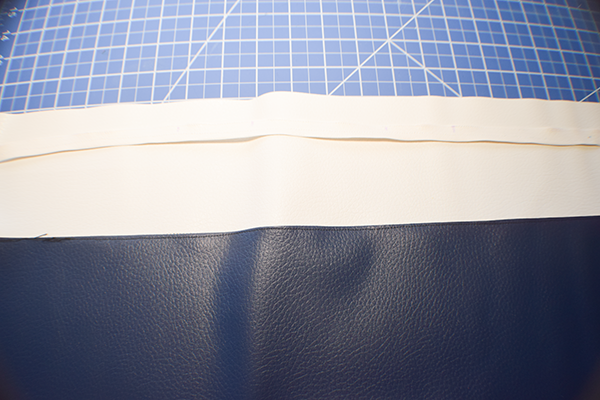
Step 3: Stitch the Outer Bag
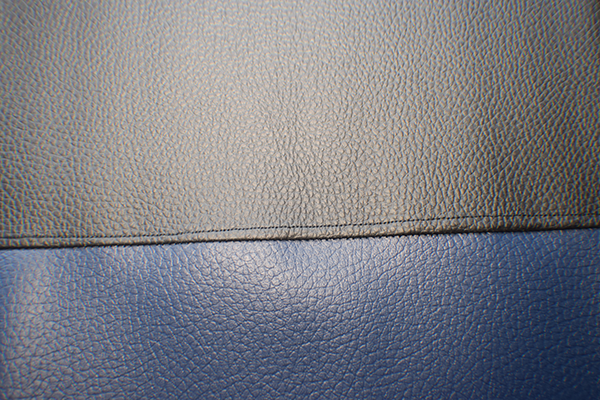
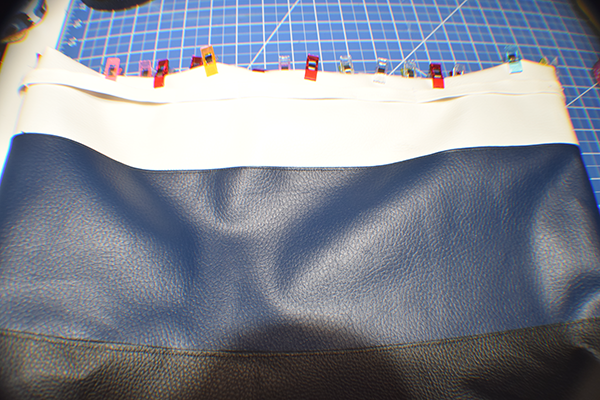
Place the blue piece right sides together with the black faux leather along the long edge. Stitch using a 1/4″ seam allowance. Place the white faux leather right sides together with the blue and stitch using a 1/4″ seam allowance. Finger press the seams to the darker side. Topstitch along the seams. Repeat for the other side of the bag.

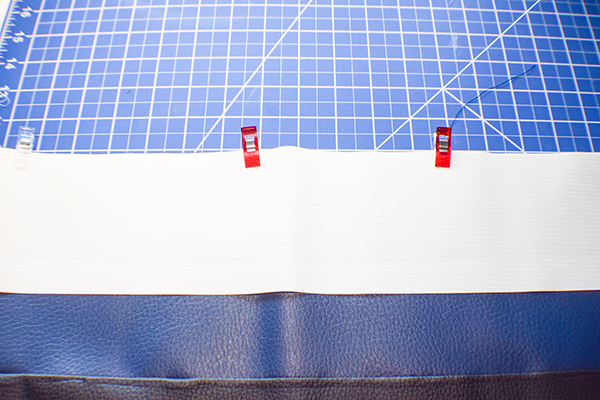

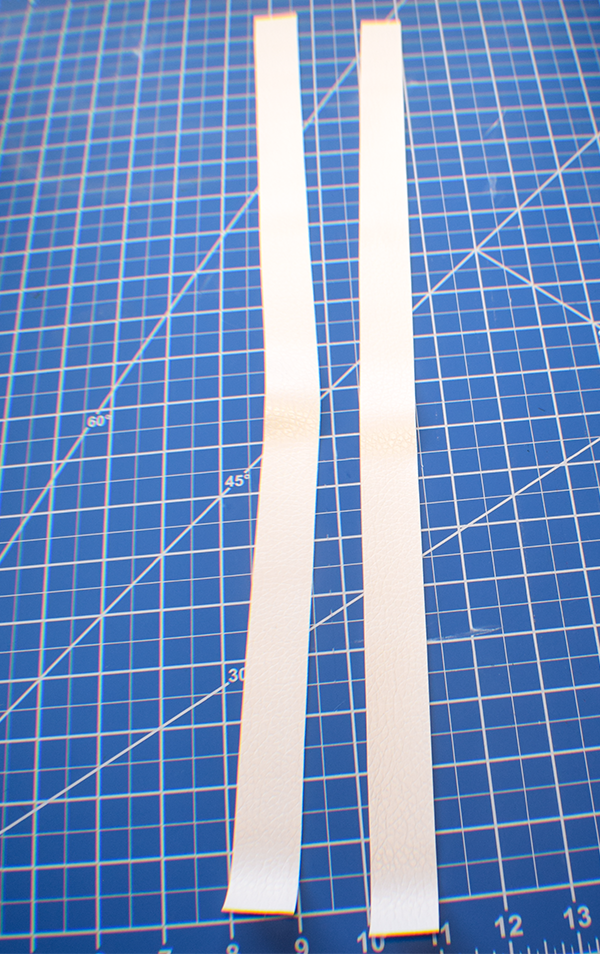
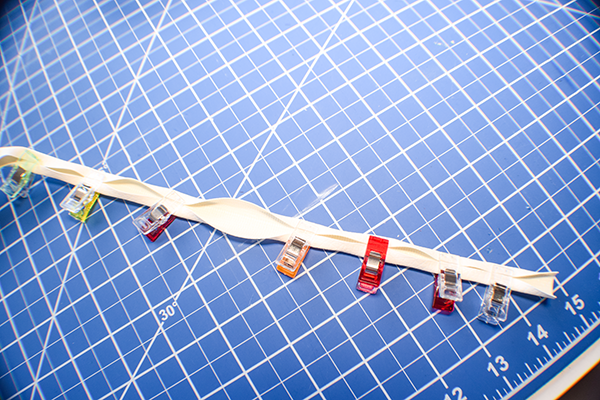
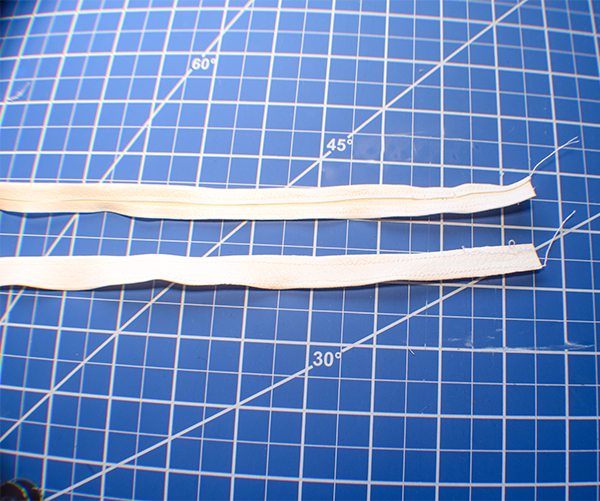
Step 4: Add the Scarf Loops
Cut two white pieces of the faux leather that measures 1″ x the length of the faux leather. Fold under each long raw edge and stitch. Measure in 6″ from each edge and make a mark. Measure over 2″ and make another mark. Do this for each end. Place the scarf loop pieces 1″ down from the top. Attach the pieces to each side of the outer bag by stitching on the marks you drew.
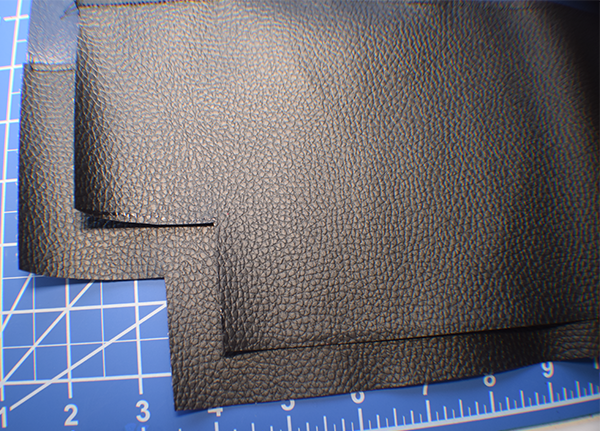
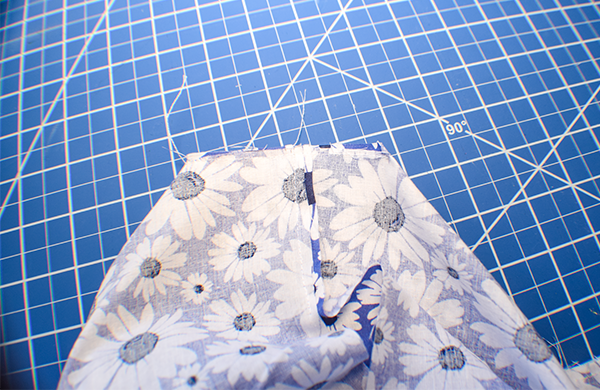
Step 5: Cut the Corners
Cut a 2″ x 2″ square from all four corners.
Step 6: Stitch the Two Sides Together
Place the two sides right sides together. Stitch along the sides and the bottom.
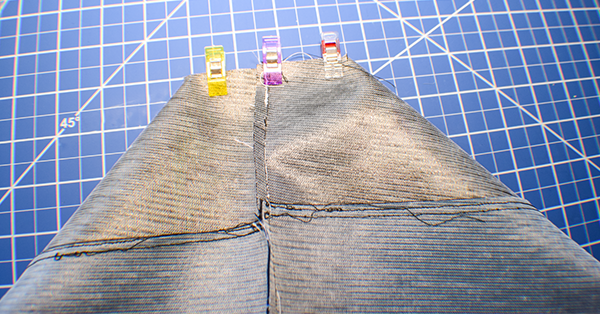
Step 7: Box the Corners
With right sides together, pinch the corners closed. Stitch along the seam line using a 1/4″ seam allowance. Turn right sides together. Set the outer bag aside.
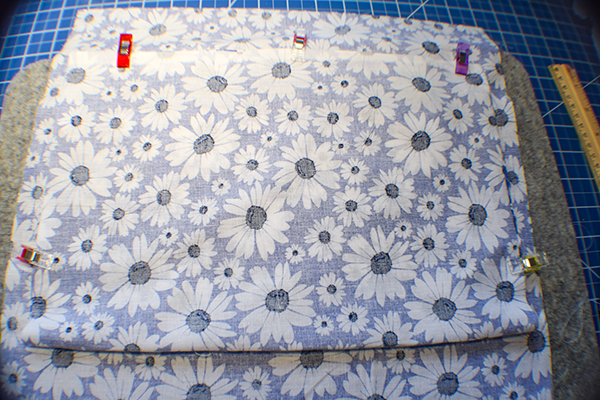
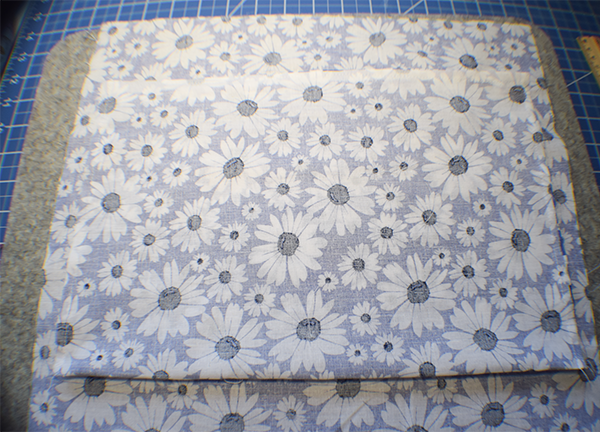
Step 8: Create the Slip Pocket
Fold the 12″ x 14″ piece of lining fabric right sides together. Stitch all the way around leaving an opening for turning. Clip the corners without cutting through the stitching. Turn right sides out. Topstitch along the top folded edge. Turn the opening raw edges under. Press.
Step 9: Add the Slip Pocket
Place the slip pocket right sides together with one of the main lining pieces. Place it in the center about 2 1/2″ from the top. Stitch the sides and bottom making sure to stitch the opening closed. Stitch a line down the center to divide the pocket.
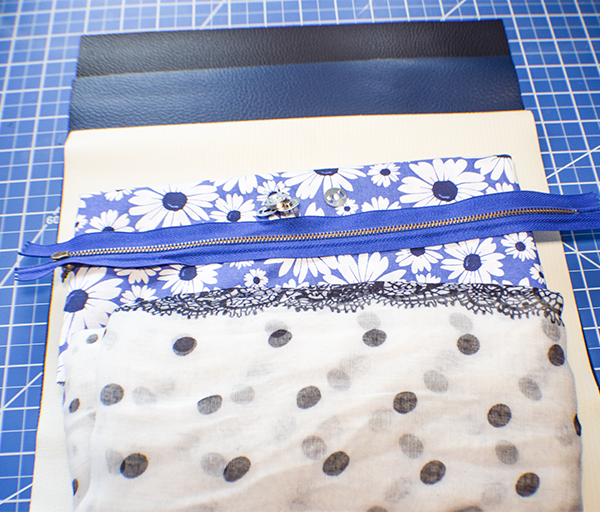
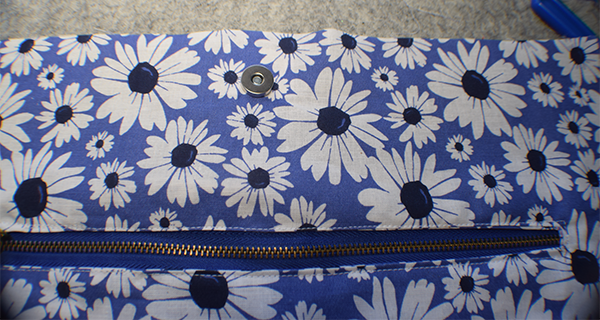
Step 10: Add the Zipper Pocket
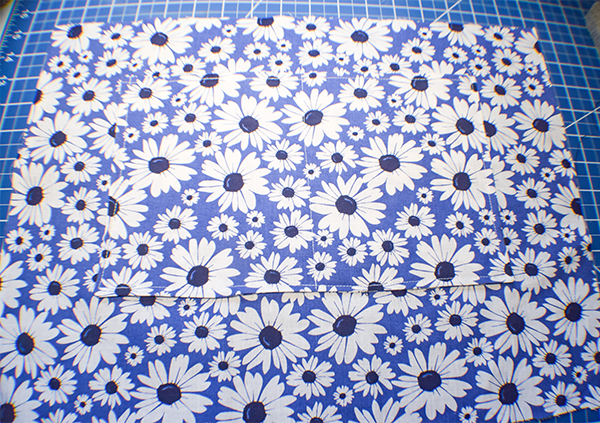
Start by measuring down from the top of the pocket piece 2 1/2″ on the wrong side. Draw a line 10″ long and centered. Draw a line 3/8″ down from each end of the line and connect the lines creating a box. Draw another line down the length of the box and ending with triangles on each end.
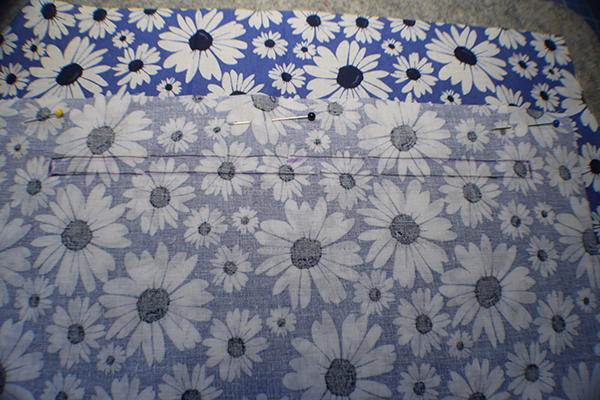
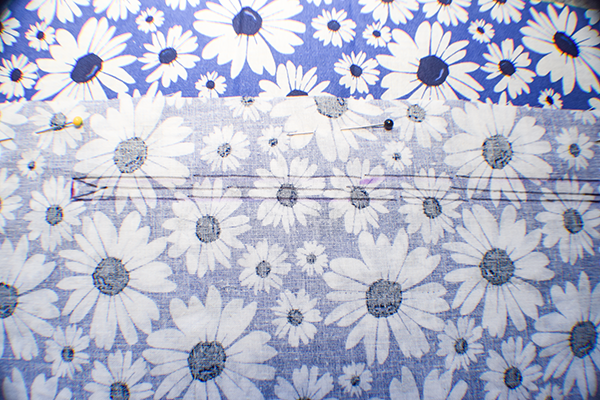
Place the pocket piece onto the second main lining piece so that it is 2 1/2″ down and centered and right sides together. Stitch all the way around the box through all layers. Using a small pair of scissors cut the center line and triangles through all layers.
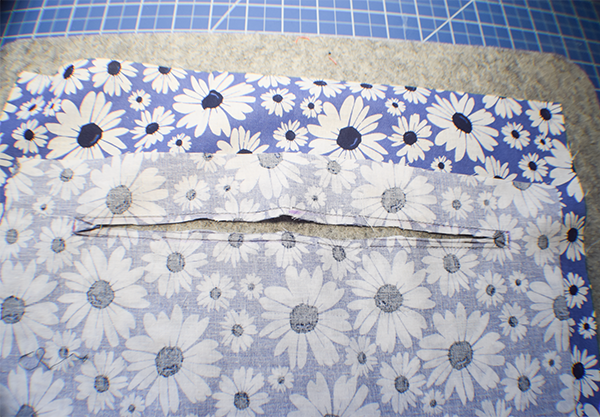
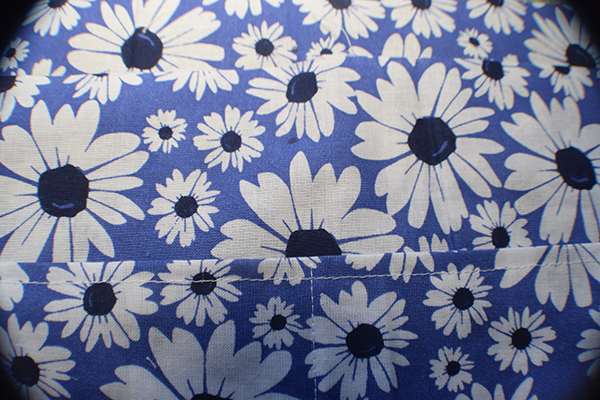
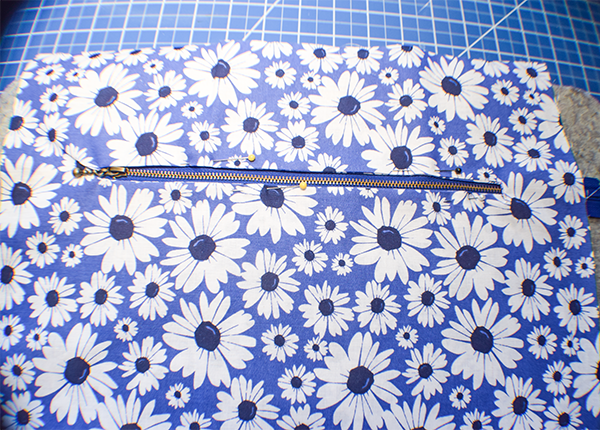
Push the pocket piece through the hole you just created and press. Add the zipper to the wrong side and pin. Stitch all the way around the zipper to secure. Turn the piece to the wrong side. Fold up the pocket piece so that the bottom raw edge meets the top raw edge. Stitch the sides and top of only the pocket piece. Press.
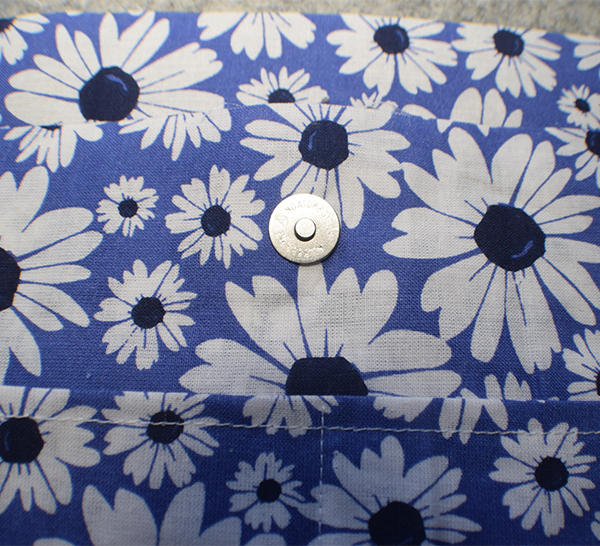
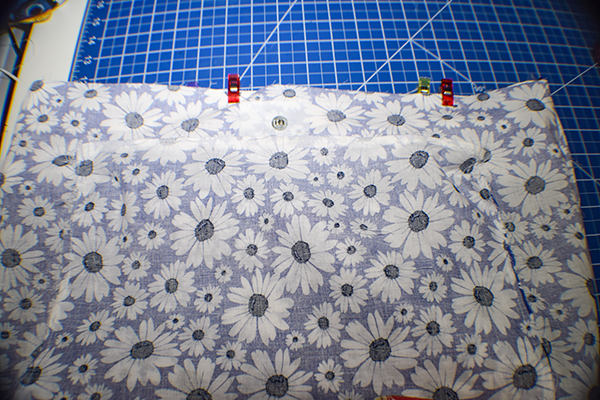
Step 11: Add the Magnetic Snap
Find the center of each main lining piece. Measure down 1″ from the top of the right side and make a mark. Place one half of the magnetic snap on each side following the manufacturer's instructions. You can place a bit of interfacing on the wrong side for support.

Step 12: Cut the Corners
Cut out 2″ x 2″ squares from the bottom of each lining piece.
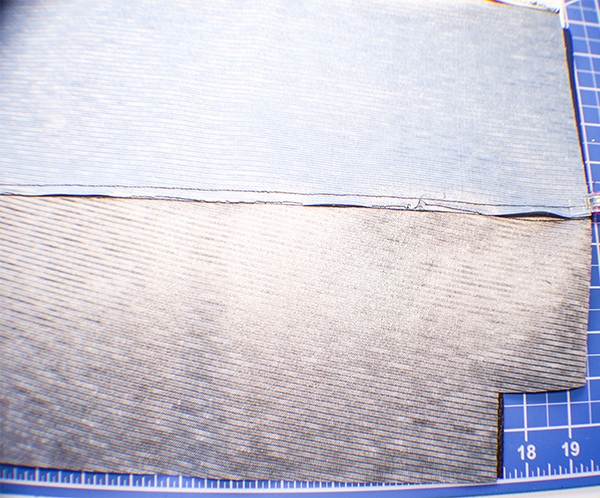
Step 13: Stitch the Lining
Place the lining pieces right sides together. Stitch along the sides and bottom leaving an opening on the bottom for turning.
Step 14: Box the Corners
Box the corners in the same way you did for the outer bag. Pinch the corners closed and stitch.
Step 15: Join the Outer Bag and Lining
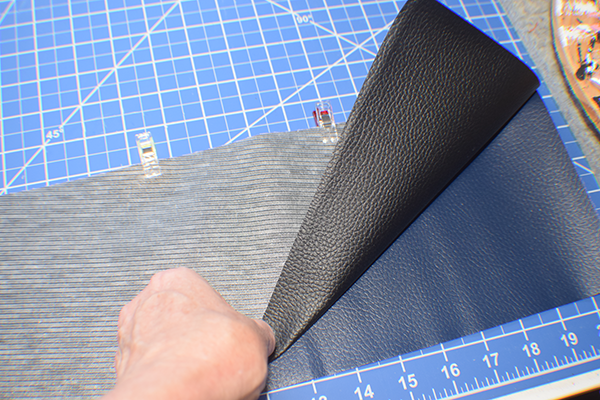
Place the outer bag inside the lining bag so that they are right sides together. Stitch all the way around the top using a 1/4″ seam allowance. Turn right sides out through the opening you left in the lining. Push the lining inside the outer bag and press using a piece of parchment paper to protect the faux leather. Topstitch all the way around the top. Close the opening using either your machine or ladder stitch.

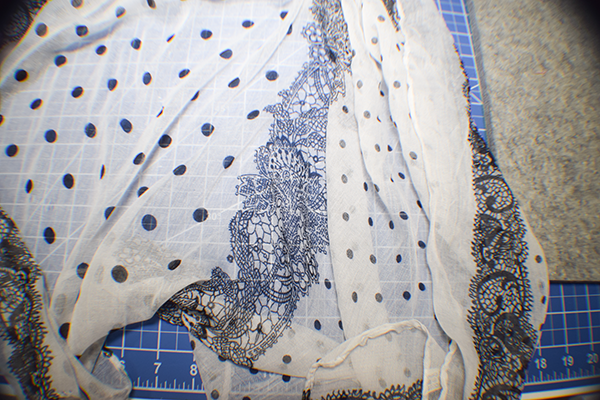
Step 16: Add the Scarf
I cut my scarf in half lengthwise and used each half for the straps. You could get two scarves that are the same if you like. Simply thread the scarf through the loops you created and tie them at the top. Once you have done that you are finished with your trendy scarf bag.
I hope you enjoyed this scarf bag project. If you would like more sewing and crafting projects subscribe to our free newsletter and receive your free handbag ebook.
If you would like video tutorials of some of Sew Very Crafty's most popular posts subscribe to our free YouTube channel here.
Join our Sew Very Crafty Fans Facebook group
If you want to ask questions and share your projects join our Facebook group here. The community will help to achieve your sewing and crafting dreams.