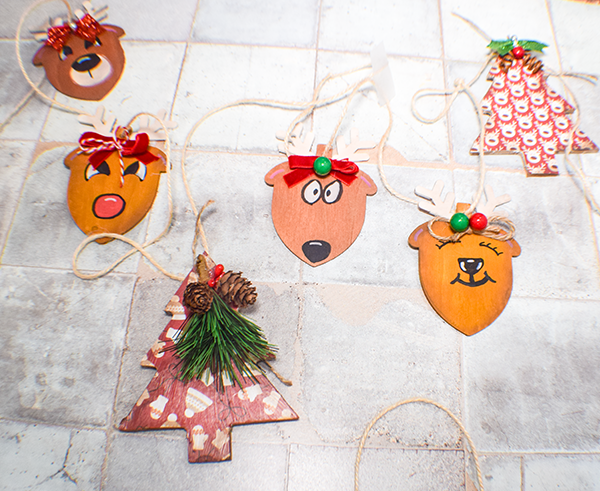
Dollar Tree to the rescue again!!! I decided to make a Dollar Tree Reindeer and Christmas Tree Garland for my fireplace this holiday season. This was such a fun project to make that I just had to share it with you. I used Dollar Tree acorn and snowflake cutouts for the reindeer and Christmas tree cutouts to create my garland. Add some paint and decoupage and you have a fun and festive mantle garland. If you would like more Dollar Tree Crafts head over to men Dollar Tree Page. For more holiday projects check out my holiday project vault.
What you will Need: How to Make a Dollar Tree Reindeer and Christmas Tree Garland
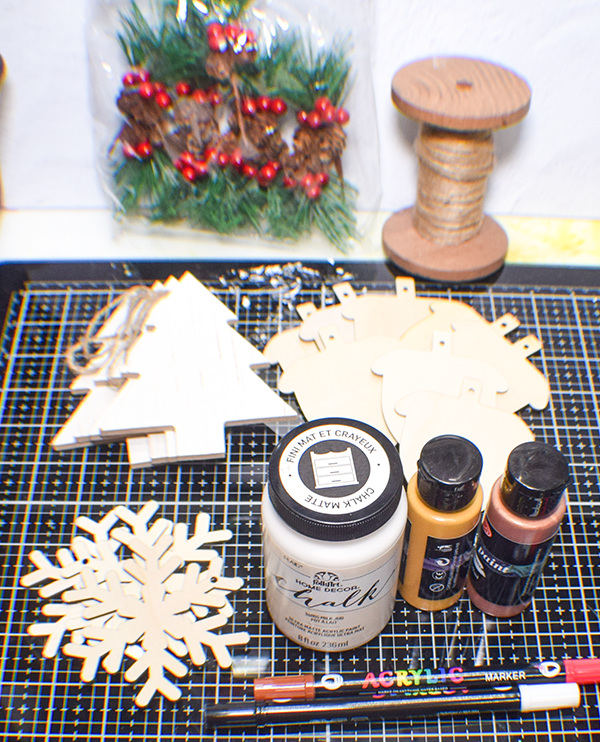
- 8 Dollar Tree Acorns
- 3 Dollar Tree Snowflakes. I could not find a link for the Dollar Tree Wood Pieces but substituted Amazon Links instead.
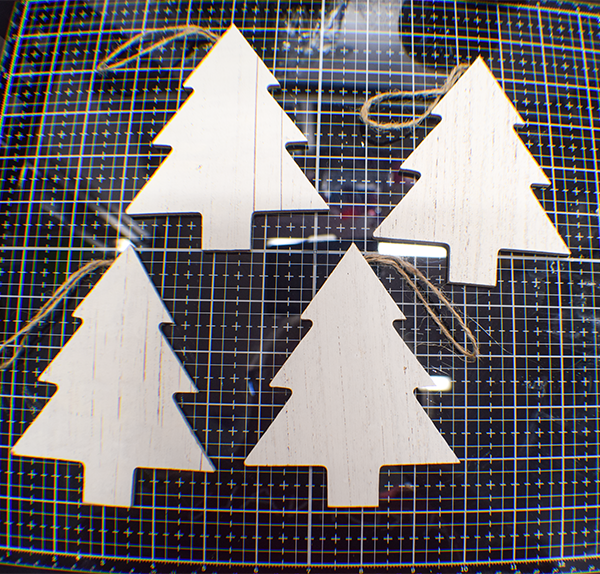
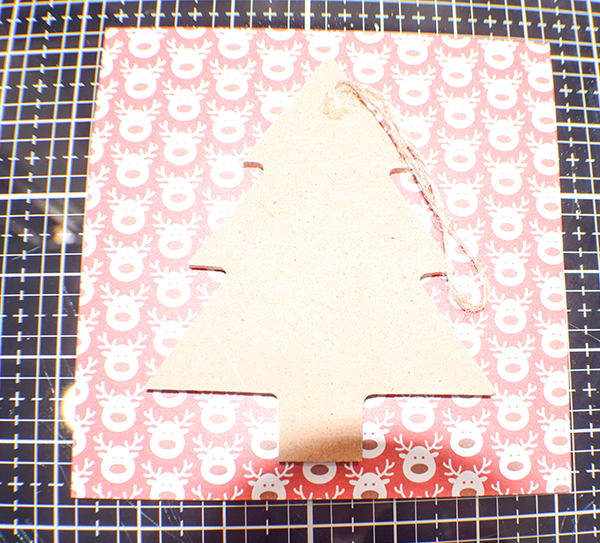
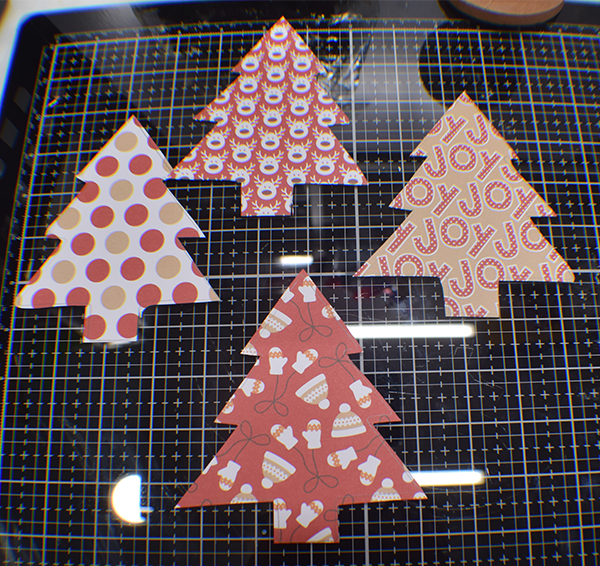
- 4 Dollar Tree Christmas Trees
- Paint
- Paint Pens
- Twine
- Christmas napkins or paper
- Espresso Distress Oxide
- Blending brush
- Embellishments
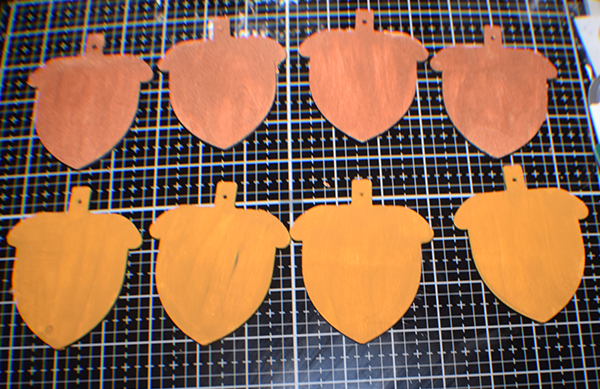
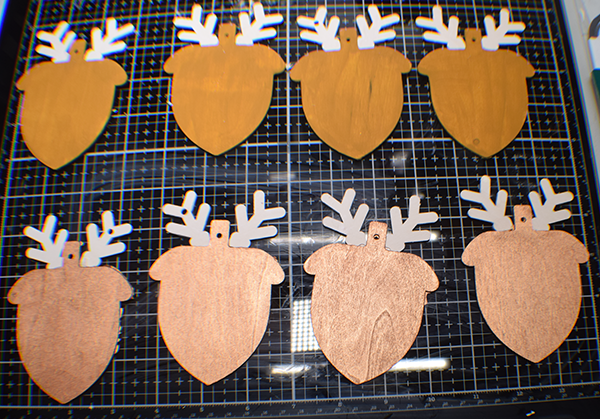
Step 1: Paint the Acorns
Paint four of the acorns in the metallic bronze and four using the yellow ochre.
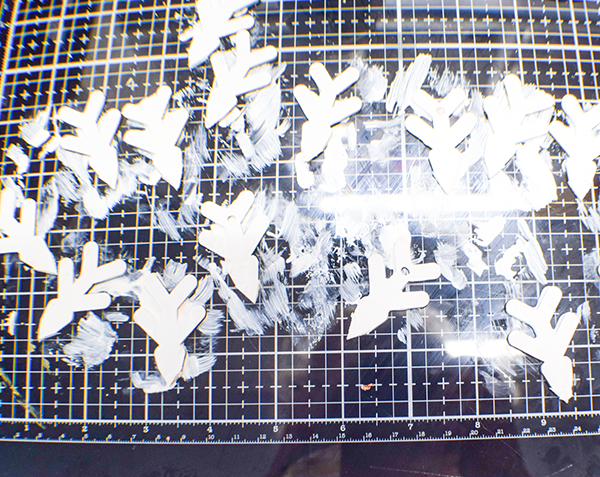
Step 2: Cut the Snowflakes
Cut the points of the snowflakes. You should get 16 pieces.

Step 4: Paint the Snowflakes
Paint the snowflakes using the milk jug paint.
Step 5: Glue the Snowflakes
Take two of the snowflake points and glue them to the backside of the acorn so they stick up and become the antlers of the reindeer.
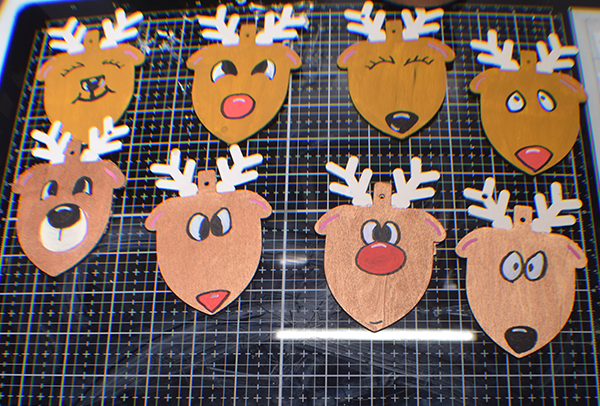
Step 6: Paint the Faces
Using the white, red and black paint pens paint the faces as shown or in your own way. If you are not comfortable painting the faces you can use face stickers instead.
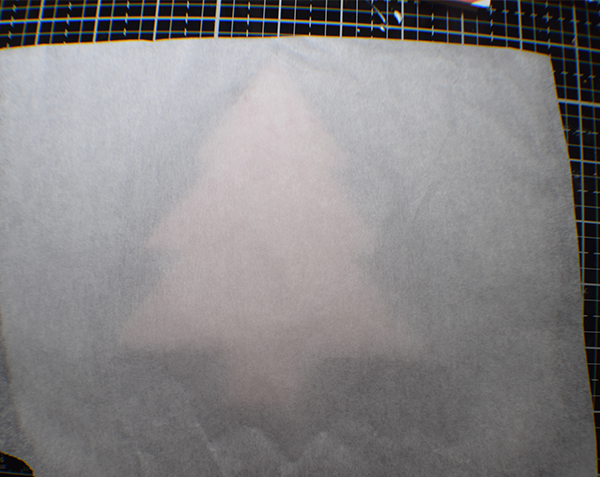
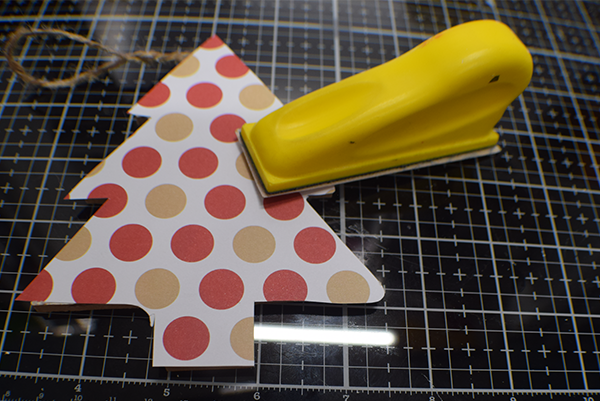
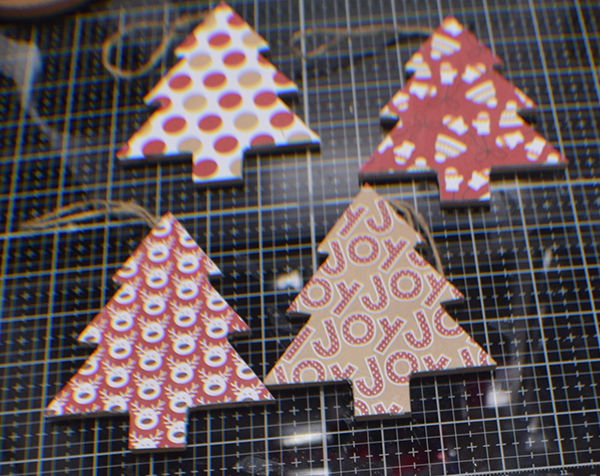
Step 7: Decoupage the Christmas Trees
Start by painting on the decoupage medium. I used ModPodge matte. Let the decoupage medium dry. Place the napkin or paper onto the decoupage medium. Cover the paper with parchment paper. Iron with a hot Iron until secure. Using some sand paper remove the excess paper. Cover the paper with more decoupage medium.
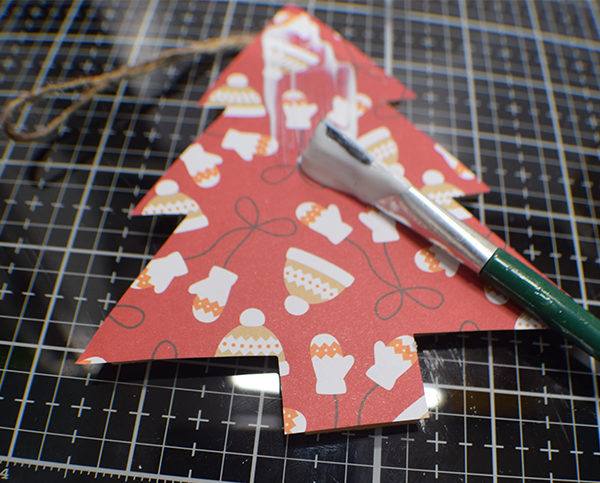
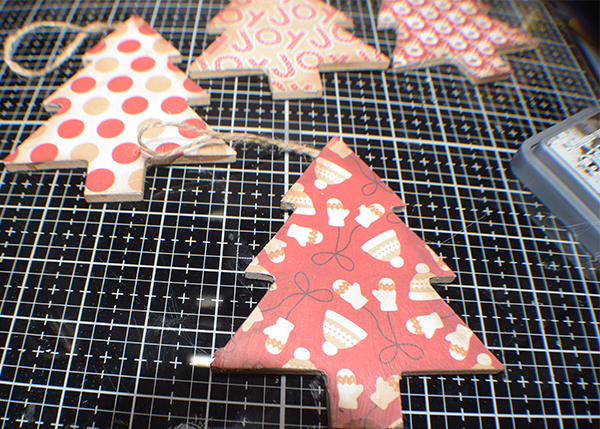
Step 8: Age the Trees and Reindeer
Using the Distress Oxide and a blending brush add some age to the edges and a bit in the center.
Step 9: Embellish the Trees and Reindeer
Add whatever embellishments you like. I used a variety of twine, ribbon, greenery, jingle bells and pieces of Christmas picks to embellish mine.
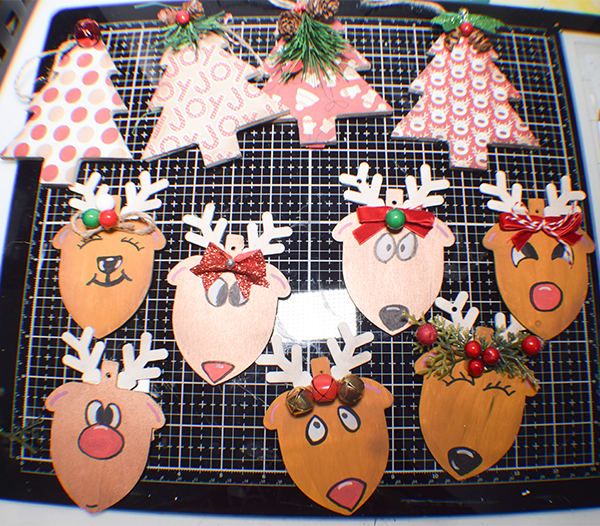
Step 10: Add the Twine
Thread the twine through the first reindeer. Tie a knot. Add a Christmas tree and tie another knot. Continue alternating the reindeer and the Christmas trees in the same way. Knot the ends after making sure it is long enough for your mantle. You have now finished your Dollar Tree Reindeer and Christmas Tree Garland.

I hope you enjoyed this simple Dollar Tree craft. If you would like more sewing and crafting projects subscribe to our newsletter and receive your free Holiday Dollar Tree eBook.
If you would like video tutorials of some of Sew Very Crafty's most popular posts subscribe to our free YouTube channel here.
Join our Sew Very Crafty Fans Facebook group
If you want to ask questions and share your projects join our Facebook group here. The community will help to achieve your sewing and crafting dreams.