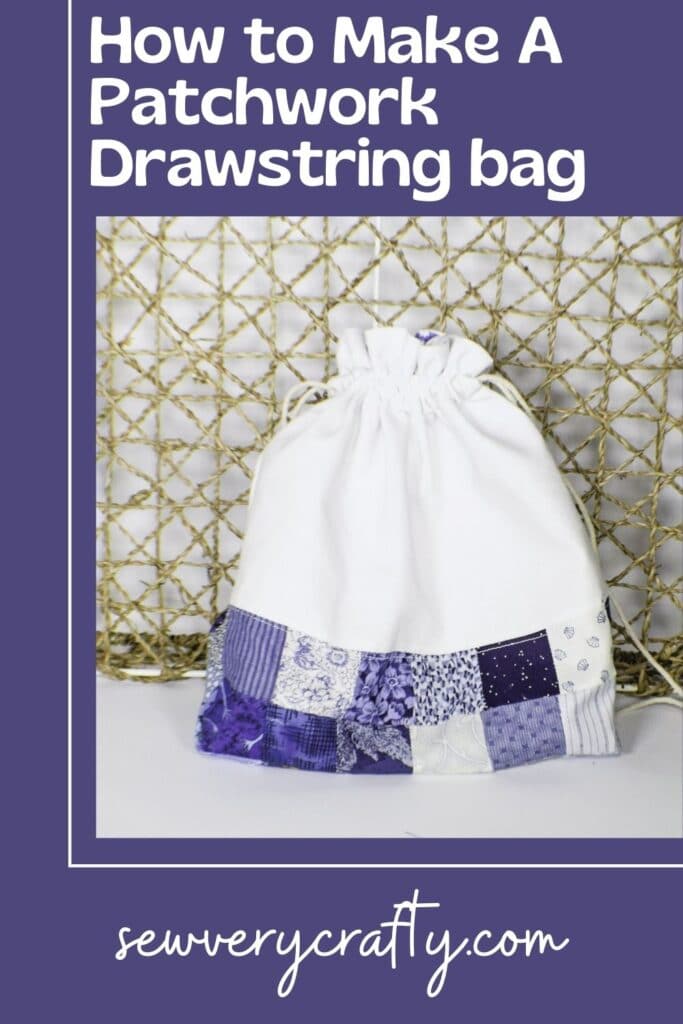
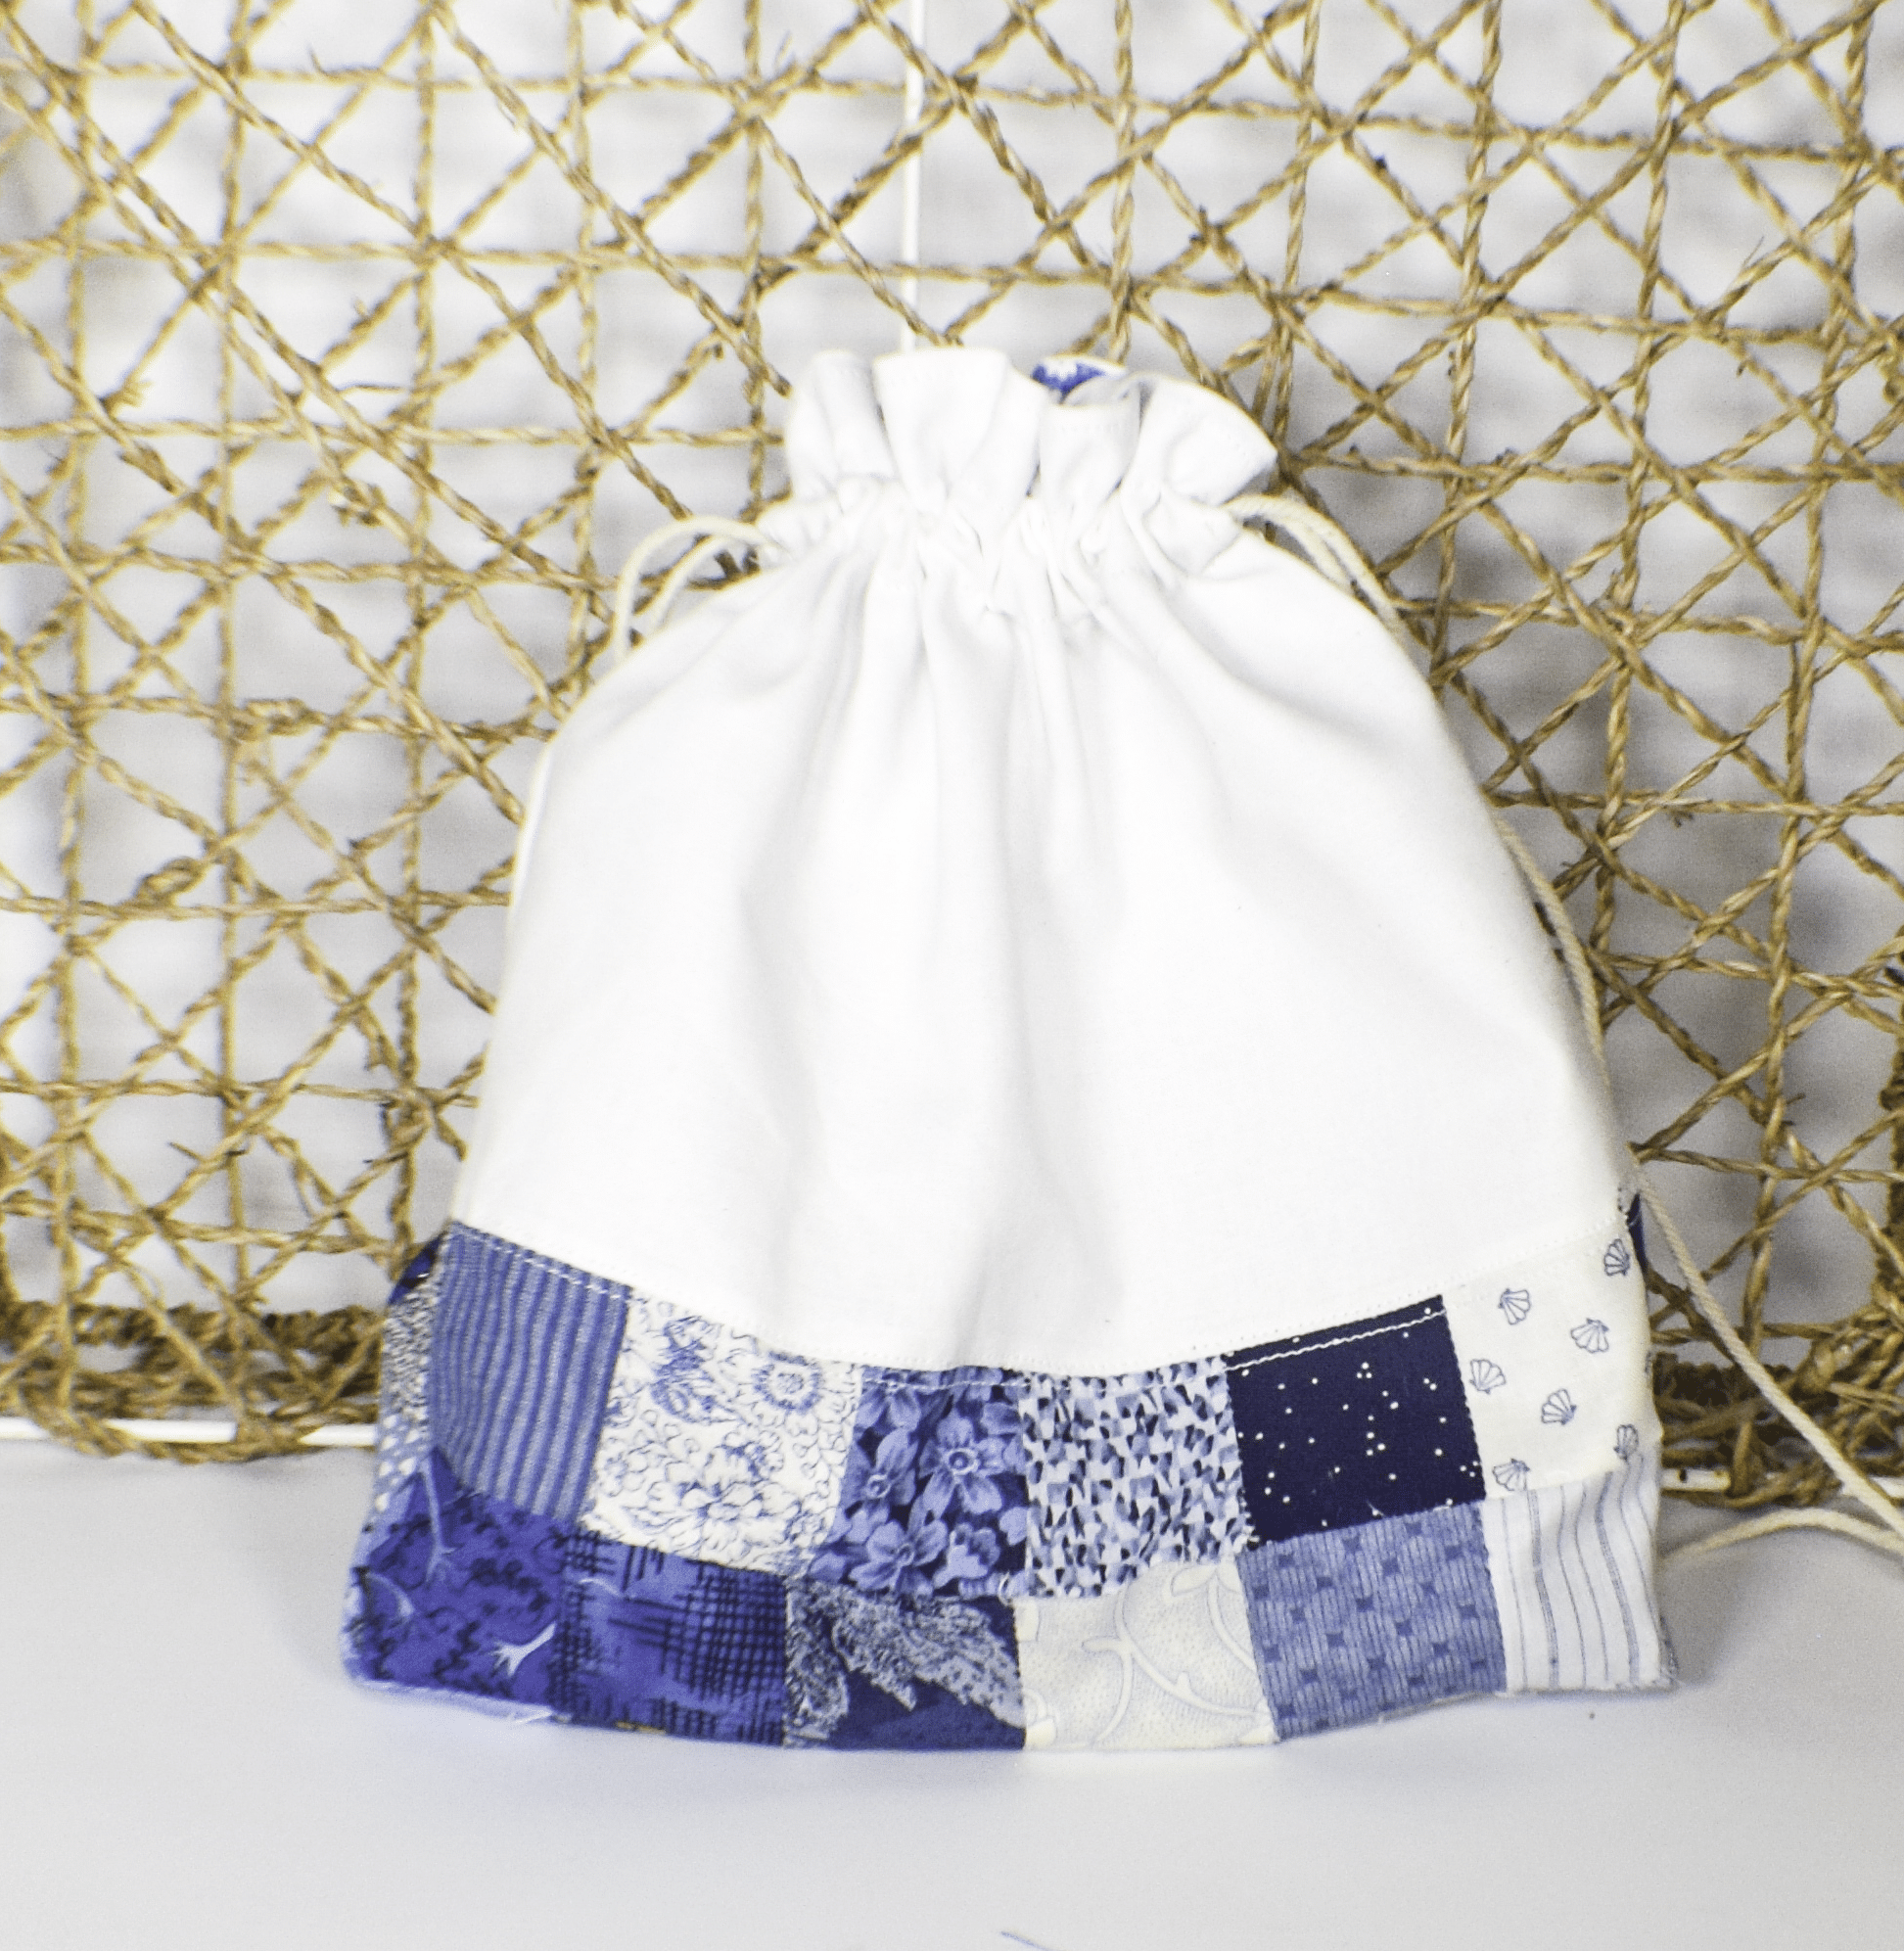
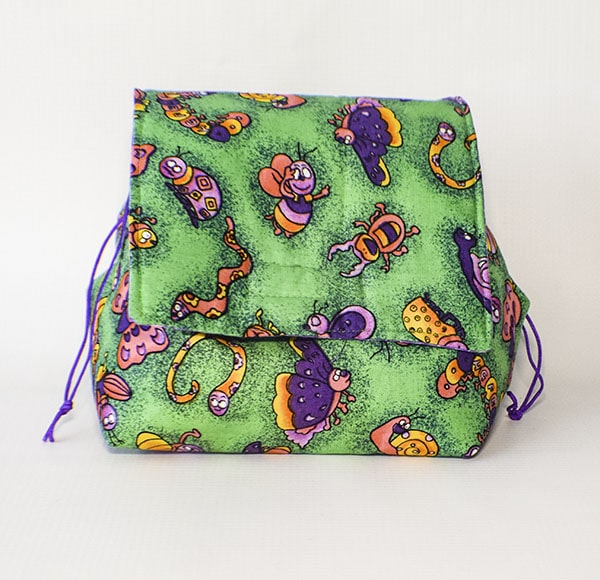
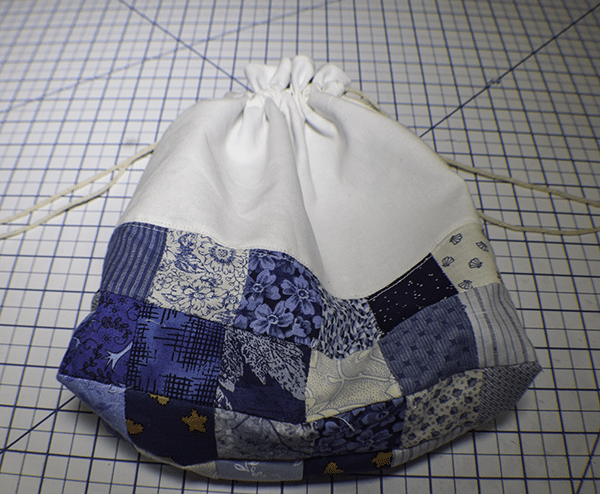
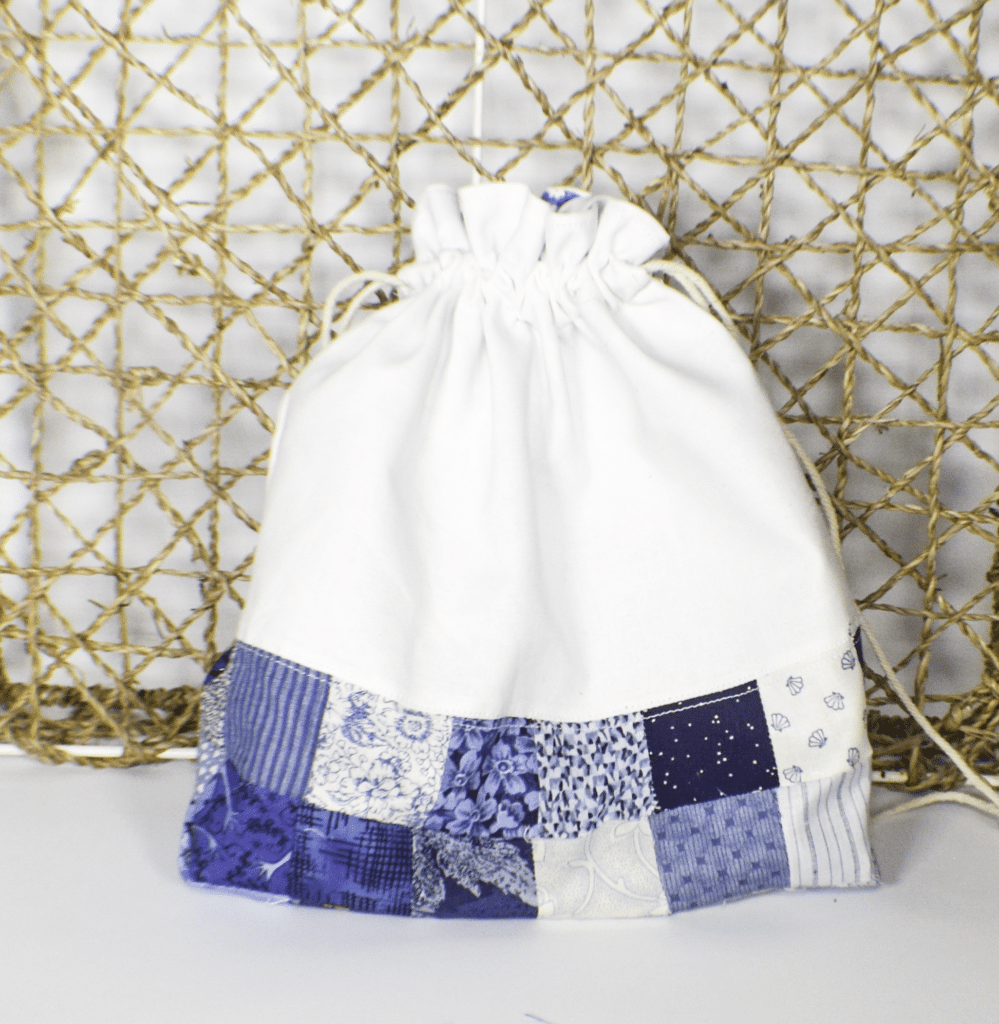
I was cleaning out my sewing room (it took me three days) and came across a package of 2″ blue squares. Can't remember where I got them. I think they were put in as an extra when I purchased something from Etsy but I really can't recall. Quite frankly, I didn't even know I had them but I thought I would put them to use. I decided to use them to make this patchwork drawstring bag. I got this idea from Mini Kim on YouTube. This is a simple beginner patchwork project that anyone with basic sewing skills can make. If you would like a simple drawstring bag without the patchwork check out my other drawstring bag project.
As I said, I believe these 2″ squares were a freebie but you can cut your own from fabrics from your stash or you can buy some remnants or fat quarters to cut out your 2″ squares. There is no reason to buy yardage for this project unless you want to. If you do head over to JOANN Fabric & Craft Stores![]() ,
,
What you will Need: How to Make a Patchwork Drawstring Bag
- 48 2″ squares for patchwork
- 1/4 yd fabric for upper bag
- 1/2 yd fabric for lining
- 1/4 yd Pellon SF 101 Interfacing
- 66″ cording for drawstring
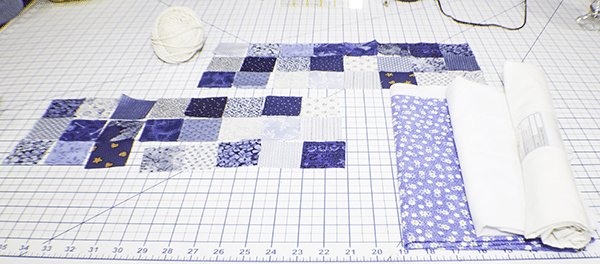
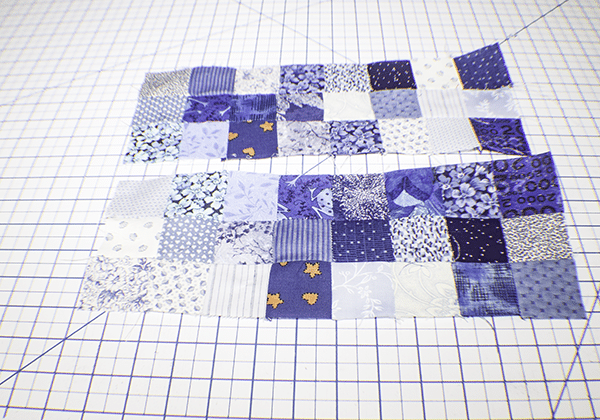
Step 1: Create the Patchwork Bottom
Stitch eight 2″ squares right sides together forming the first row. Then create the second row and the third row in the same way. Stitch the first row to the second row right sides together. They stitch the second row to the third row in the same way. Repeat this process for the second three rows. You should have two pieces that are three rows of eight 2″ squares.
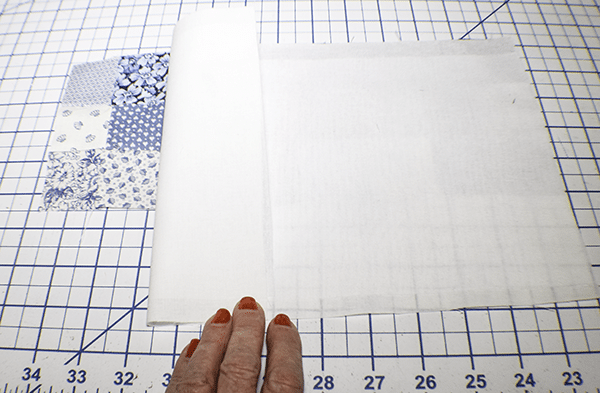
Step 2: Cut the Remaining Fabrics
Cut two top bag fabrics and SF 101 to measure 12 1/2″ x 8″. The lining fabrics should measure 12 1/2″ x 12 1/2″. There should be two of those.

Step 3: Fuse the Interfacing
Fuse the interfacing to the tip fabric following the manufacturer's instructions.
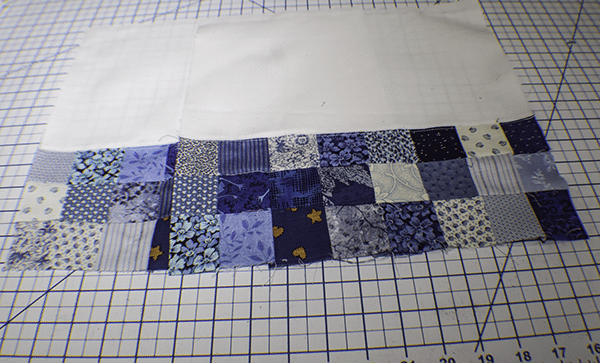
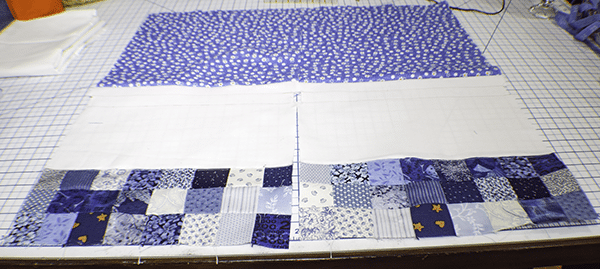
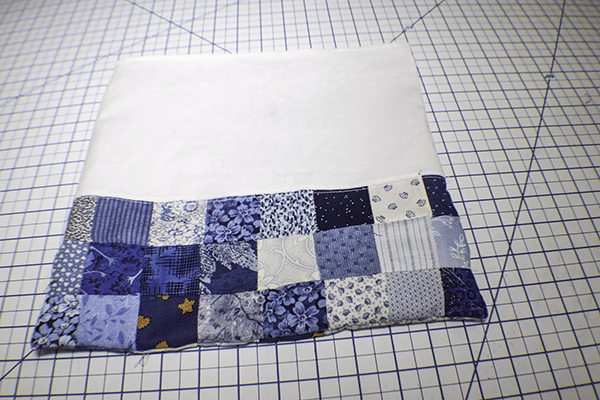
Step 4: Stitch the Top Fabric to the Patchwork
Place the patchwork and the upper fabric right sides together and stitch using a 1/4″ seam allowance. Do this for both pieces. Turn to the right side and top stitch on the top and bottom of the seam using a 1/8″ seam allowance.
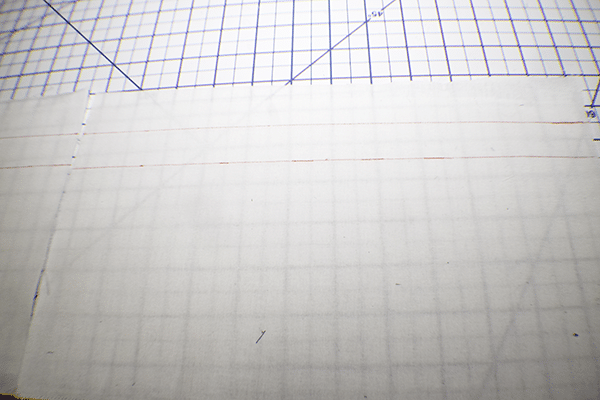
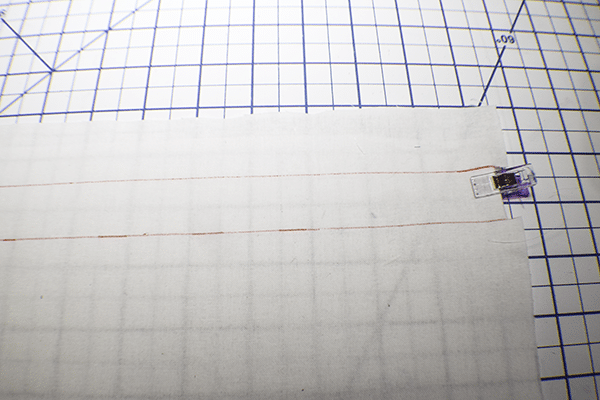
Step 5: Measure for the Drawstring Casing
Measure down from the top of the upper fabric 2 1/4″ and draw a line using an invisible pen. Measure up 1″ from that line and draw another line. Do this on both pieces. Snip the line 1/4″ on all four sides of the lining and the outer fabric. Fold the tab back and stitch it down.

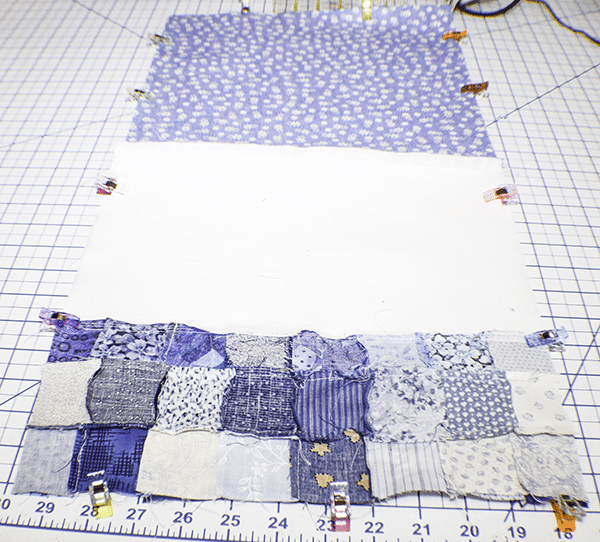
Step 6: Stitch the Outer Fabric to the Lining
Place the top edge of a lining piece and the top edge of an outer piece right sides together and stitch along the top using a 1/4″ seam allowance. Do this for both pieces.
Step 7: Stitch the Two Pieces Together
Place the two pieces so that the outer pieces are right sides together and the lining pieces are right sides together. Stitch all the way around the piece using a 1/4″ seam allowance. Make sure to leave an opening in the lining and to stop stitching where you clipped the casing and start stitching on the other side.
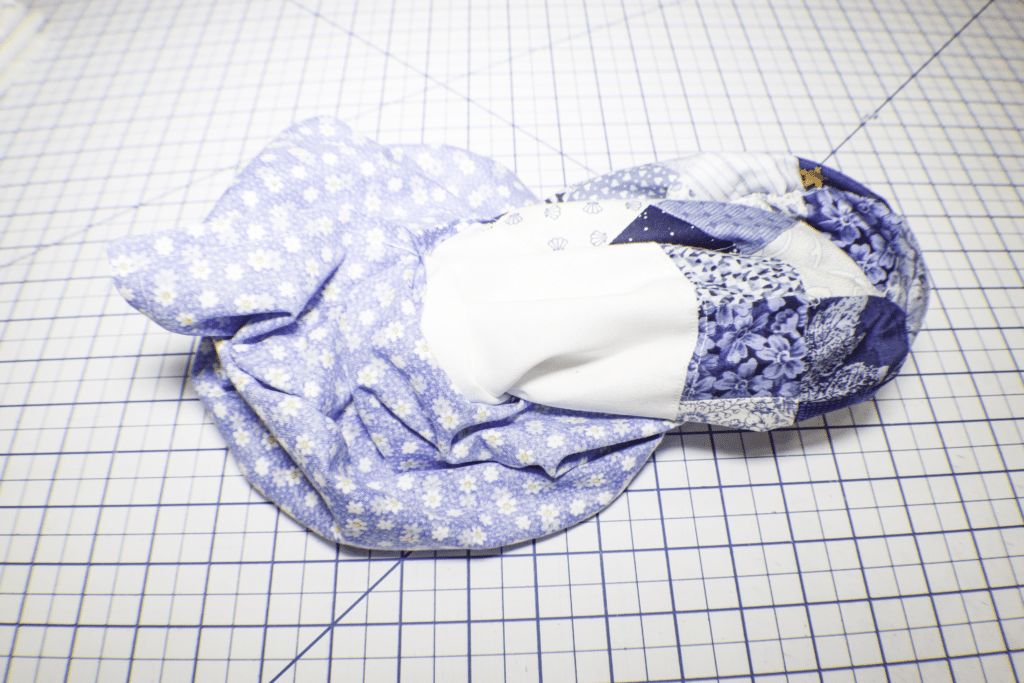
Step 8: Turn Right Sides Out
Turn the bag right sides out and stuff the lining in the bag. Topstitch all the way around the top.
Step 9: Create the Casing
Stitch along the lines that you previously drew when you measured for the casing. Stitch the opening in the lining closed.
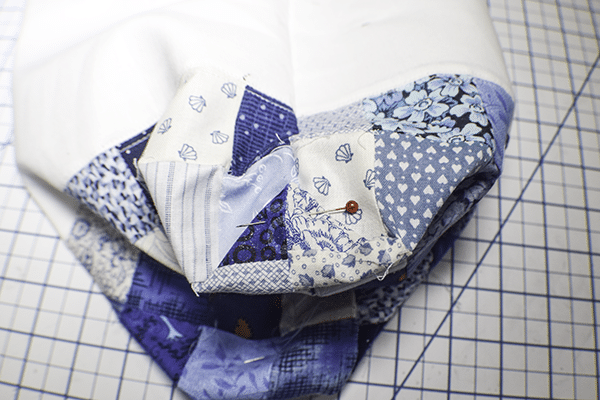
Step 10: Box the Bottom
Push the lining into the corners of the bag. Fold up the corners one row of piecing and stitch the tip tp the side of the bag.
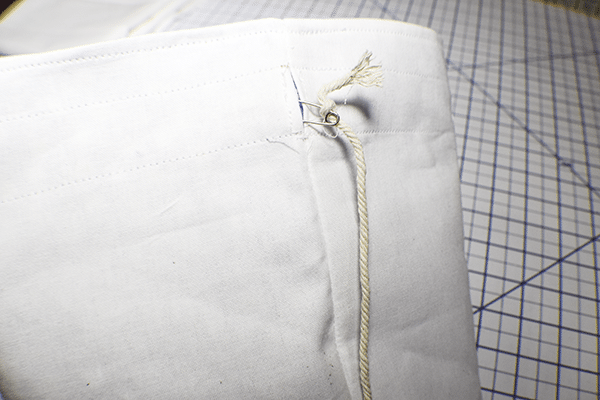
Step 11: Insert the Drawstring
Cut the cording in half. Using a safety pin insert one piece of the drawstring through one side of the casing all the way around. Insert the other piece through the other side of the casing all the way around. Knot the ends of the cording together. Fill the bag and pull the drawstring and you are finished.
I hope you enjoyed this drawstring bag project. If you would like more sewing and crafting projects subscribe to our newsletter and receive your free eBook with 15 handbag patterns taken from the blog.
If you would like video tutorials of some of Sew Very Crafty's most popular posts subscribe to our free YouTube channel here.