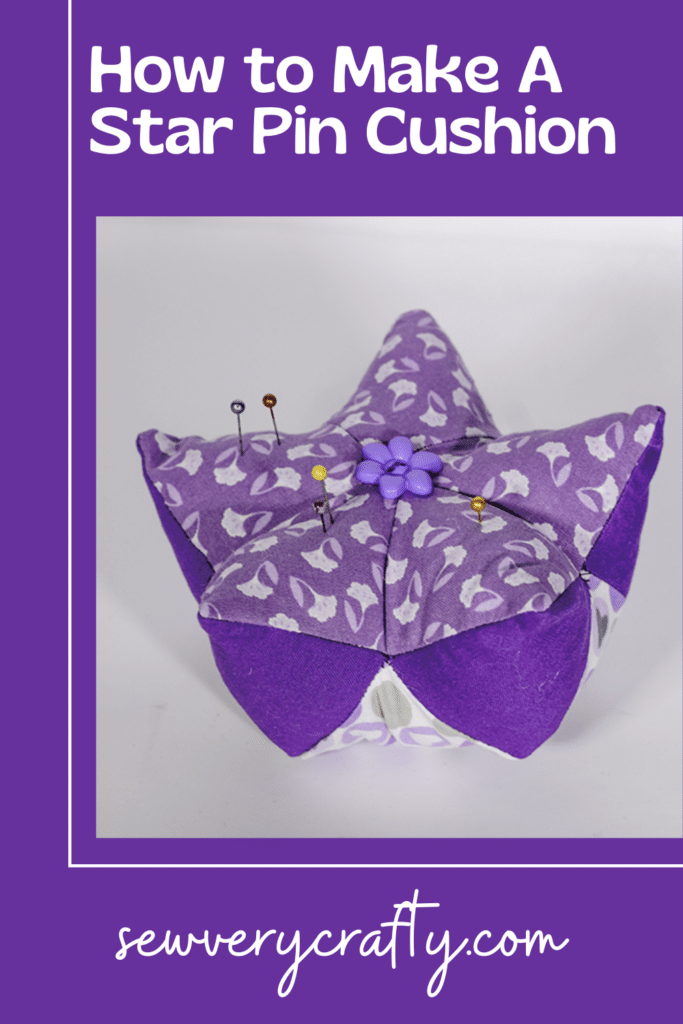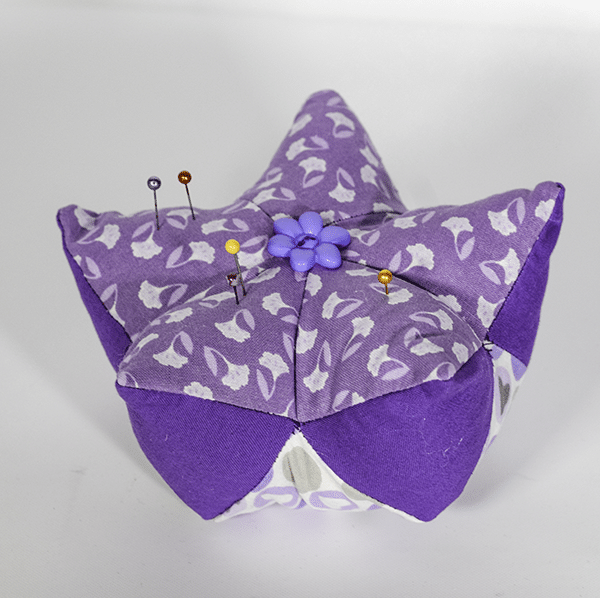
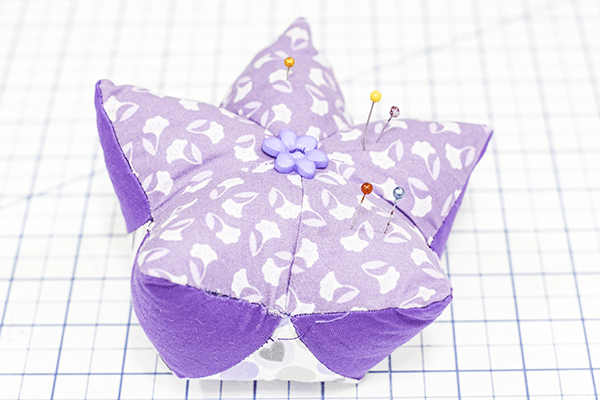
I have pin cushions everywhere seems for this post I decided to make a star pin cushion. It is pretty large so it accommodates a lot of pins. It's 3D shape makes it easy to carry from place to place and of course to stick pins in. This is a simple but a little fidgety sewing project. Anyone can make this star pin cushion but it does take a little manipulation as you go. I got this project from Sewing times on YouTube and have attached the video below if you want to see how it is made. If you are interested in some of my other pin cushions check out my basket pin cushion and my Mannequin Pin cushion. I use them all the time.
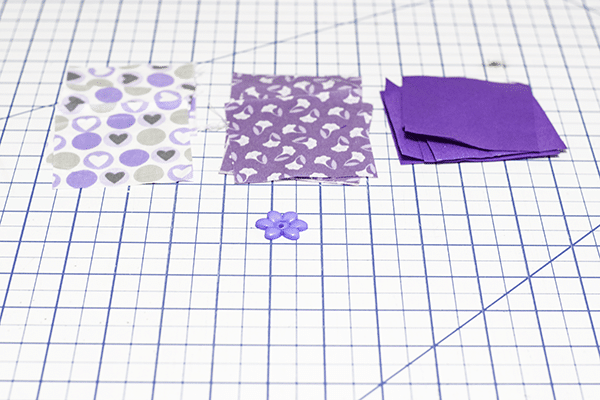
This star pin cushion requires three different fabrics. You only need a little pit of each fabric so fabrics from your stash or scraps should be sufficient for this project. I delved into my stash for this. You could go to JOANN Fabric & Craft Stores, Fabric.com or onlinefabricstore.net to get what you need for this project. This post contains affiliate links that if you click on them and make a purchase I may receive a small commission at no extra cost to you. As an Amazon associate I earn from qualifying purchases. ![]()
What you will Need: How to Make a Star Pin Cushion
- 1/8 yd of 3 different fabrics
- Polester fiberfill
- Standard sewing supplies
Step 1: Cut your Fabrics
Cut five 3″ x 3″ pieces of fabric from all three fabrics
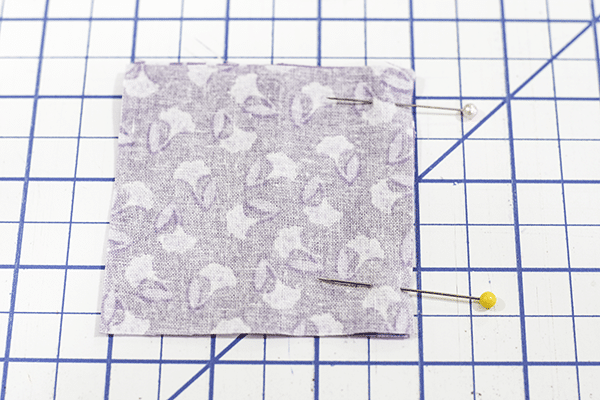
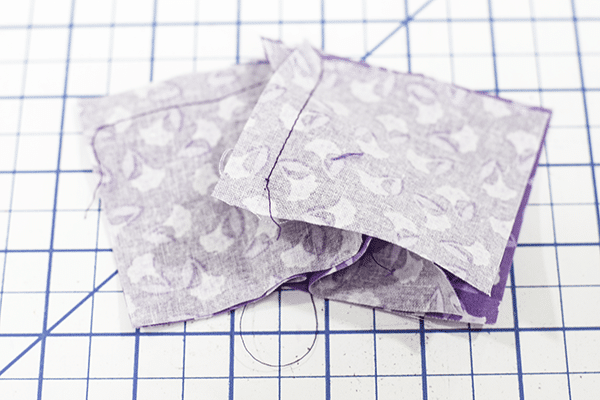
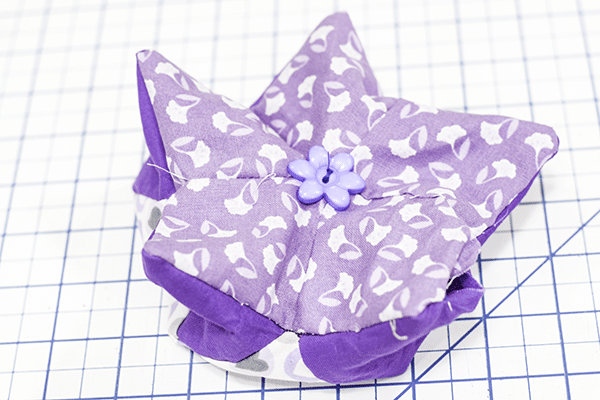
Step 2: Create the Top of the Star Pin Cushion
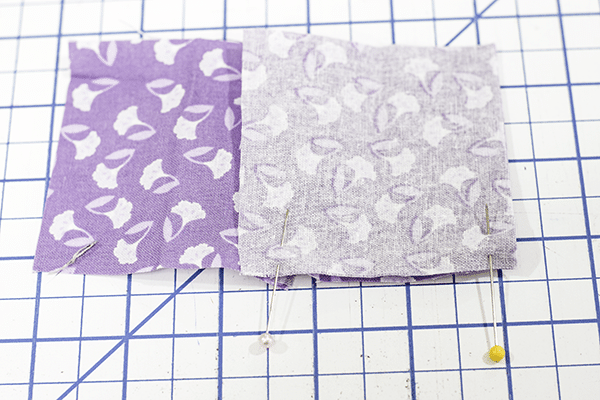
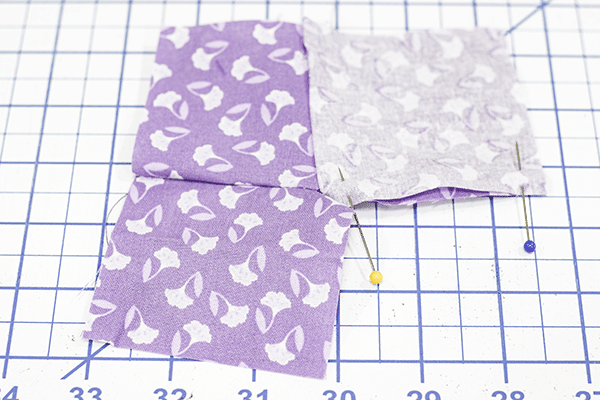
Start by stitching two squares together using a 3/8″ seam allowance. Begin 3/8″ down from the top and finishing 3/8″ up from the bottom of each piece that you stitch. Once you have stitched the first two pieces together stitch the third piece to the second piece on the bottom of the second piece. Stitch the fourth piece to the side of the third piece. Finally stitch the fifth piece to the side of the fourth and the bottom of the first to create the star shape. Hand stitch a button to the center.
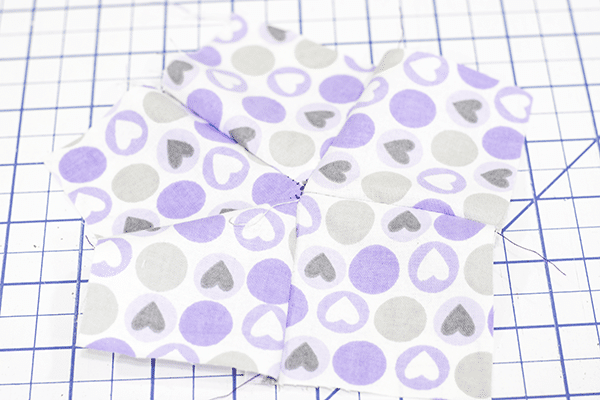
Step 2: Create the Bottom of the Star Pin Cushion
Create the bottom of the star pin cushion in the same way you created the top but without adding the button.
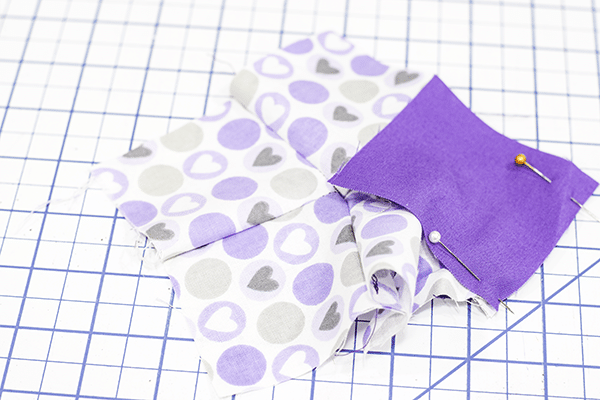
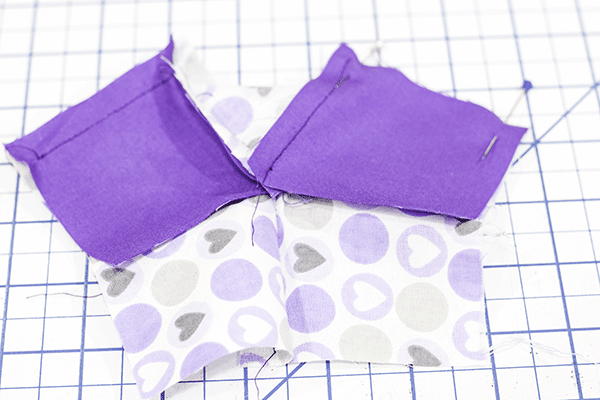
Step 3: Create the Side of the Star Pin Cushion
Stitch one square to the bottom of the bottom star as shown. Pull the side of the square you just stitched to the next bottom square and stitch as shown. Repeat this process with the next set of bottom squares. Continue around the star until all of the sides have been added.


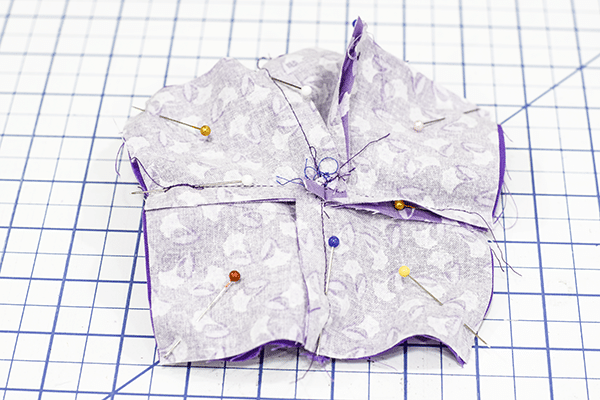
Step 4: Add the Top Star to the Sides
Place the top star right sides together with the sides of the stars and pin. Stitch the top to the sides using a 3/8″ seam allowance leaving an opening on one side to turn the piece right sides out and for stuffing.
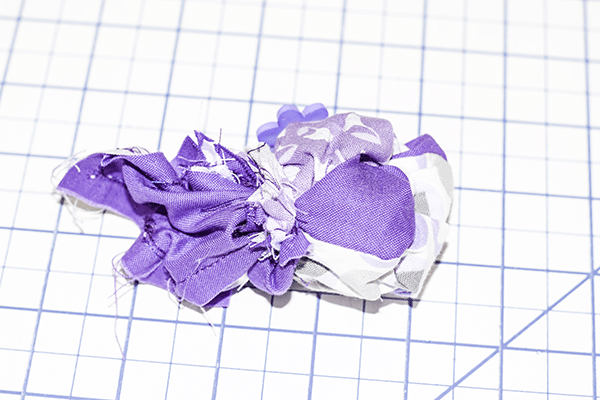
Step 5: Turn the tar Pin Cushion Right Sides Out
Turn the pin cushion right sides out stuff using the polyester fiberfill. Close the opening using ladder stitch so that it can't be seen. If you are unfamiliar with how to do ladder stitch check out this video. Once you have finished stitching the opening you have finished your star pin cushion.

I hope you enjoyed this star pin cushion project. If you would like more sewing and crafting projects subscribe to our newsletter and receive access to our free Printables library.
If you would like video tutorials of some of Sew Very Crafty's most popular posts subscribe to our free YouTube channel here.