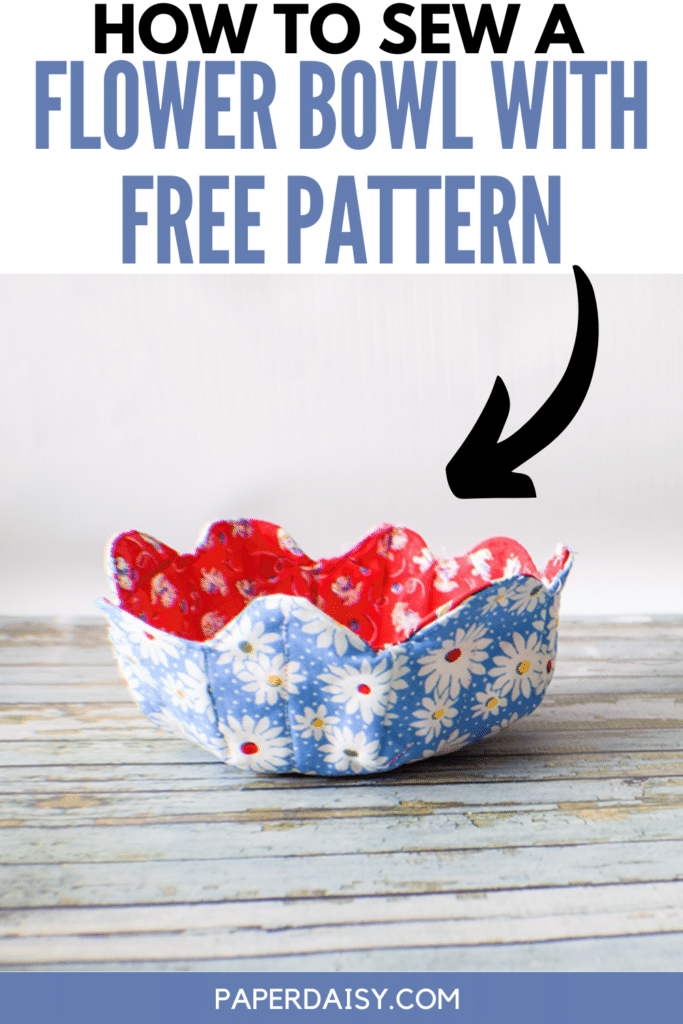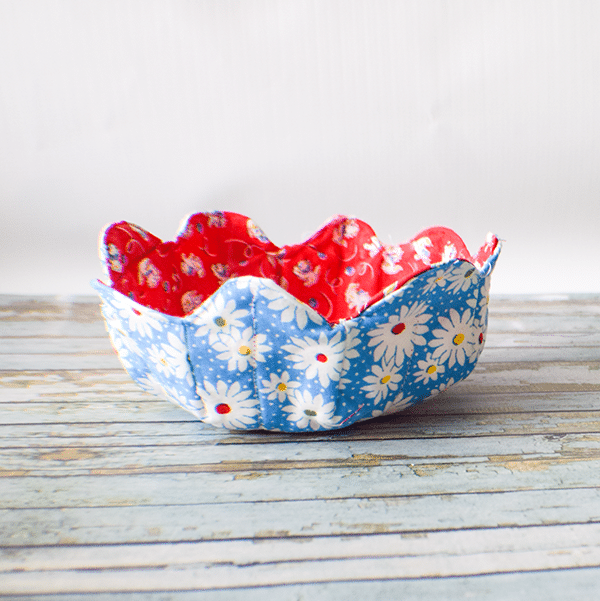
I love these flower bowls and they are so simple to make. You can learn how to sew a flower bowl by using the free pattern and following this step-by-step tutorial. This is a beginner sewing and quilting project that anyone with basic sewing skills can make. It is a fun and functional sewing project that you can put all of your small things in. If you would like another simple bowl project check out this one.
I used some flowery fat quarters for this project that I purchased from Amazon Fabrics but you could head to JOANN Fabric & Craft Stores![]() or
or
What you will need: How to Sew a Flower Bowl
- Pattern you can get by clicking on this link
- 2 Fat quarters of fabric
- 1 12″ x 12″ piece of quilt Batting
- Standard sewing supplies
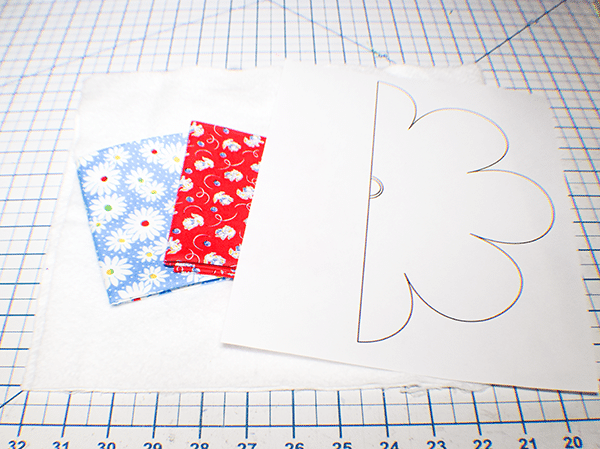
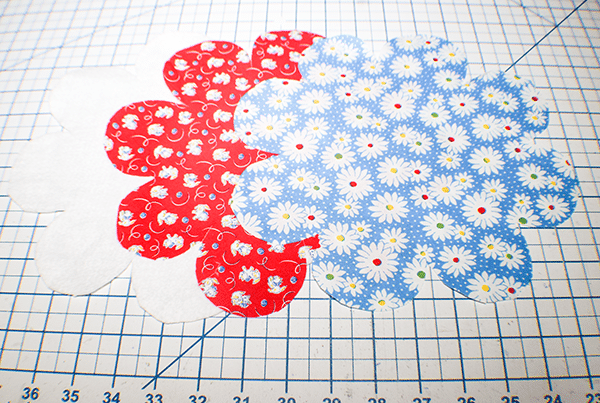
Step 1: Cut out your Fabrics
Using the free pattern cut two pieces of fabric and one piece of batting on the fold.
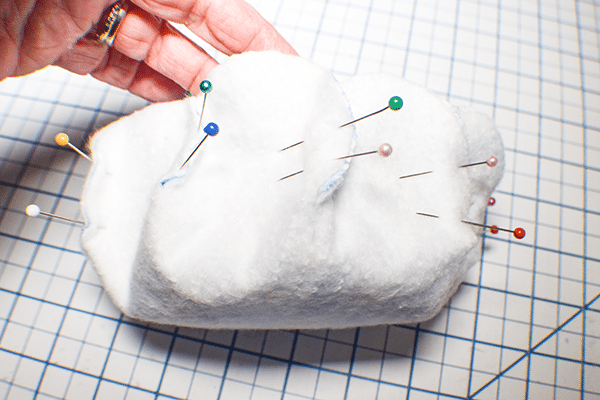
Step 2: Add the Batting
Add the batting to the wrong side of one of the fabric pieces by using pins or spray adhesive. I used spray adhesive for my project.

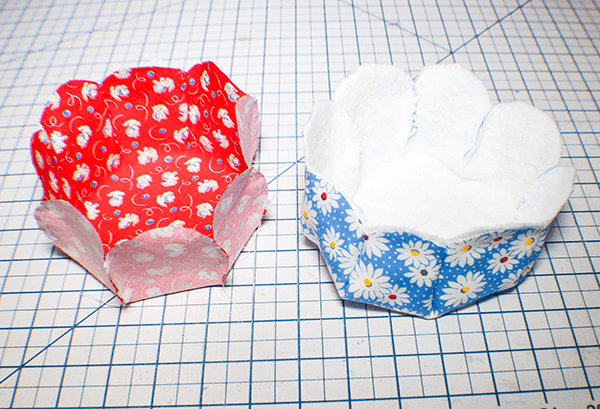
Step 3: Stitch the Darts
Between each petal is a space. Consider those as darts. Pin them together one both the piece with the batting and the piece without the batting and stitch using a 1/4′ seam allowance. This will give the bowls structure. You should have two flower bowls at this point and outer bowl with batting and a lining bowl without.
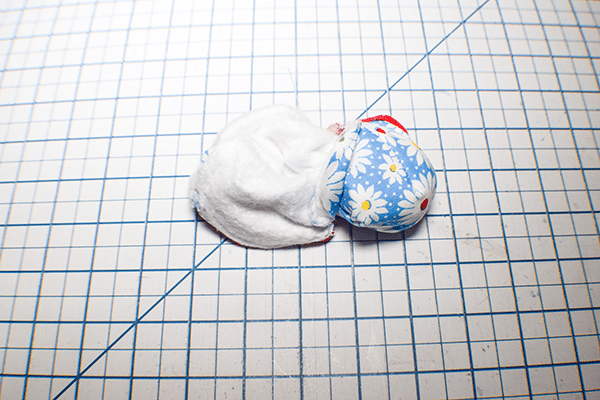
Step 4: Combine the Two Bowls
Place the lining bowl into the outer bowl so that they are right sides together. Stitch all the way around the top petals using a 1/4″ seam allowance leaving one petal unsewn for turning. Make sure that the dart seams are nested for a nice neat look. Clip carefully around the petals without clipping the seam.

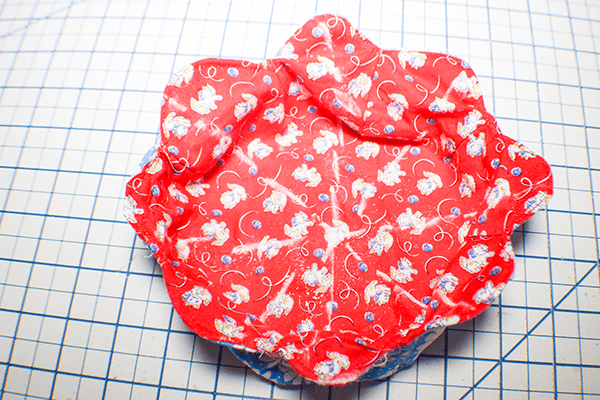
Step 5: Turn Right sides Out
Turn the bowl right sides out through the opening you left in the petal. Pin the petal edges and turn under the open petal edge.
Step 6: Topstitch the Edge of the Flower Bowl
Topstitch the edge of the flower bowl using a 1/8″ seam allowance as you go.
Step 7: Quilt the Flower Bowl
Quilt the flower bowl however you like. I just quilted criss cross lines on mine to secure the batting and the fabric. You have now completed your flower bowl. How fun was that?

I hope you enjoyed this simple flower bowl project. If you would like more sewing and crafting projects subscribe to our free newsletter and receive access to our free Printables Library.
If you would like video tutorials of some of Sew Very Crafty's most popular posts subscribe to my free YouTube channel here.