Pretty Little Bedside Caddy
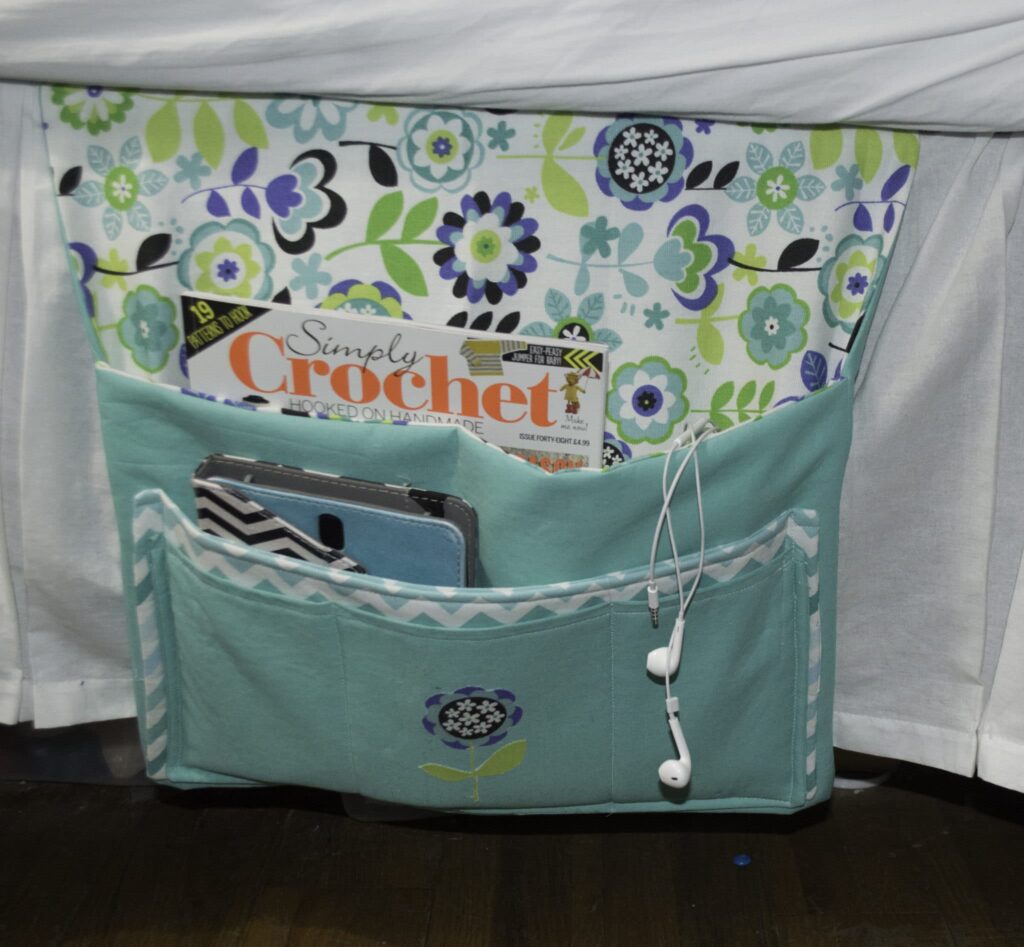
I have a lot of things that seem to pile up around my bed at night like my Kindle, medication, TV remote, and other odds and ends so I thought I would put together this easy to make pretty little bedside caddy to put all of my odds and ends together in one place. This is the perfect remnant project. I used a few of my stash of remnants for this project. If you do not have a stash like mine I recommend Fabric.com and Hobby Lobby as great places for a wide range of the perfect fabrics for this project. This post contains affiliate links that if you click on them and make a purchase I may receive a small commission at no extra charge to you.
What you will Need:
- 3/4 yd. Main fabric
- 3/4 yd. Second coordinating fabric
- 1/2 yd. Third coordinating fabric
- 3/4 yd. fusible fleece
- Standard Sewing Supplies
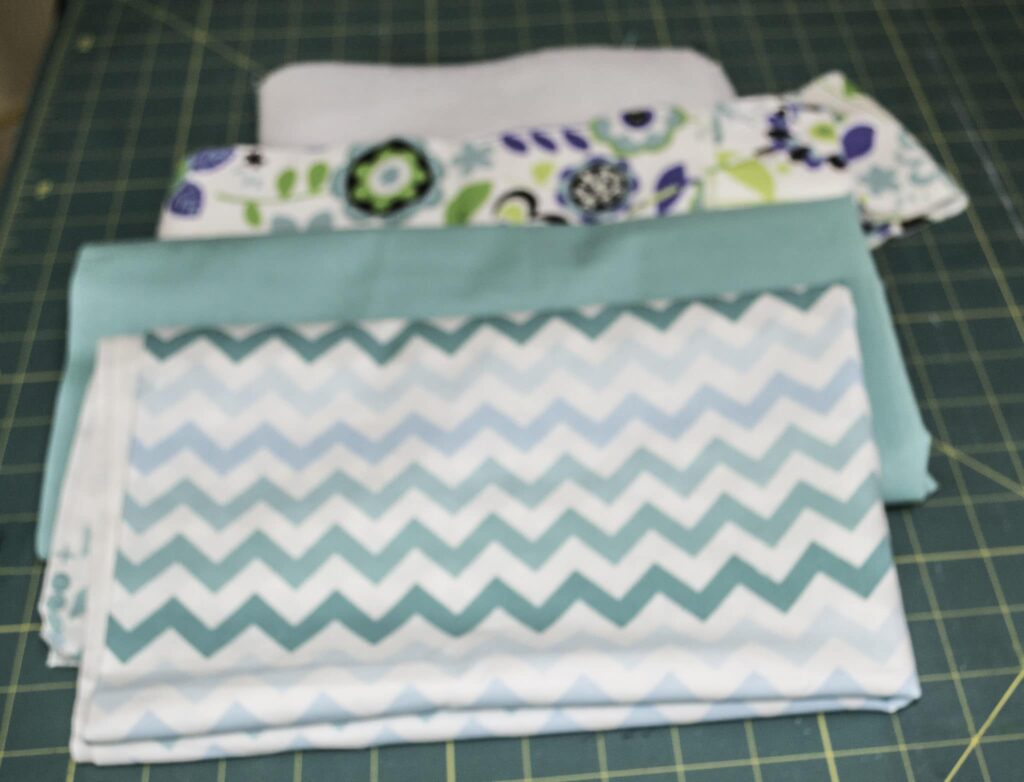
Step 1: Cut your fabrics
Cut your fabrics as follows:
- Main fabric and one piece of fleece 18″ x 34″
- Second fabric 18″ x 34″
- Third fabric ( large Pocket) and one piece of fleece 16″ x 8″ x 2
- Main fabric (small pocket) and One piece of fleece 15″ x 7″ x 2 pieces
Step 2: fuse the fleece
Fuse the fleece to the main fabric, large pocket piece, and small pocket piece.

Step 3: Pretty Little Bedside Caddy
With right sides together sew the main fabric and the second coordinating fabric together using 1/4″ seam allowance leaving an opening to turn. Turn right sides out and press. Turn under the bottom of the piece 1/3 – 1/2 way and stitch the sides using a 1/4″ seam allowance. Turn right sides out. You can choose at this point which color you want to be your pocket color at this point.

Step 4: Pretty Little Bedside Caddy
Sew the large pocket with right sides together leaving an opening for turning. Sew the small pocket the same way. Turn the pockets right side out. Top stitch along the top edge of each pocket. Top stitch the openings closed.
Step 5: Pretty Little Bedside Caddy
Place the small pocket onto the large pocket and sew two lines four inches in from either side to delineate smaller pockets.

Step 6: Pretty Little Bedside Caddy
Place the large and small pockets on top of the main part of the Caddy at the bottom and top stitch all the way around except the top. Add any embellishments you like. I cut a small flower from the secondary fabric to use as an applique using Pellon Wonder under.
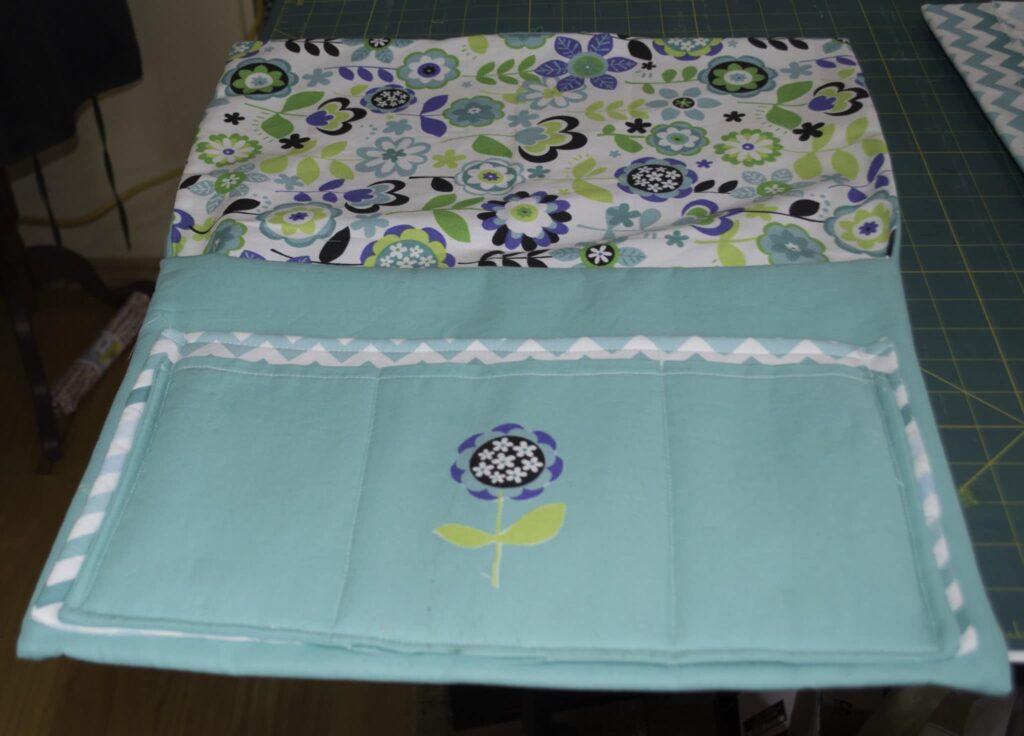
Step 7: Pretty Little Bedside Caddy
Place the long end of the bedside caddy under your mattress so your pockets hang down and fill with your own odds and ends.

If you would like additional sewing and crafting projects sign up for my newsletter and receive your list of sewing room must haves.




Not sure how to cut 18″ x 3 4″ out of a quarter yard!
You are correct. It should have been 3/4 of a yard. So sorry for that mistake. I have corrected it on the pattern. Thanks for letting me know that.
If you pace wrong sides together, see and turn right side out, how did you get two different pieces in your picture? When I do that it just creates a pillowcase looking piece.
I have sent you an email that I hope explains everything.