How to Make a Mouse Coin Purse

I love little coin purses. This little mouse coin purse is just adorable. It is also a simple little project to make and can be made in no time. This purse is perfect for kids and adults who like a bit of fun. Use the free pattern to create your own mouse coin purse using your basic sewing skills. This is a confident beginner project that can be made with a small amount of fabric and a zipper. This mouse coin purse is a fun sewing project to make so I urge you to give it a try.
I used an old pair of jeans for my outer fabric and a remnant that I had on hand for my lining. You could use the same or try some nice quilting cotton for yours. You may need to use some lightweight interfacing if you use quilting cotton. A heavier wight fabric like denim decorator wight fabric may work better for the outer fabric. Regardless of the fabrics you choose the pattern is the same.
What you will Need: How to Make a Mouse COin Purse
- Pattern you can get by clicking on this link
- 1/4 yard outer and lining fabric
- 7″ zipper that you will shorten
- 2 buttons
- Standard Sewing supplies
Step 1: Cut out your Pattern Pieces
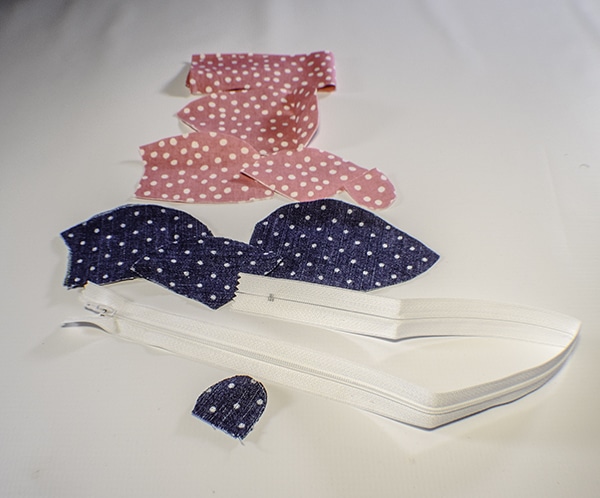
Download and print out the pattern. Cut out two body pieces from the outer fabric and two from the lining. Cut one bottom piece from the outer fabric and lining. You need to cut four ear pieces, two outer and two lining. Cut One outer and one lining head piece. Finally, cut a 2″ x 8″ strip of lining fabric for the tail.
Step 2: Add the body to the zipper
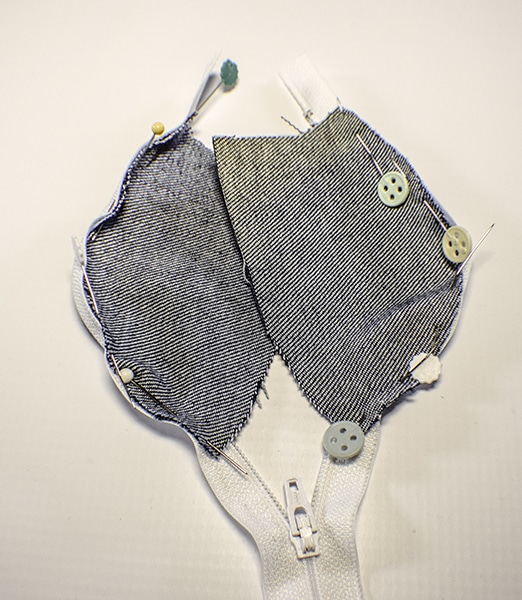
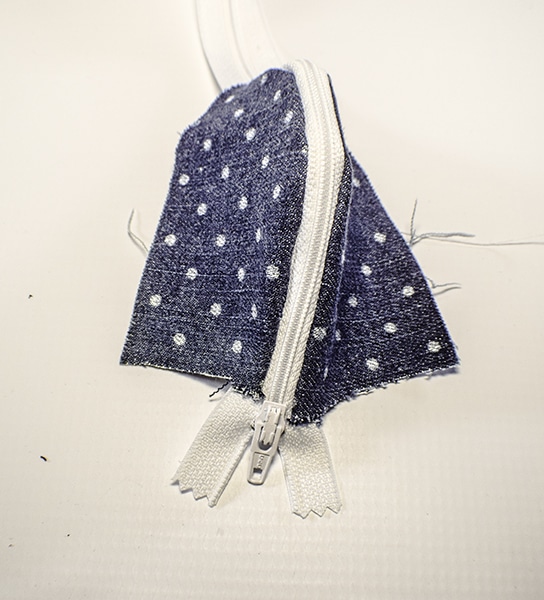
Take the two body pieces and add the to the zipper. Place one side of the zipper along the top curved edge of one of the body pieces and the other side of the zipper along the curved edge of the other body piece. Stitch the zipper to the body pieces. It is easier to stitch the zipper while it is open.
Step 3: Sew the ears
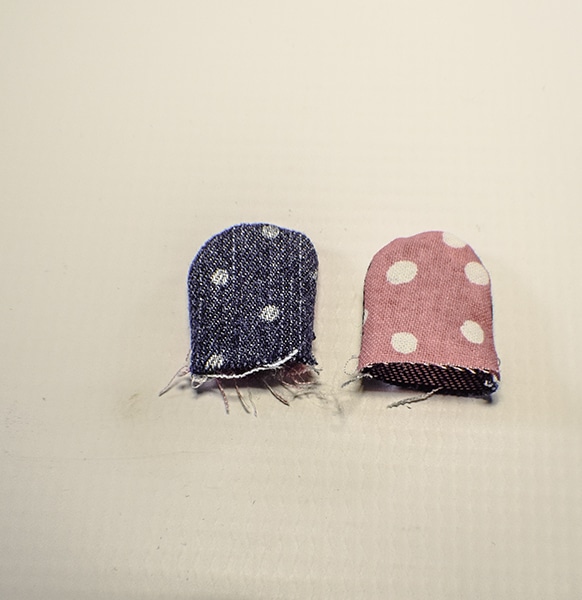
Place an outer ear piece and a lining ear piece right sides together and stitch around the curved edge and leaving the bottom open using a 1/4″ seam allowance. Turn the ear right sides out. Repeat for the other ear.
Step 4: Add the ears to the body
Stitch the ears to the front of the body next to each side of the zipper.
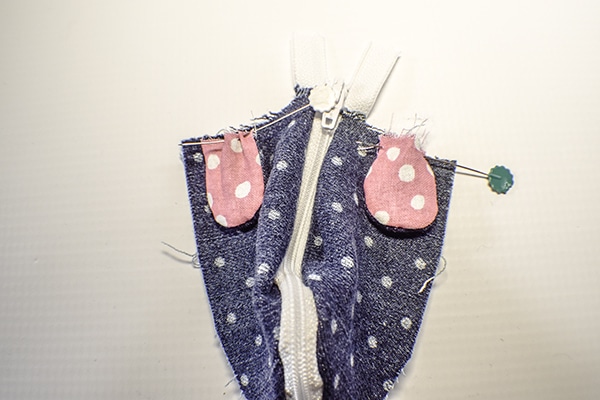
Step 5: Add the head
Place the curved part of the head piece right sides together with the front of the body where the ears are and matching all raw edges. Stitch the head to the body using a 1/4″ seam allowance.
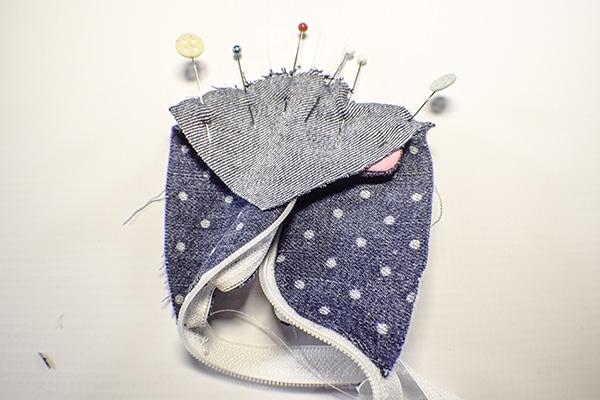
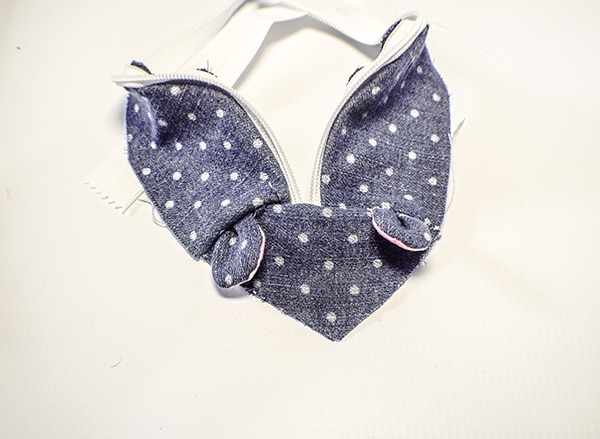
Step 6: Create the tail
Take the strip of lining fabric and fold the raw edges to the center and press. Fold in half enclosing the raw edges and press again. Top stitch along both sides of the strip.
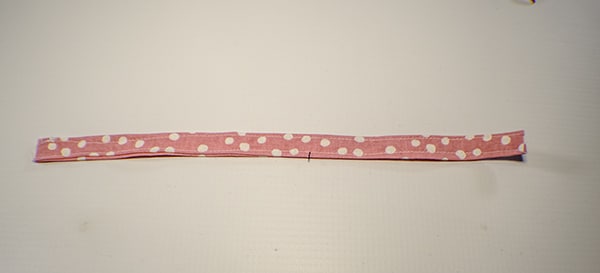
Step 7: add the tail
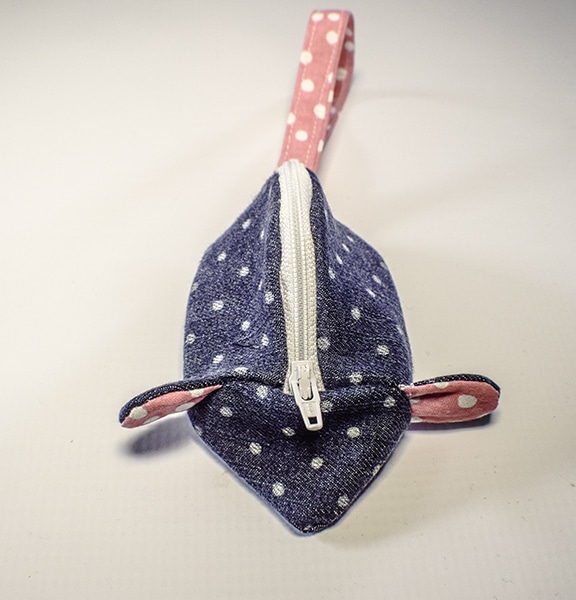
Fold the tail in the half. At this point you will need to close the zipper at least pert way and cut off the end so that it is even with the raw edges. Place the tail right sides together with the back of the body along the zipper and matching the raw edges. Make sure the tail is facing toward the body. Stitch the tail in place. It is alright to stitch over the zipper because we are using a nylon zipper and it will not break your needle. (Sorry I forgot to take a picture of this.)
Step 8: Add the bottom
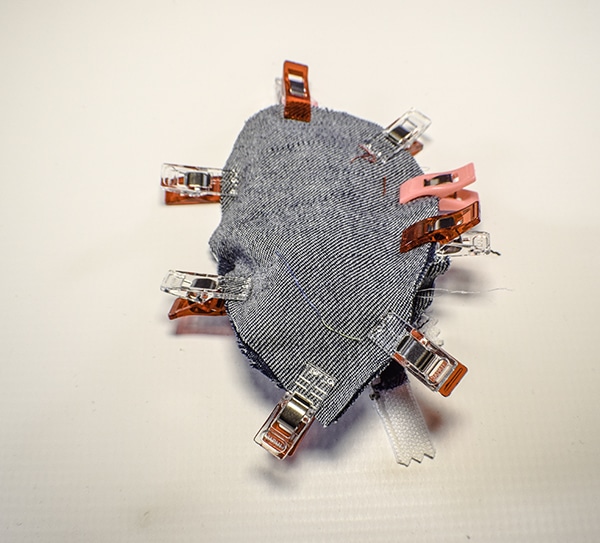
Keep the zipper mostly open. Place the bottom on top of the body with the tail on the inside and right sides together. Stitch all the way around. Turn the purse right sides out through the open zipper.
Step 9: Add the Eyes
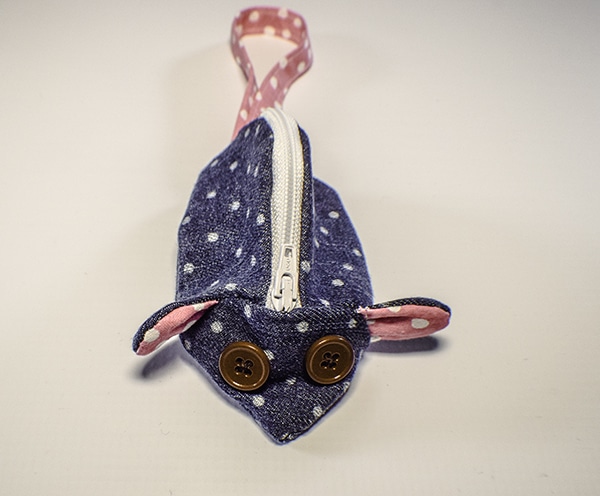
Sew two buttons on the face for the eyes. You have completed the outer mouse coin purse.
Step 10: Create the lining
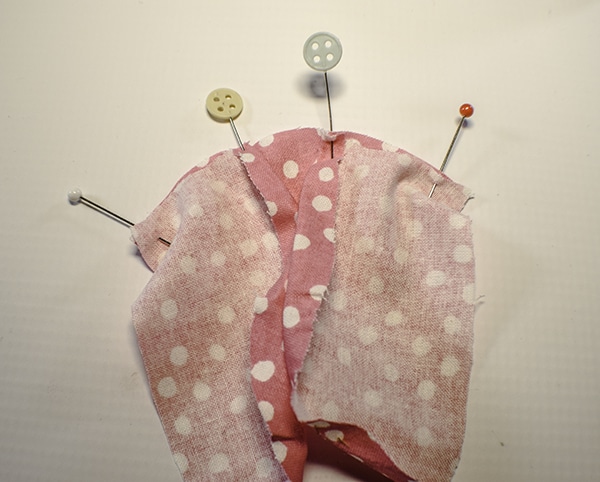
Create the lining in the same way that you created the outer mouse without the zipper, ears and tail. You will fold down the top curve where the zipper should go and press. Stitch the head to the front of the lining body using a 1/4″ seam allowance. Place the bottom onto the lining body and stitch all the way around also using 1/4″ seam allowance.
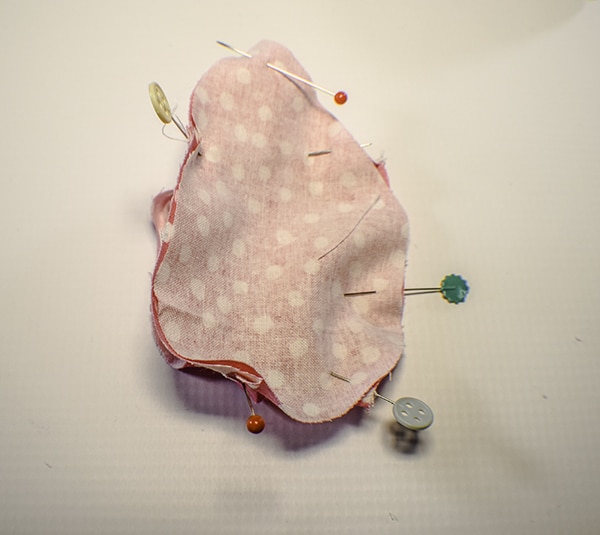
Step 11: drop in the lining
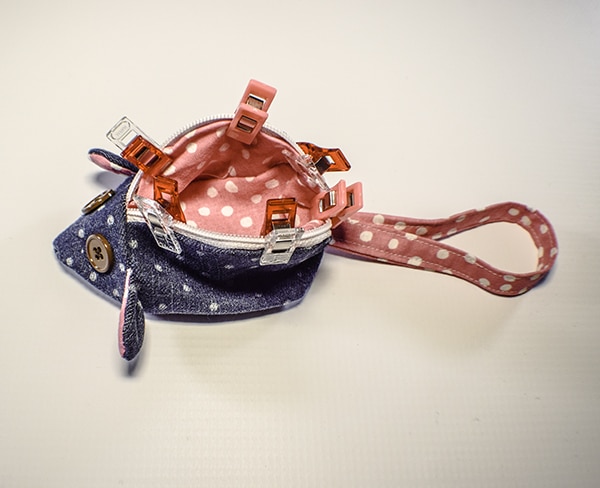
This is a drop in lining. You will take the lining and simply drop it into the outer mouse coin purse so that the wrong sides are facing. Clip the lining to the zipper. Hand stitch the lining to the zipper using invisible stitch. You have now completed your adorable little mouse coin purse.
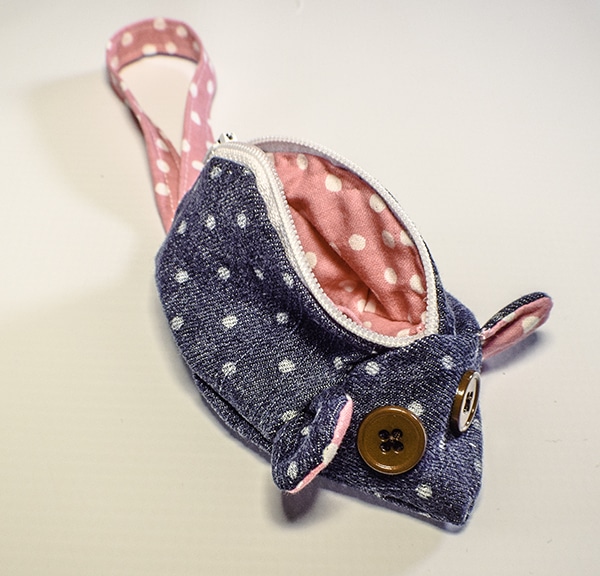
I hope you enjoyed this project. If you would like more sewing and crafting projects sign up for our newsletter and receive your free eBook of 15 handbag patterns and tutorials.
If you would like video tutorials of some of Sew Very Crafty's Most popular post subscribe to our free YouTube channel here.


