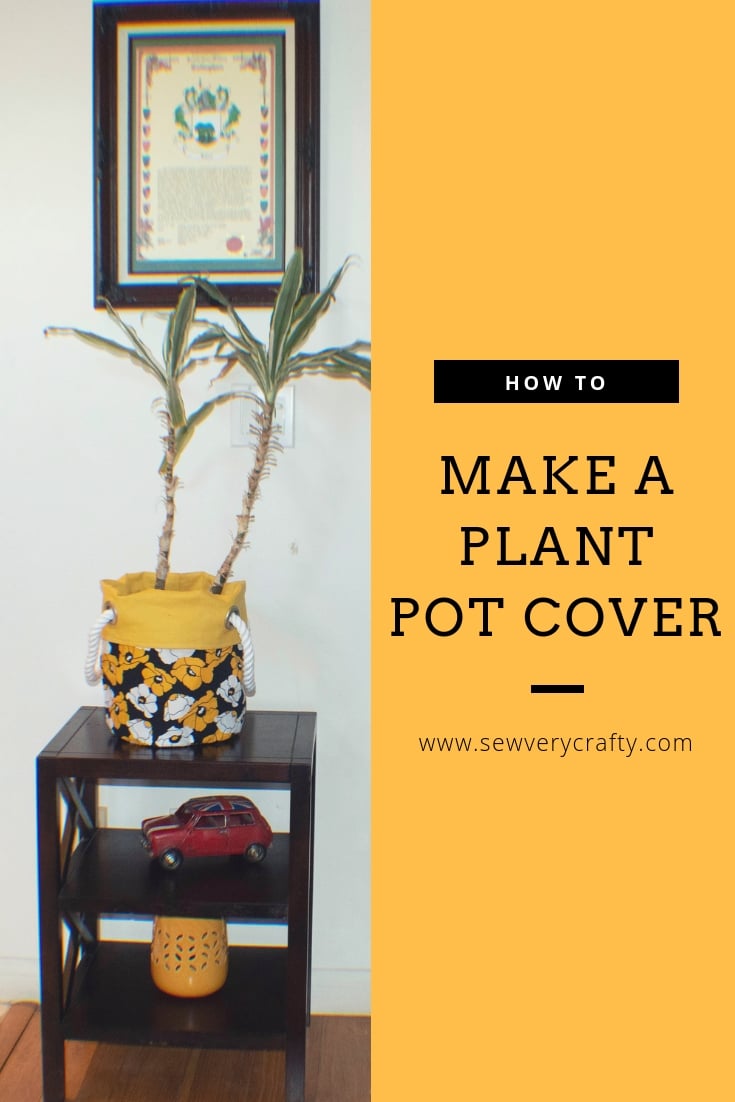
How to Make a Fabric Plant Pot Cover
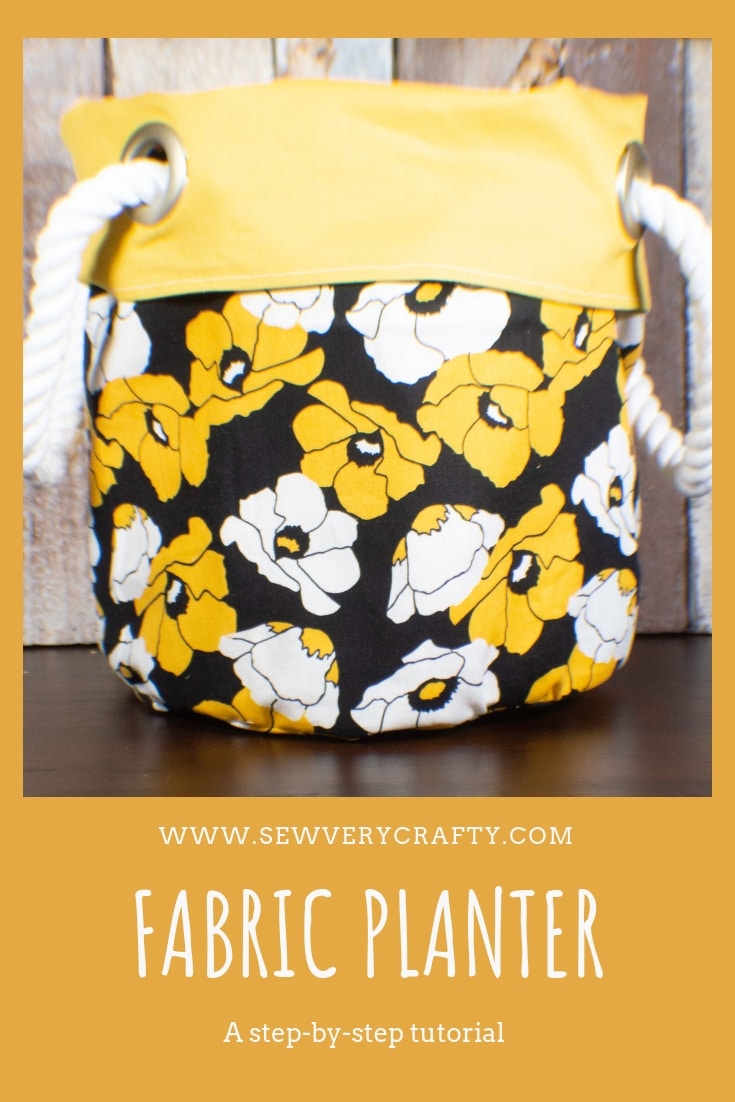
I love plants and have them all throughout my house. I don't really like the pots they come in and buying nice ceramic pots can be expensive so I decided to make this beautiful fabric plant pot cover instead. The beauty of this cover is that you can make it to match your home's decor. There are so many fabrics out there to choose from that you can pick exactly what need to add a pop of color to your green plants. This is an easy project to make and only requires beginner or basic sewing skills to complete. I really love this project and I know you will too.
I used remnants that I purchased from JOANN Fabric & Craft Stores![]() for this project but you can head to Amazon Fabrics or Fabric.com to get exactly what you need. This post contains affiliate links that if you click on them and make a purchase I may receive a small commission at no extra cost to you.
for this project but you can head to Amazon Fabrics or Fabric.com to get exactly what you need. This post contains affiliate links that if you click on them and make a purchase I may receive a small commission at no extra cost to you.
What you will Need:
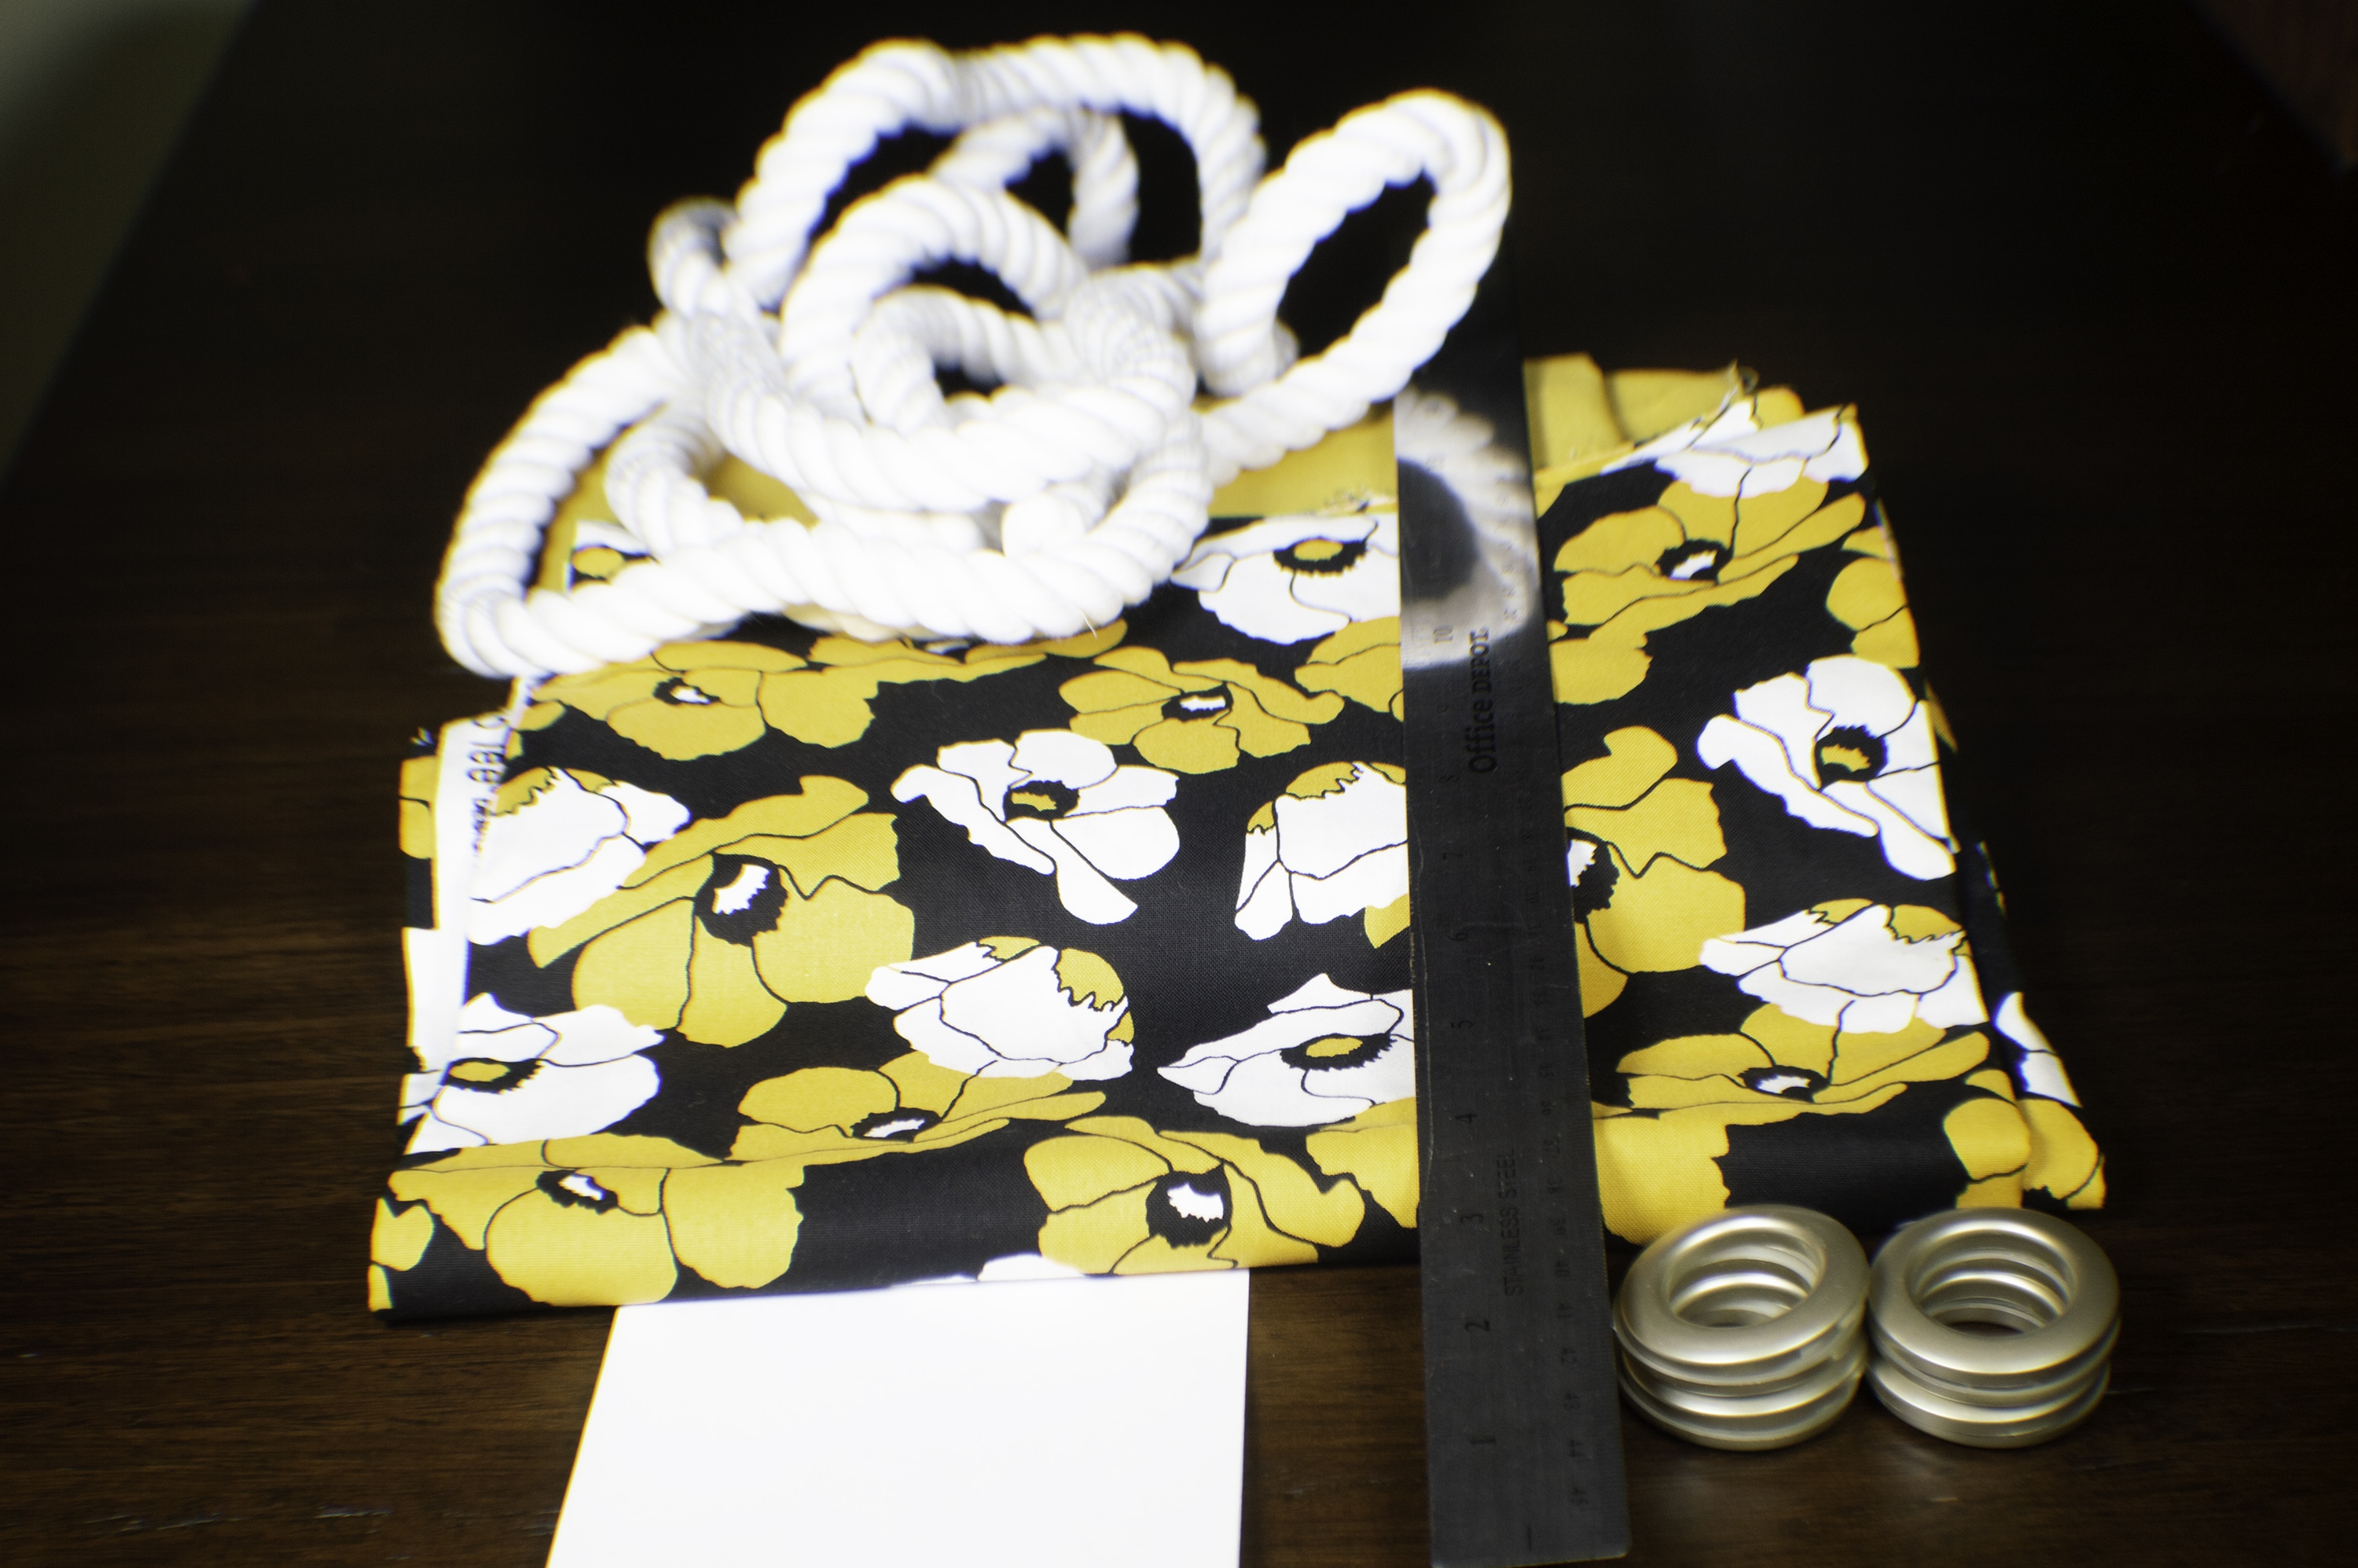
- 1 yd exterior fabric
- 1 yd canvas
- 56″ of 1/2″ rope
- 4 1″ plastic Grommets
- Standard sewing supplies
Step 1: Cut out the Bottom
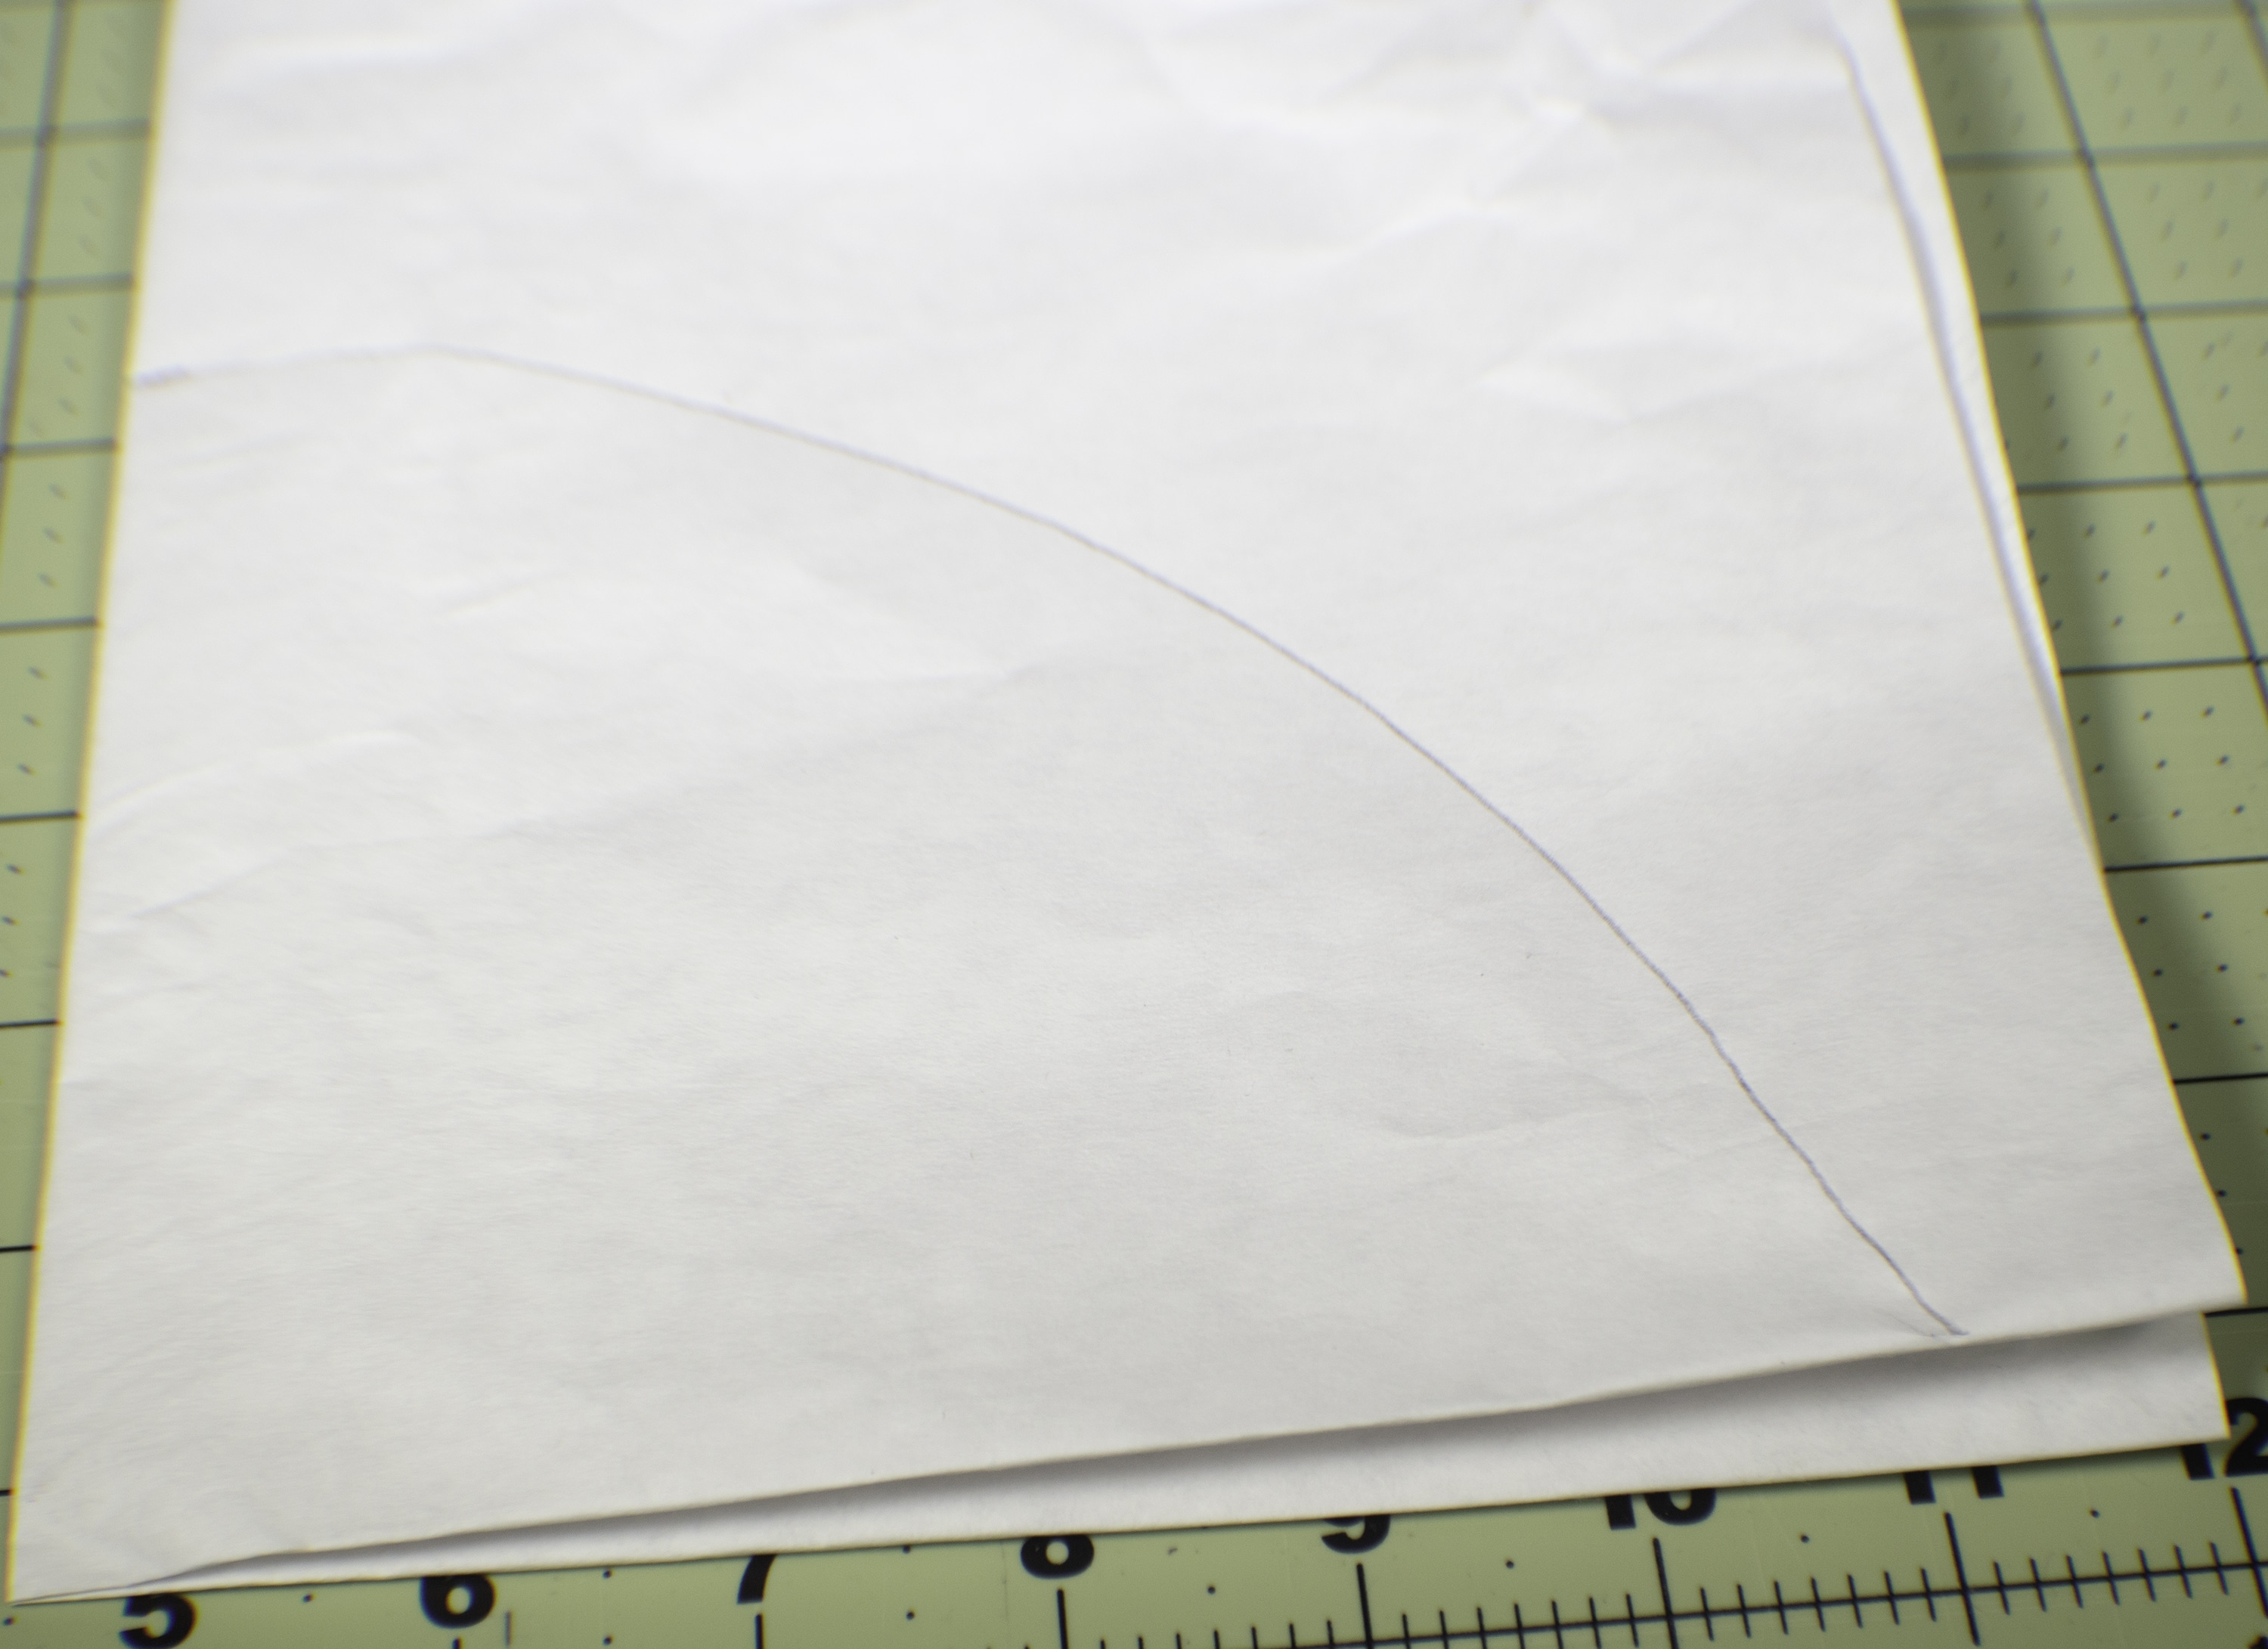
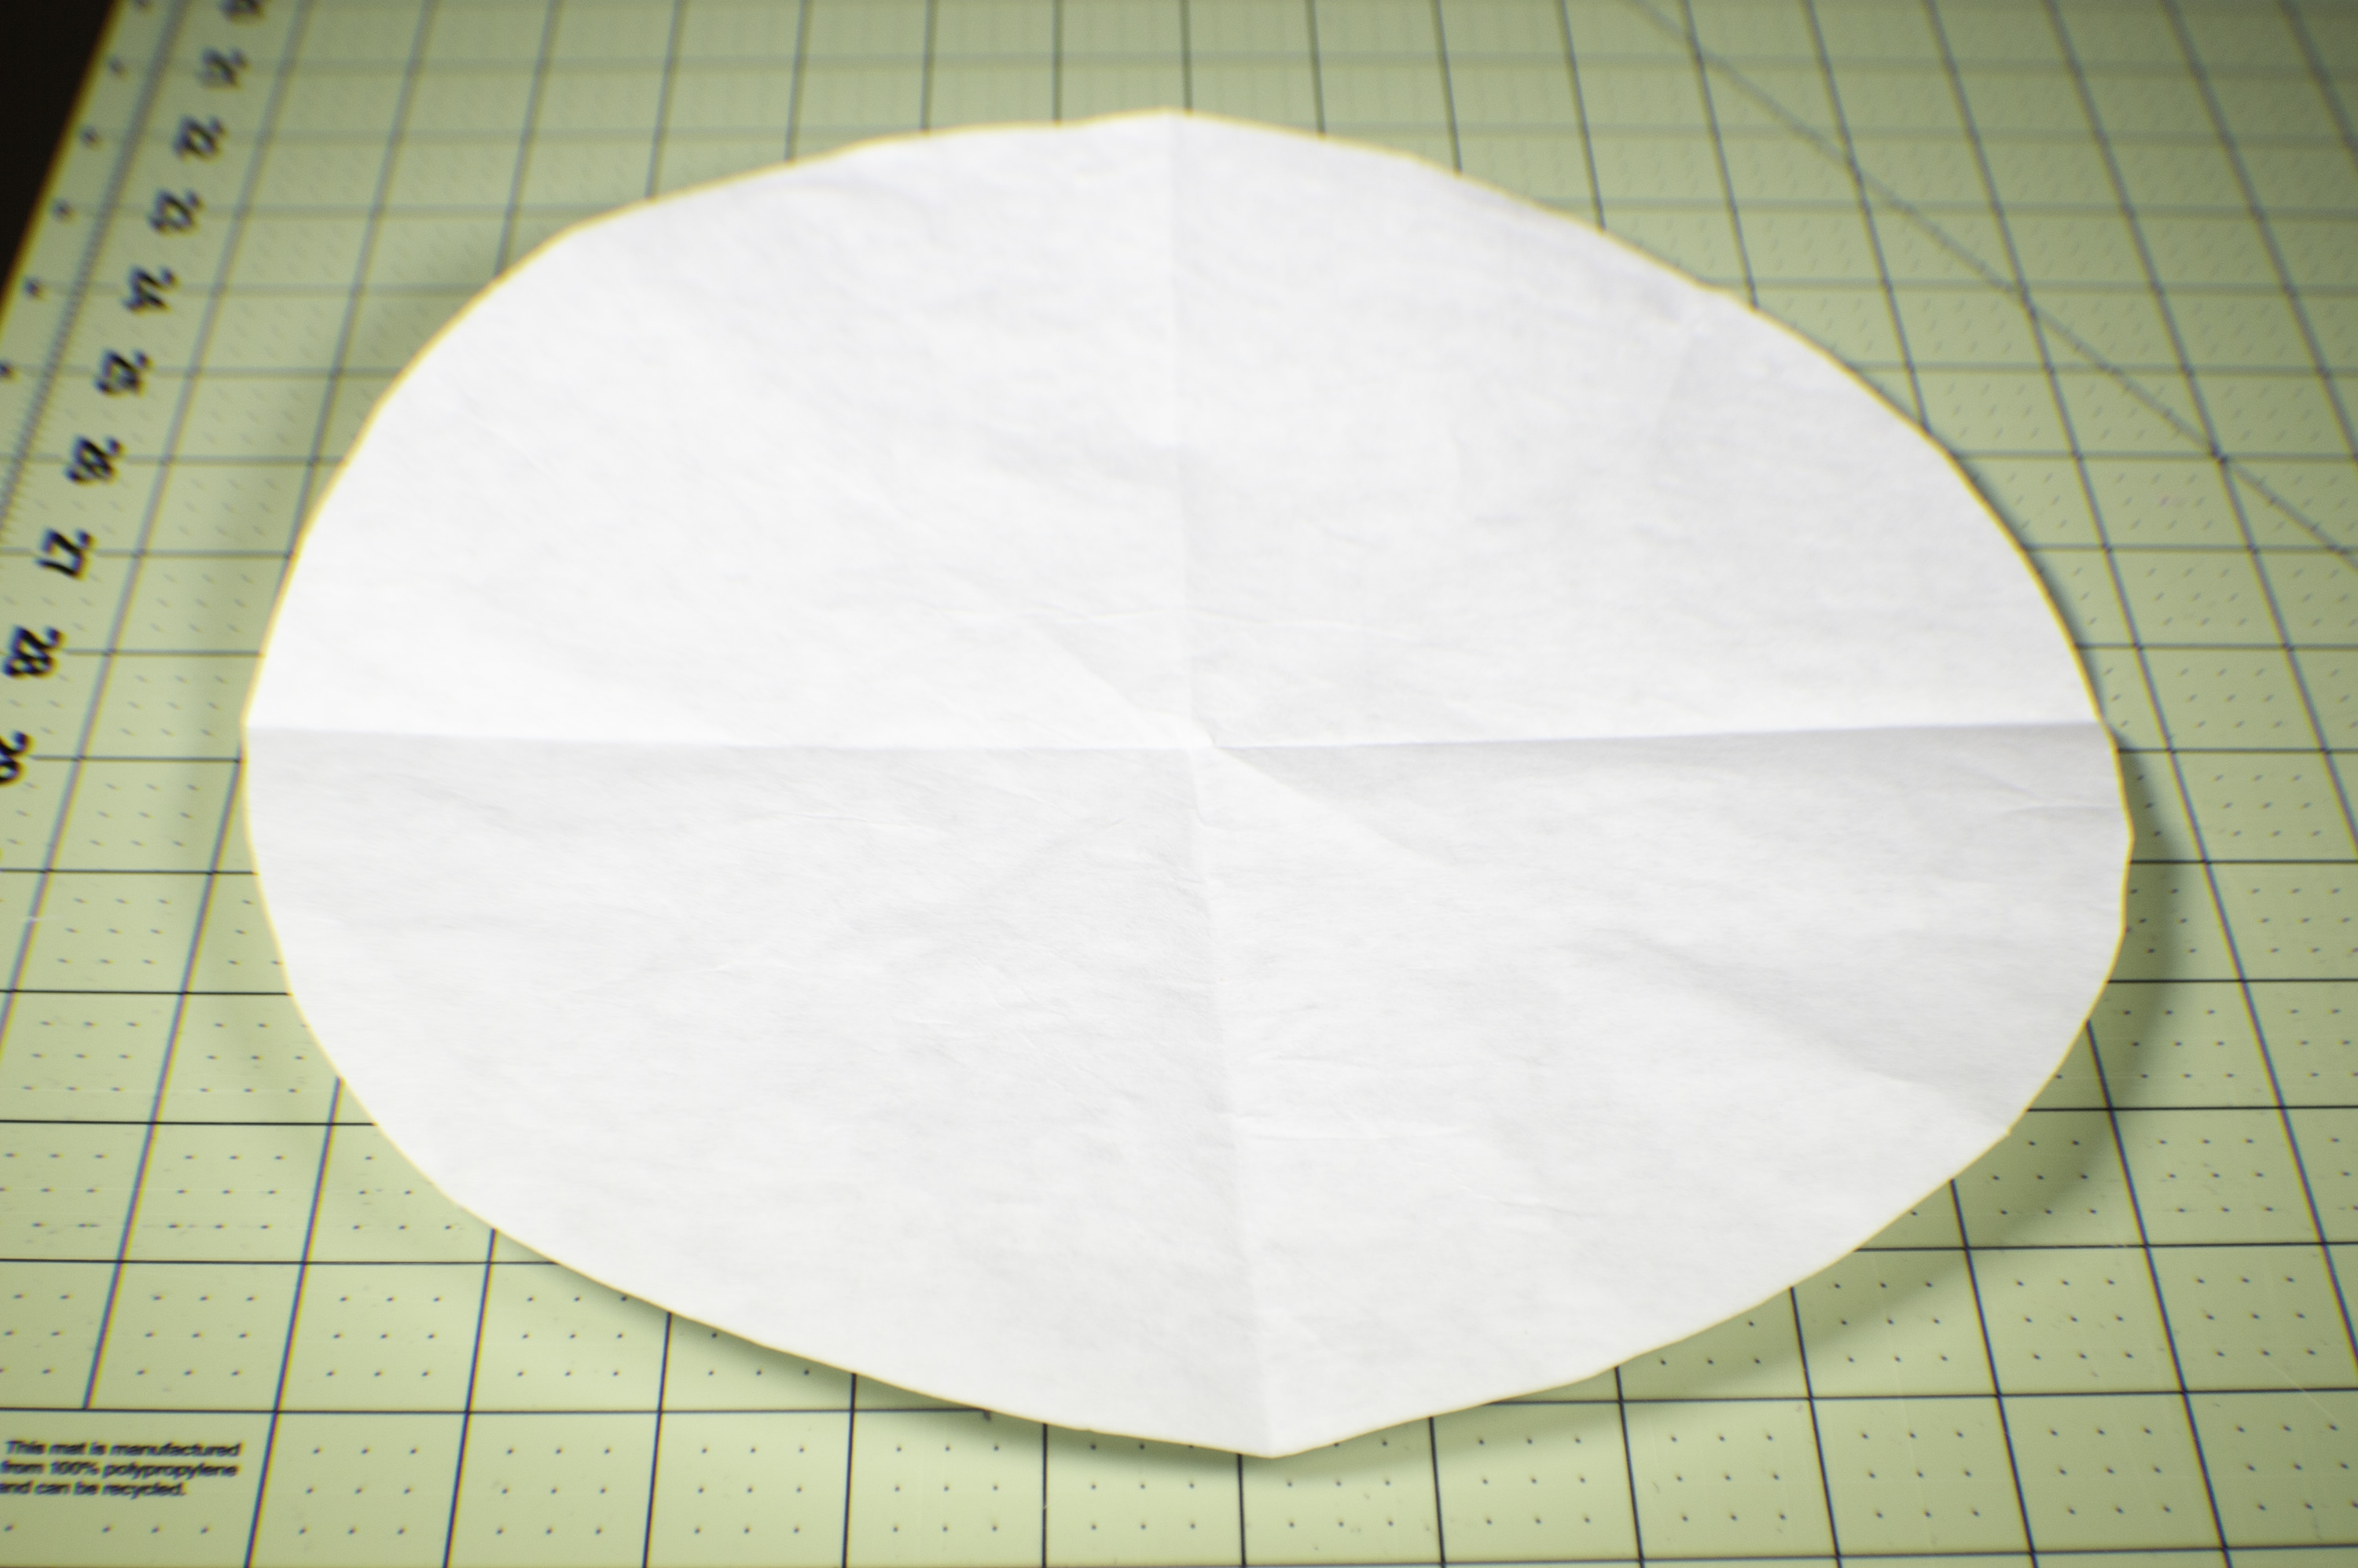
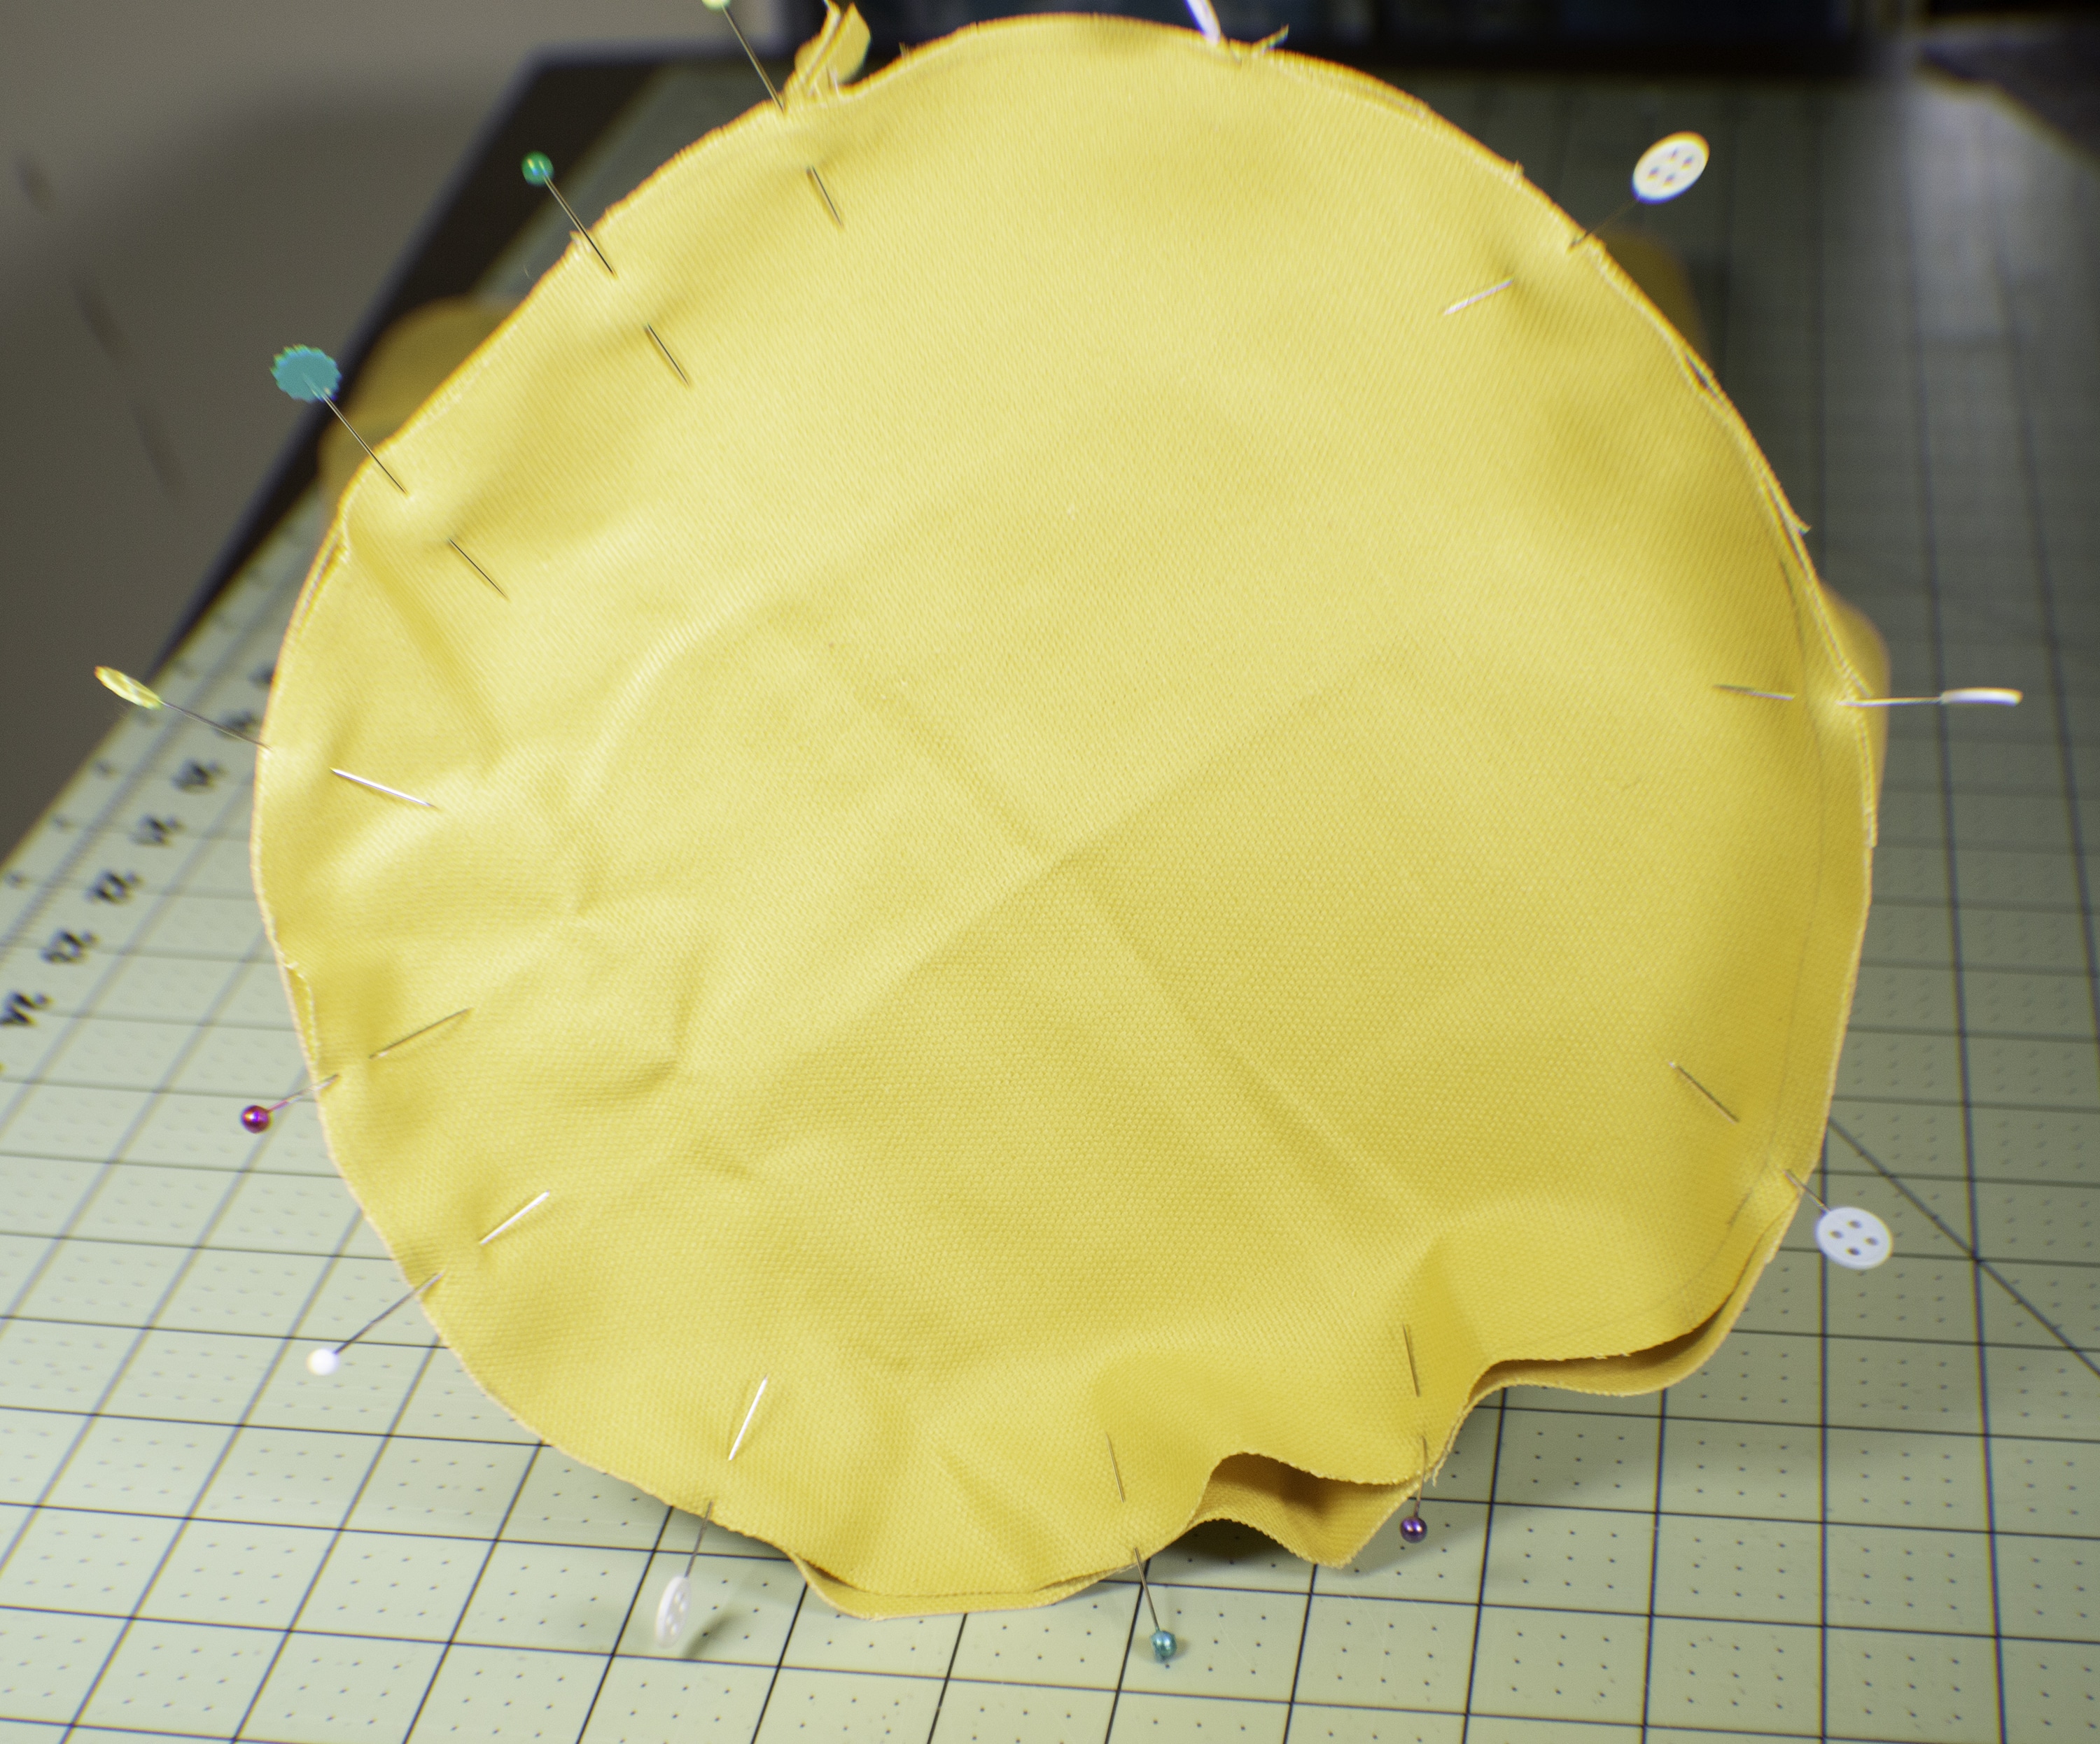
Cut out the pattern for the bottom of the plant pot cover. You can do this by folding a large piece of news paper or craft paper in half and in half again so that it resembles a wedge. Mark a point that is 4 1/2″ along the bottom edge. Place a piece of string around a pencil. Put the end of the string at the corner point and draw an arc from the first point that you made. Cut along the arc. When you have opened the circle you should have a circle with a diameter of 9 1/2″. I had to adjust my circle a bit to get it to measure the 9 1/2″ circumference but that was easily done.
Step 2: Cut Out the Exterior
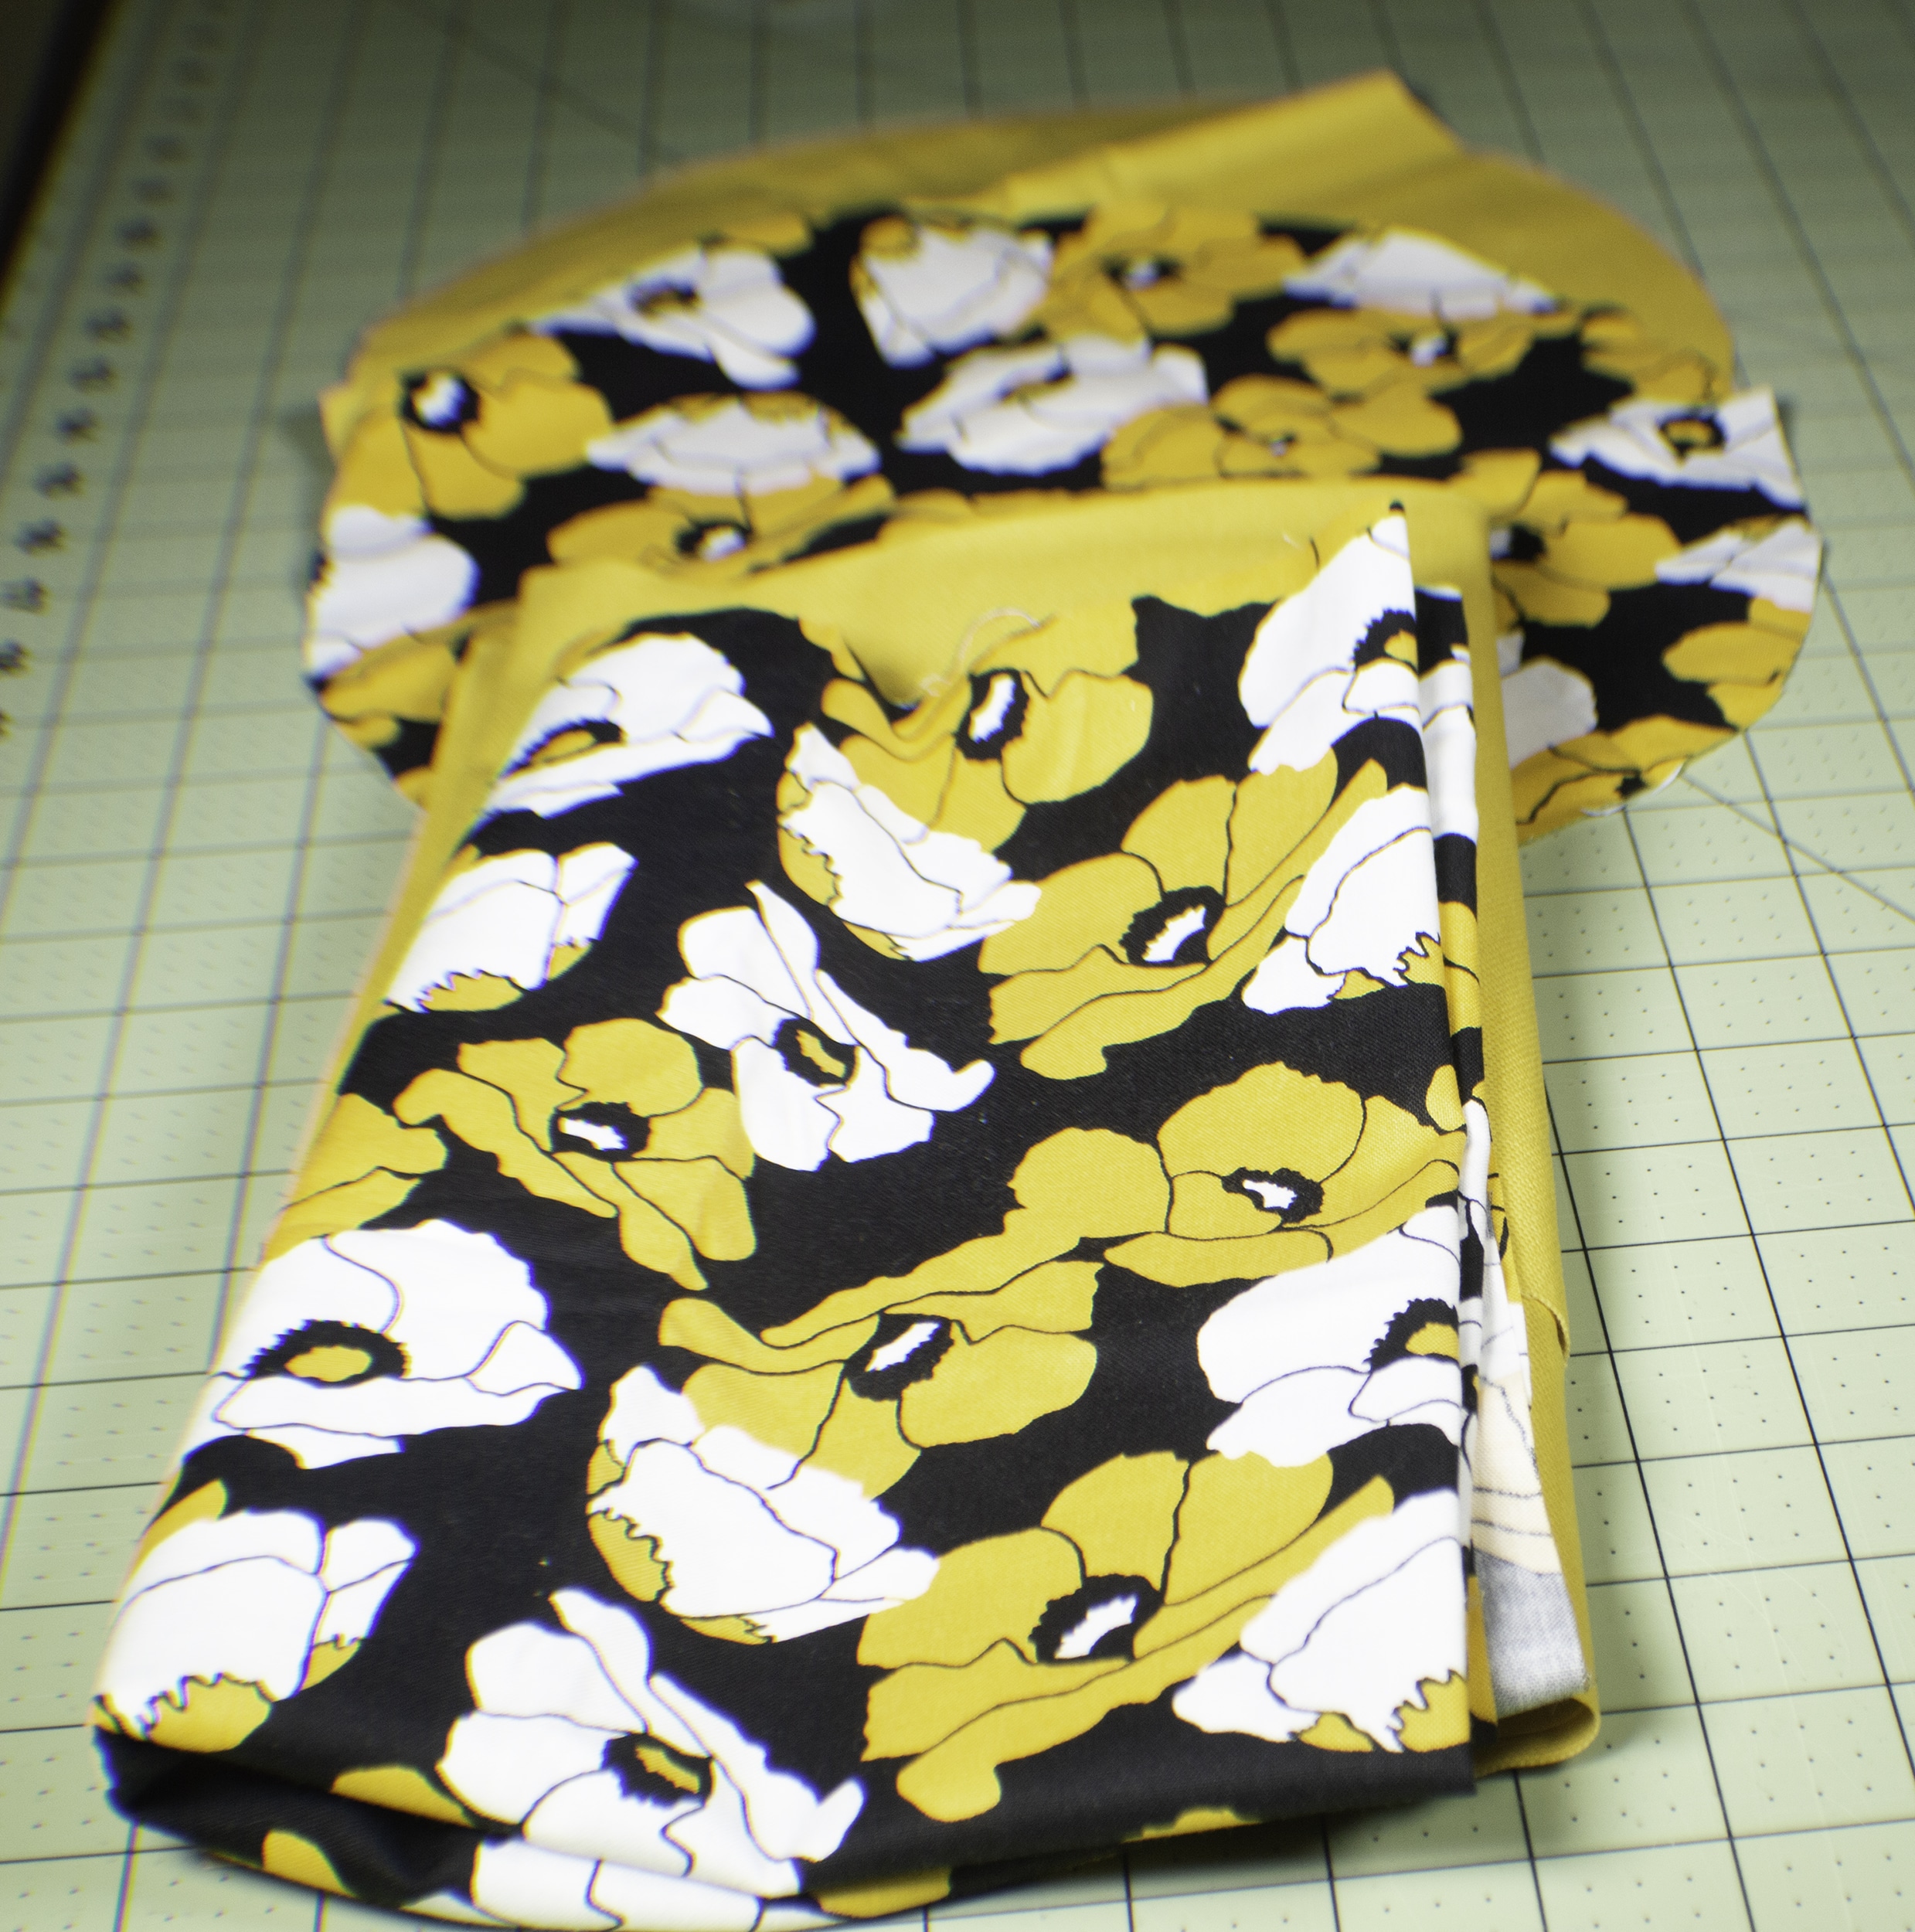
Cut out one exterior and one canvas piece that measures 15″ x 15″ and one each of the circles.
Step 3: Stitch the Outer Seams
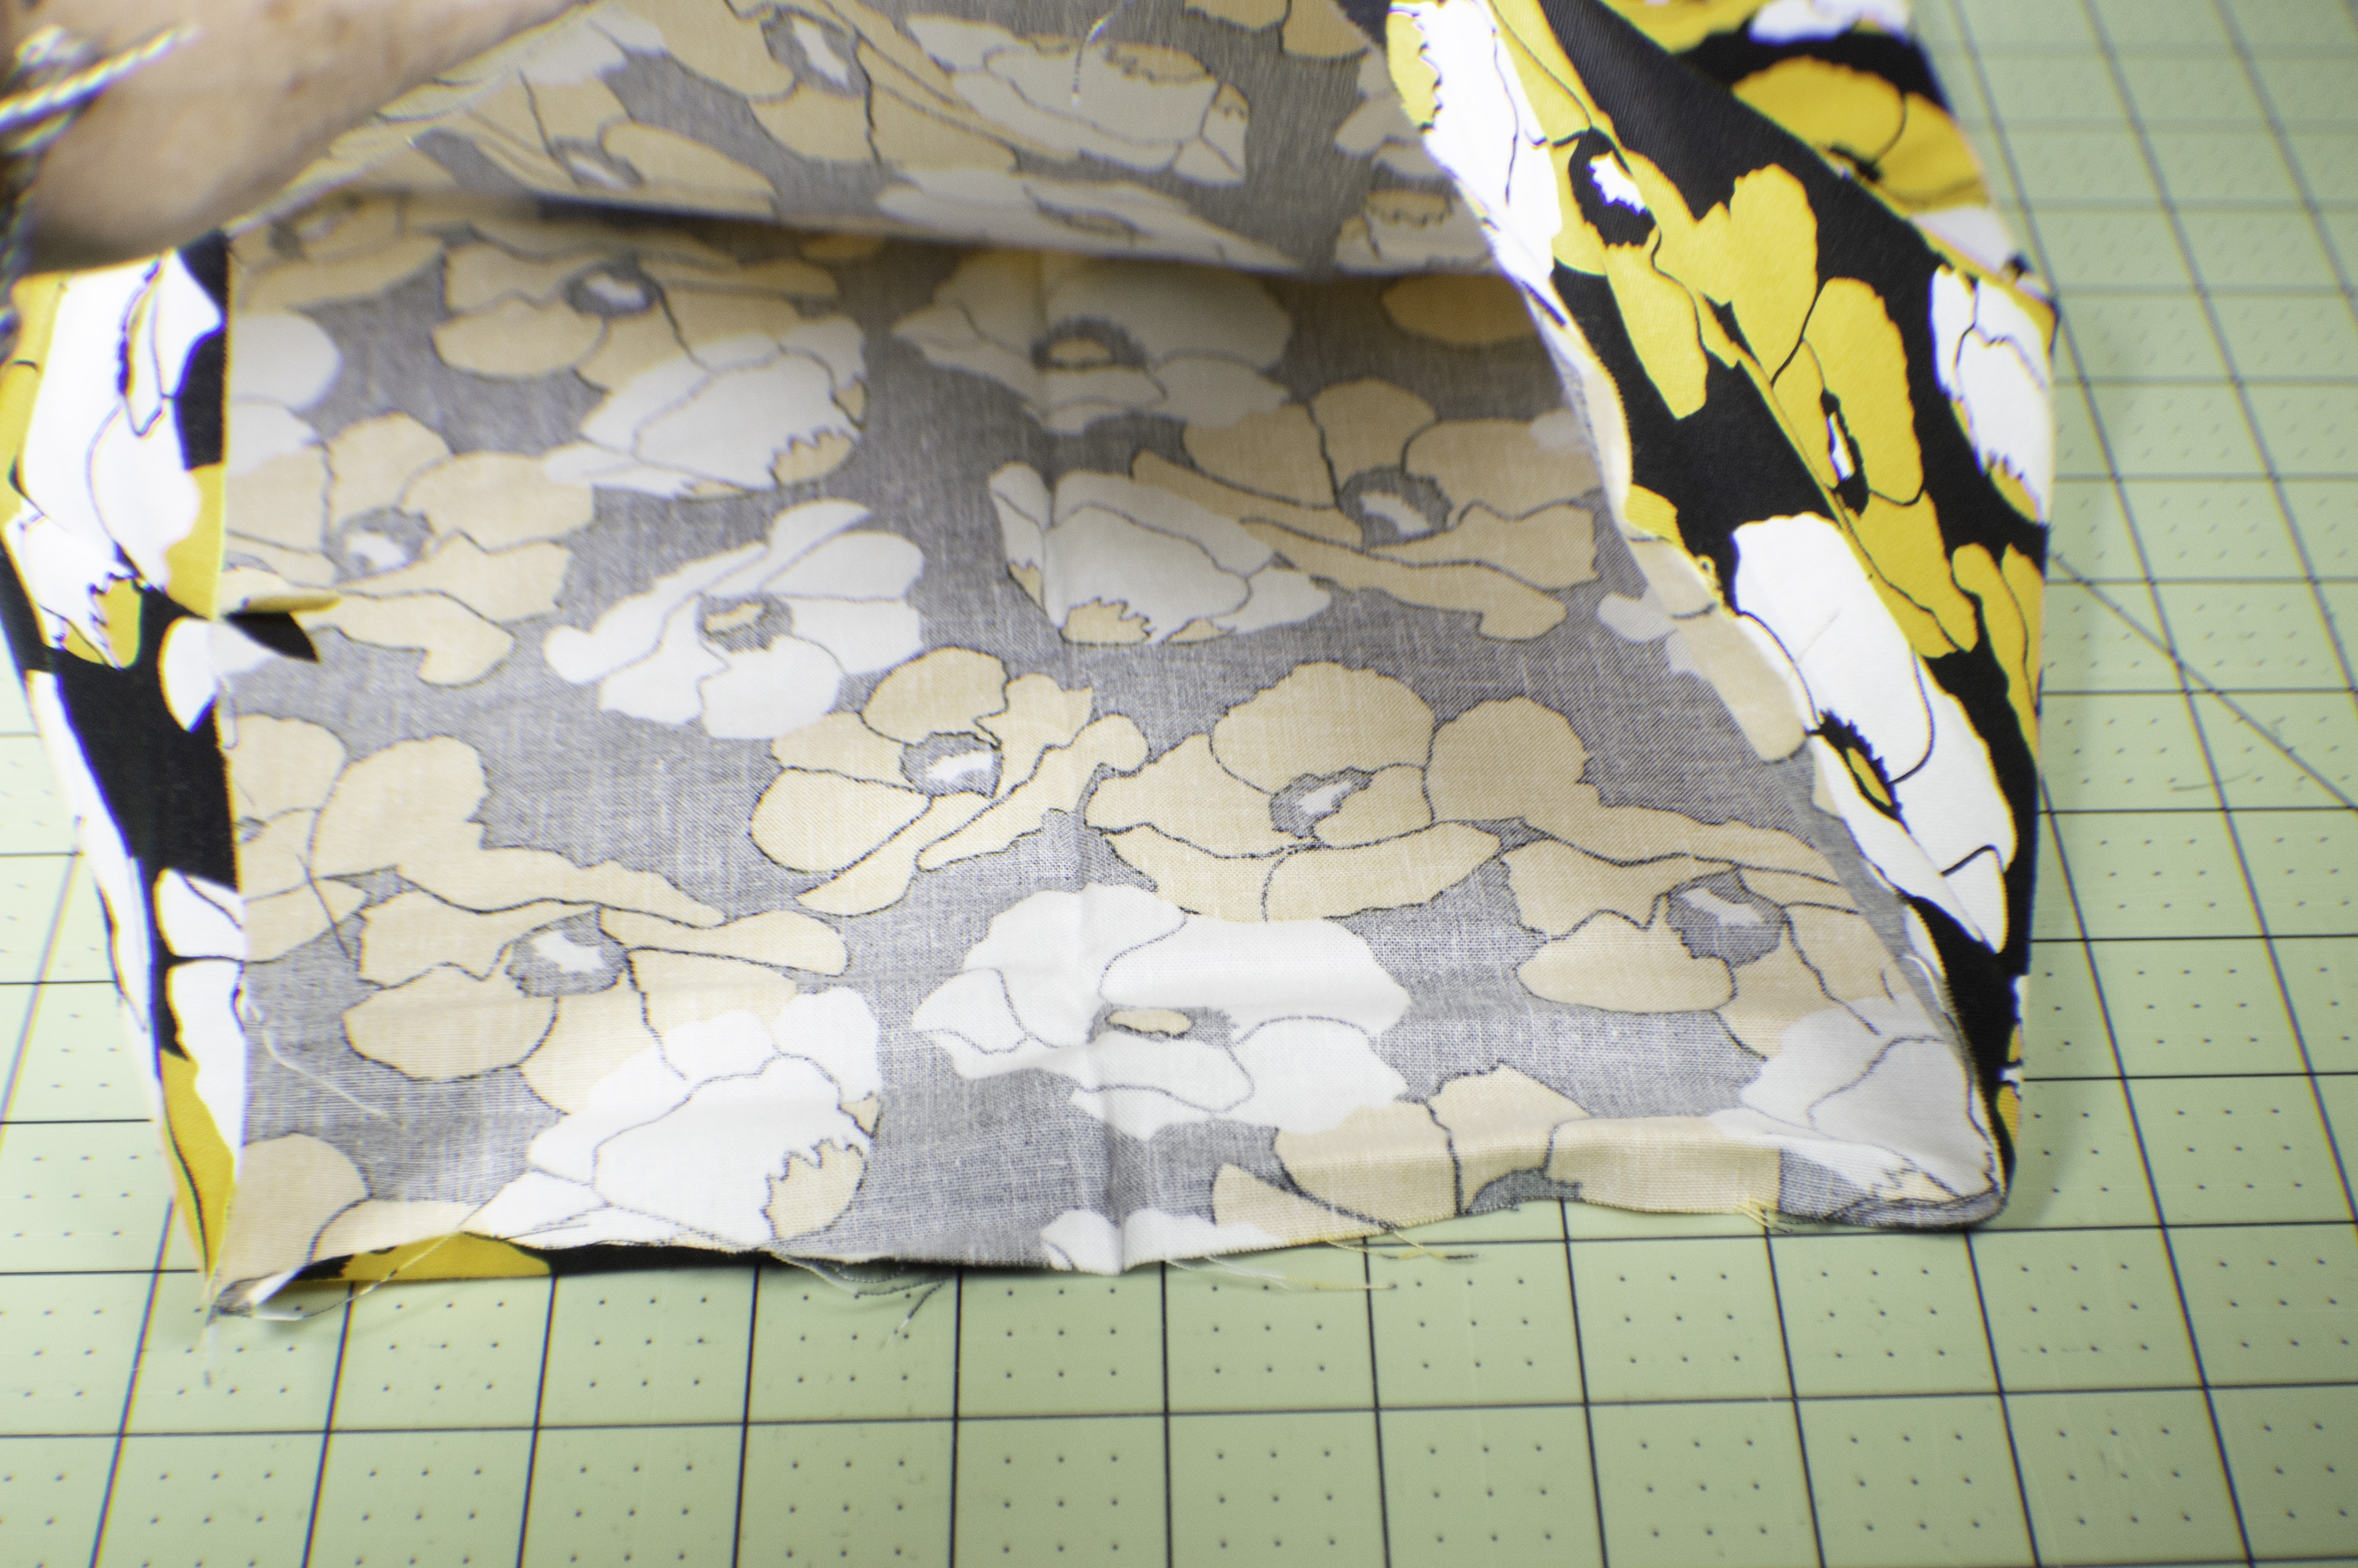
Sew a seam using a 5/8″ seam allowance using the 15″ x 15″ pieces so that you form a tube. You should have an exterior tube and a canvas tube.
Step 4: Stitch the Bottoms
With right sides together pin the circles to one end of each tube and sew using a 5/8″ seam allowance. This will allow the planter to stand up on its own. When sewing the circle to the canvass leave a 3″ opening that you will turn the planter through and that you will close by hand in a later step.
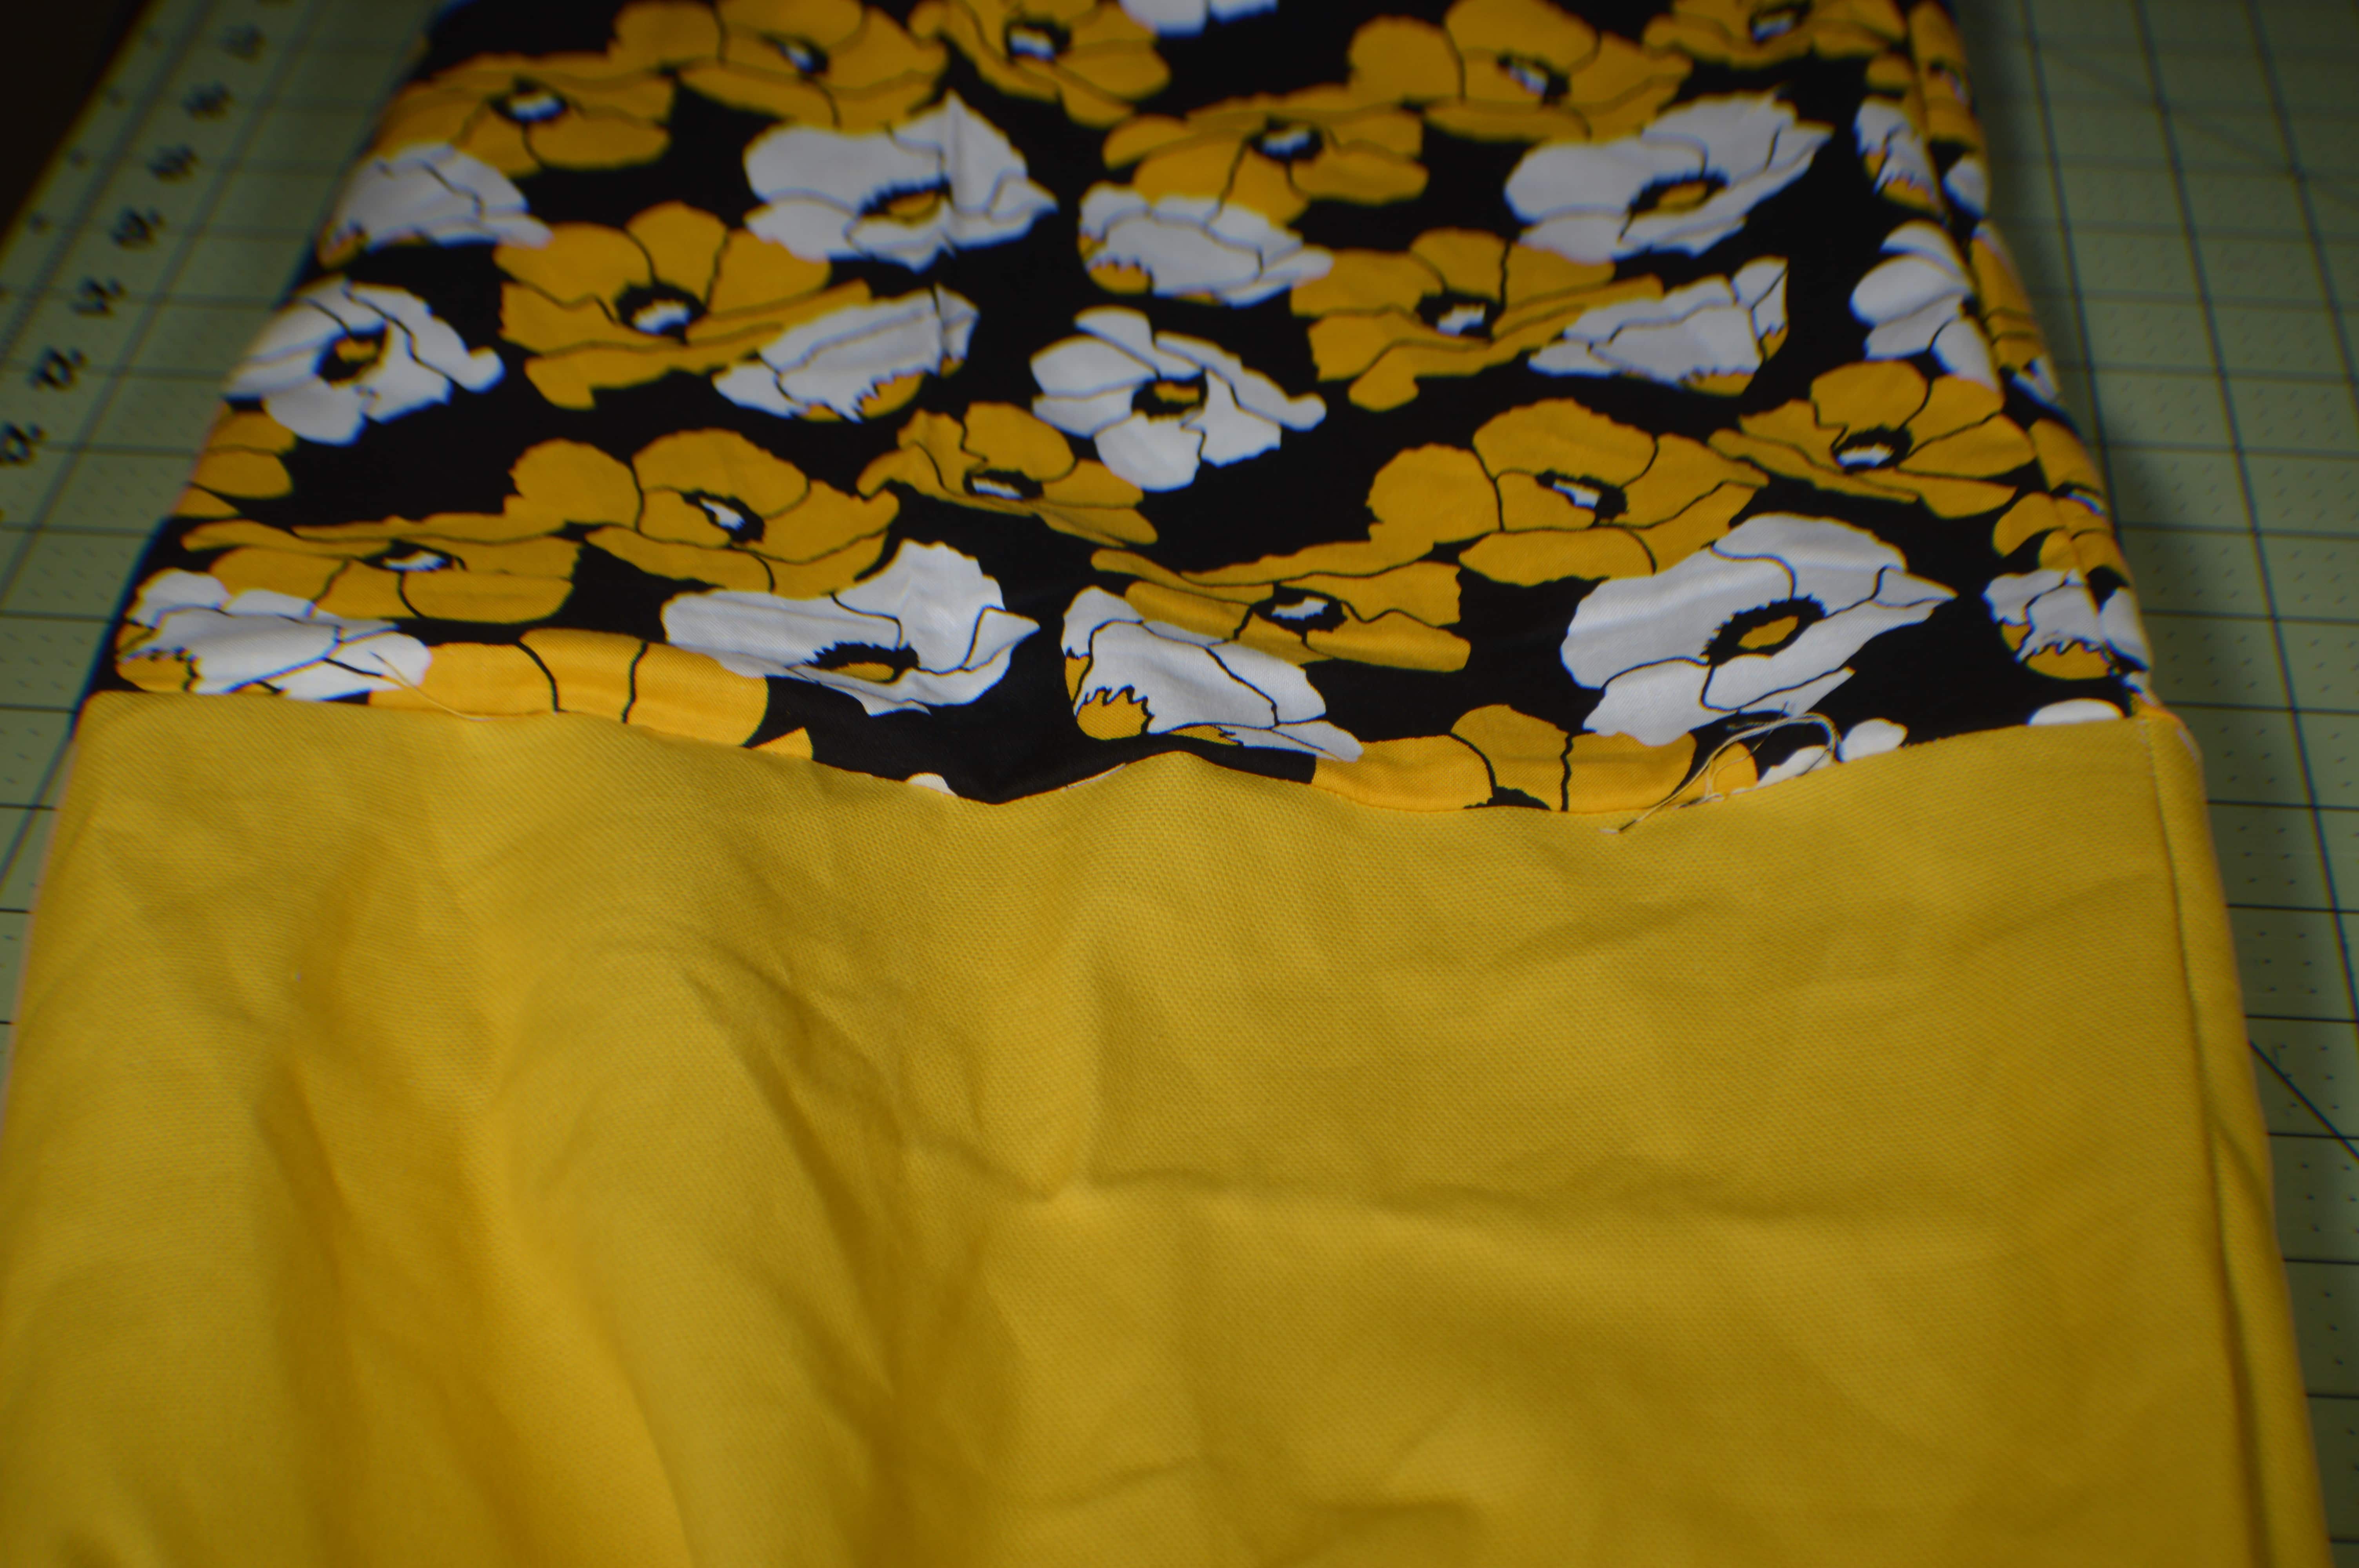
Step 5: Place Outer and Lining Together
Turn the outer planter right side out and place it inside the canvas planter so that they are right sides together. Match the side seams and pin the raw edges so that they are even. Sew around the top of the planter using a 1/4″ seam allowance.
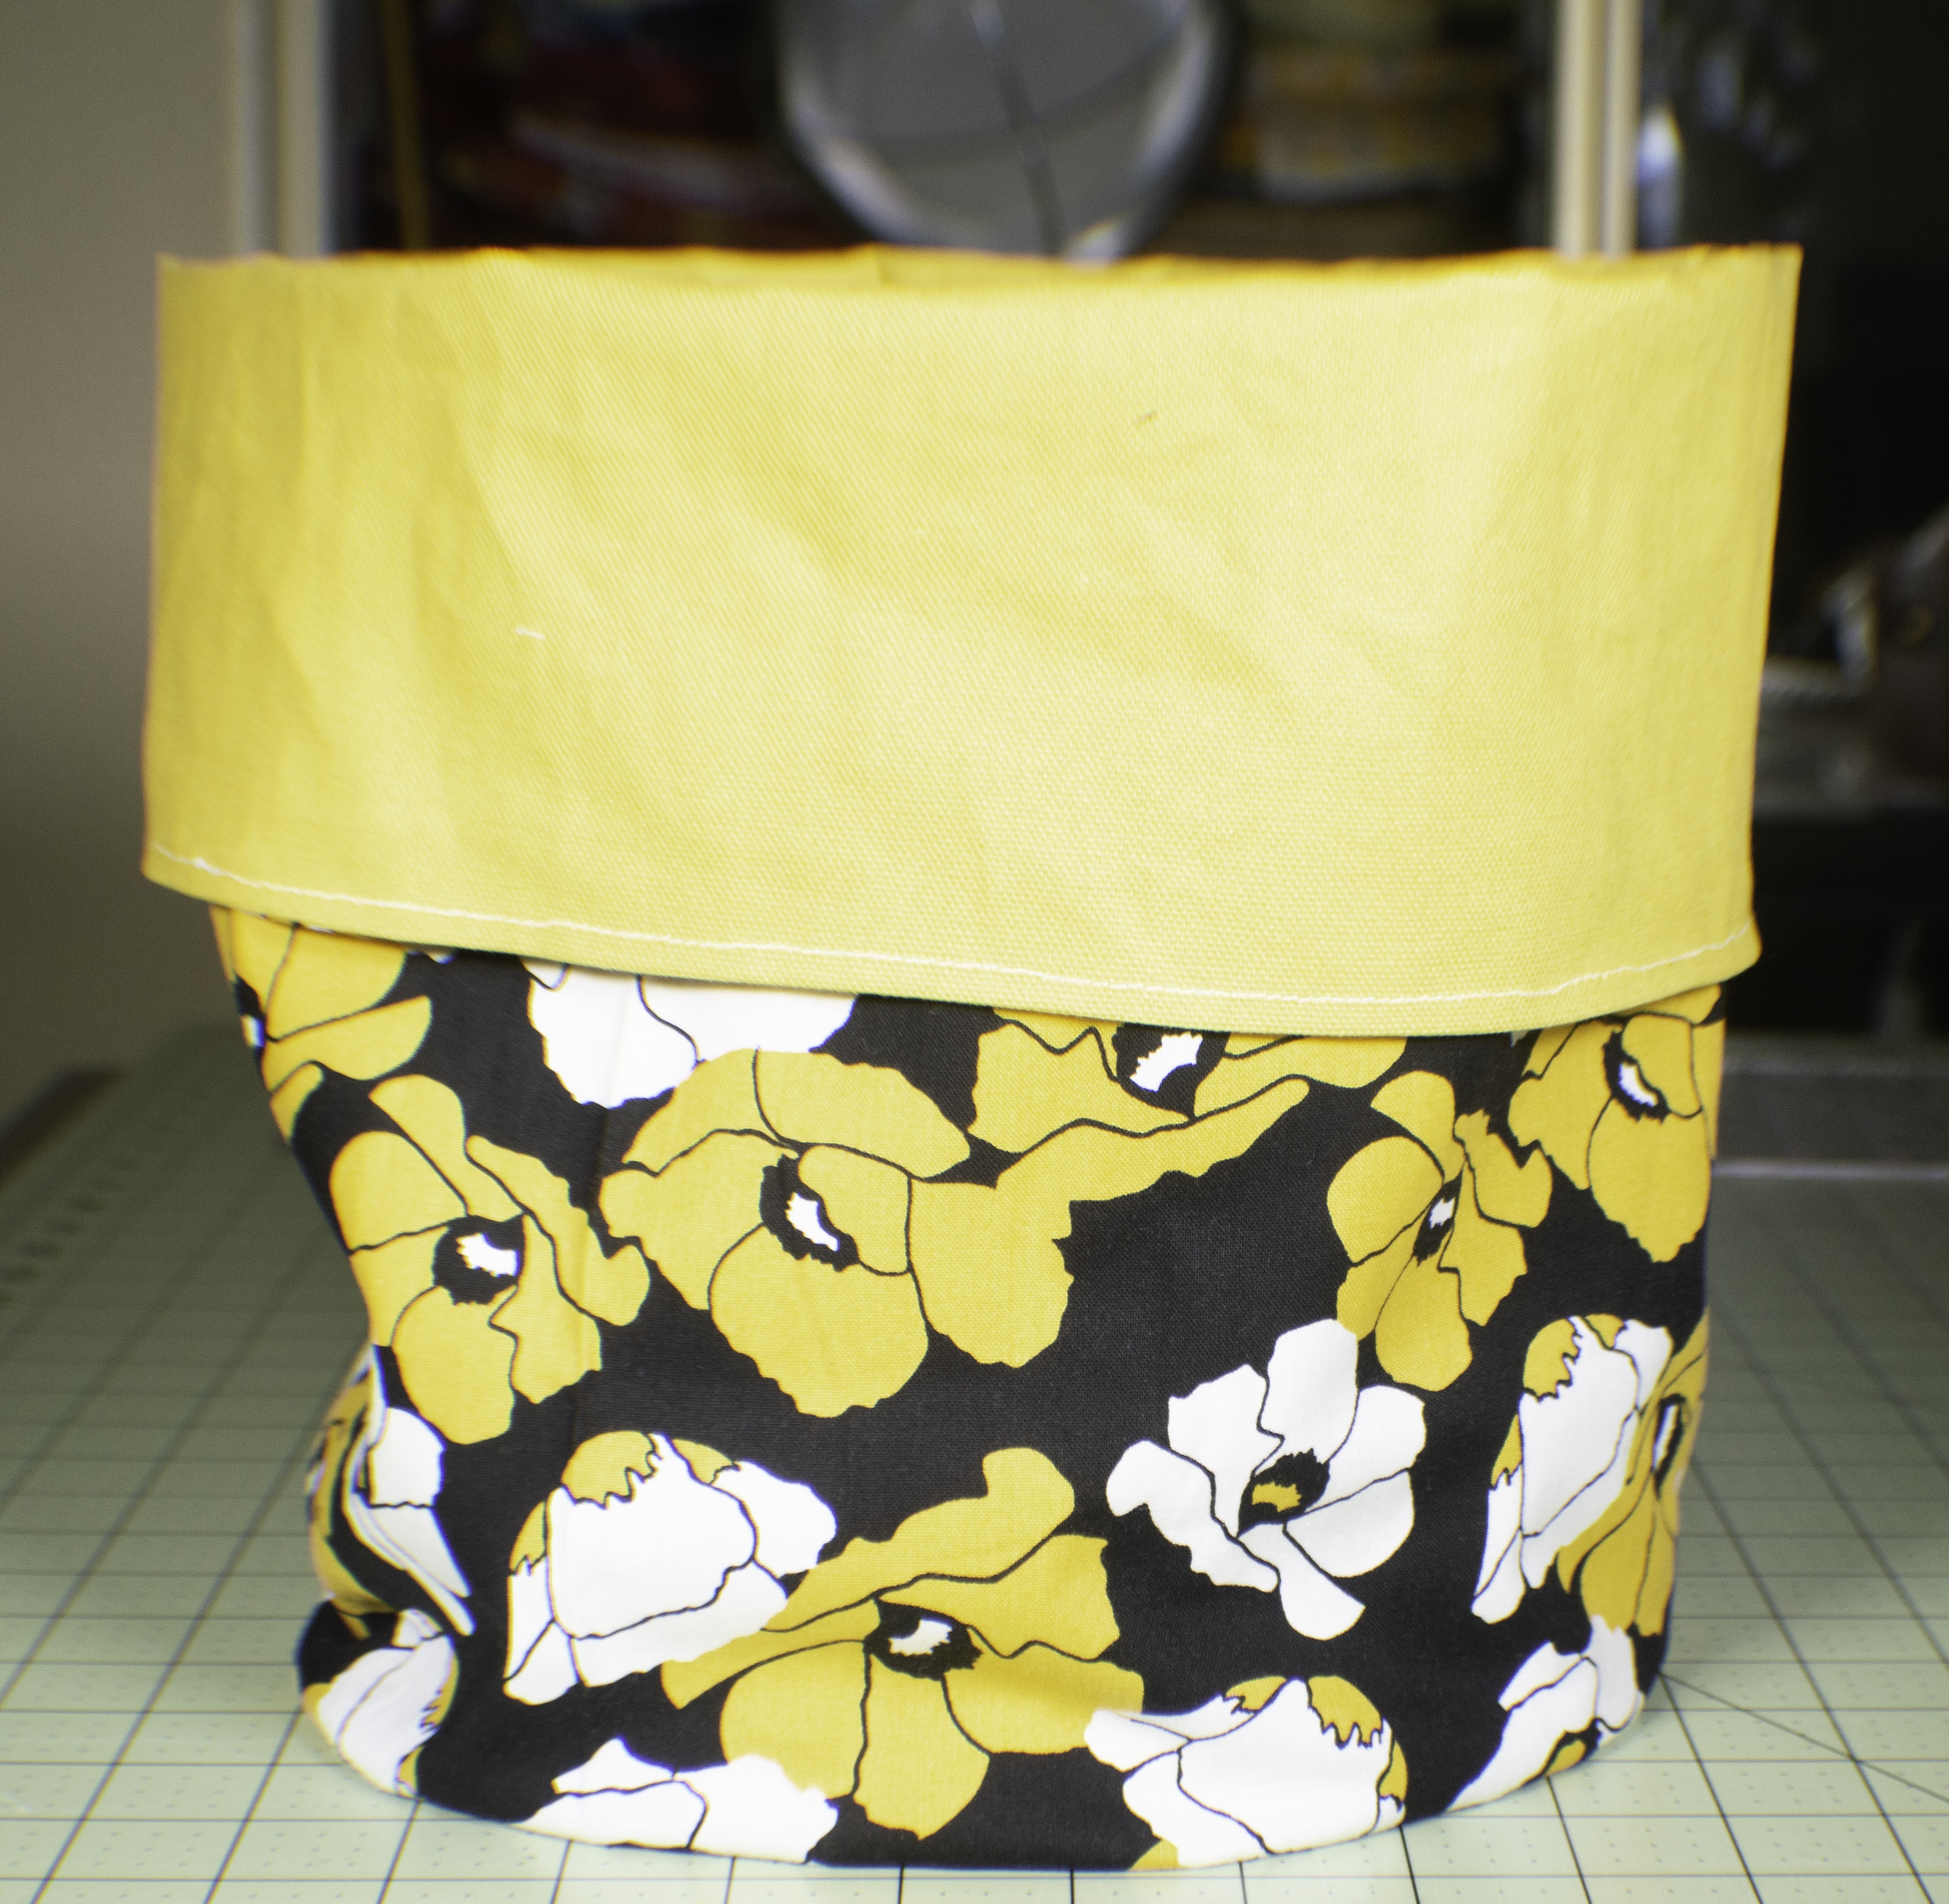
Step 6: Turn Right Sides Out
Turn the planter by pulling the outer fabric through the opening you left in the canvas. Once the outer fabric has been removed from the canvas push the canvas into the outer fabric and press so that the top seam is neat and even. Top stitch around the rim for a more professional look.
Step 7: Topstitch
Slip stitch the opening in the canvas closed making sure that the raw edges are concealed.
Step 8: Fold Down the Top
Fold down the top of the planter about 4″ so that the canvas is showing on the outside. Lay the plant pot cover flat so that the seam is on one side. Measure 2 1/2″ down from the top and 4″ in from each side and make a mark. Do this on all sides. You should have four marks, two on the front and two on the back.
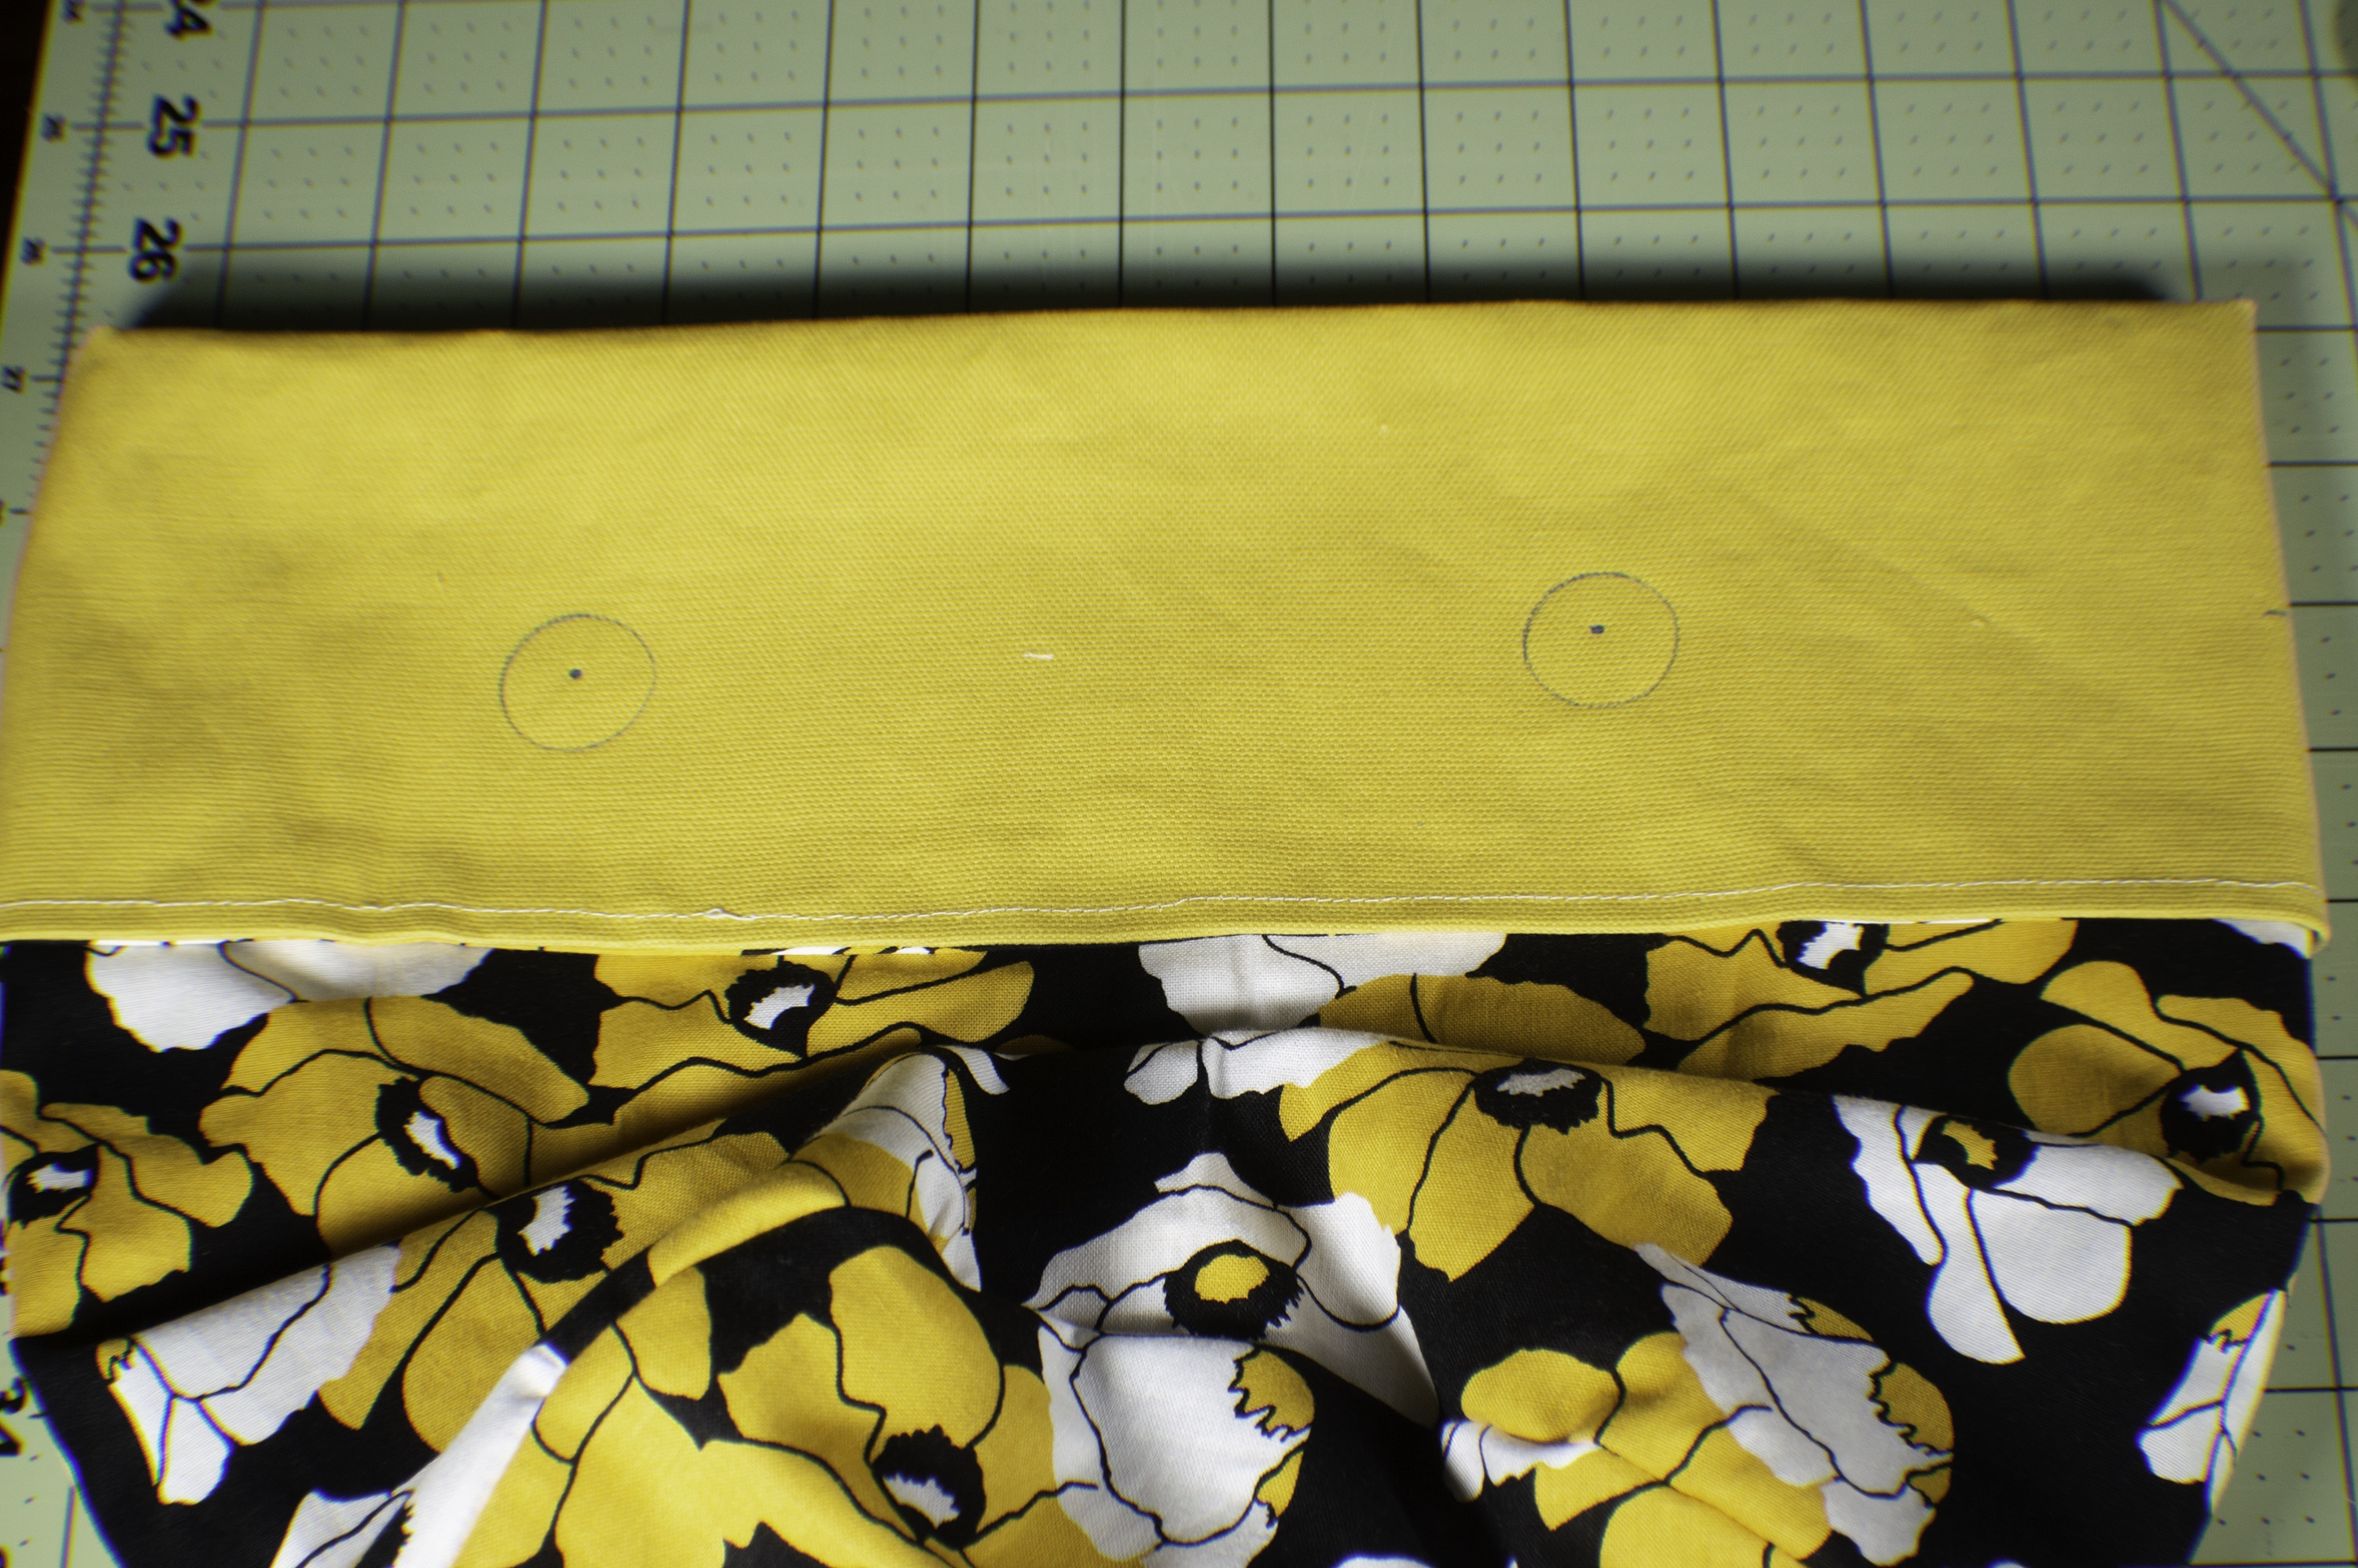
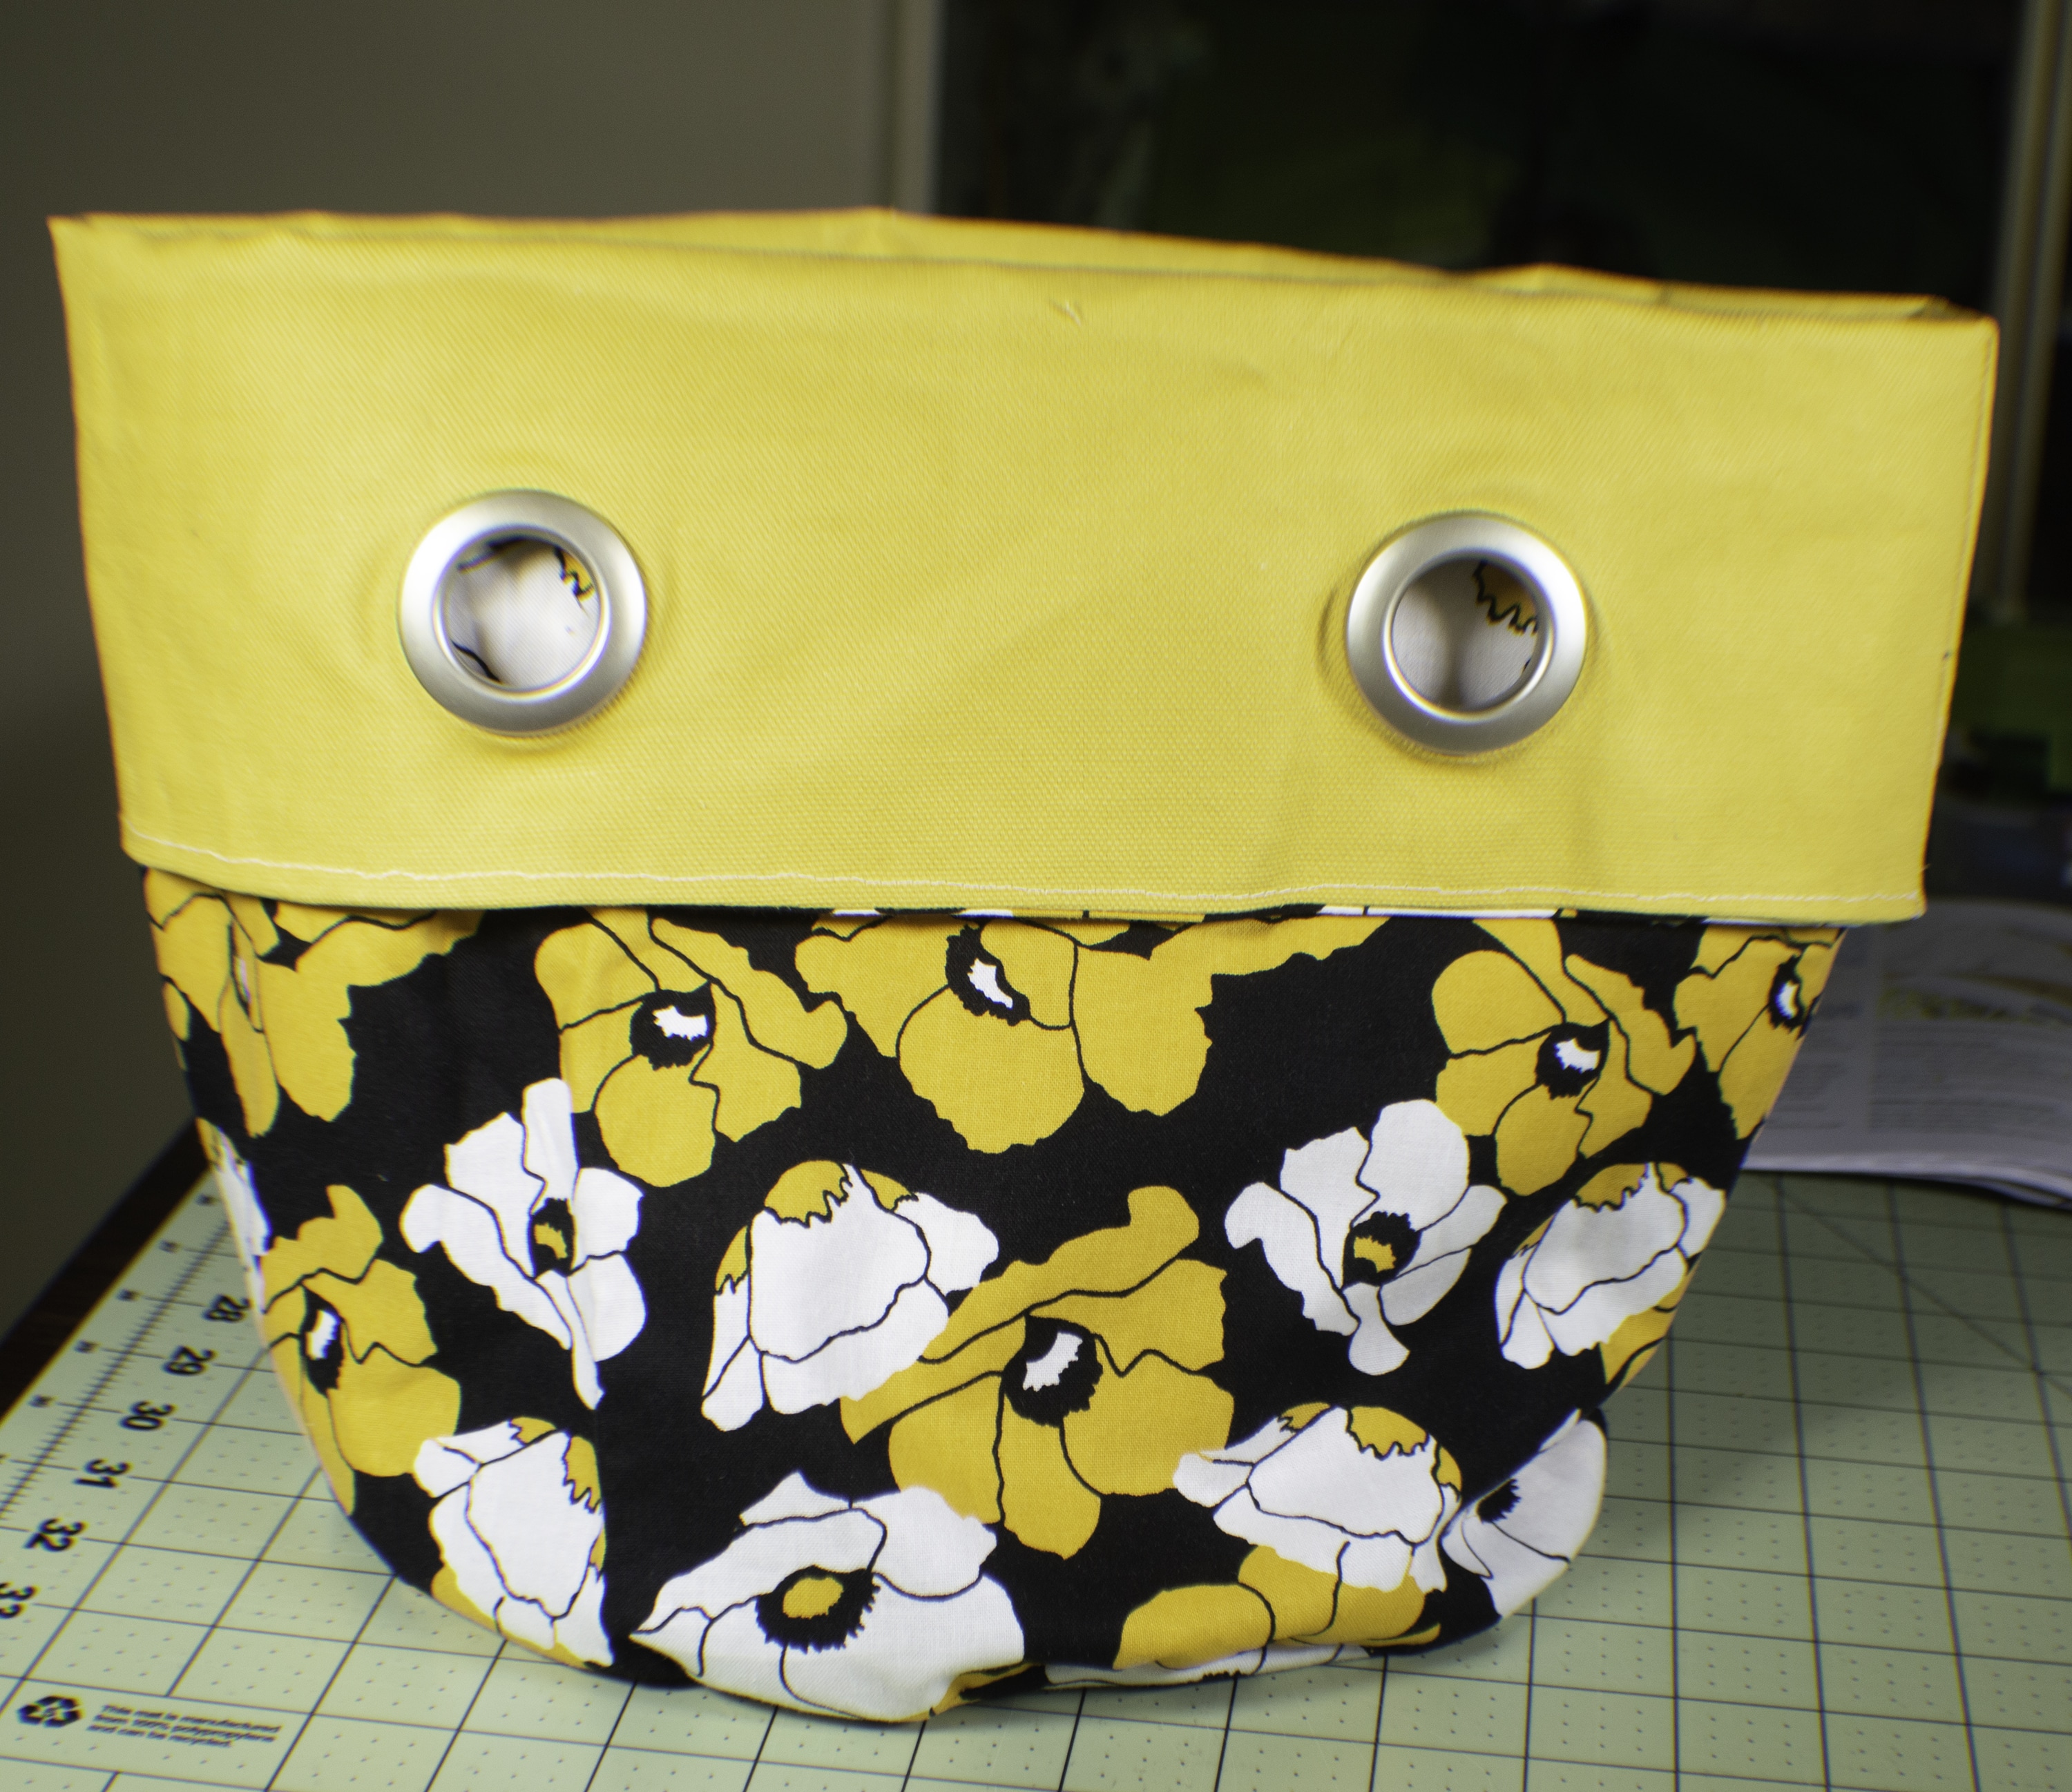
Step 9: Add the Grommets
Take the plastic grommet template and center it on each dot and draw a circle. Cut out a hole from each of the circles on the folded down part only. Place the male part of the grommet through the back of the hole making sure it fits snugly in the hole. Place the female side of the grommet over the male side sandwiching the fabric and snap into place by pressing firmly on the grommet. Do this for all four grommets.
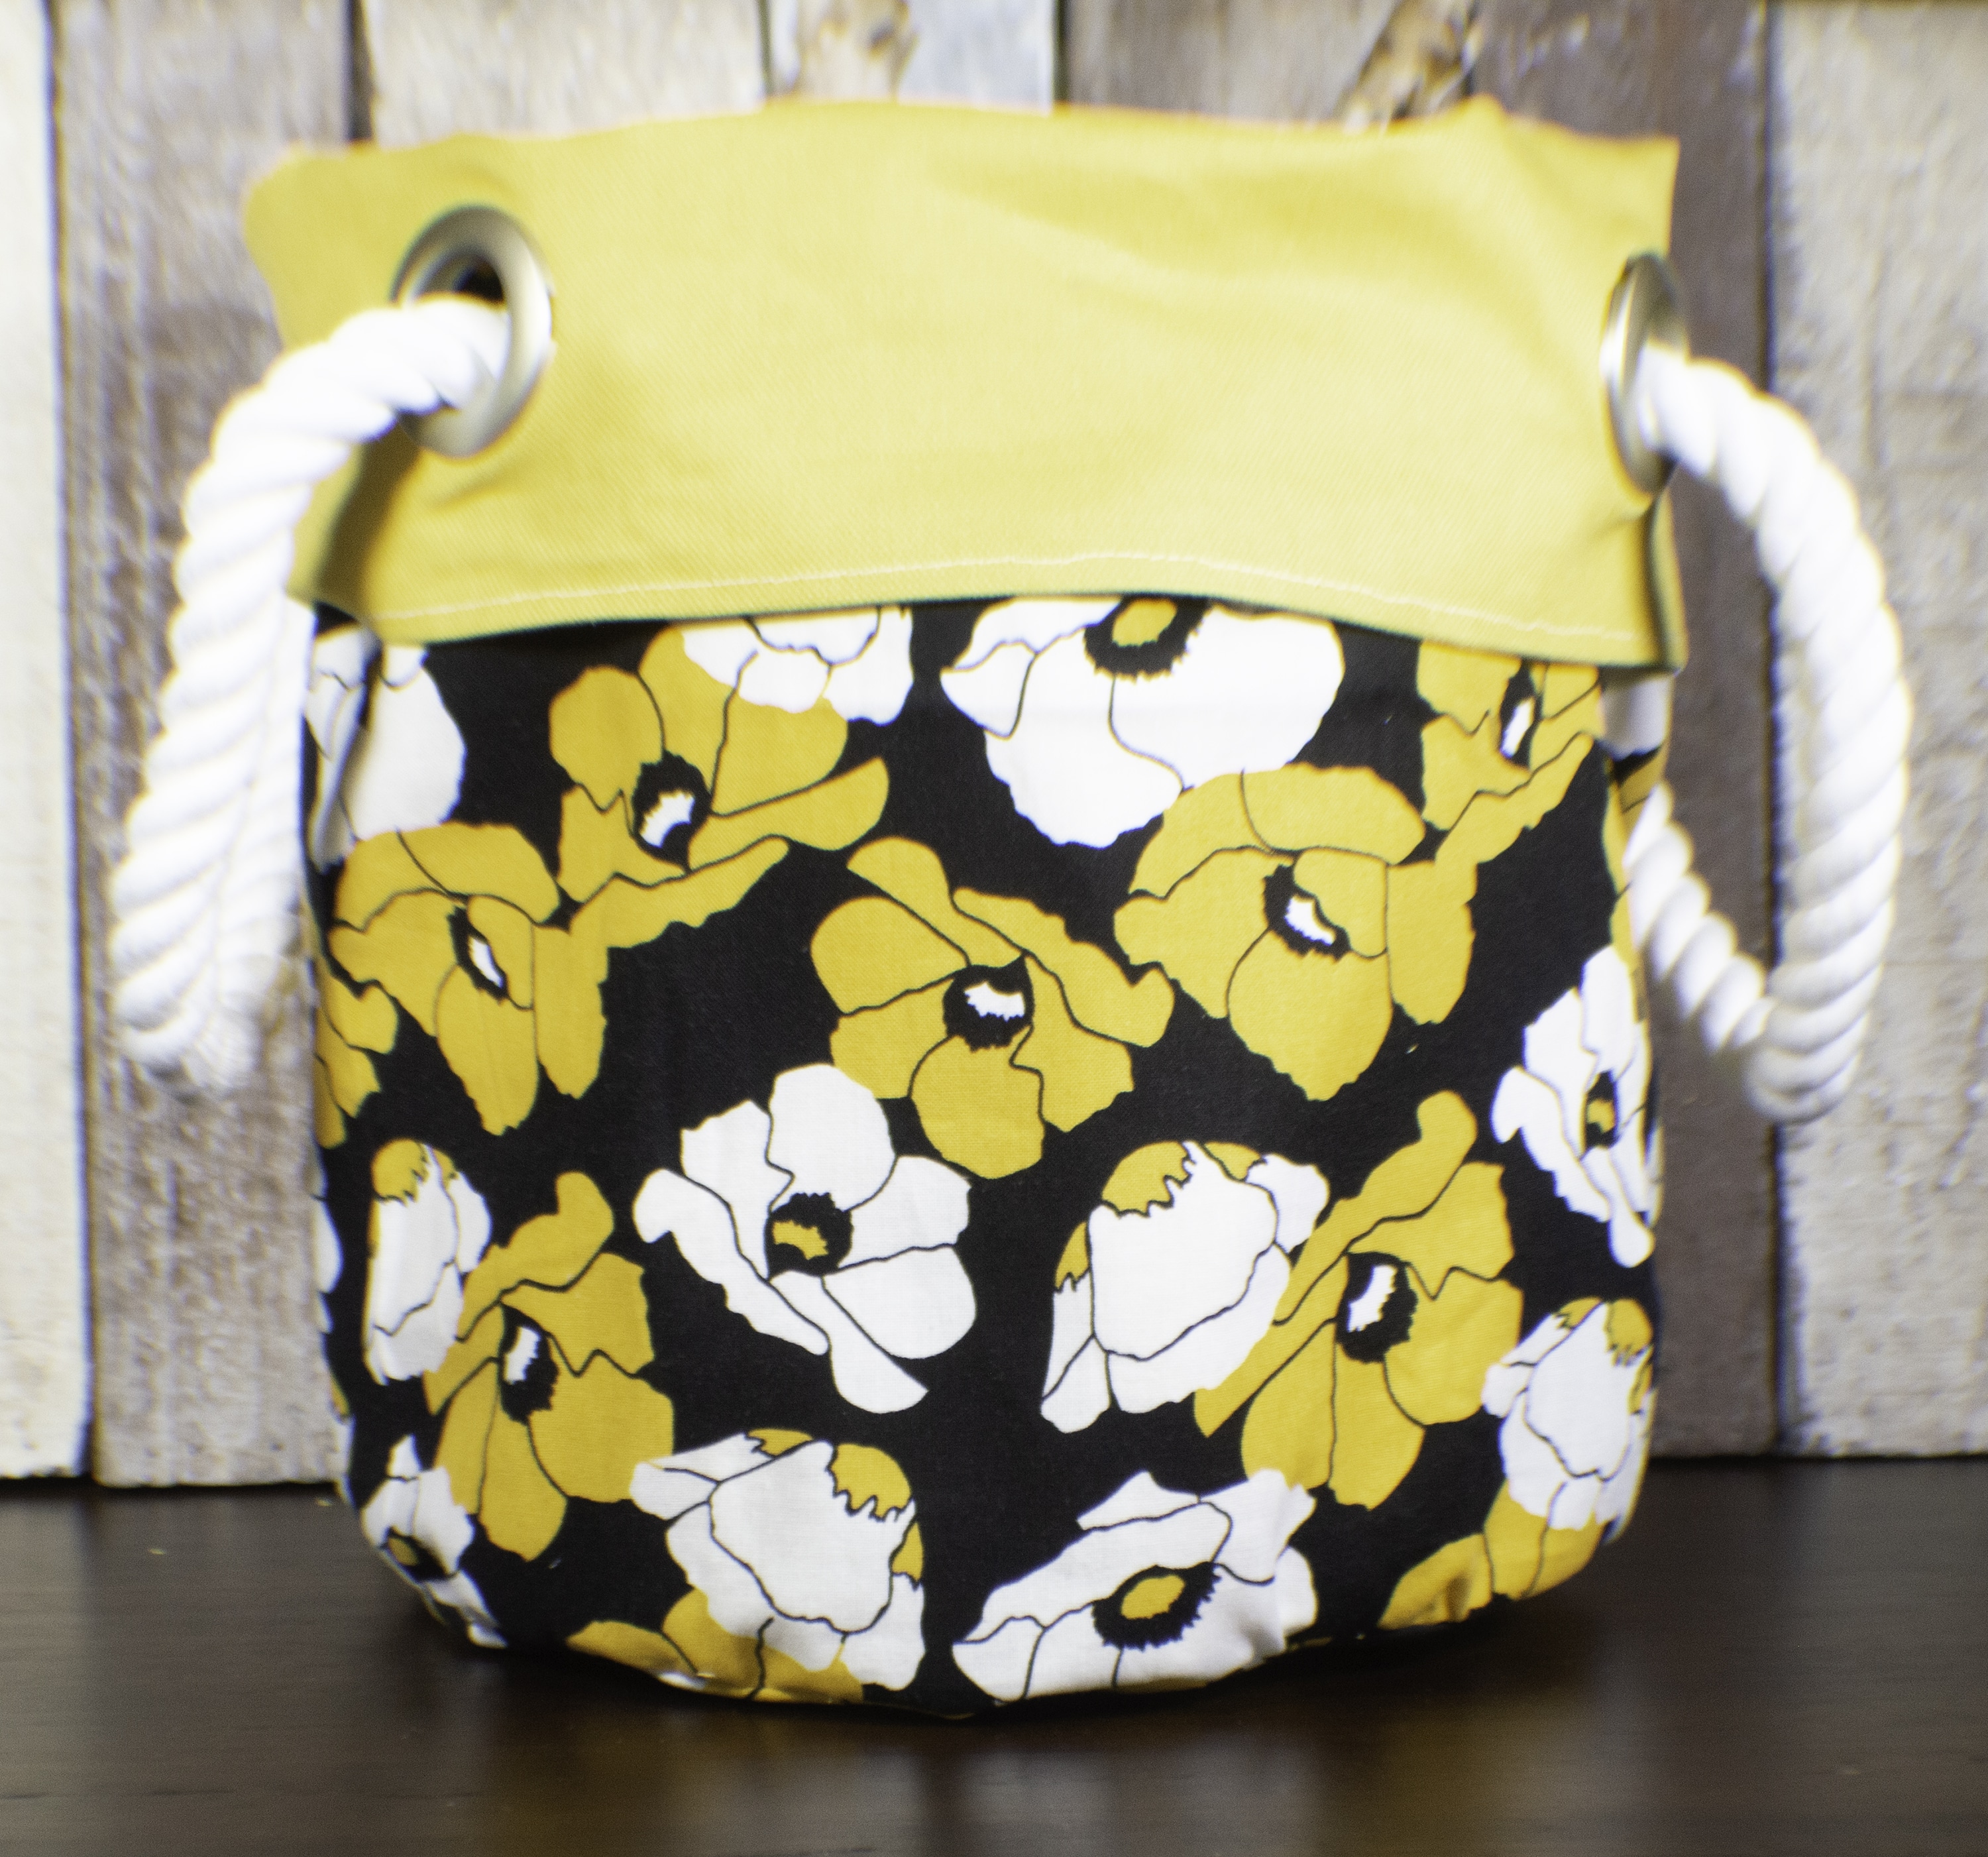
Step 10: Add the Rope
Cut two 28″ pieces of rope making sure to put tape at the ends before cutting or it will unravel. Tie a knot at one end and thread it through the back of one of the grommets. Feed the other end through the front of the other grommet and tie a knot. Repeat for the other side and you have finished your beautiful fabric plant pot cover.
Step 11: Add the Plant
Add a plant to your Plant pot cover and enjoy.
If you would like more sewing and crafting projects sign up for our newsletter and receive your free eBook containing 15 handbag patterns and tutorials.
If you would like video Tutorials of some of Sew Very Crafty's most popular posts subscribe to our free YouTube channel here.