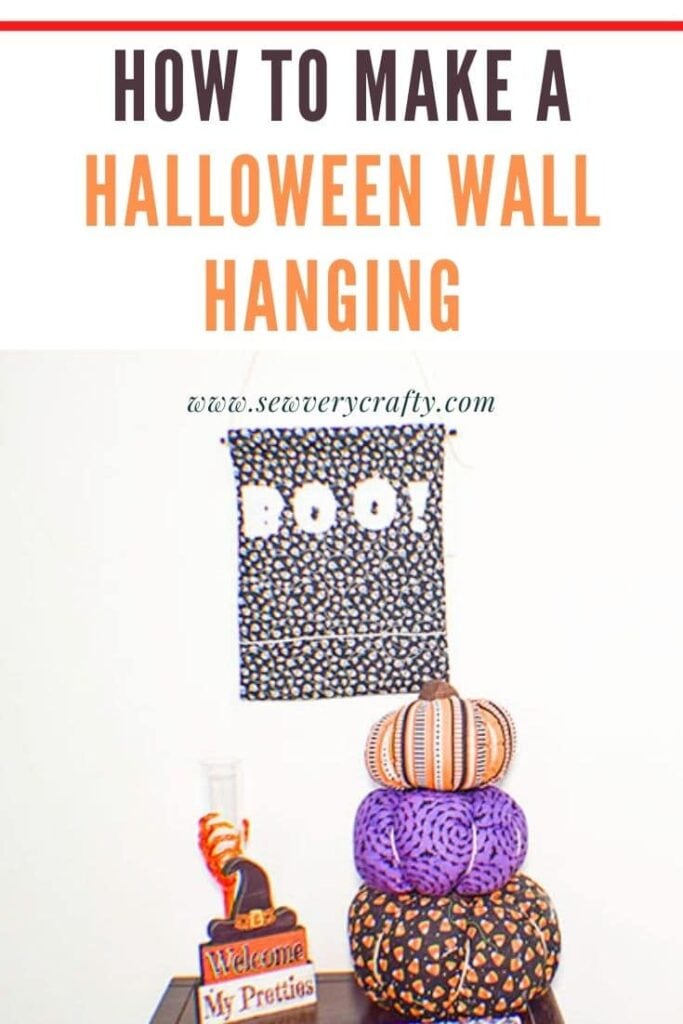
How to Make a Halloween Wall Hanging
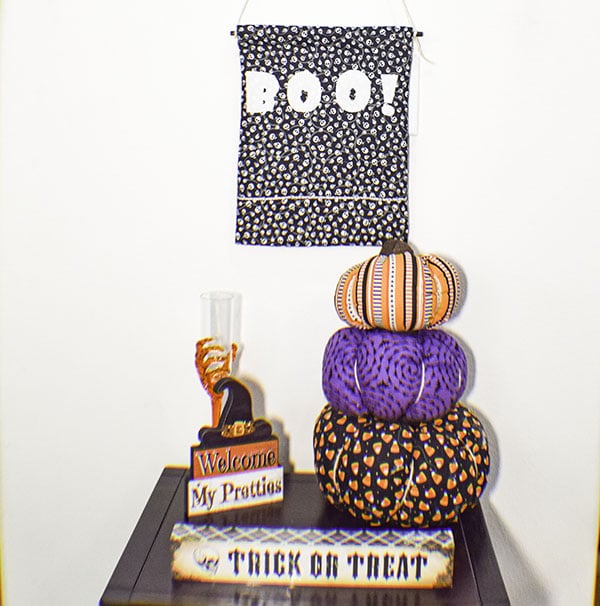
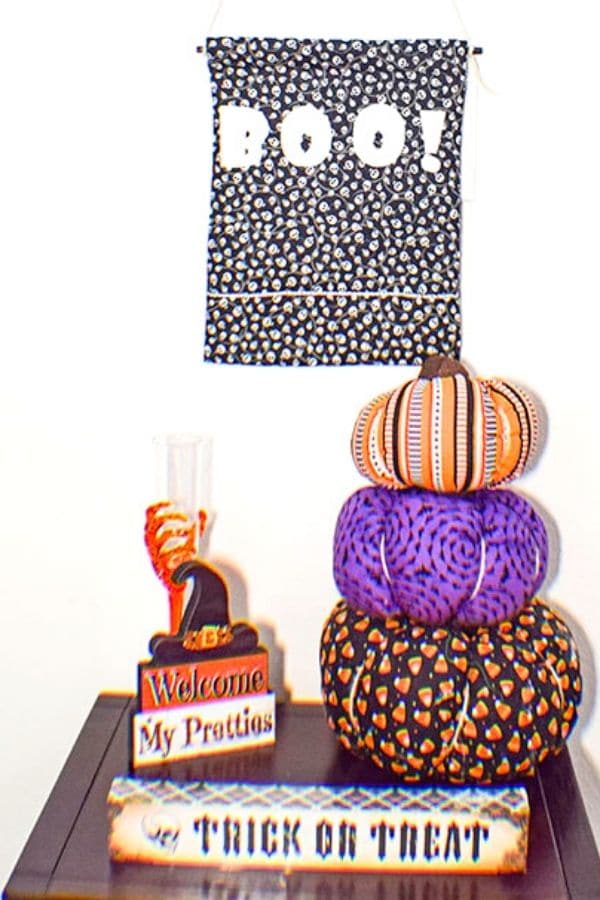
Halloween decorating is going to be even more important his year with people celebrating at home. With this in mind I decided to make this cute Halloween wall hanging that anyone with beginner sewing skills can make. This is a really fun little project to create and will make your Halloween spooktacular this year. I hung mine in my entry way so people could see it as they walked in the front door. Honestly, it doesn't get much easier than this little project to add some Halloween pizzazz to your home this year.
I used some black and white skull fabric that I purchased at JOANN Fabric & Craft Stores![]() for my wall hanging along with some white Kona cotton for the lettering. But you could use any Halloween fabric for yours. You can order from Hobby Lobby, Fabric.com, or onlinefabricstore.net to get the perfect Halloween fabric for your project. I actually thought about using some candy corn fabric I had on hand but settled on the skulls instead. This post contains affiliate links that if you click on them I may receive a small commission at no extra cost to you. As an Amazon Associate I earn from qualifying purchases.
for my wall hanging along with some white Kona cotton for the lettering. But you could use any Halloween fabric for yours. You can order from Hobby Lobby, Fabric.com, or onlinefabricstore.net to get the perfect Halloween fabric for your project. I actually thought about using some candy corn fabric I had on hand but settled on the skulls instead. This post contains affiliate links that if you click on them I may receive a small commission at no extra cost to you. As an Amazon Associate I earn from qualifying purchases.
What you will Need: How to Make a Halloween Wall Hanging
- 1/2 yd main cotton fabric
- 1/8 yd solid colored cotton fabric
- 1/4 yd high loft fusible fleece like Pellon TP971F
- 12″ of cording (Optional)
- Pellon Wonder Under or other Fusible web for applique
- Computer and printer for Letters
- 1 10″ piece of dowel
- Black Paint (Optional)
- 32″ of twine for hanging
Step 1: Cut your fabric and paint your Dowels
Cut two pieces of main fabric that measure 10″ x 15″. Cut 1 Fusible fleece pieces that also measures 10″ x 15″. From the solid colored fabric cut a 6″ x 6″ square. Paint your Dowels with the black paint of you like.
Step 2: Print your letters
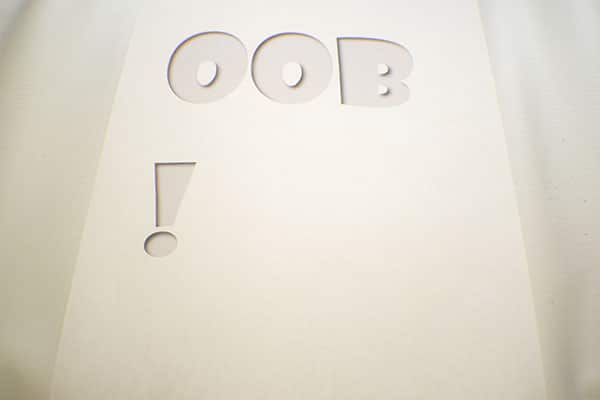
I printed the letters BOO! using the Showcard Gothic Font on my Word program and enlarged it to 200px. This was a good size for my Halloween wall hanging. I also made the color gray so as not to use too much ink. Cut out the letters.
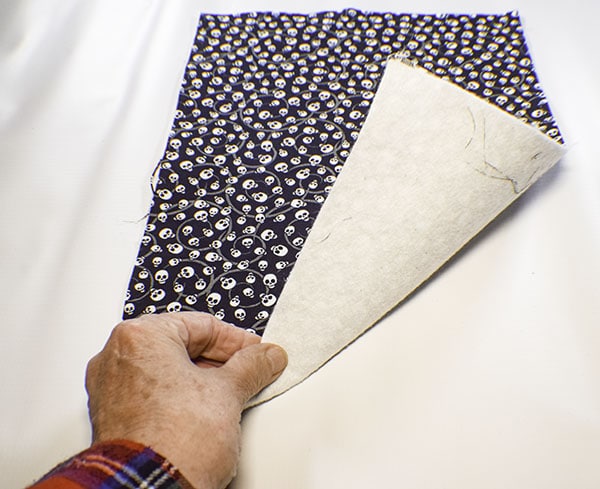
Step 3: Fuse the Fleece
Fuse the fleece to the wrong side of one of the main fabric pieces following the manufacturers instructions.
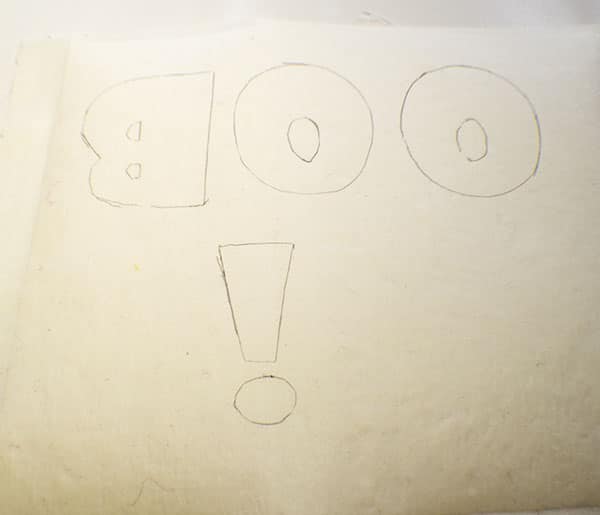
Step 4: Create the Applique Letters
Trace the letters onto the paper side of the Pellon Wonder Under or other fusible web so that they are reversed. This is important or they will be backward on your Halloween wall hanging. Fuse the web to the solid colored fabric by ironing on top of the paper. Cut out the letters.
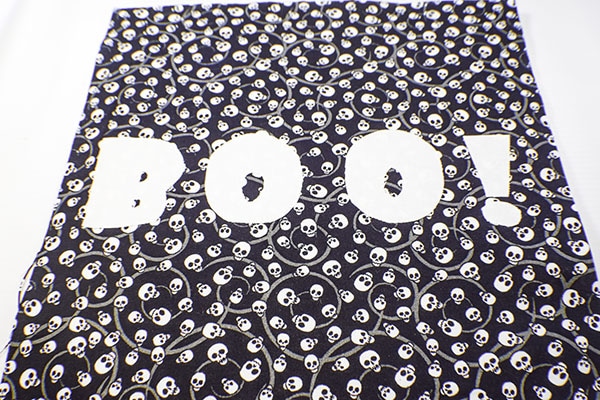
Step 5: Place the letters on the halloween wall hanging
Remove the paper backing from the letters and place them on your outer fabric approximately 9 1/2″ from the bottom or wherever you would like your letters to be. Fuse the letters to the main fabric using a hot iron and a press cloth or whatever the manufacturer recommends. You can choose to stitch around the letters if you like. I chose not to for this project as it did not seem necessary.
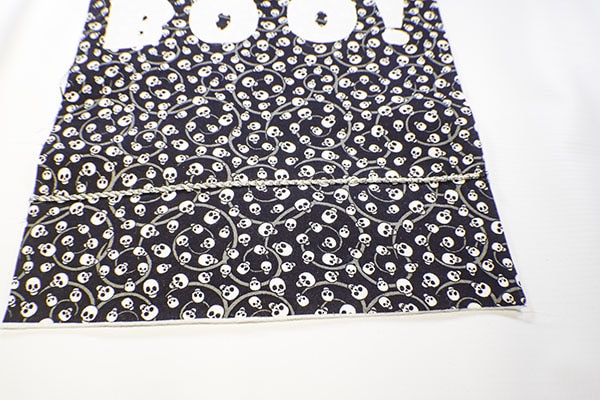
Step 6: Add Cording (Optional)
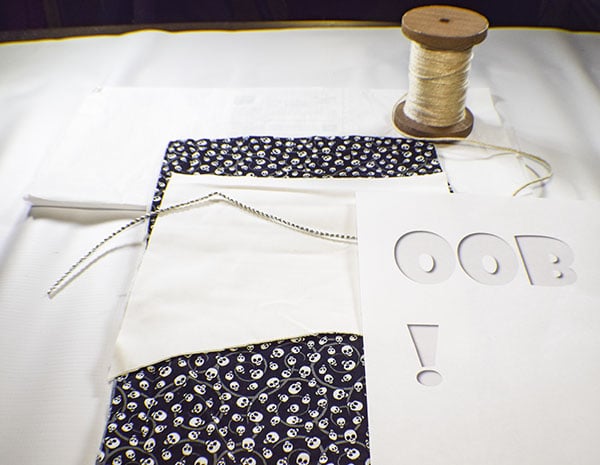
This is an optional step. If you happen to want to add a decorative touch to your Halloween wall hanging you could add some decorative cording. I just happened to have this silver cording on hand and decided to stitch it to the of my project. Just zigzag over your cording to hold in place and you are ready to go. I measured up from the bottom about 3″ and placed my cording.
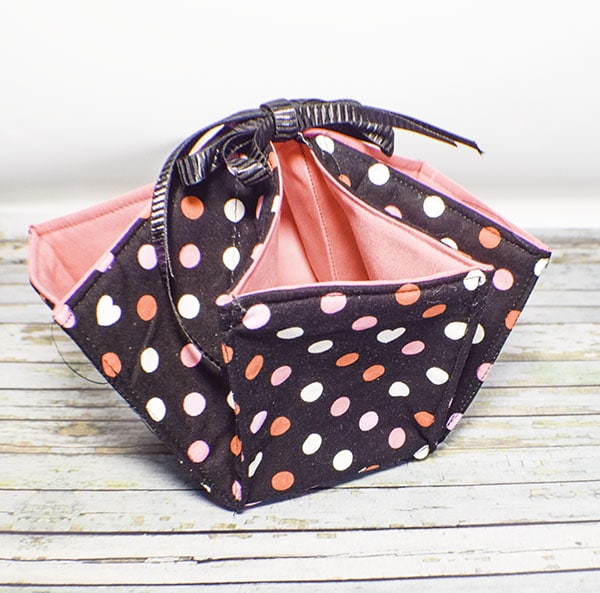
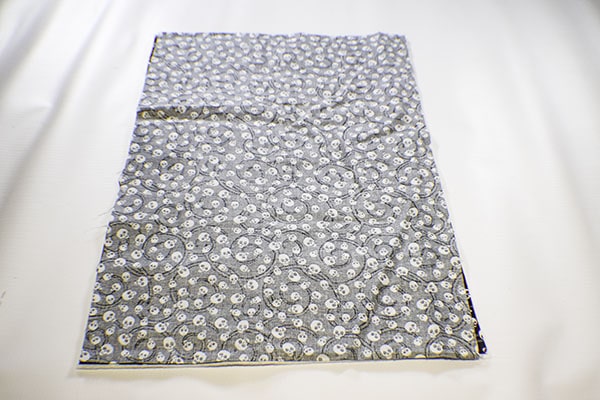
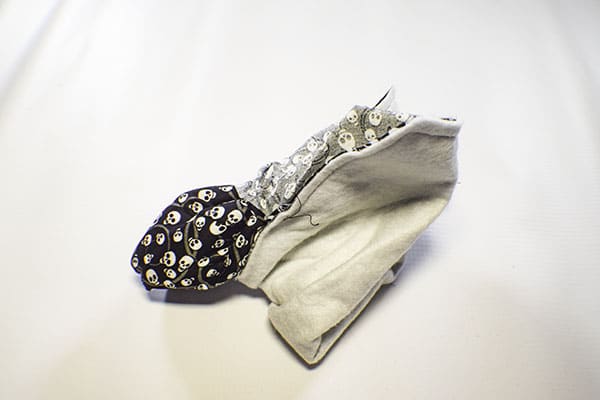
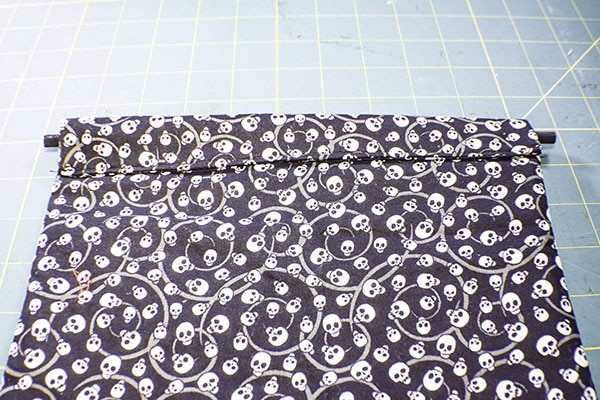
Step 7: Finish the Halloween Wall Hanging
Place the other main fabric piece right sides together with the appliqued piece and stitch all the way around using a 1/4″ seam allowance and leaving an opening at the bottom for turning. Turn the hanging right sides out and press. Close the opening using ladder stitch. Turn the top under by about 1 1/2″ and top stitch creating a casing. Place the painted dowel into the casing. Attach the twine to the ends of the top dowel and hang on the wall.
I hope you enjoyed this project. to get more sewing and crafting projects sign up for or newsletter and receive access to our free printables library.
If you would like to learn how to make the pumpkins in this project check out our How to Make Fabric Pumpkins post.
If you would like video tutorials of some of Sew Very Crafty's most popular posts subscribe to our free YouTUbe Channel Here.