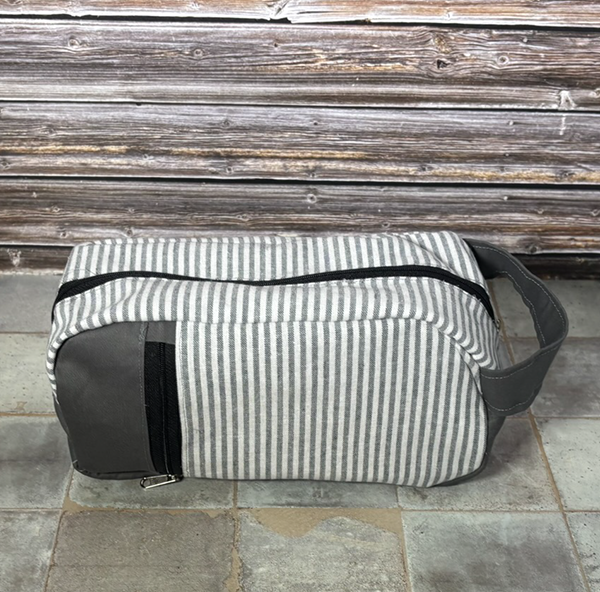
I love these dopp kits. I saw this project on Sewingtimes and really wanted to share it with you. There are a couple of zippers in this project so it is a more intermediate sewing project. Nevertheless, it is worth trying out. This bag is a nice size and perfect for making for the he in your family. I tried to use more masculine fabrics here because there seem to be few projects to sew for men. Of course you can sew it in more feminine fabrics if you like. If you would like more bag making projects head over to our handbag page for many more.
Note: This post contains affiliate links that if you click on them and make a purchase I will receive a small commission at no extra cost to you. As an Amazon Associate I earn from qualifying purchases.
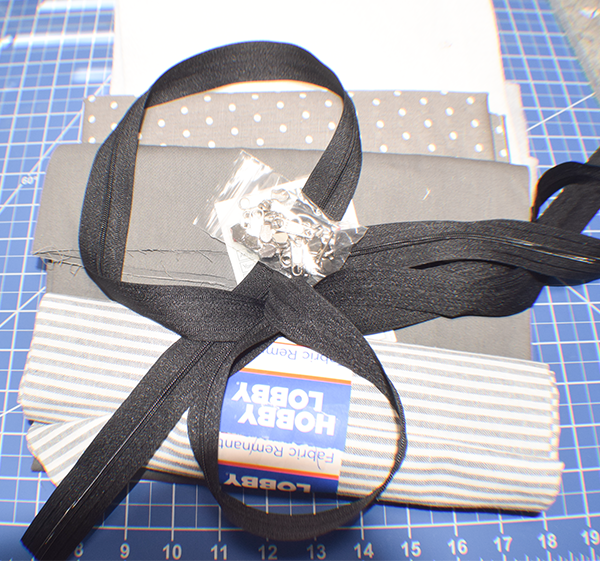
What you will Need: How to Make a Zippered Dopp kit
- 1/4 yd main outer fabric
- 1/2yd accent fabric
- 1/2 yd lining fabric
- 1/4 yd fusible fleece
- 1 14″ zipper
- 1 5″zipper
- Bias Binding
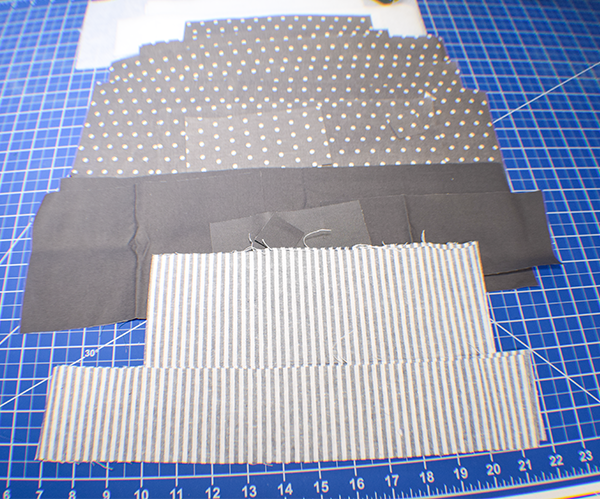
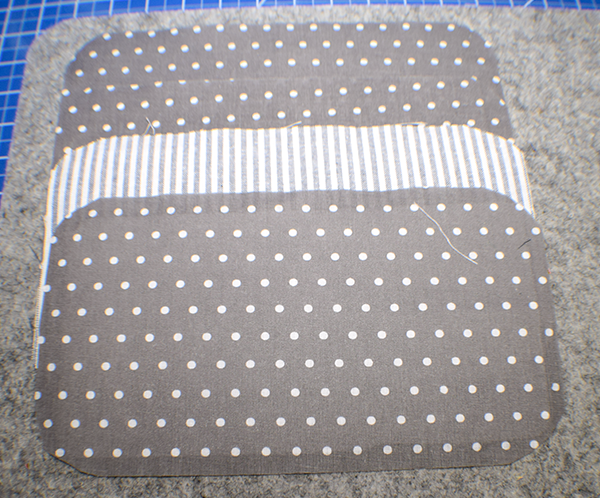
Step 1: Cut your Fabrics
Main Outer:
- 2 pieces — 10 3/4″ x 6″
- 2 pieces — 14 5/8″ x 2 3/4″
- 1 piece — 8 1/4″ x 6″
Accent Fabric:
- 1 piece — 16 1/4″ x 5 1/8″
- 1 piece — 2 3/4″ x 6″
- 1 piece — 1 1/4″ x 1 1/4″
- 1 piece — 8″ x 3 1/4″
Lining:
- 3 pieces — 10 3/4″ x 6″
- 2 pieces — 14 5/8″ x 2 3/4″
- 1 piece — 16 1/4″ x 5 1/8″
- 1 piece — 2 3/4″ x 6″
- 1 piece — 8 1/4″ x 6″
- 1 piece — 1 1/4″ x 1 1/4″
- I used this to make my bias binding
Fusible Fleece
- 2 pieces — 9 7/8″ x 5 1/8″
- 2 pieces — 13 3/4″ x 2″
- 1 piece — 15 1/2″ x 4 3/8″
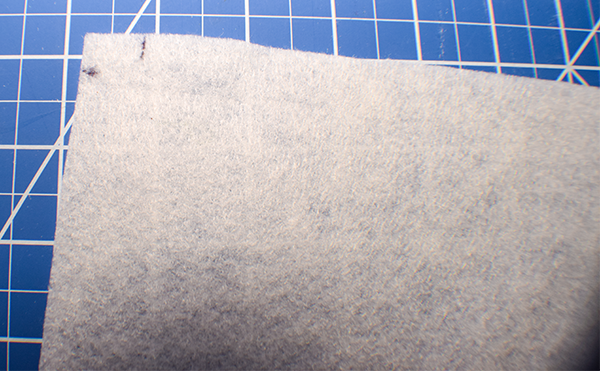
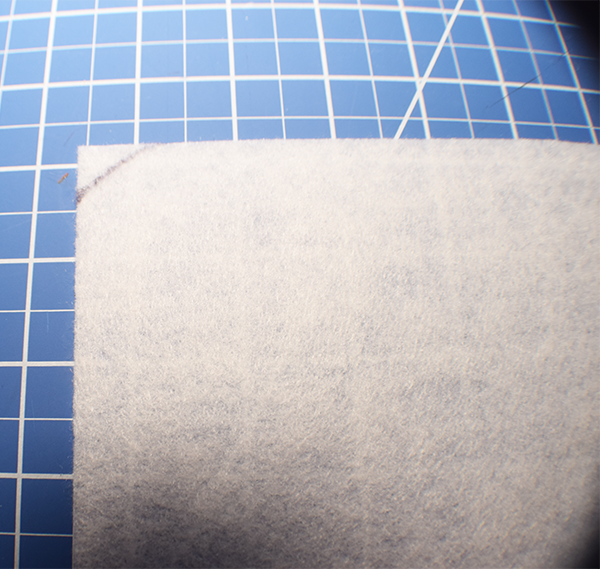
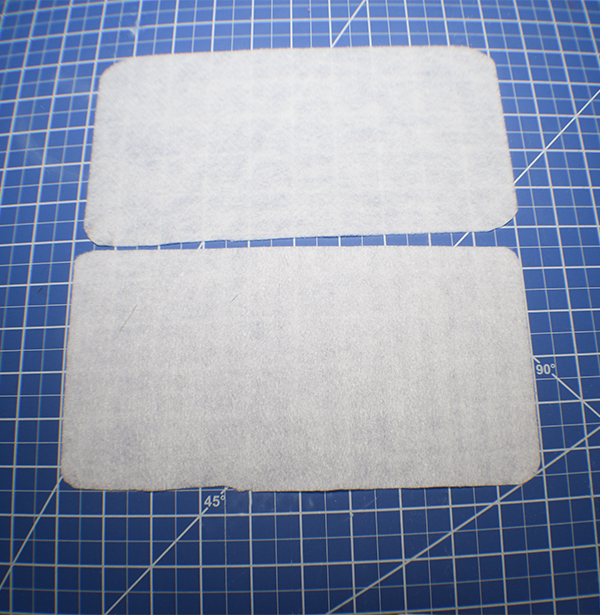
Step 1: Trim the Fleece
Take one of the 9 7/8″ x 5 1/8″ fleece pieces and measure lengthwise from one end 5/8″ and down 5/8″. Mark in each spot. Join the marks to round the corner. Fold in half widthwise and round both corners at the same time. Fold in half lengthwise and round the remaining corners. Repeat for the other 9 7/8″ x 5 1/8″ piece.
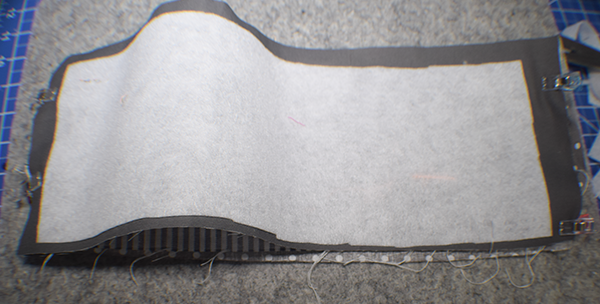
Step 2: Fuse the Fleece
Place the 9 7/8″ x 5 1/8″ fleece piece to the wrong side of the outer 10 3/4″ x 6″ piece and one of the lining pieces of the same size. Fuse following the manufacturer's instructions. Fuse the 15 1/2″ x 4 3/8″ fleece piece to the lining piece that measures 16 1/4″ x 5 1/8″ in the same way. Finally, fuse the 13 3/4″ x 2″ pieces of fleece to the 14 5/8″ x 2 3/4″ main outer pieces.
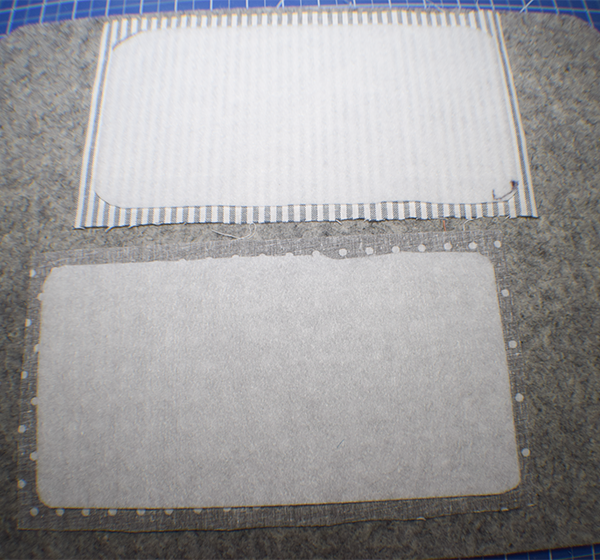
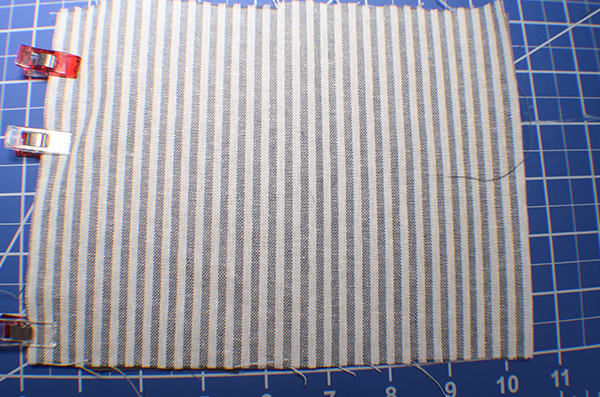
Step 3: Round the fabric pieces
Place the 10 3/4″ x 6″ main outer piece right sides together with the same size lining piece then place the same size lining pieces right sides together. Round the corners leaving a 3/8″ seam allowance all the way around the pieces.
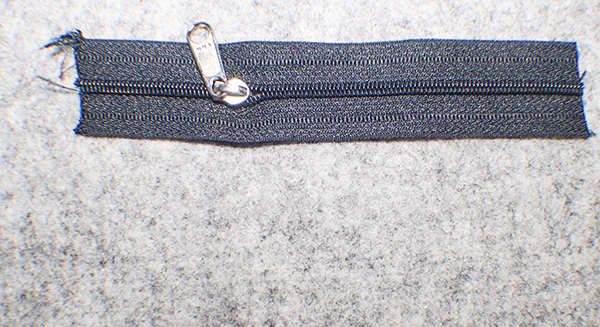
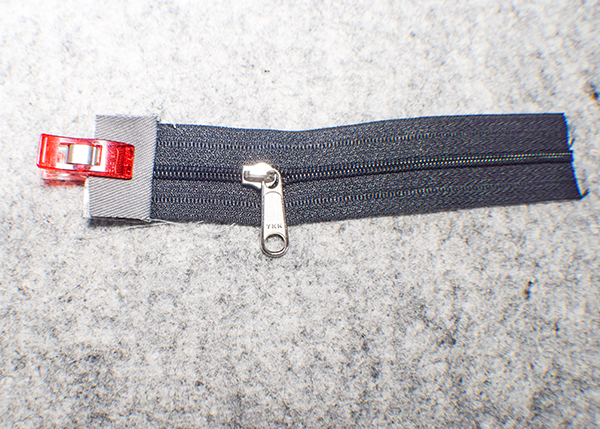
Step 4: Add the Zipper Tabs
Take the outer and lining pieces that measure 1 1/4″ x 1 1/4″ and sandwich the 5″ zipper end with the outer accent fabric on the right side of the zipper and the lining piece on the wrong side. Make sure the fabrics are right sides together. Stitch across the end. Turn right sides out.

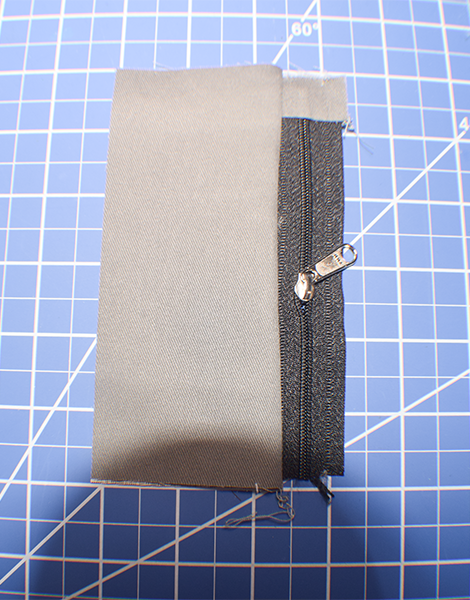
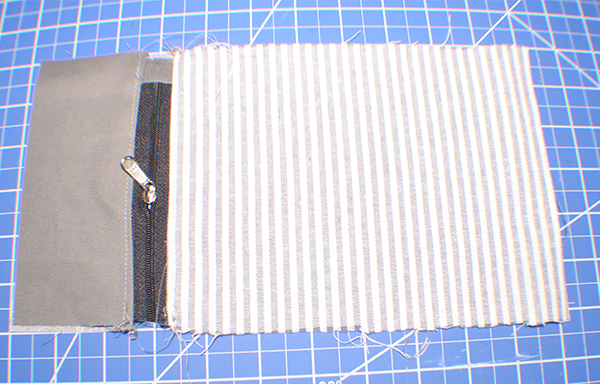
Step 5: Add the Zipper
Sandwich one side of the 5″ zipper between the accent and lining pieces that measure 2 3/4″ x 6″ . Place the zipper right sides down on the accent piece. Stitch the zipper in place.. Place the other side of the zipper down onto the main outer piece that measures 8 1/4″ x 6″ on the 6″ side. Sandwich it with the same sized lining piece so that the fabrics are right sides together. Stitch using a 3/8″ seam allowance. Turn the entire piece right sides out and topstitch along both sides of the zipper.
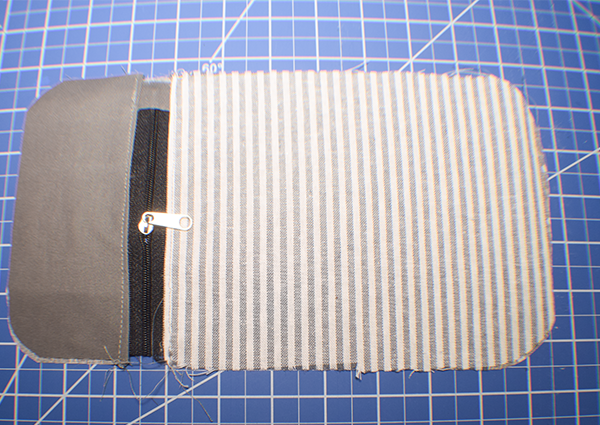
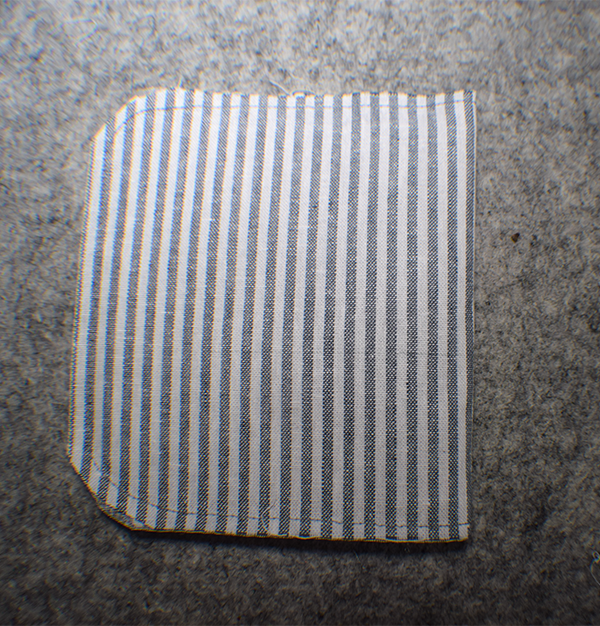
Step 6: Round the Zipper side's Corners
Place the zipper piece you just created wrong sides together with the rounded lining piece. Use the lining piece as a template and round the zipper placket piece. Stitch the pieces together all the way around using a 3/8″ seam allowance.
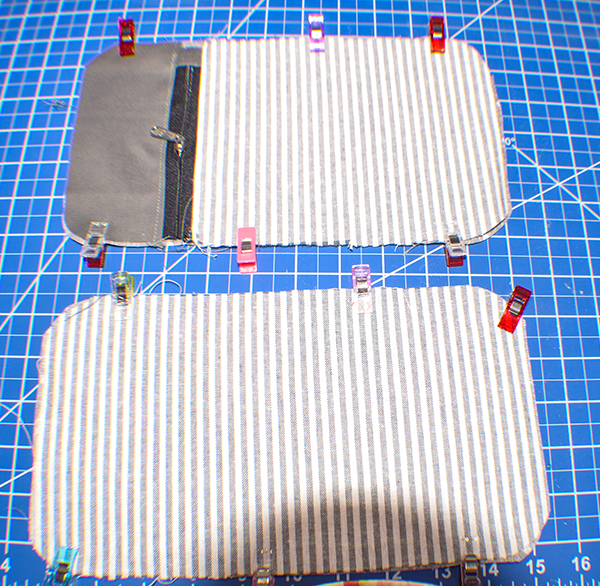
Step 7: Stitch the Bag Pieces Together
Place the zipper piece wrong sides together with a lining piece and the main outer piece with the remaining lining piece. Stitch the pieces together all the way around using a 3/8″ seam allowance.
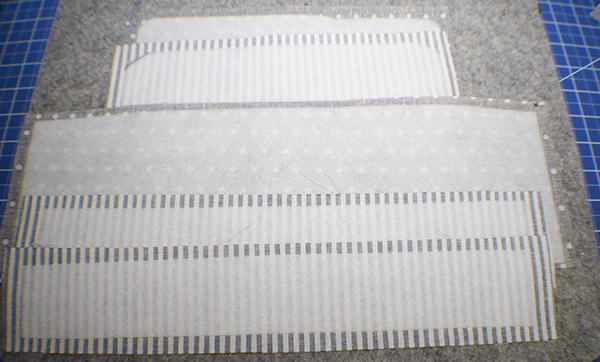
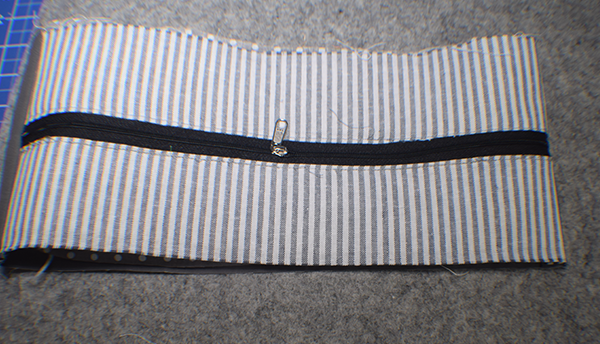
Step 8: Create the Long Zipper Placket
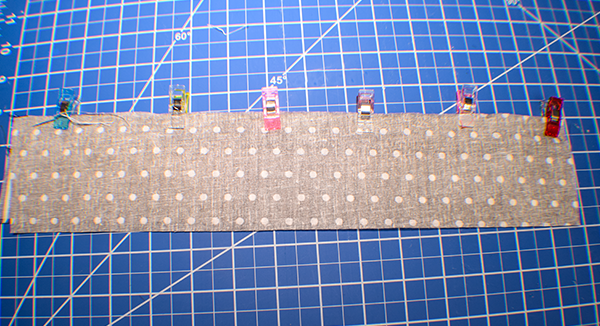
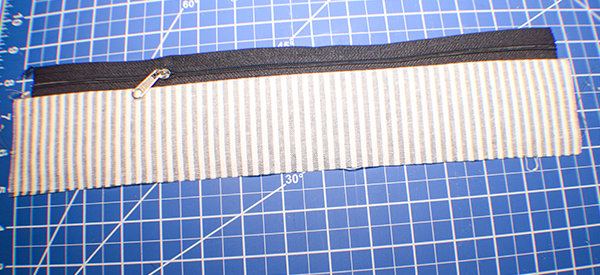
Take the 14″ zipper and sandwich it between the main outer and lining fabrics that measure 14 5/8″ x 2 3/4″ making sure that the fabrics are right sides together and the main outer fabric is right sides together with the zipper. Stitch through all layers. Repeat for the other side of the zipper. Open right sides out and topstitch on both sides of the zipper.
Step 9: Create the 14″ zipper placket
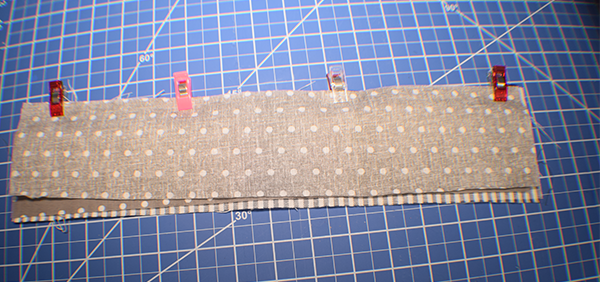
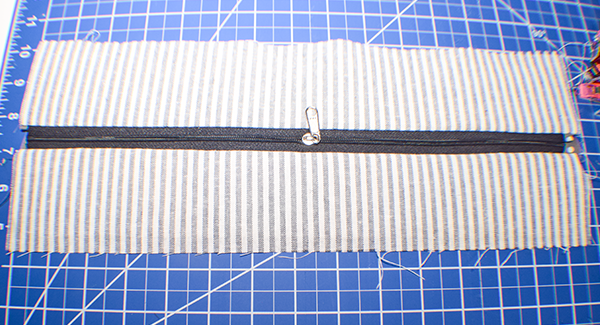
Place the zipper piece you just created wrong sides down onto the right side of the lining piece that measures 16 1/4″ x 5 1/8″. Clip together on each short end. Place the same sized accent piece right sides down sandwiching the zipper piece. Clip on the short ends. Stitch each short end using a 3/8″ seam allowance. Turn right sides out. Stitch all the way around on both sides.
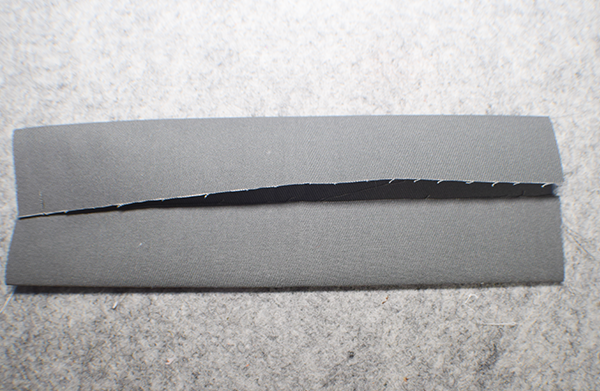
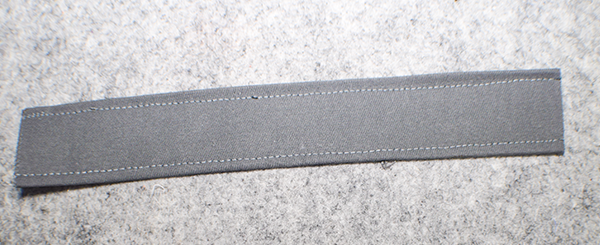
Step 10: Create the Handle
Take the accent piece that measures 8″ x 3 1/4″ and fold it in half lengthwise and press. Open it up. Fold both long raw edges to the center and press. Fold in half lengthwise again and press. Stitch along both sides to secure.
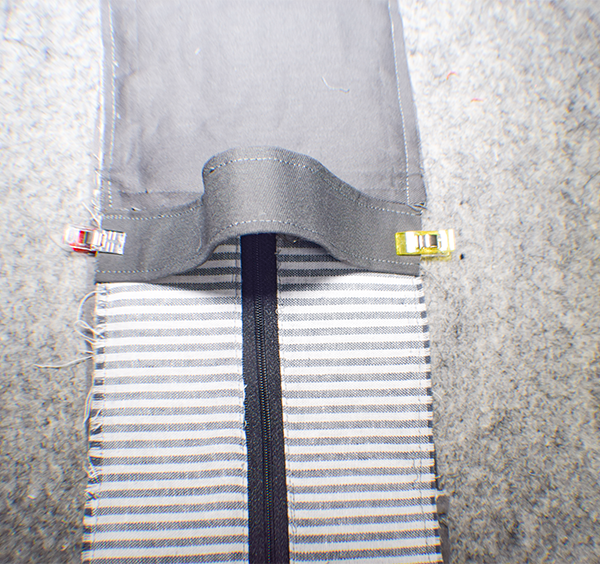
Step 11: Add the Handle
Place the handle you just created across the zipper placket along the seam that joins the zipper piece to the accent fabric at the top of the closed zipper. Stitch each short edge through all layers.
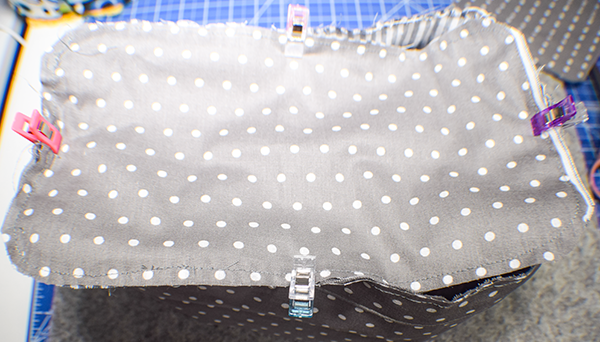
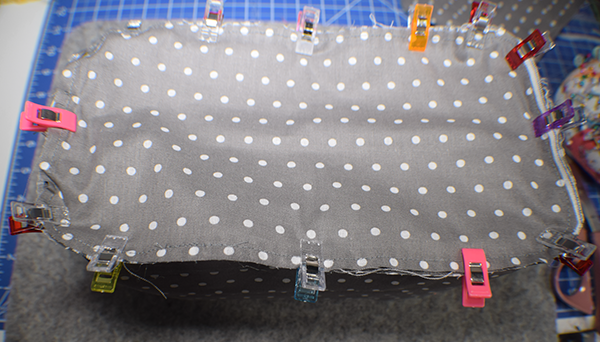
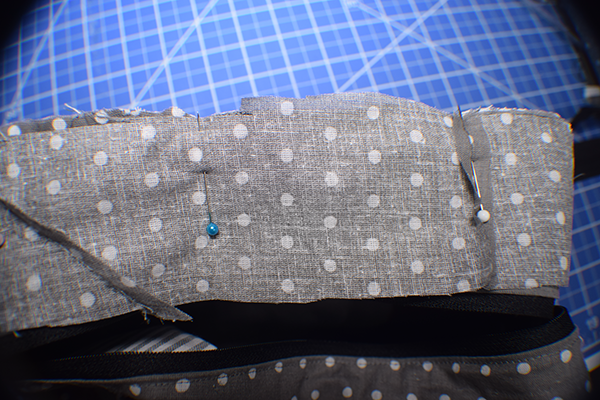
Step 12: Add the sides to the Zipper Placket
Turn the long zipper placket wrong sides out. Take the side that does not have the zipper and fold it in half. Mark the halfway point on each end. Fold in half the other way and mark both center points. Repeat for the side with the zipper. Do the same for the long zipper placket. Attach the side without the zipper right sides together to the long zipper placket matching the marks you created. Pin or clip. Make small snips around the rounded edges of the long zipper placket so that it fits snuggly against the side. Stitch all the way around. Repeat for the other side making sure that the zipper is open.
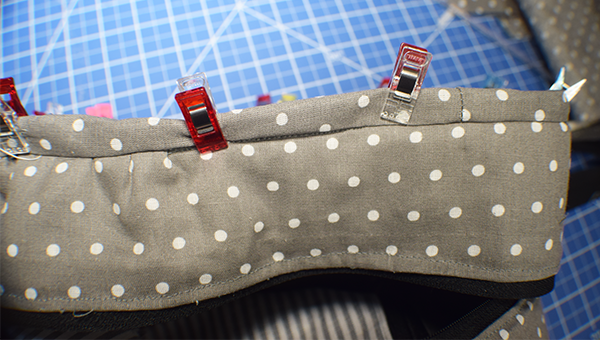
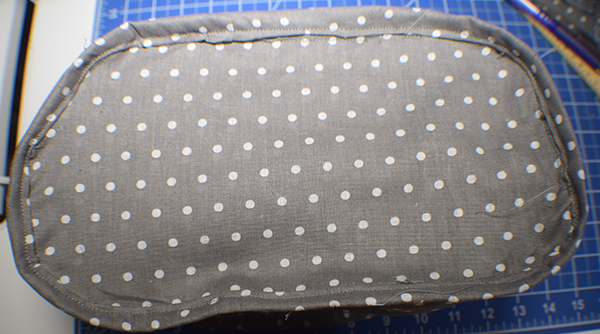
Step 13: Add the Bias Binding
You can create your own bias binding or buy premade. If you would like to know how to create your own head over to the bias binding tutorial here. Cover the raw edges with the bias binding. Start by folding under one short edge of the binding. Pin the binding right sides down matching the raw edges. Go all the way around overlapping the ends. Stitch all the way around. Repeat for the other side. Fold the binding over the raw edges then fold the binding raw edges under and clip or pin. Stitch all the way around to secure. Turn the bag right sides out and close the zipper. You have now finished your zippered Dopp kit.
If you would like more sewing and crafting projects subscribe to our free newsletter and receive your free eBook of 15 handbag patterns and tutorials taken from the blog.
If you would like video tutorials of some of Sew Very Crafty's most popular posts subscribe to our free YouTube channel here.
Join our Sew Very Crafty Fans Facebook group
If you want to ask questions and share your projects join our Facebook group here. The community will help to achieve your sewing and crafting dreams.