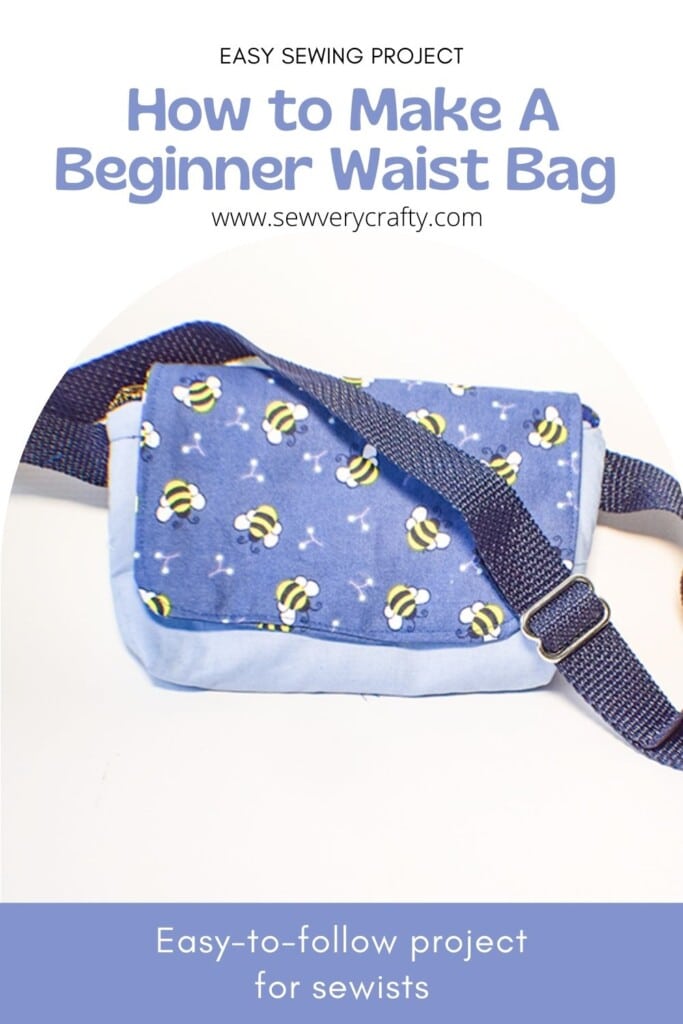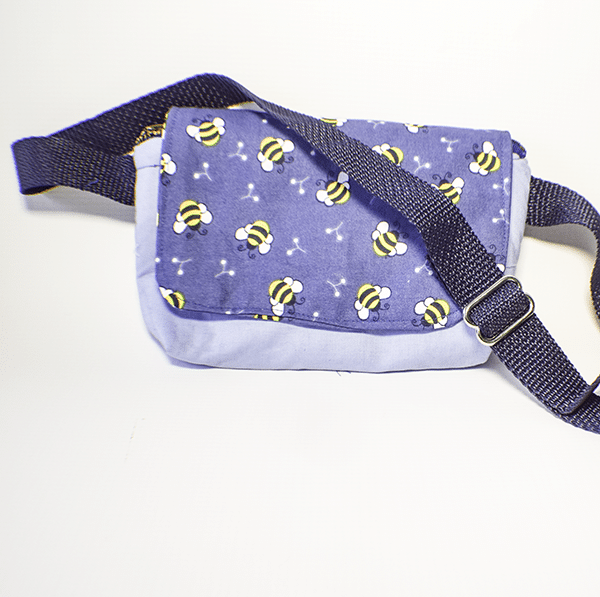
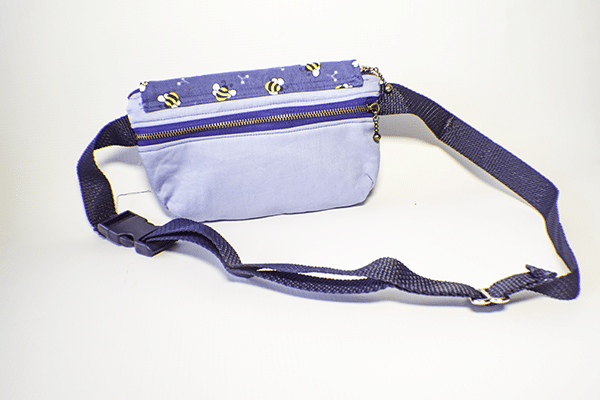
Here is another strong beginner sewing project that I got from Sewing Times on YouTube. It is a fairly simple sewing project even though it has two zippers. This project is great for hiking or travel to fit those necessities that you need to take along. I have done a couple of fanny pack projects on the site but this project is a bit easier so I thought I would share it with you. As those of you who follow Sew Very Crafty know I am planning a trip to Ireland that I hope to be able to take this year and this little project will come in handy for that journey assuming I actually get to go. I hate traipsing around with a purse if I can help it so this little beginner waist bag will be perfect for what I need.
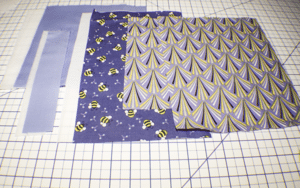
For this project I used standard cotton fabrics that I purchased at JOANN Fabric & Craft Stores![]() I used a fun bee themed print but you could head over to Fabric.com or onlinefabricstore.net to get exactly what you want for your waist bag project. This post contains affiliate links that if you click on them and make a purchase I may receive a small commission at no extra cost to you. As an Amazon Associate I earn from qualifying purchases.
I used a fun bee themed print but you could head over to Fabric.com or onlinefabricstore.net to get exactly what you want for your waist bag project. This post contains affiliate links that if you click on them and make a purchase I may receive a small commission at no extra cost to you. As an Amazon Associate I earn from qualifying purchases.
If you would like a video tutorial of this project head over to YouTube and check out my video. While you are there Subscribe to my Free YouTube channel.

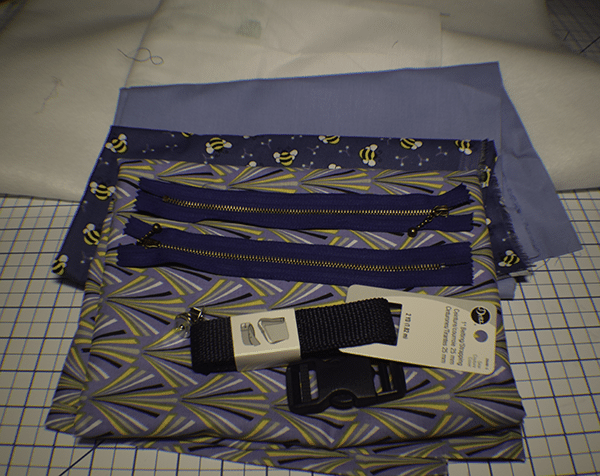
What you will Need: How to Make a Beginner Waist Bag
- 1/2 yd outer fabric
- 1/4 yd accent fabric
- 1/4 yd lining fabric
- 47 1/2″ of cotton belting
- 1 1″ triglide
- 1 1″ parachute clip
- 1/4 yd fusible fleece like Pellon 987F
- 1/4 yd Pellon SF 101 Interfacing
- 1 magnetic snap
- 2 8″ zippers
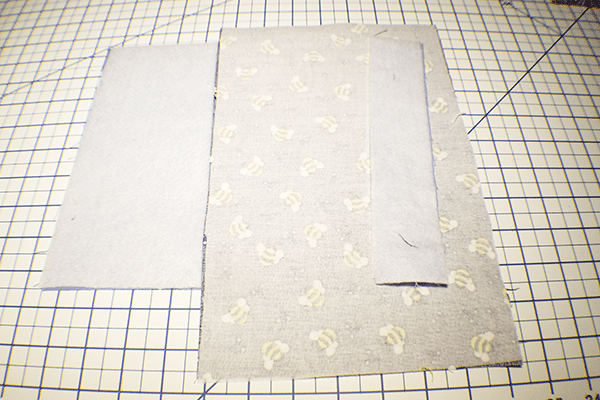
Step 1: Cut the Fabrics
- Outer and fleece that measure 8 3/4″ x 9 1/4″
- Outer and fleece that measure 8 3/4″ x 1 3/4″
- Accent and SF 101 that measure 7 1/2″ x 11 7/8″
- Lining piece that measures 8 3/4″ x 10 3/4″
- Lining piece that measures 8 3/4″ x 8 3/4″
Step 2: Fuse the Fleece and Interfacing
Fuse the fleece and interfacing to the wrong side of the corresponding fabric pieces using a hot iron and following the manufacturers instructions.
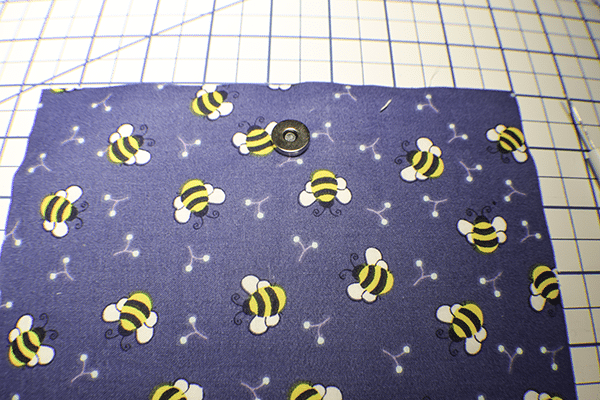
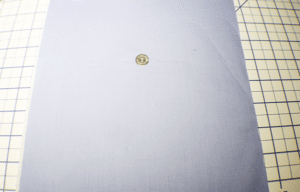
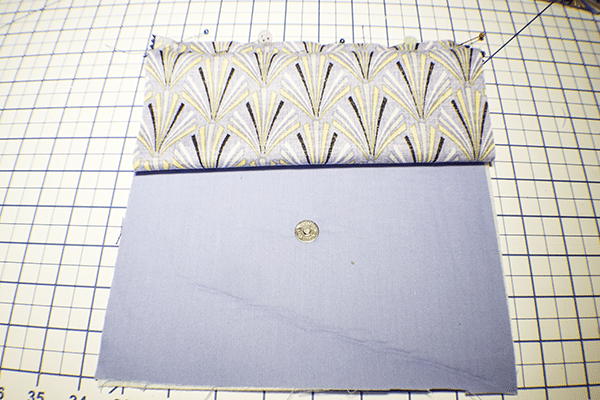
Step 3: Add the Magnetic Snap
Take the accent piece and measure down 1″ from the top and in the center and place one side of the magnetic snap. To do this cut two slits using the grommet as a template. Insert the prongs of the snap and place the grommet through the prongs on the wrong side. Fold down the prongs to secure. Take the large outer piece and measure down 3 3/8″ and place the other half of the snap in the center in the same way you added the first half.
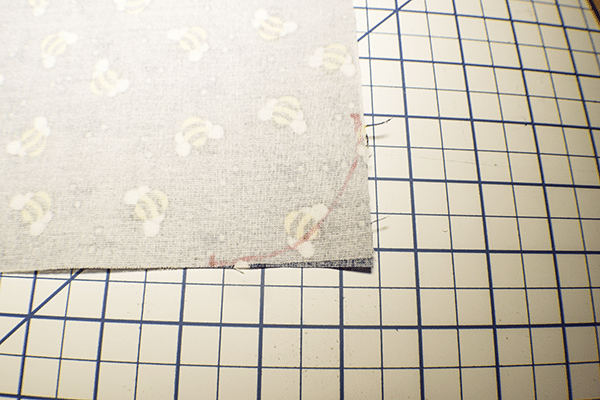
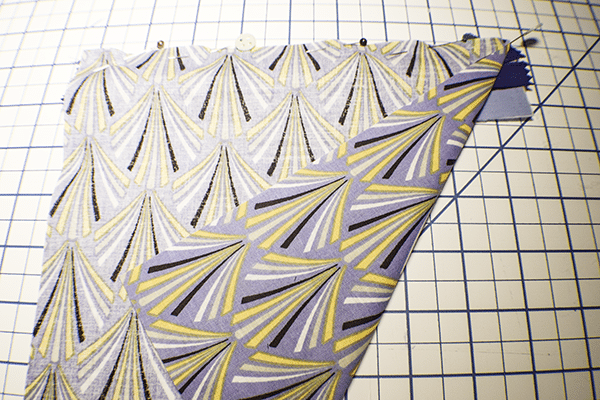
Step 4: Create the Accent Flap
Take the accent piece and measure 2″ from one side on the bottom and 2″ up from the bottom on the nearest side and make a mark. Join the two marks creating a curve. Fold the piece in half lengthwise and cut the curve through both layers so that the curve is the same on both sides. Fold the piece in half widthwise and stitch along the sides and partially on the bottom leaving an opening in the center of the bottom for turning using a 3/8″ seam allowance. Trim the excess fabric to match the curve. Notch the curves and turn the piece right sides out. Press. Topstitch along the sides and the curved edge.
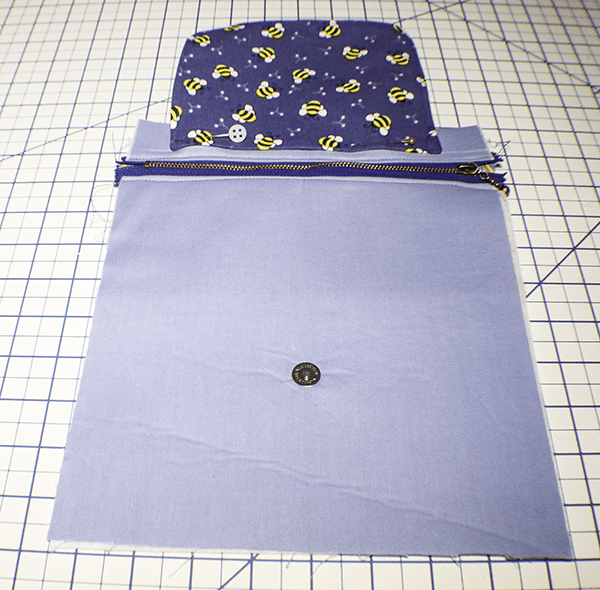
Step 5: Add the First Zipper
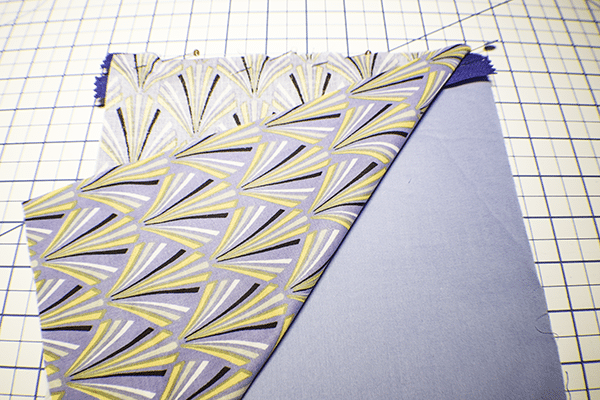
Take the small outer piece and place it right sides up on your work table. Place the zipper right side down on the outer piece. Lay the small lining piece right sides down on the zipper creating a zipper sandwich. Stitch the zipper using a zipper foot. Place the other side of the zipper right sides down on the top of the large outer piece so that the snap is toward the bottom of the piece. Fold up the lining piece to meet the top of the large outer piece and creating a zipper sandwich. Stitch the zipper through all layers. Open the zipper and topstitch along both sides.
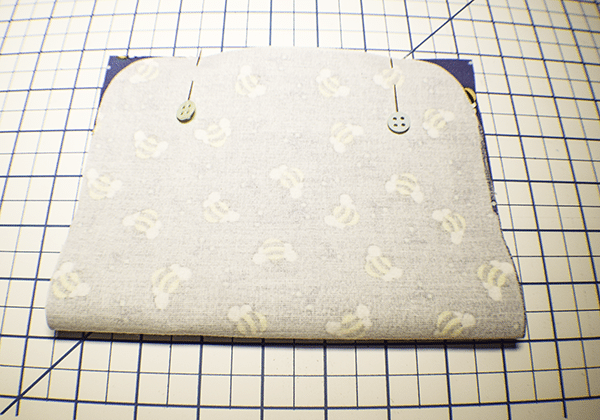
Step 6: Add the Accent Flap
Measure 3/8″ up from the zipper you just stitched and draw a line using an erasable pen or tailor's chalk. Place the accent flap on the line with the snap facing the wrong side and stitch two rows of stitching to secure the flap to the outer piece.
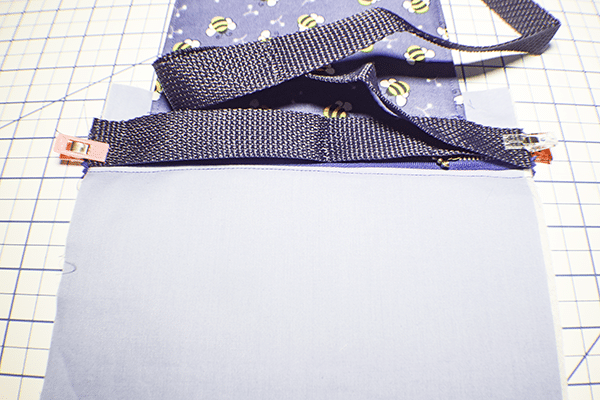
Step 7: Add the Belting to the Waist bag
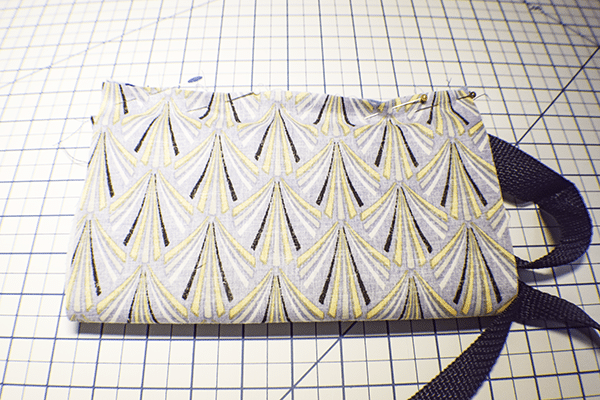
Cut 8″ of belting from the 47 1/2″. Place the 8″ on the right side of the outer bag and the rest of the left side of the outer bag so that the bottom of the belting is even with the bottom of the zipper. Stitch the belting to the bag.
Step 8: Add the Second Zipper to the Waist Bag
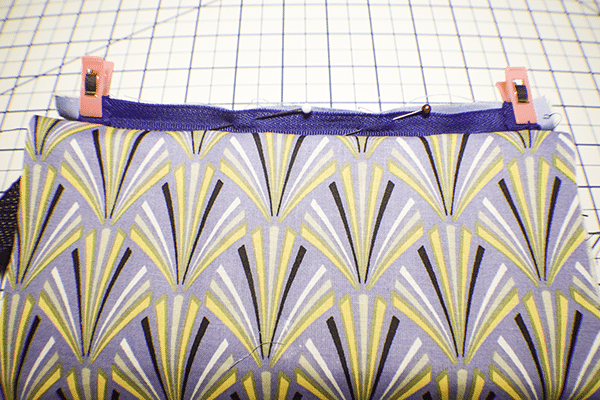
Place the second zipper right sides down on the bottom of the outer bag. Fold the ears of the zipper under. Place the remaining lining piece right sides down on the zipper creating a zipper sandwich. Stitch the zipper using a zipper foot. Pin the flap down to get it out of the way. Fold up the zipper to meet the outer bag. Fold down the ears of the other side the zipper. Stitch the zipper to the outer bag. Fold the lining up to meet the zipper. Stitch the lining on each side leaving an opening in the center for turning.
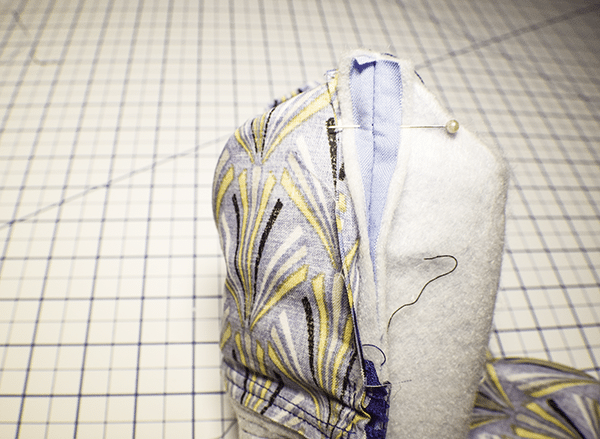
Step 9: Stitch the Sides of the Waist Bag
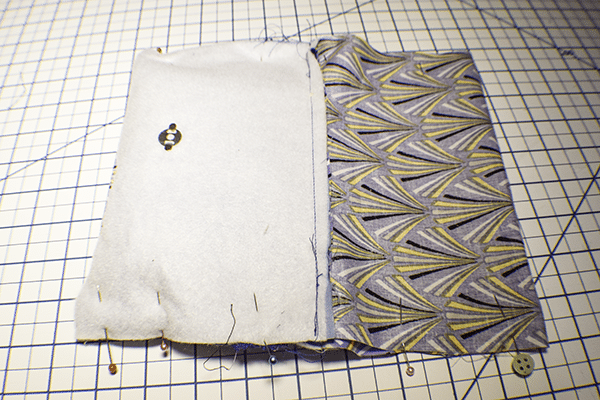
Place the bag so that the lining sides are right sides together and the outer bag pieces are right sides together. Stuff the belting inside the bag pieces to keep it out of the way. Stitch both sides using a 3/8″ seam allowance.
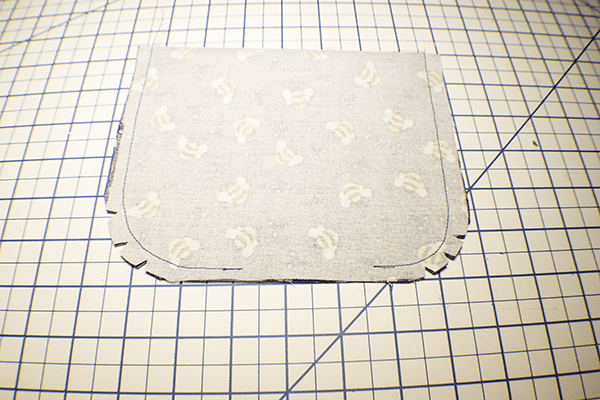
Step 10: Box the Corners
Pull out the flap and the belting through the opening you previously left. Box the corners by matching each side seam with the bottom creating a straight line that measures 1 1/2″. Stitch along the line. Do this for all 4 corners. Clip off the excess corners.
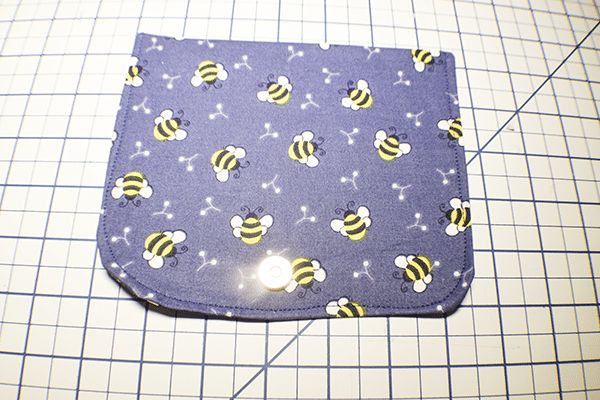
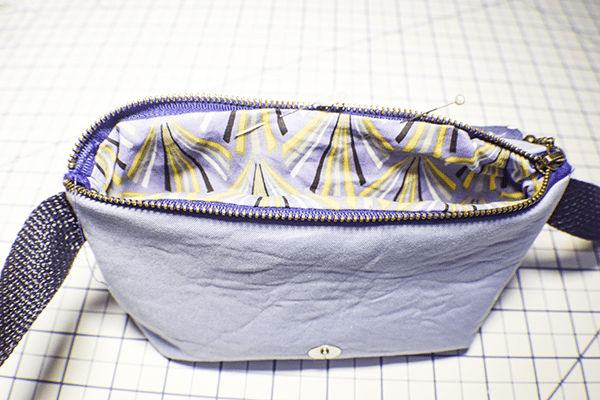
Step 11: Turn Right Sides Out
Turn the bag right sides out through the opening you previously left. Pin the opening closed and topstitch all the way around the top of the bag making sure to close the opening.
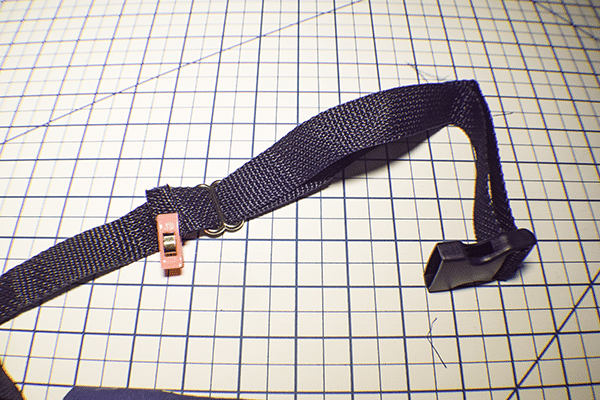
Step 12: Add the Triglide and Parachute Clip
Add one half of the parachute clip to the short side of the belting following the manufacturer's instructions and stitch to the sort end of the belting. Add the triglide to the long side of the belting then put the belting through the other half of the parachute clip and back through the triglide. Fold the raw edge back on itself and stitch. You have now completed your beginner waist bag.
I hope you enjoyed this waist bag project. If you would like more sewing and crafting projects sign up for our newsletter and receive your free eBook of 15 handbag patterns and tutorials taken form the blog.
If you would like video tutorials of some of Sew Very Crafty's most popular posts subscribe to our free YouTube channel here.