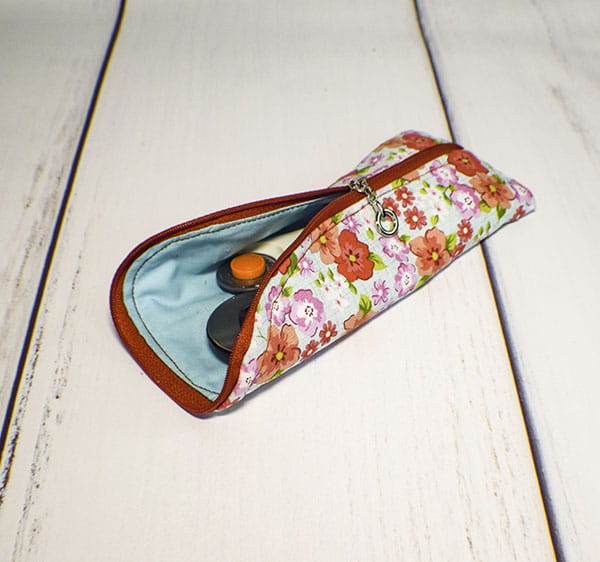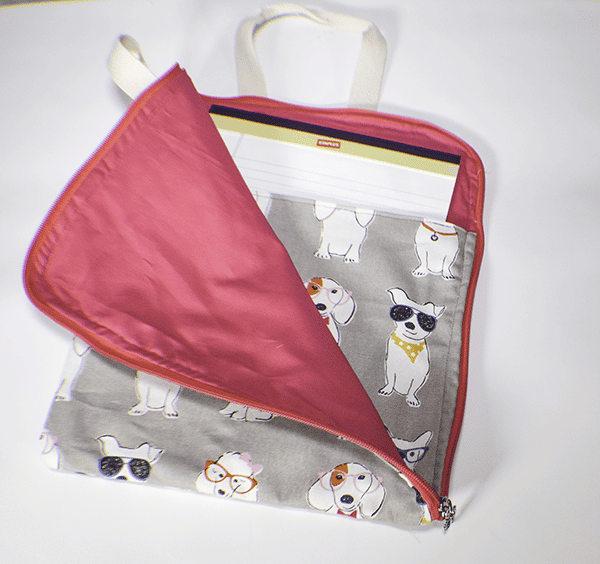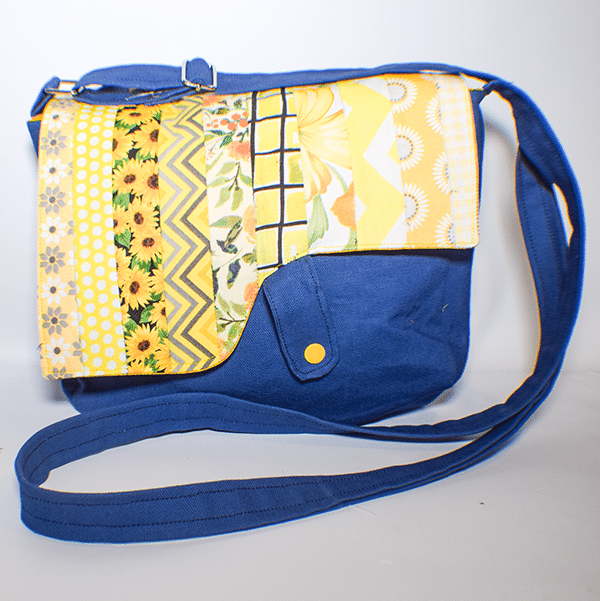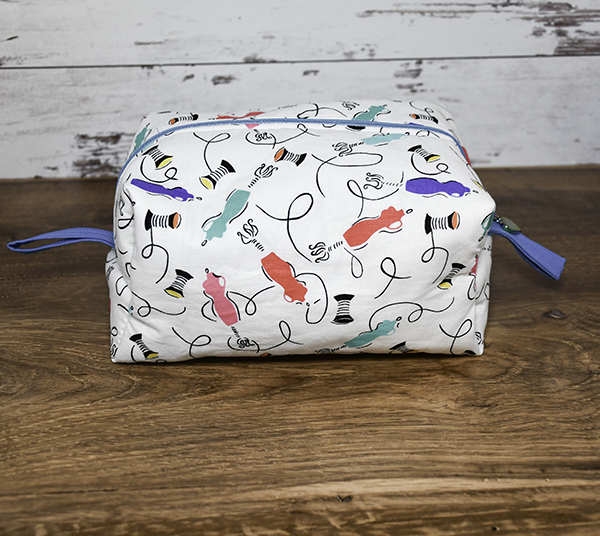
I have made a lot of zippered pouches and bags but I decided that one more would not hurt. This is a simple sewing project that will help anyone get comfortable putting in zippers. There are three sizes of patterns in this tutorial. I will be making the larger one but you can choose any size you like or create all three. These zippered pouches can be used to store a variety of items. I have used sewing themed fabric for my pouch to store some of my sewing tools. Pick anything you like for yours. I hope you enjoy this simple sewing project. If you want more zippered pouches and handbags head over to my handbag page for more.

Note: This post contains affiliate links that if you click on them and make a purchase I will receive a small commission at no extra cost to you. As an Amazon Associate I earn from qualifying purchases.
What you will Need: How to Make a Zippered Pouch with Free Pattern
Step 1: Cut the Fabrics
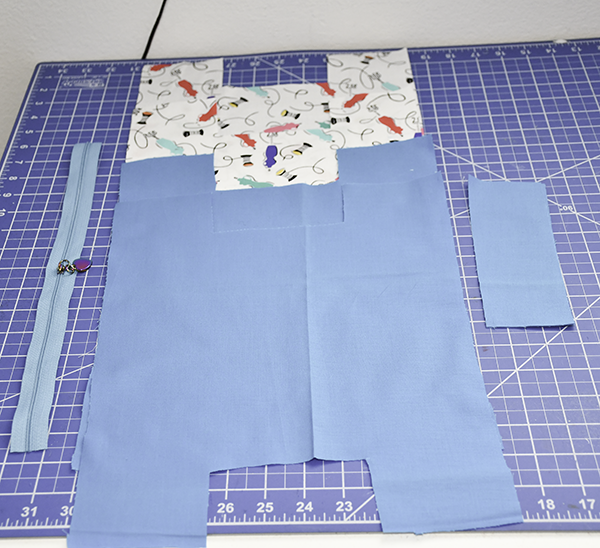
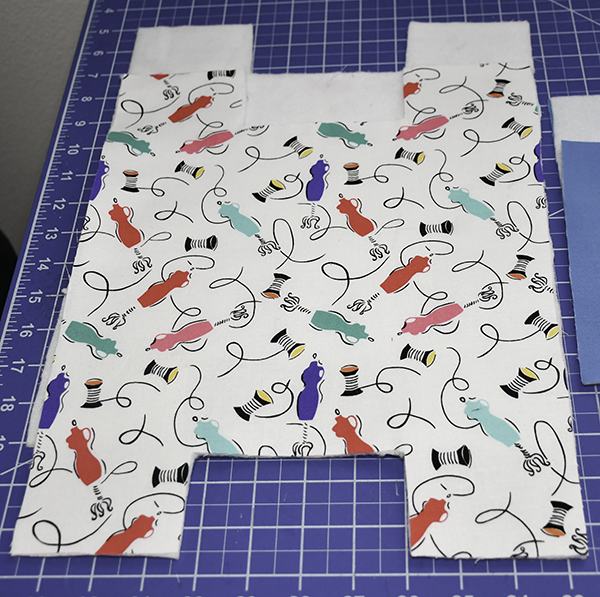
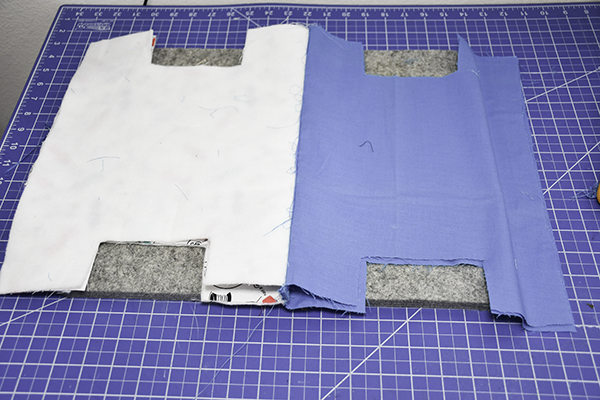
Using the pattern cut two outer, two lining and one fusible fleece for the bag itself. Cut two tab pieces.
Step 2: Fuse the Fleece
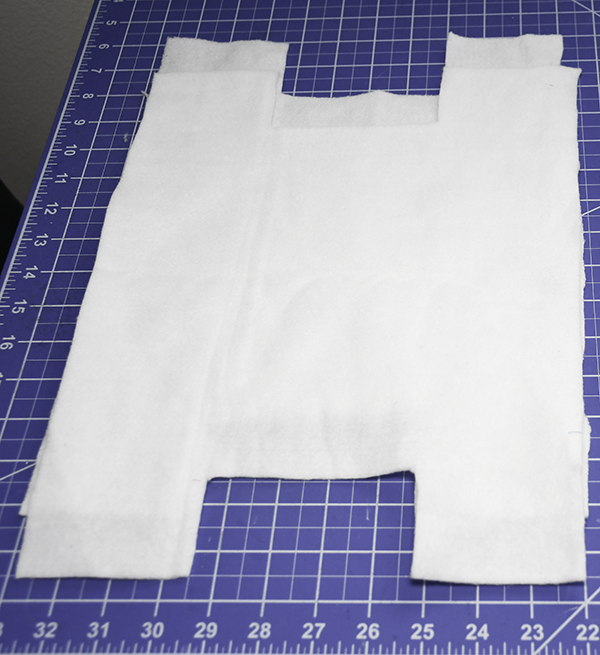
Using a hot iron fuse the fleece to the outer bag pieces.
Step 3: Add the Zipper
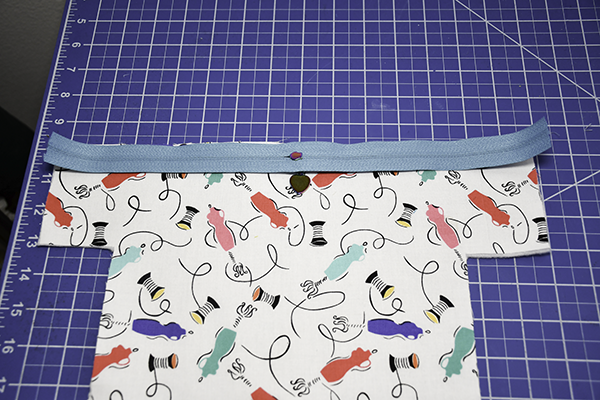
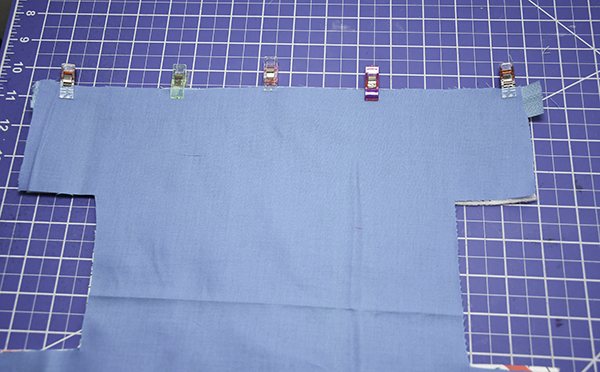
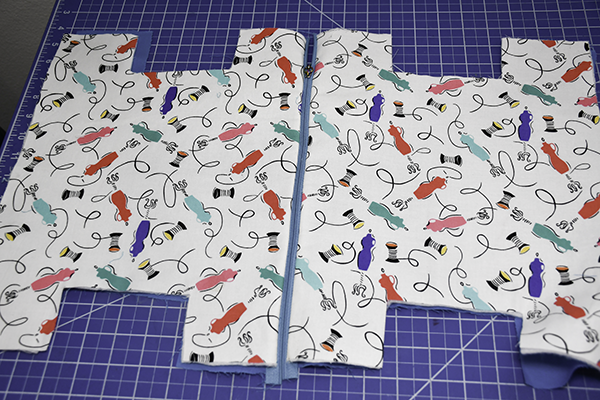
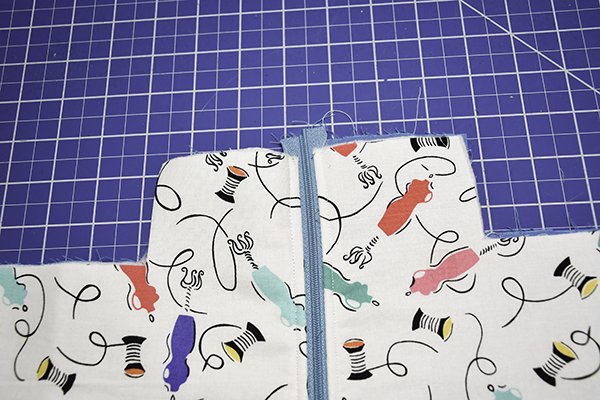
Place on outer piece right sides up on your work surface. Lay the zipper right sides down on the outer fabric, Place the lining fabric on top of the zipper. Match the long raw edges with the edge of the zipper and pin or clip. Stitch the zipper. Repeat this process for the other side of the zipper. Open the fabrics so that the zipper is in the center. Press. Topstitch along both sides of the zipper.
Step 4: Create the Tabs
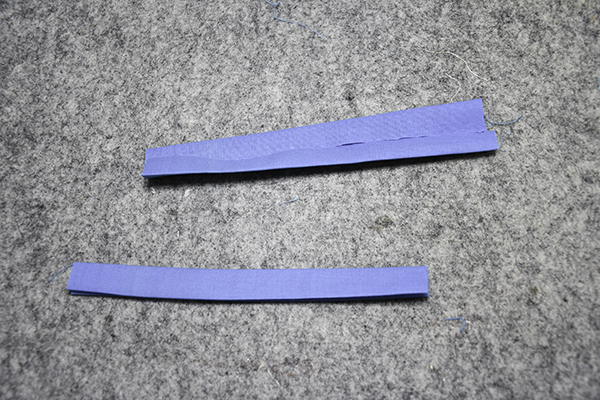
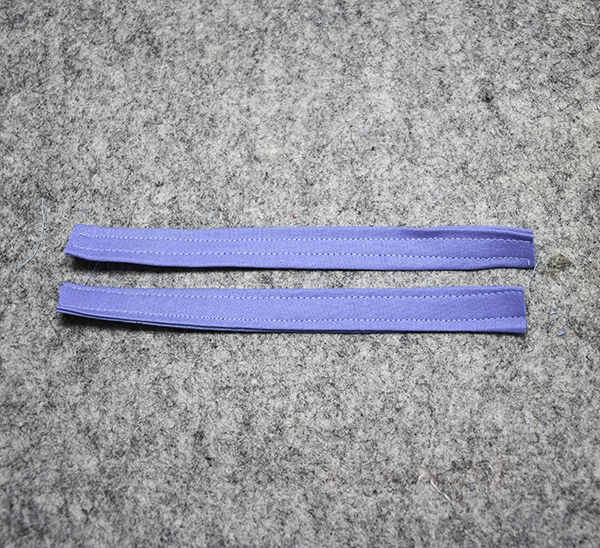
Fold the tab pieces so that the long raw edges meet in the center. Press. Fold in half again lengthwise and press again. Stitch along both long edges to secure.
Step 5: Add the tabs
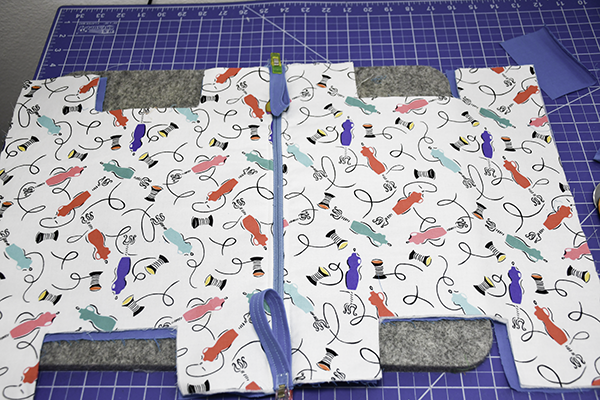
Fold the tabs in half. Center the tabs on the zipper at each end with raw edges matching. Stitch the tabs to the bag over the zipper using a 1/8" seam allowance.
Step 6: Stitch the Bag
First, open the zipper half way. Place the outer pieces so they are right sides together. Repeat for the lining. Stitch along the long raw edge of the outer fabric using a 1/4" seam allowance. Do the same for the lining side but leave an opening for turning. Press the seams open.
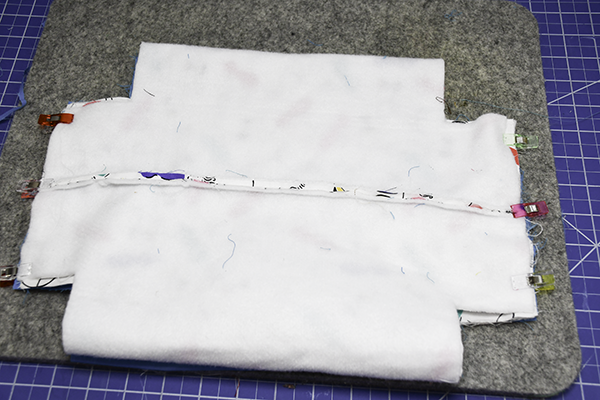
Place the seams you just pressed open so that they are in the center of the zipper. Stitch each short end through all layers using a1/4" seam allowance.
Step 7: Box the Corners
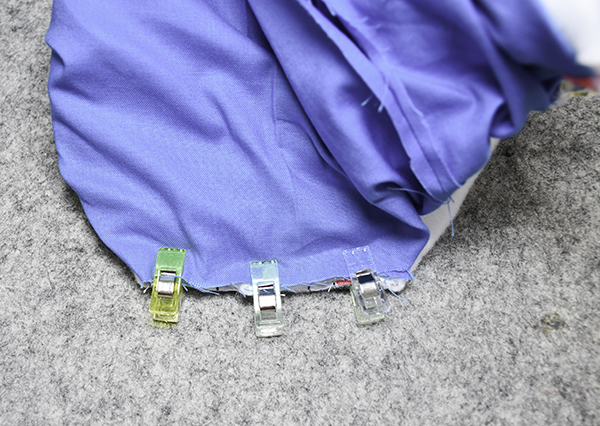
Open the zipper all the way. Pinch the outer fabric corners together to create a straight line. Repeat for the lining pieces. Clip the lining and outer corners together. Stitch along the line using a 3/8" seam allowance. Do this for all four corner. Turn the bag through the opening in the lining so that the lining is on the outside.
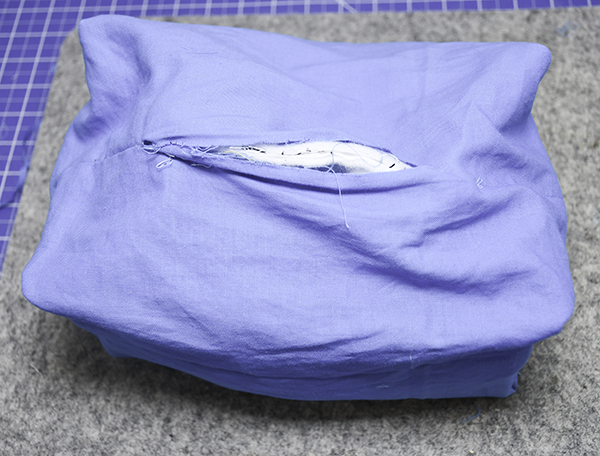
Step 8: Finish the Bag
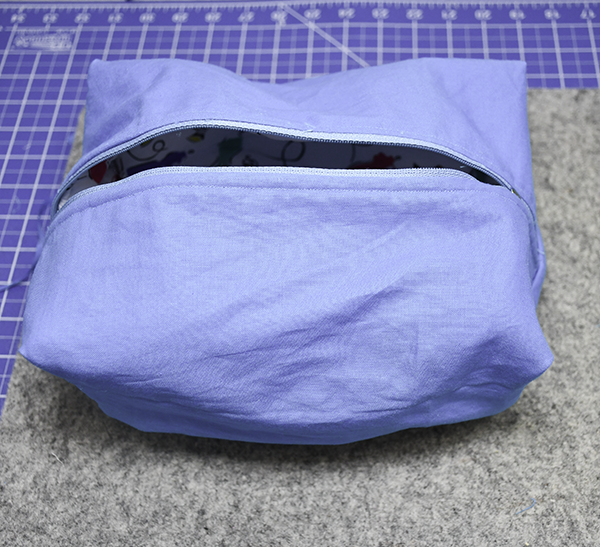
Stitch the opening in the lining closed using your machine or using ladder stitch. Turn the bag right sides out through the opening in the zipper, you have now finished your zipper pouch.
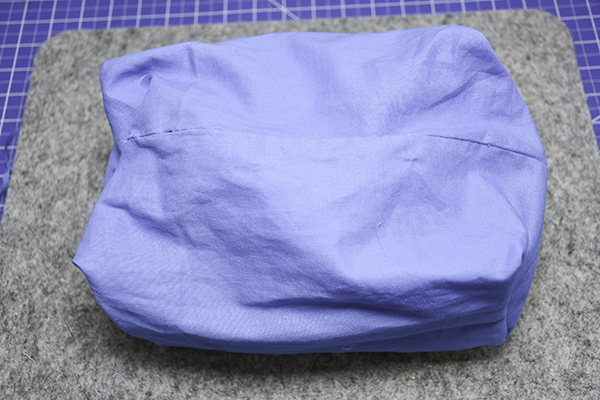
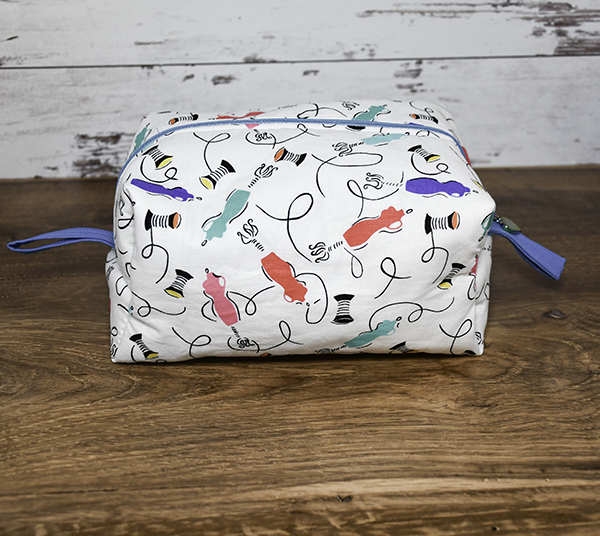
I hope you enjoyed this simple sewing project. If you would like more sewing and crafting projects subscribe to our free newsletter and receive your free handbag ebook.
Guide to Cricut Maker 3
This is a Beginner's Guide to Cricut Maker 3. An ebook all about Cricut Maker 3, its accessories and Cricut Design Space. Perfect for the beginner so let's Cricut now!
Subscribe to our Free YouTube Channel!