
How to Make a KitchenAid Cover

I have been wanting to make one of these for ages. My KitchenAid gathers a lot of dust because to be honest I don't use it that often. Nevertheless, I really wanted to make a cover for it so that on those occasions that I do use it I don't have to spend a lot of time wiping it down. I knew that I could make a simple cover that fit in with the simple sewing ideas here at Sew Very Crafty. I opted to use a little pre-made piping to add a little extra to my cover but if you do not feel comfortable with that you do not need to add it.
The fabrics I used for my cover were cotton quilting weight fabrics that I got from JOANN Fabric & Craft Stores![]() but since they are out of business I found a similar pattern at Spoon Flower. I also used a fusible fleece to give my cover some structure. This post contains affiliate links that if you click on them and make a purchase I may receive a small commission at no extra cost to you.
but since they are out of business I found a similar pattern at Spoon Flower. I also used a fusible fleece to give my cover some structure. This post contains affiliate links that if you click on them and make a purchase I may receive a small commission at no extra cost to you.
What you will Need: How to make a kitchenAid cover
- Pattern you can get here by clicking on this link
- 35″ x 16.5″ main fabric
- 2 pattern pieces of main fabric
- 35″ x 16.5″ lining fabric and fusible fleece
- 2 pattern pieces of lining fabric and fusible fleece
- 1 Package of pre-made Piping (optional)
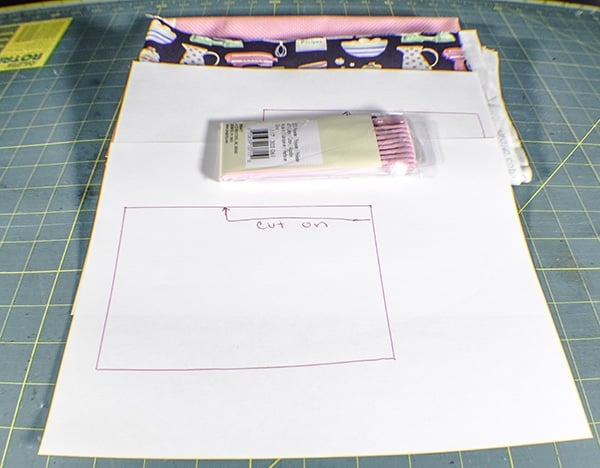
Step 1: Cut out your Fabrics
Print the pattern. Tape the pattern pieces together by abutting them together and taping them. Cut two outer pieces, two lining pieces and two pieces of fusible fleece on the fold using the pattern pieces. These will be the ends of the cover. Cut an outer piece, a lining piece and fusible fleece that measure 35″ x 16.5″ for the body of the cover.
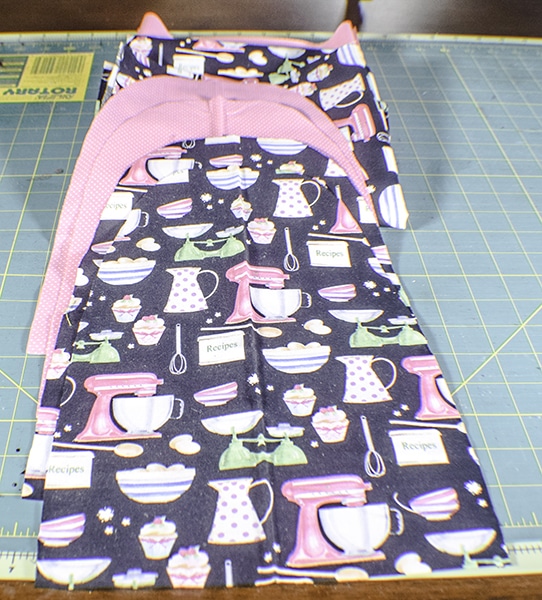
I used a directional fabric for my cover. In order for me to make sure that the pattern on the fabric was going in the same direction on both sides I cut the body fabric in half widthwise and restitched it using a 1/4″ seam allowance so that my fabric direction was facing up on both sides. Take care when using directional fabrics for this project.
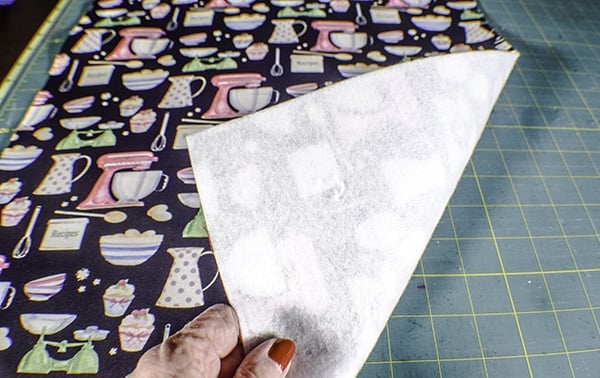
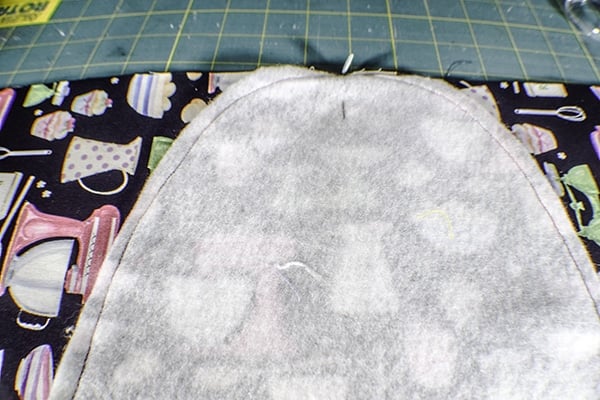
Step 2: Fuse the Interfacing
Fuse the fleece to the outer body piece and the outer pattern pieces following the manufacturers instructions.
Step 3: Add your piping to the pattern pieces (Optional)
If you are adding piping to your cover add it to the outer pattern pieces by matching the raw edges of the piping to the raw edges of each piece. Pin the piping then baste to keep it in place.
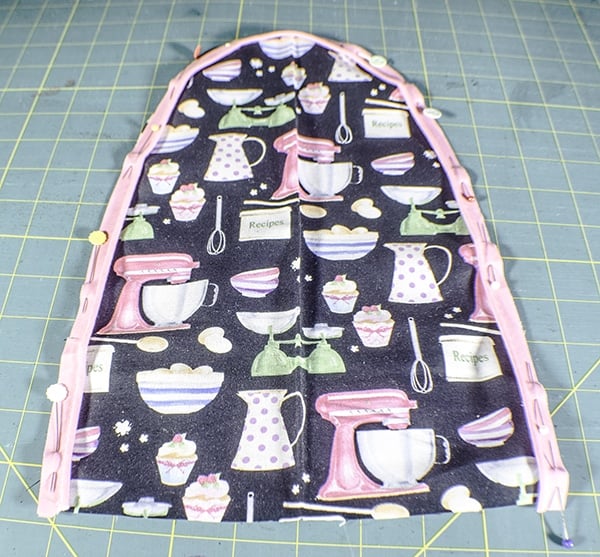

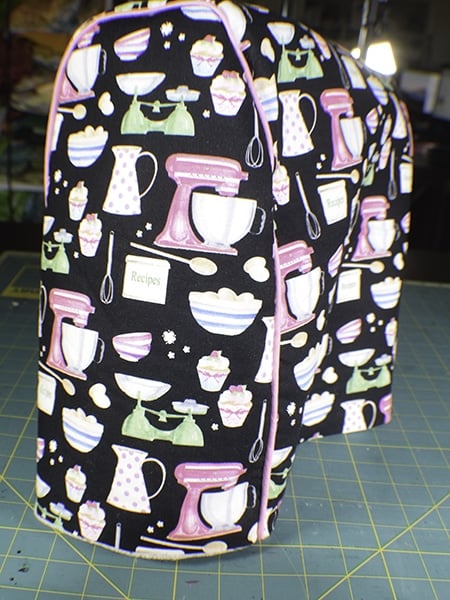
Step 4: Add the body piece to the pattern pieces
The body piece is one long piece. Find the center of the long edge of the body piece and the center of the top of the pattern piece and pin them together. Continue pinning until the pattern piece is completely pinned to the body piece. There may be some excess body fabric left over but that is alright. After you have sewn the pieces together simply cut off the excess level with the pattern piece. Repeat for the other side. Stitch the outer body piece to the pattern pieces close to the piping. If you are not using piping. Stitch using a 1/4″ seam allowance. Turn right sides out.
If you are using piping, take out your zipper foot and stitch along the piping cord so that there is no bias binding showing and you just have the piping. This is much easier than it seems because you have the cording to guide your way. You can easily accomplish this my stitching just to the left of your basting stitches if you like.

Step 5: Create the lining
Repeat step three for the lining pieces without using the piping and leaving a 2″-3″ opening on one end of the lining for turning.
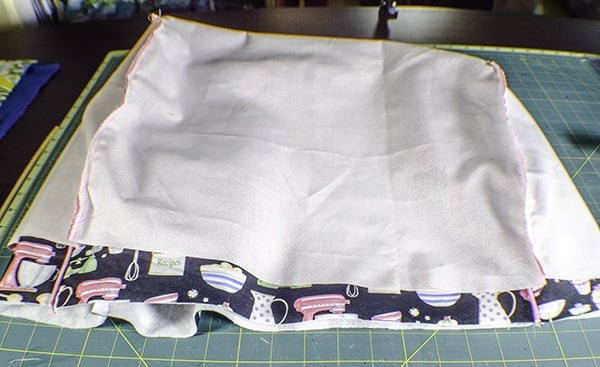
Step 6: Stitch the outer cover and Lining together
With right sides together place the outer cover and the lining cover together. Stitch all the way around the bottom using a 1/4″ seam allowance.
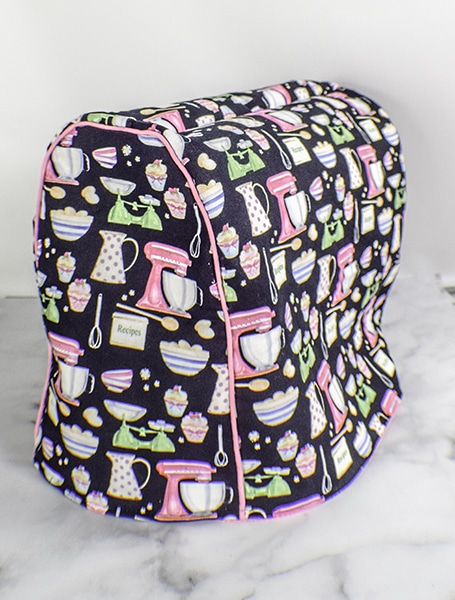
Step 7: Turn the cover
Turn the cover right sides out through the opening you left in the lining. Top stitch around the bottom of the cover. Close the opening in the lining using ladder stitch. I added some small stitches at the top of my cover and along the seams to secure the lining to the outer cover so it would not collapse within my cover. You have now finished your Kitchenaid cover.


I hope you enjoyed this project. If you would like more sewing and crafting projects sign up for our newsletter and receive access to our free printables library.
If you would like video tutorials of simple sewing projects subscribe to my YouTube channel


Does it need to be fleece? or could you use Fusible interfacing instead?
Yes you can use interfacing
Thank you
You’re welcome.
Where did you get such cute fabric?
Hi Carol, I got this particular fabric at Joann’s.
They are out of business now … a shame!
I know. It has been hard getting fabrics locally.
I found this fabric on Spoon Flower if you are interested.https://www.spoonflower.com/en/fabric/6237499?sku=fbty-pf-yd-f130&utm_source=google&utm_medium=cpc&utm_campaign=Pmax_Wallpaper_USCAN&gad_source=1&gad_campaignid=22507482614&gbraid=0AAAAADSZg_PEQOlIGBIFEk5bpa1LAAaHc&gclid=Cj0KCQiAr5nKBhCpARIsACa_NiMWnoxEvmA4-KCqziuFR2dtisWj1dUm6S-9kQ4x2X1gmFuTEFYedGwaAiIAEALw_wcB
I can’t seem to print can you message me a copy I can print? Thank you!
Hi, I have been trying to send you an email with the pattern but it keeps getting returned as undeliverable. Do you have another email address?
I love the fabric!!! It’s so cute. But I bought a pink mixer so I want it out. But I did make a bowl cover. Love your cover. Linda
Thank you so much. Wish I had the pink mixer. Mine is white.
can’t get a copy to print.
You should be able to get the pattern here. https://sewverycrafty.com/wp-content/uploads/2020/02/KitchenAid-Pattern.pdf
With your directional fabric, did you also cut the fusible fleece, then fuse it then sew together? Or did you just sew the 2 pieces together and then fuse it?
I fused the fleece to the whole piece then cut it in half. Thanks for asking.
Can you give me the sizes for the big kitchenaid 7580 with the 7Q bowl?
I do not have the sizes for this Kitchenaid as I do not have one. I am sorry.
I have a kitchenaid standard mixer – when I used the pattern it came out about 2 inches too short on the side walls – but the main part is enough material – my suggestion is to take the side panel pattern and add 1-2 inches on the bottom.
Thank you for your comment. I have updated the pattern to reflect the extra length.
What size Kitchenaid Mixer is this pattern based on?
This is based on the standard 5qt Kitchenaid. I will be modifying the pattern to add about another inch to the bottom of the side pieces to make it fit a little bit better.
Thank you for your reply!
You are welcome.
Thank you for updating!
Can I please get the measurements because my printer is not working
If you can imagine the pattern piece there is a long side that is 13 1/2″ that is cut on the fold of your fabric. The base of the pattern is 4 1/2″ wide. The pattern piece starts over at the top 1 1/2″ then begins to curve down toward the bae until the lines intersect, I hope that makes sense.
I made mine a bit taller, added pockets & embelishments to the side as well as a handkerchief on top.
Perfect. I would love to see a photo.
Just curious how big is your kitchen aid mixer? I have one of the bigger models where the bowl lifts up.
I have the classic Kitchenaid stand mixer that you can find here. https://amzn.to/3qOGmI9. It is the 5qt. version.
Hi! How many yards of fabric do you need to make this cover? Thanks!
It depends of you are using a directional fabric or not. If you are using an allover fabric one yard of each fabric should be sufficient. If you are using a directional fabric I would get 1 `1/4 yds of fabric. I hope this helps. It is always wise to get a bit extra in my opinion.
I have an 8-quart professional Kitchen Aid. Will this pattern fit my mixer?
I made this for a 5qt kitchnaid but if you adjust the pattern slightly it may fit.
It says Kitcheaid cover. Did you do that in purpose? Can you not use Kitchenaid since it’s a trade name?
Actually, it was a mistake.
How do I print the pattern pieces to get the correct size-looks like pieces are bigger than an 8×10 typing paper that pieces would be copied on??.
There are to pieces that get taped together at the arrows. Each should fit on a typical printer sheet.
do we enlarge this pattern? it is too small to fit over my 5 qt Kitchenaid! My mixer is almost 14″ tall and 13.5″ long. these pattern pieces are small than an 11″ sheet of paper.
No. You may have a larger one than I had when I created the pattern. If you need to enlarge it to fit yours you can.