How to Make a Clothespin Bag
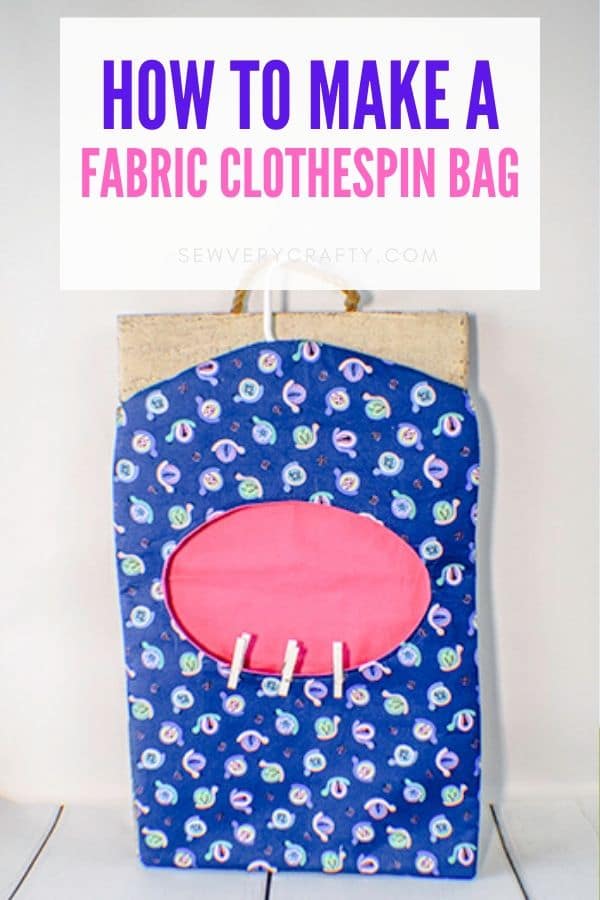
There is nothing like air dried clothes. The spring air and summer months make clothes smell fresh and bright. I decided to create a clothespin or peg bag that will be a perfect accompaniment to summer wash days. This is a simple beginner sewing project. It is also a simple pattern drafting project that anyone can make. What better way to start then this simple clothespin bag pattern. This tutorial will show you step by step how to draft and sew this terrific little pattern.
I used quilting cotton for this project that I bought online from Fabric Frenzy and intended to cover in fusible vinyl to make it waterproof but didn't have quite enough for the project so I went ahead and made the project anyway using Pellon 808 for structure. You could use outdoor fabric or some other coated fabric for this project if you plan to keep it outside. You could head to JOANN Fabric & Craft Stores, Hobby Lobby or Fabric.com to get exactly what you need for this project if you don't have fabrics on hand. This post contains affiliate links that if you click on them I may receive a small commission at no extra cost to you. As an Amazon Affiliate I earn from qualifying purchases.
What you will Need: How to Make a Clothespin Bag
- Oval Pattern
- 1/2 yd outer fabric and lining fabric
- 1/2 yd Pellon 808 or similar interfacing (optional)
- 1 child's hanger
- Pattern Paper (Optional)
- Standard sewing supplies
Step 1: Create your Pattern
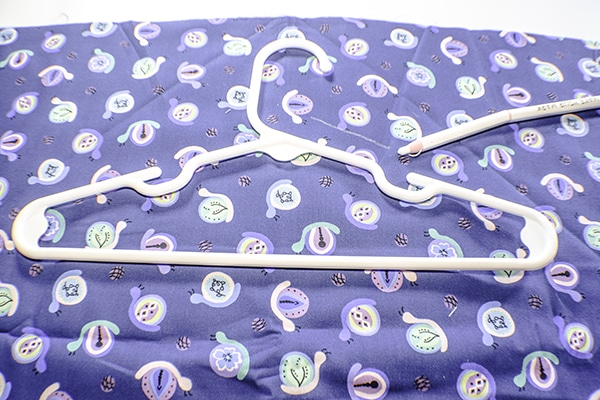
You can create your pattern directly onto your fabric or use pattern making paper. I decided to use the paper I use for drawing patterns because my fabric was so dark. The paper I use for drawing patterns is actually the paper they use in Doctor's offices to cover the table you sit on. It works perfect. To draw this pattern simple place your child's hanger on your fabric. Trace around the hanger about 1″ away and then straight down the sides to a length of about 17″.
Step 2: cut your fabrics
Cut 2 of your pattern from the outer pieces and two from your lining pieces and interfacing.
Step 3: fuse the interfacing
If you are not using fusible vinyl, outdoor fabric, or a coated fabric you may want to use interfacing. If you do, fuse interfacing to the two outer pieces only,
Step 4: Add the oval
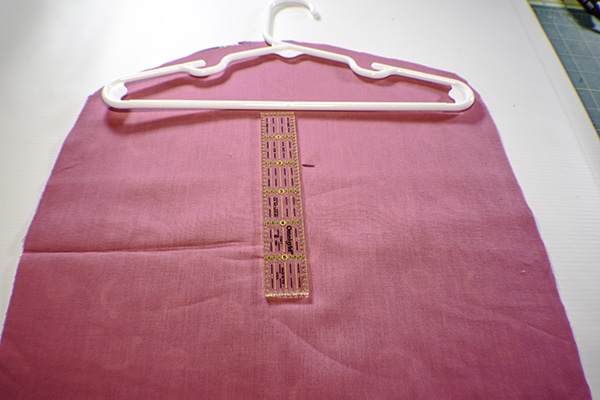
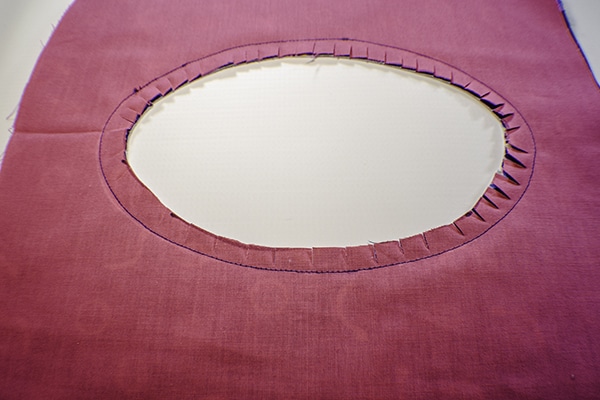
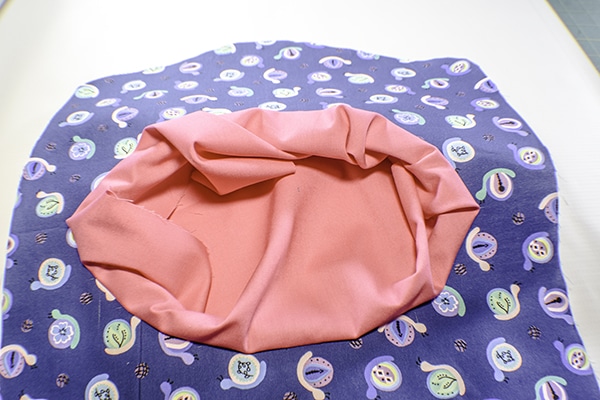
Place one outer piece and one lining piece right sides together and pin. Measure down 2″ from the bottom of the hanger and draw a circle or oval. I used the oval pattern attached to this tutorial for my clothespin bag and drew it using a Frixion heat erasable en that you can get here. Stitch around the oval through both layers. Cut a hole about 1/2″ inside the oval. Clip around the curves. Push the fabric through the hole so that the fabrics are right sides out and press. Top stitch around the oval.

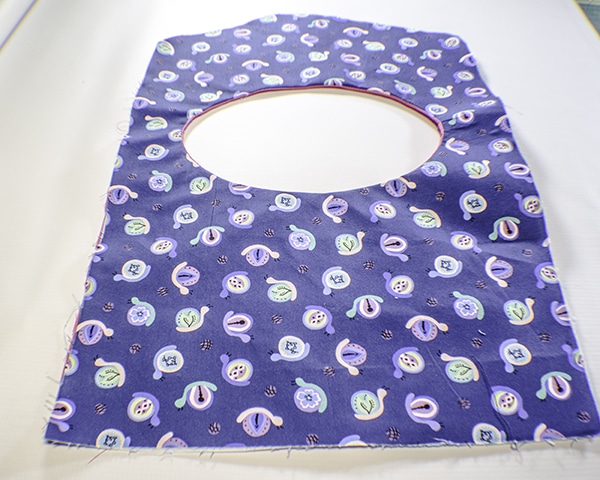
Step 5: add the LINING back
Take the second lining piece and place it right sides up on your work surface. Place the pieces with the hole on top. Stitch the two lining pieces together leaving a hole at the top for the hanger.
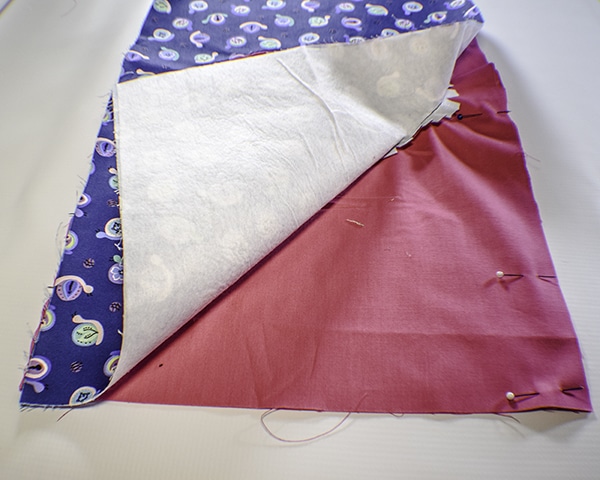
Step 6: Add the outer back
Place the second outer piece right sides together and stitch all the way around leaving the hole at the top for the hanger and an opening at the bottom for turning. Turn the bag right sides out and press.
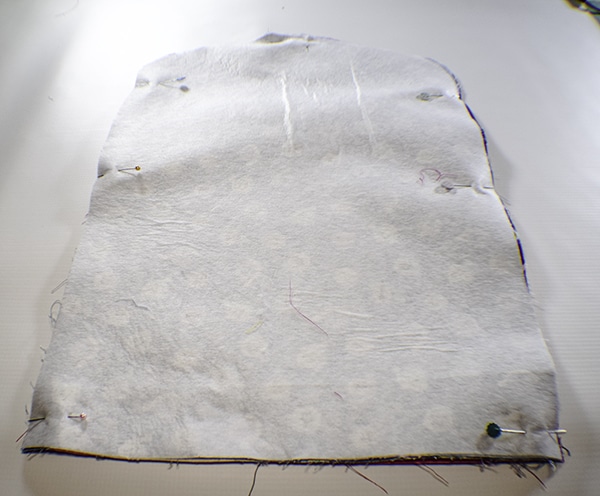
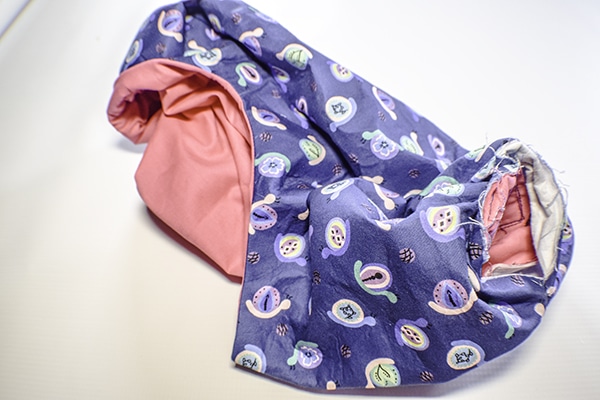
Step 7: Finish the bag
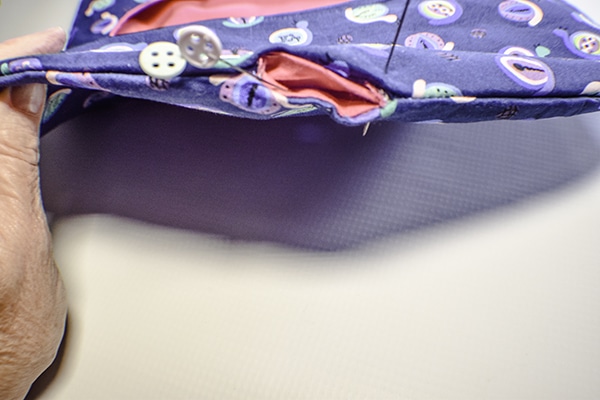
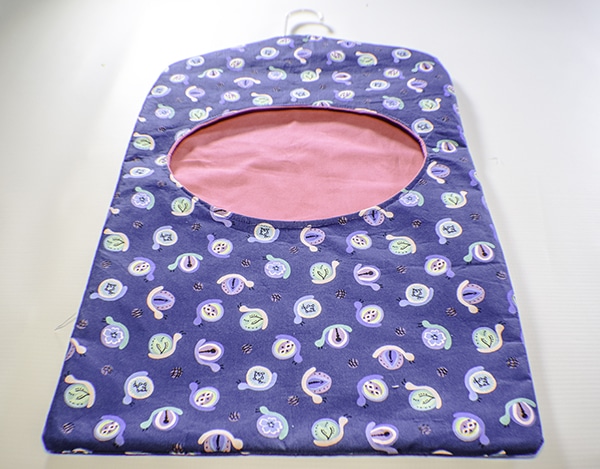
Close the opening at the bottom using ladder stitch. If you are unfamiliar with ladder stitch check out the video below. Stitch the lining and outer fabric together at the top hole also using ladder stitch. Insert the hanger through the oval and through the top hole and you have finished your clothespin bag.
I hope you enjoyed this project. If you would like more sewing and crafting projects sign up for our newsletter and receive access to our free printables library.
If you would like video tutorials of some of Sew Very Crafty's most popular posts subscribe to our Free YouTube Channel Here.


