How to Make a Reusable Produce Bag
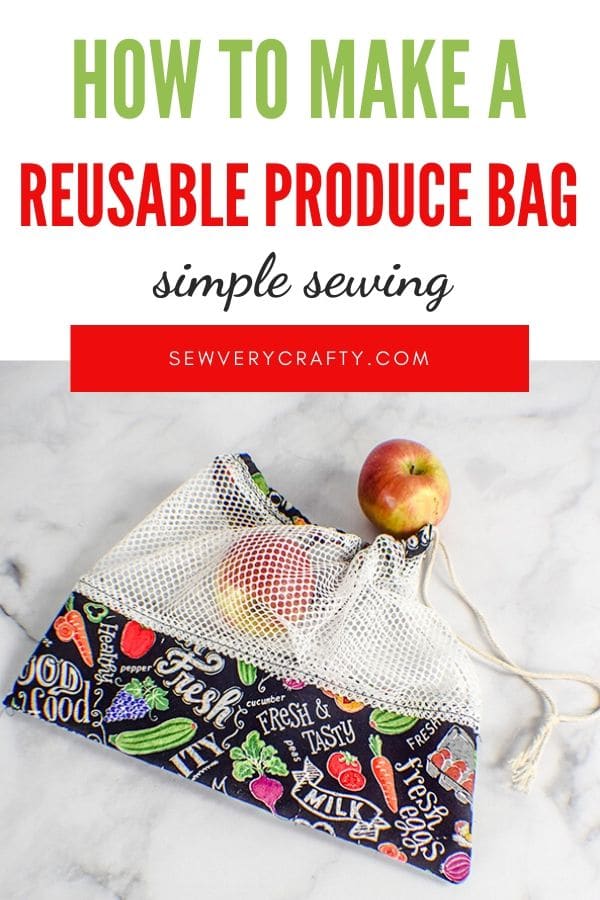
Reusable, recyclable and zero waste are the watch words of the day and these reusable produce bags fit right in. These bags are not only zero waste they are a super simple beginner sewing project that anyone with basic sewing skills can make. With these bags there is no reason to use plastic anymore. You can make several of these bags to go along with your reusable shopping bags. They can be used over and over again and are washable. They only require some mesh and a bit of fabric to make and are well worth the little bit of time it takes.
I purchased both the mesh and the quilting cotton that I used for this project at Joann's but you could head over to Hobby Lobby or Fabric.com to get exactly what you would like for your reusable produce bags. This post contains affiliate links that if you click on them and make a purchase I may receive a small commission at no extra cost to you.
If you would like a video tutorial of this project head over to YouTube and check out my video on how to make a reusable produce bag. While you are there subscribe to my channel for more video sewing projects.
What you will Need: How to Make a Reusable Produce Bag
- ¼ yard Mesh Fabric
- ½ yard Quilting Cotton
- 1 yard Cotton cording
- Basic sewing supplies
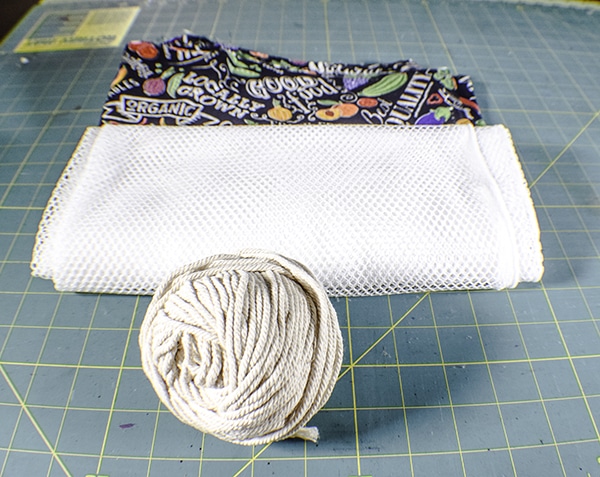
Step 1: Cut Your Fabrics
Using a rotary cutter or scissors cut one piece of the cotton to measure 3″ x 26″ and a second piece that measures 5″ x 26″. Cut a piece of the mesh that measures 8″ x 26″.
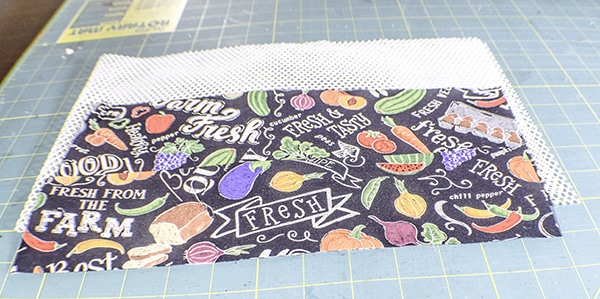
Step 2: Add the Cotton to the Mesh
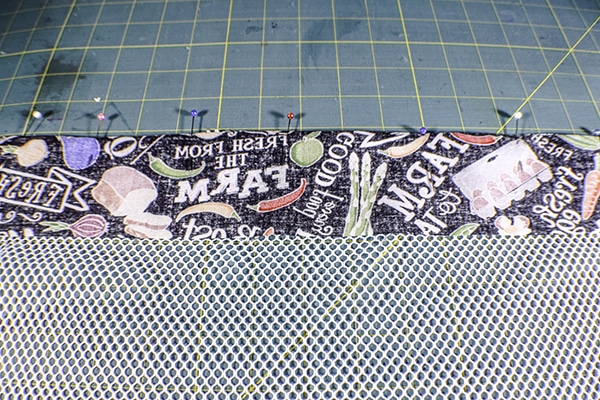
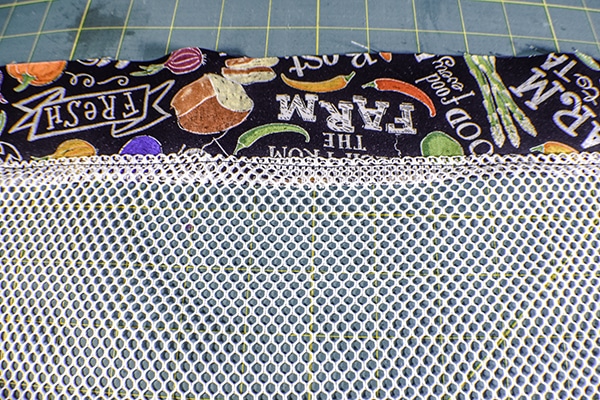
Take your 3″ x 26″ piece of fabric and place it wrong sides together with the top of the mesh and pin. Stitch the two pieces together using a 1/4″ seam allowance. Trim the seam to 1/8″. Turn the fabrics so that they are right sides together. Press. Stitch using a 1/2″ seam allowance. This encloses the original seam into a French seam where the raw edges are hidden. Press the seam toward the cotton and top stitch along the edge. Repeat this process for the bottom cotton using the 5″ x 26″ piece. Take care with the mesh. It stretches so pin it carefully take care sewing it so that it doesn't stretch or move.
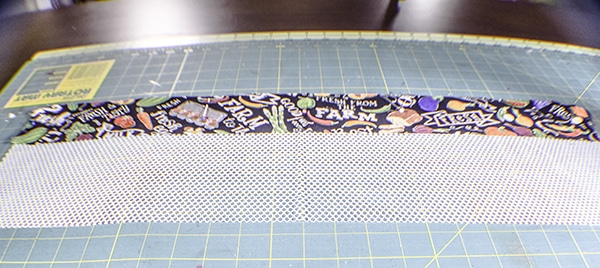
Step 3: Create the Top casing
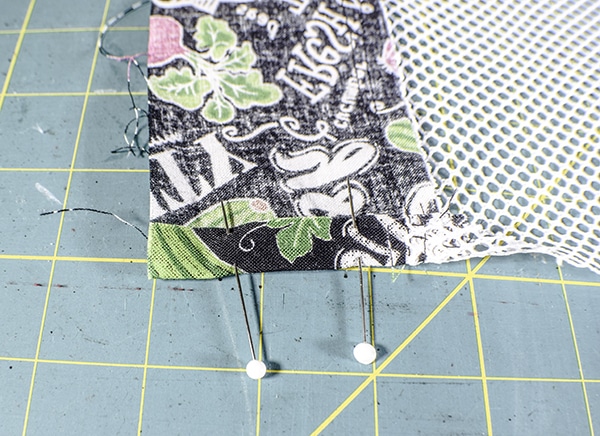
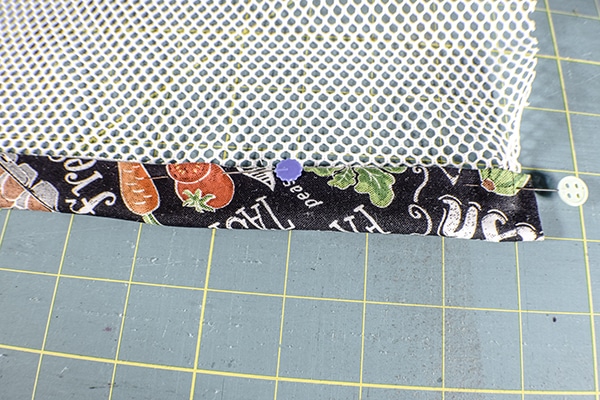
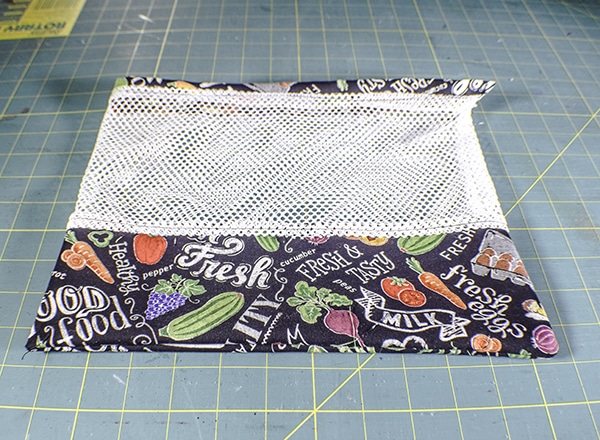
Turn in the short ends of the top cotton fabric by 1/2″. Press and stitch. Turn under the long raw edge by 1/4″ to enclose the raw edge. Pin it so that it is even with the French seam you created. Stitch along the long edge following your top stitching line. You have completed your casing.
Step 4: sew the side seam
With wrong sides together stitch the side and the bottom of the bag using a 1/4″ seam allowance. Do not stitch the casing opening closed. Trim the seam to 1/8″. Place the bag right sides together and stitch the bottom and sides not including the casing using a 1/2″ seam allowance. Turn the bag right sides out.
Step 5: Add your Cording
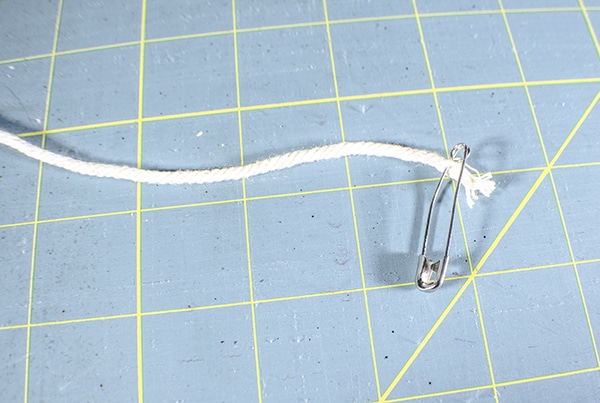
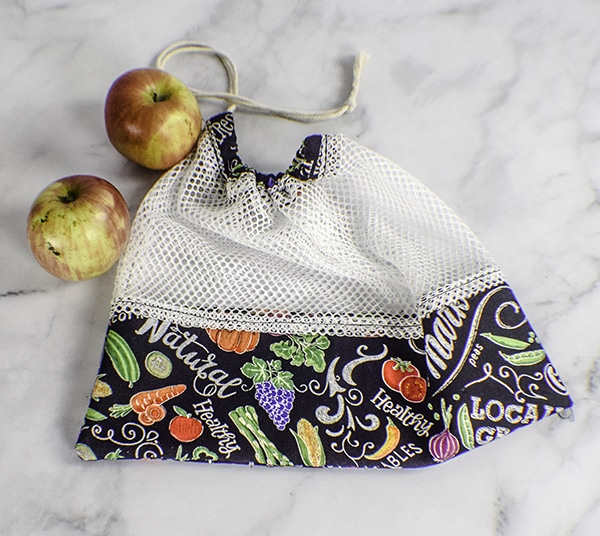
Using a safety pin or a bodkin thread your cording through your casing. Tie the ends together and you have completed your reusable produce bag.
I hope you enjoyed this project. If you would like more sewing and crafting projects sign up for our newsletter and receive access to our free printables library.
If you would like more zero waste projects check out my reusable roll-up shopping bag
IF YOU WOULD LIKE SIMPLE VIDEO TUTORIALS SUBSCRIBE TO MY YOUTUBE CHANNEL FREE HERE.


Great tutorial, easy to follow. The only thing I noticed was in written instructions for making casing it states to make 1/4” seam & repeat 1/4” seam again, then bring down to French seam, but video only mentions doing 1/4” seam once. Question my drawstring ends face towards bag instead of away from bag, is that correct? Thanks for the tutorial, it’s really good!!
I am sorry about the confusion. I think I understand your question. The video is correct. I will change the tutorial. You only need to fold the casing under by 1/4″ Then fold down the casing so that it is even with the french seam. I hope this makes sense. If not let me know and I will try to clarify further.
Thank you so much, looking forward to trying more of your projects.
Your welcome. Thank you for trying them out.
Can I use regular cotton material, rather than quilting cotton?
Absolutely. They are basically the same thing.
Where do you get the mesh fabric? I have searched everywhere and can’t find anything appropriate. Thx!!! Very good tutorial, especially for a beginner, like me. ?
You can get it in the utility fabric section at Joann’s.
I just made one after watching the video on YouTube. I am a visual learner and it was helpful to see your process. The instructions were nice and clear. It turned out really cute! Thanks!!
You’re welcome.