
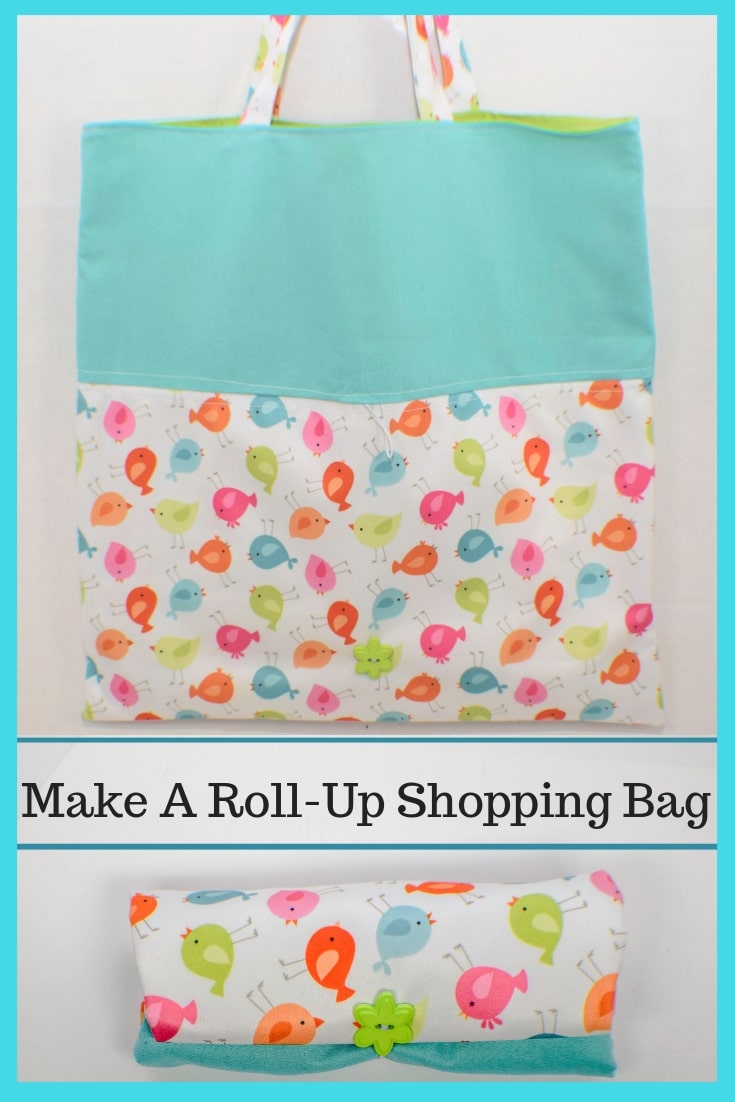
How to Make a Roll-Up Shopping Bag
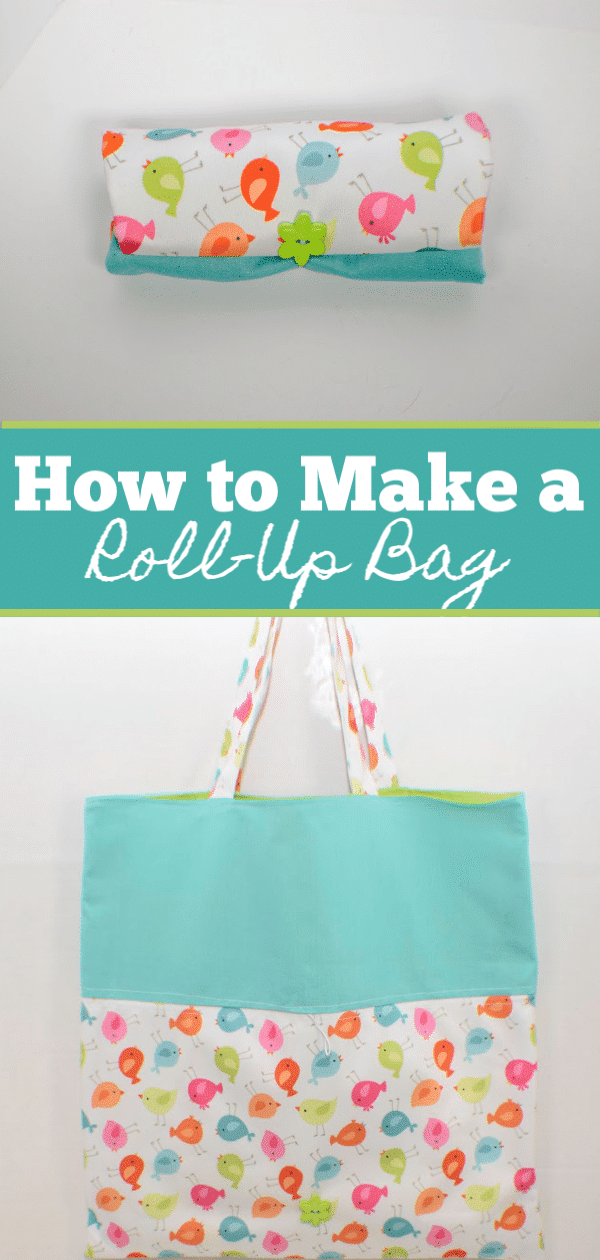
I live in California and now you have to bring your own shopping bags to the market or you have to pay ten cents for a plastic reusable one every time you forget yours. So, I thought I would create a roll-up fabric reusable bag that you can keep in your purse so that you never forget it. Of course if you do a large shopping trip you will want several of these bags but for a quick trip one in the purse is perfect. This bag is super easy to make and only requires basic sewing skills. In fact, this is the perfect bag to learn beginning bag making skills.
I, as usual, used remnants from my stash for this project but if you need fabrics I encourage you to head over to Hobby Lobby or Fabric.com to purchase the perfect fabrics for your project. I used cotton fabrics for my project as they are the easiest to work with and the best for this type of bag. My version of this bag is lined for extra strength but you don't need to line it if you don't feel the need. Keep in mind that you can make this bag whatever size you want by changing the dimensions.
If you would like a video tutorial of this project head over to my YouTube channel and follow me step by step.

What you will Need:
- Main Outer Fabric 20″ x 32″
- Main Outer Fabric 8″ x 20″ for Handles
- Contrasting Outer Fabric 14″ x 32″
- Lining Fabric 34″ x 16″
- 1 Craft Button
- 1 Hair Tie or 4″ piece of elastic
Step 1: How to Make a Roll-Up Shopping Bag
Cut your fabrics as follows:
- 2 Main Outer Fabric pieces (Top): 10″ x 16″
- 2 Contrasting Outer Fabric pieces (Bottom): 7″ x 16″
- 2 Lining Pieces 16 1/2″” x 16″
- 2 Strips of Main Outer Fabric for Handles 4″ x 20″
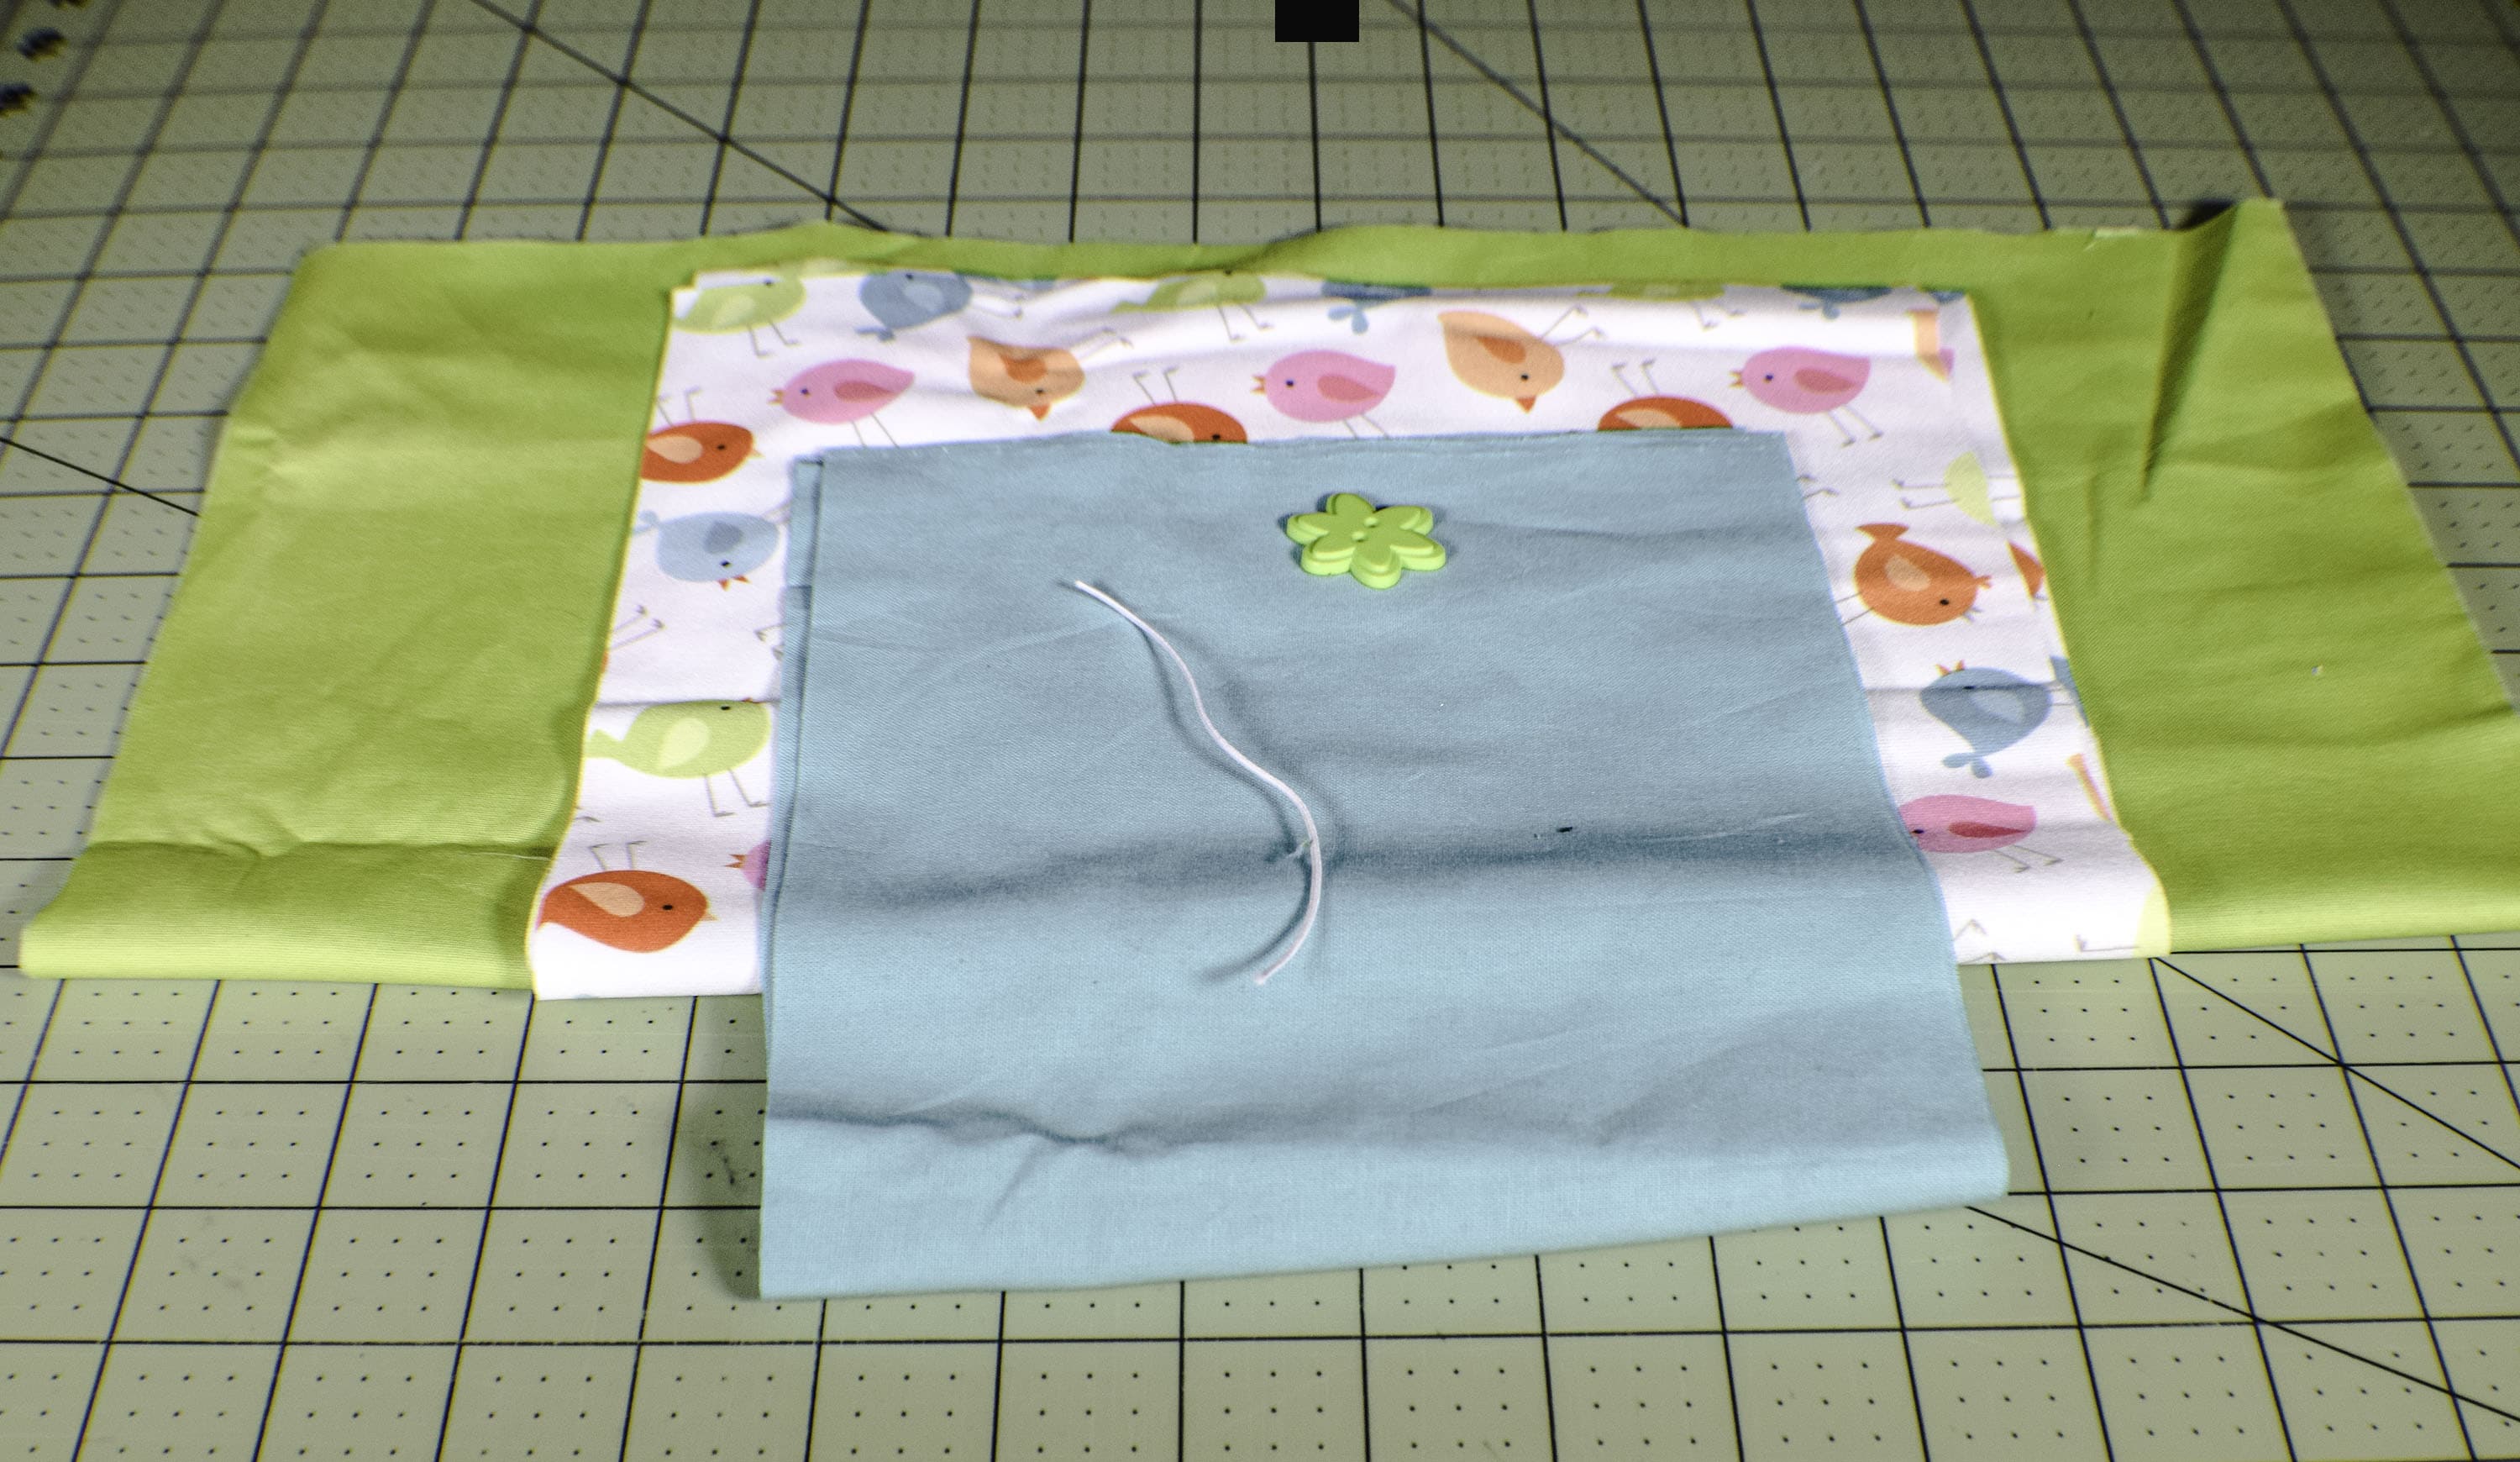
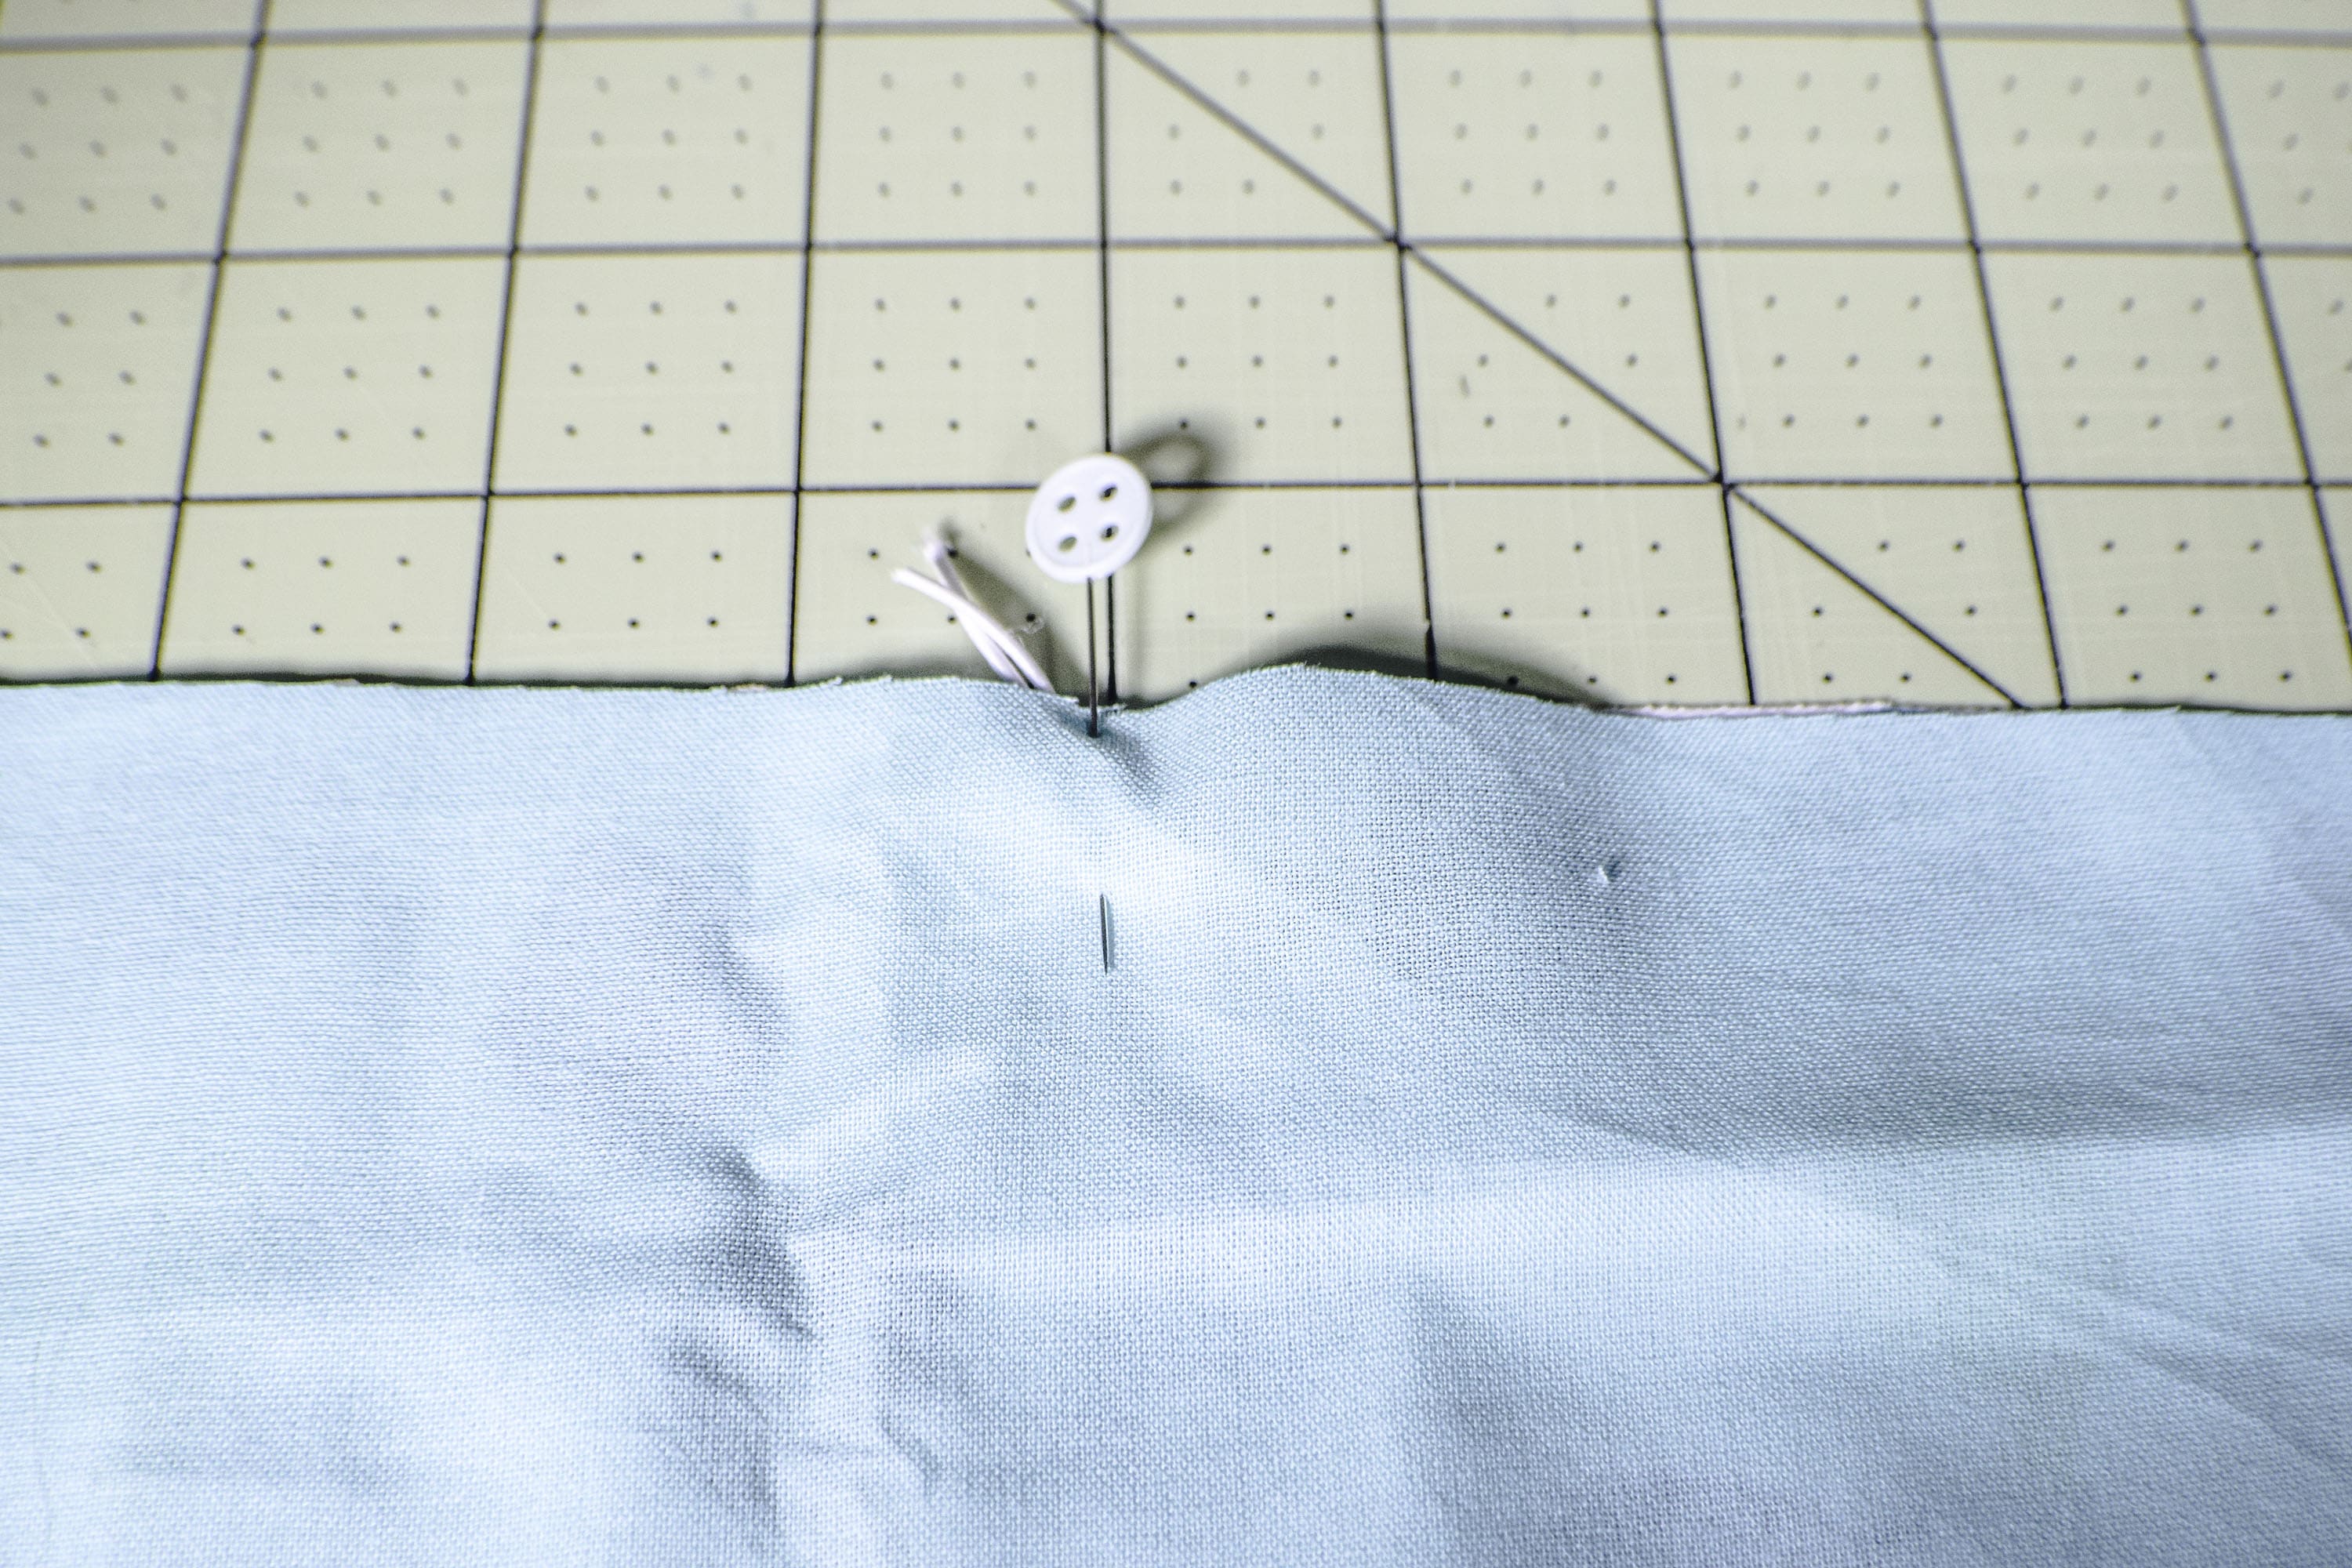
Step 2: How to Make a Roll-Up Shopping Bag
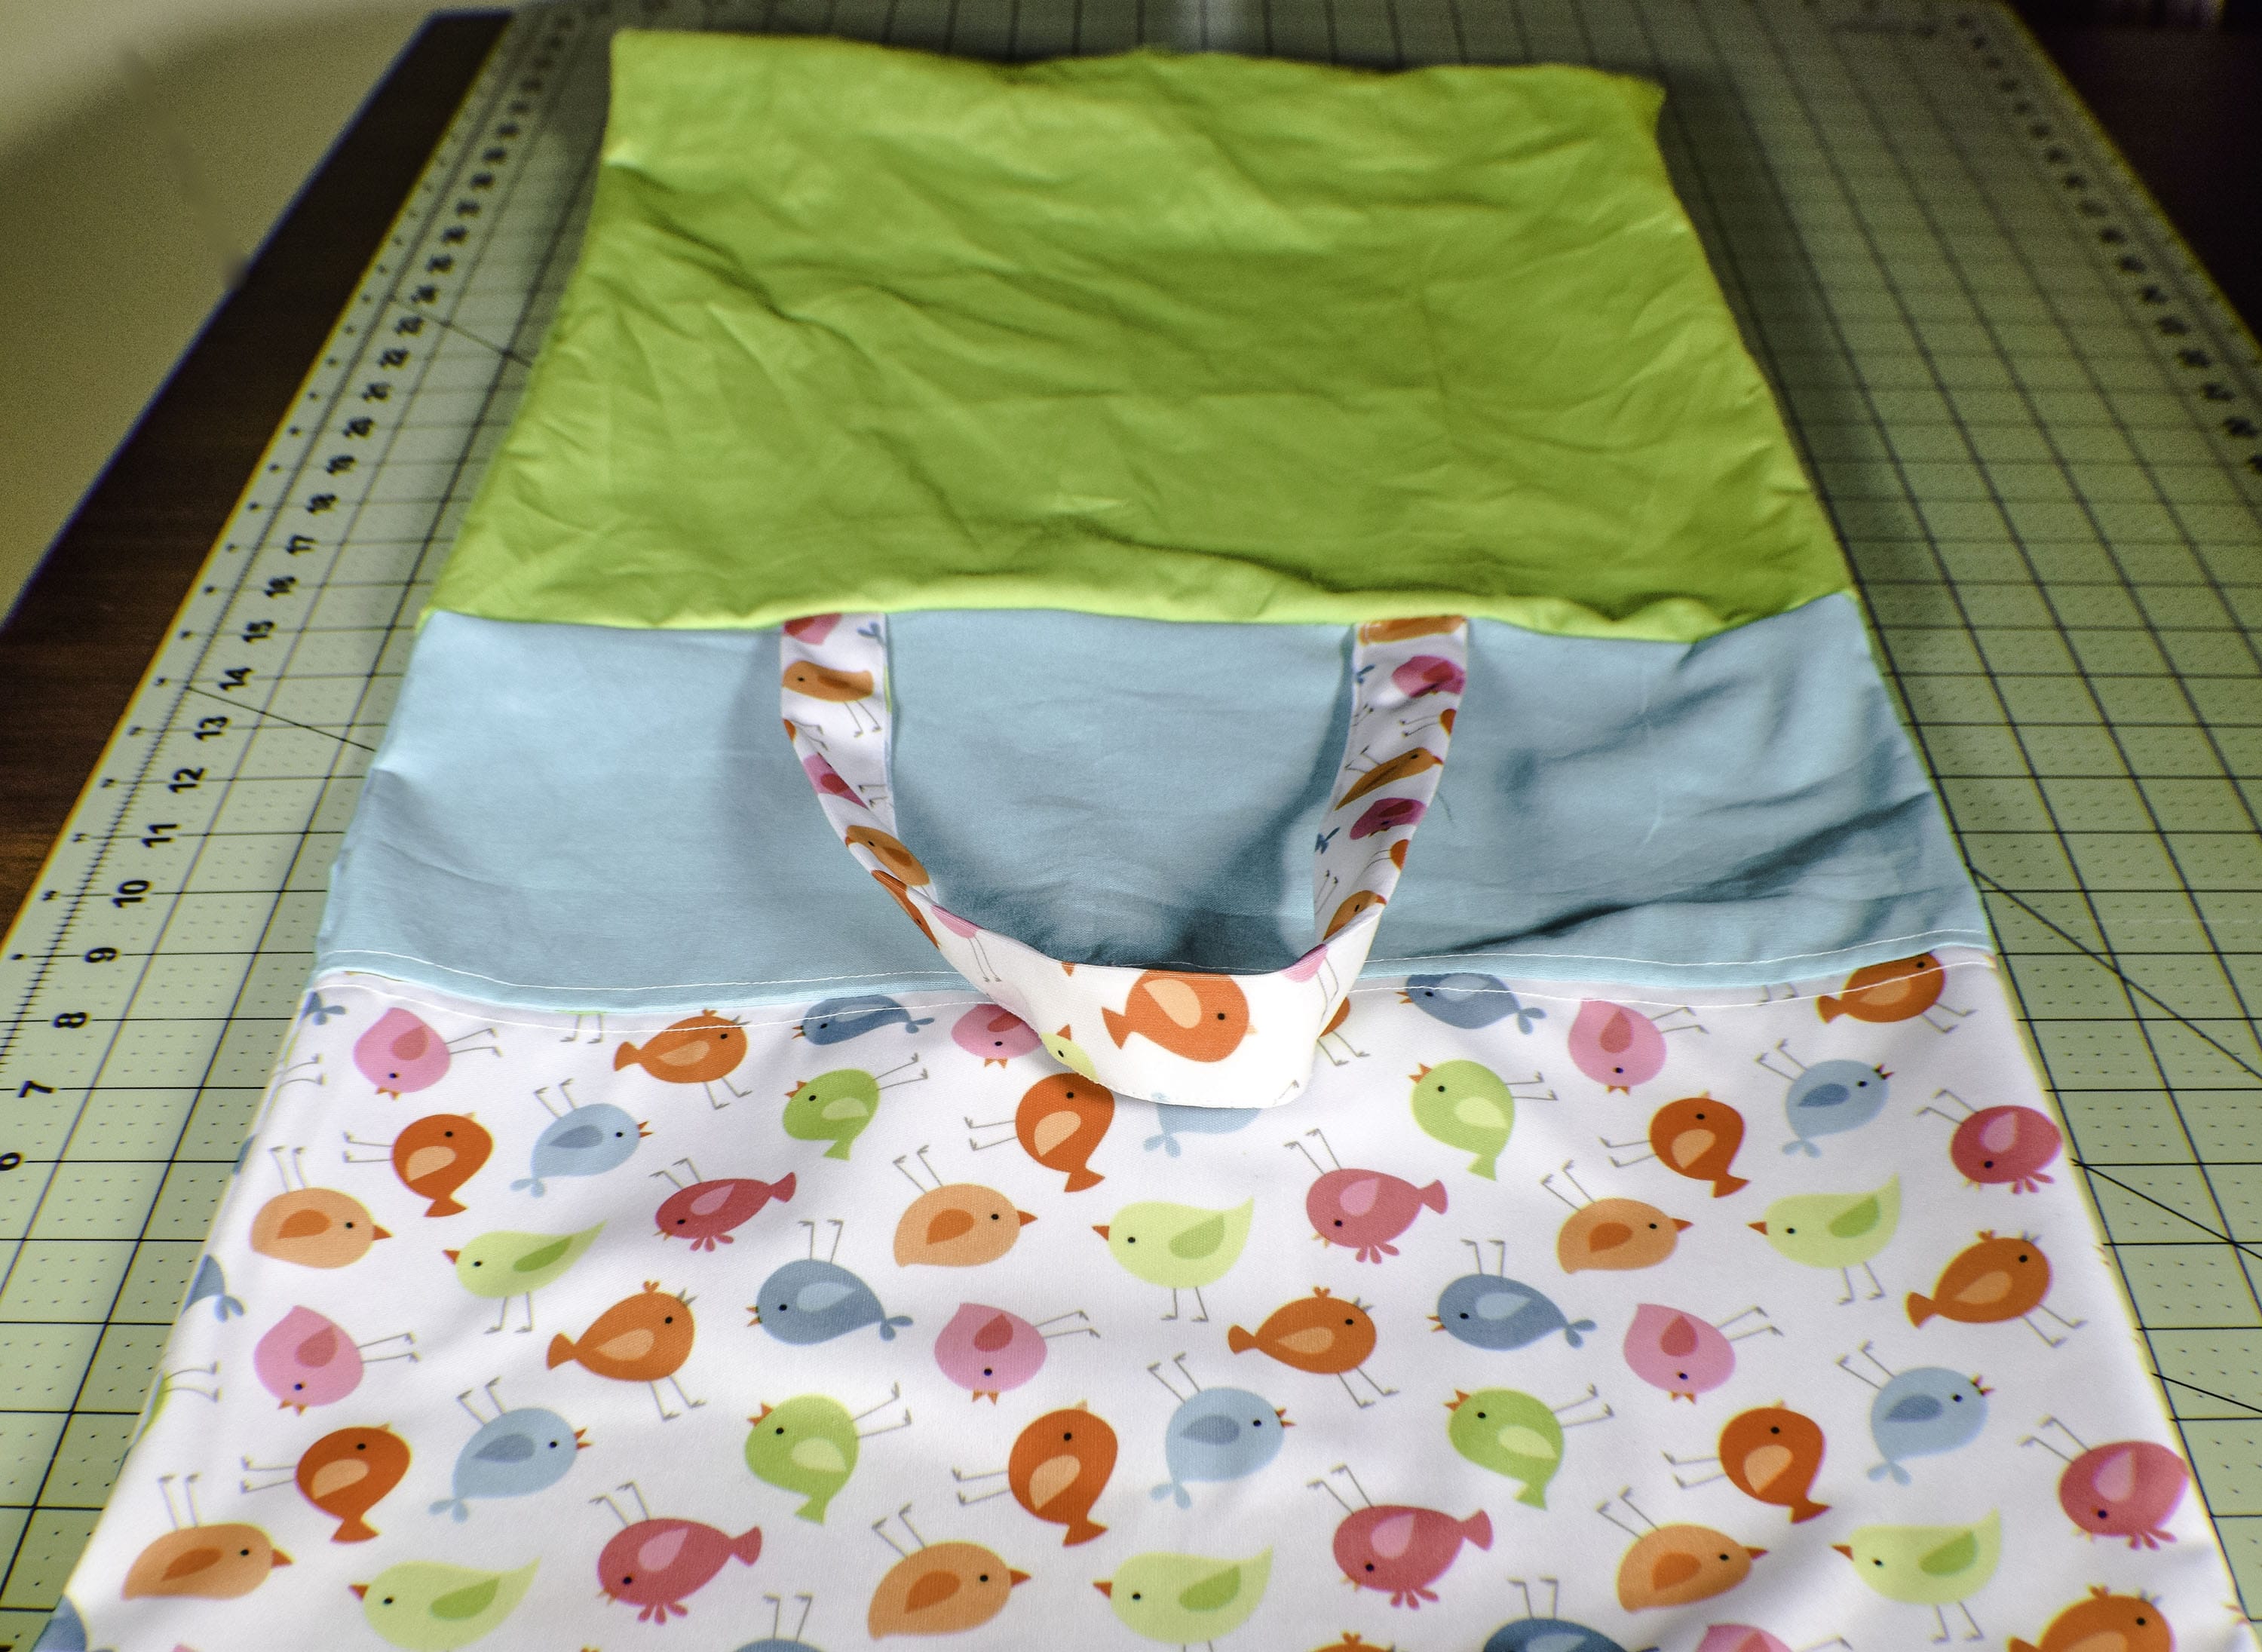
Place the top and bottom pieces right sides together and pin. Find the center and place the hair tie or elastic between the two pieces of fabric so the loop of the tie or elastic is facing the right sides. Sew the two pieces together using a 1/4″ seam allowance and sewing across the elastic to secure. Back stitch over the elastic to secure it in place.

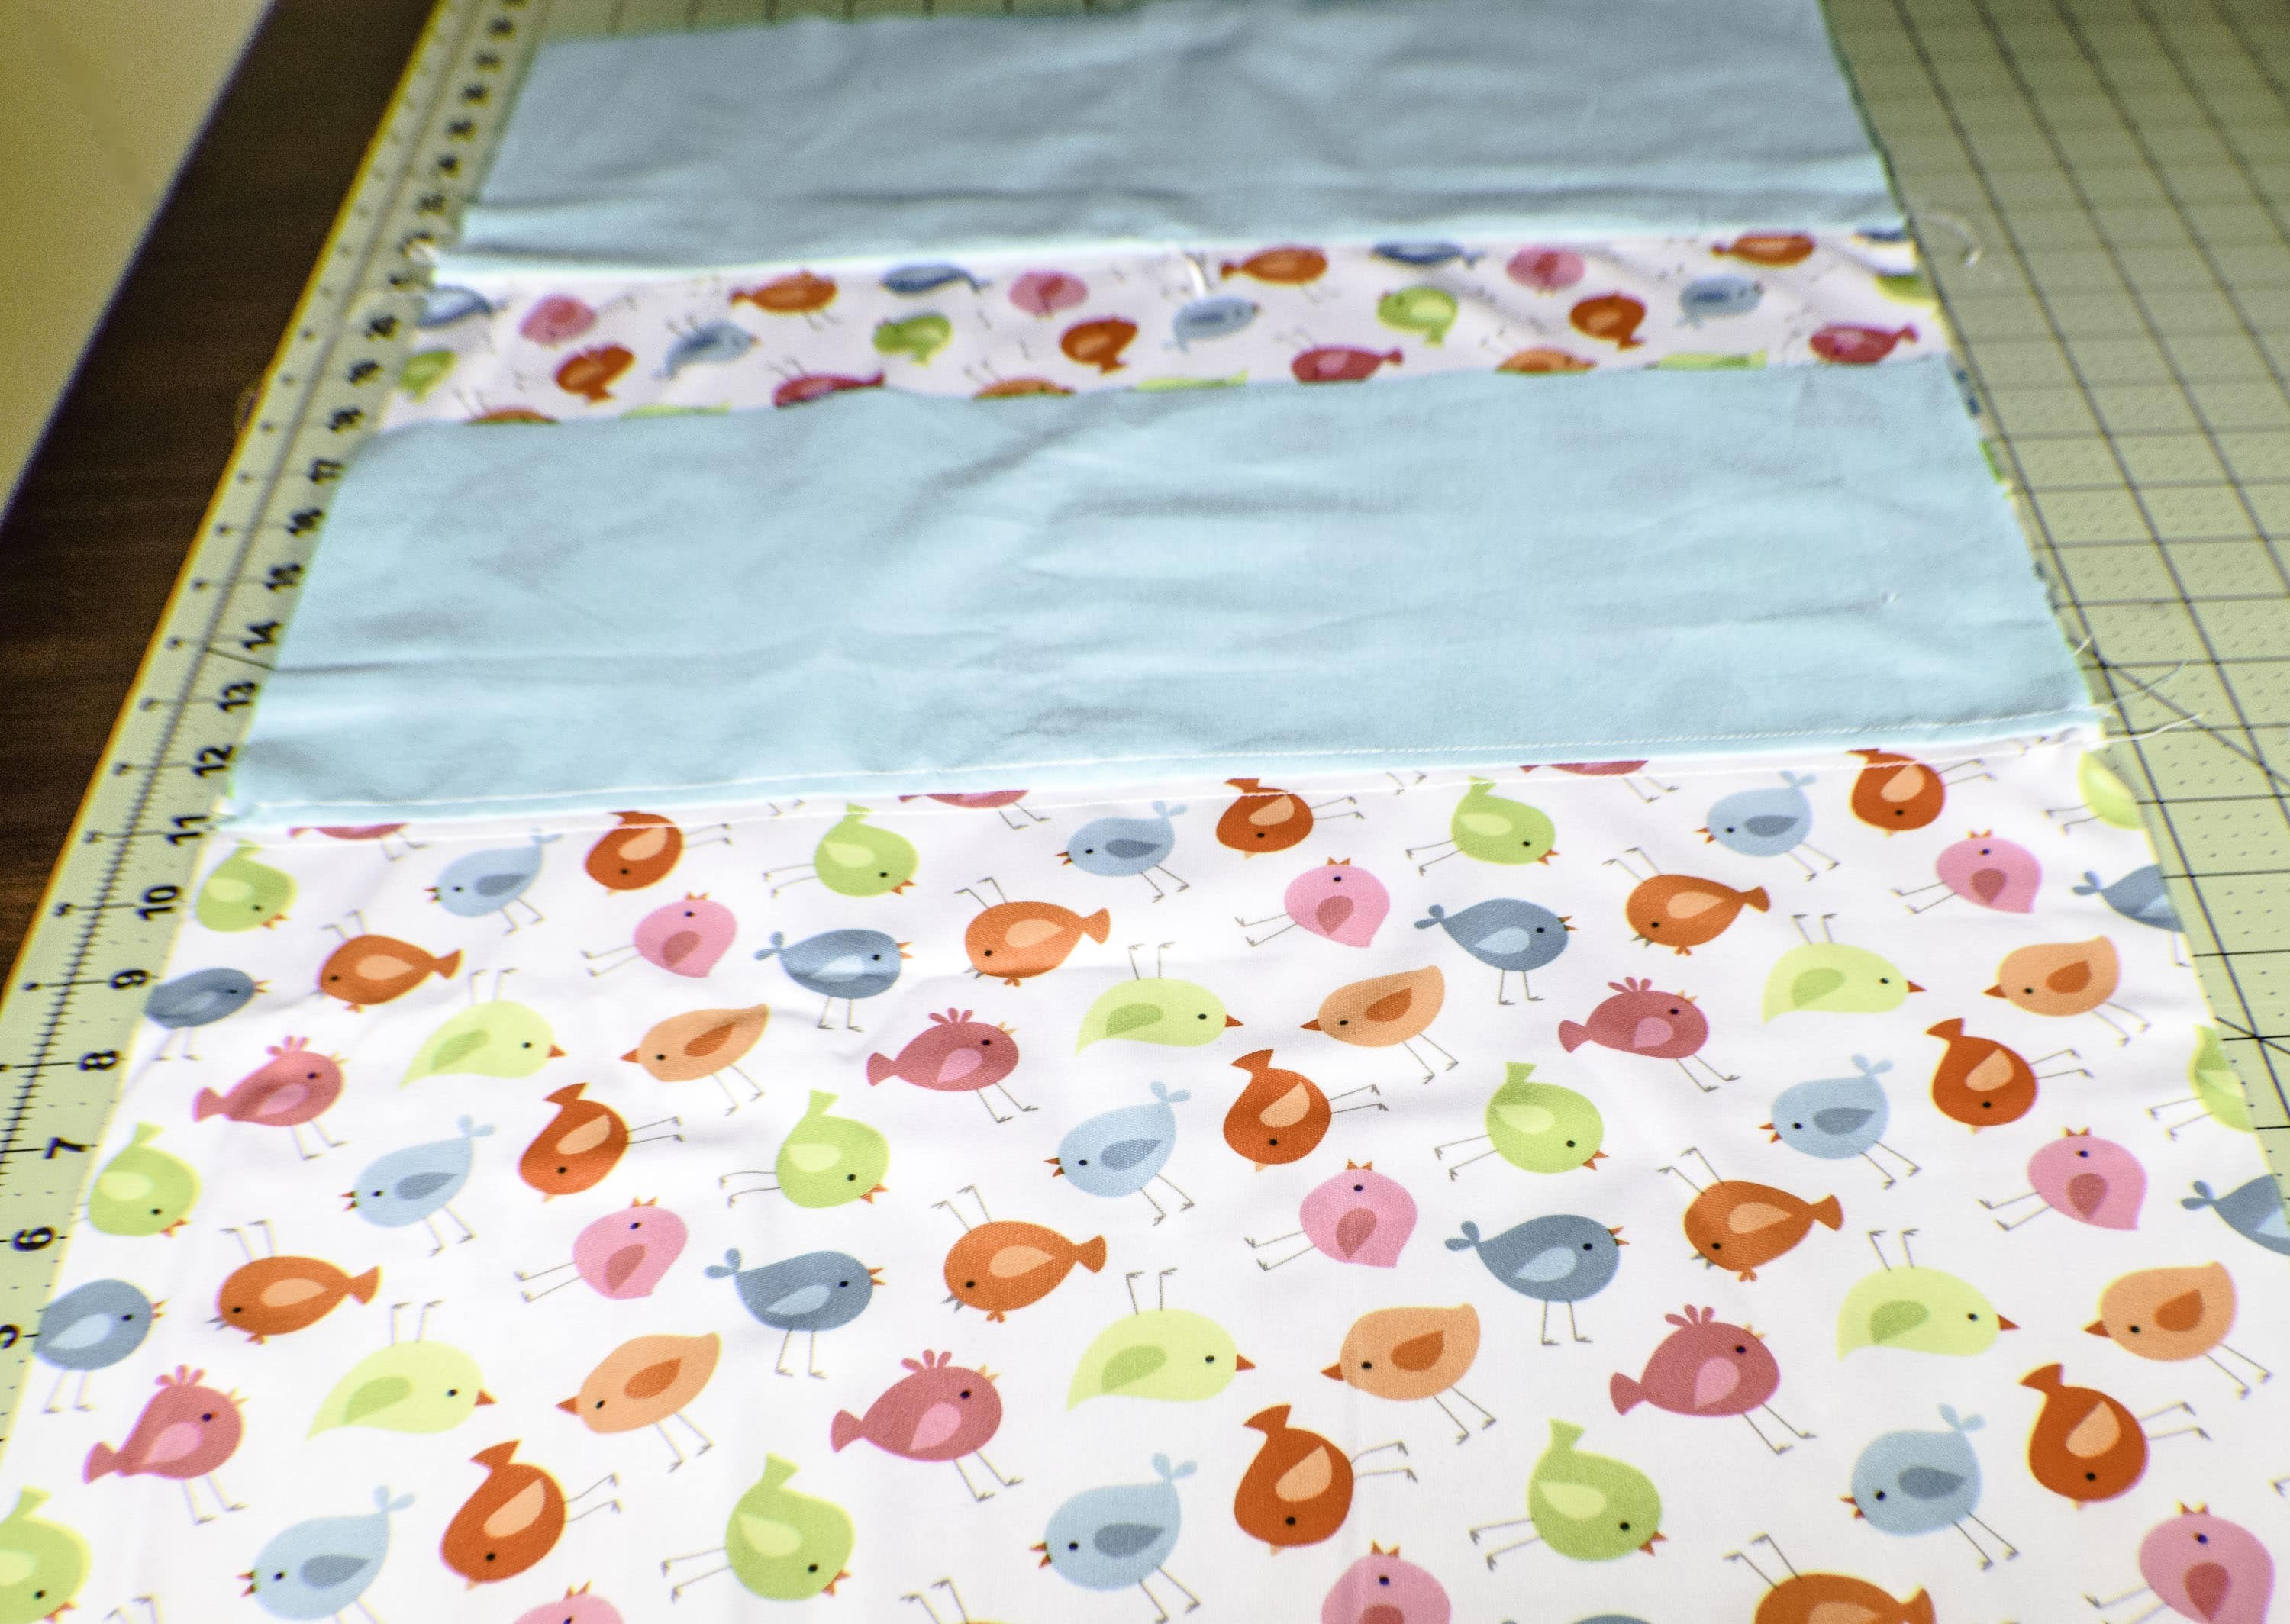
Step 3: How to Make a Roll-Up Shopping Bag
Press the seam open. Top stitch above and below the seam for a more professional look.
Step 4: How to Make a Roll-Up Shopping Bag
Repeat with the other top and bottom but without inserting the elastic. You should have two sides of the bag. Place the two sides right sides together and sew along the sides and the bottom using a 1/4″ seam allowance. Turn the bag right sides out.
Step 5: How to Make a Roll-Up Shopping Bag
Create the handles. Fold the handles in half lengthwise and press. Open up the strap and fold the raw edges to the center and press again. fold in half enclosing all of the raw edges. Top stitch along both long edges of the strap. You should have two identical straps.
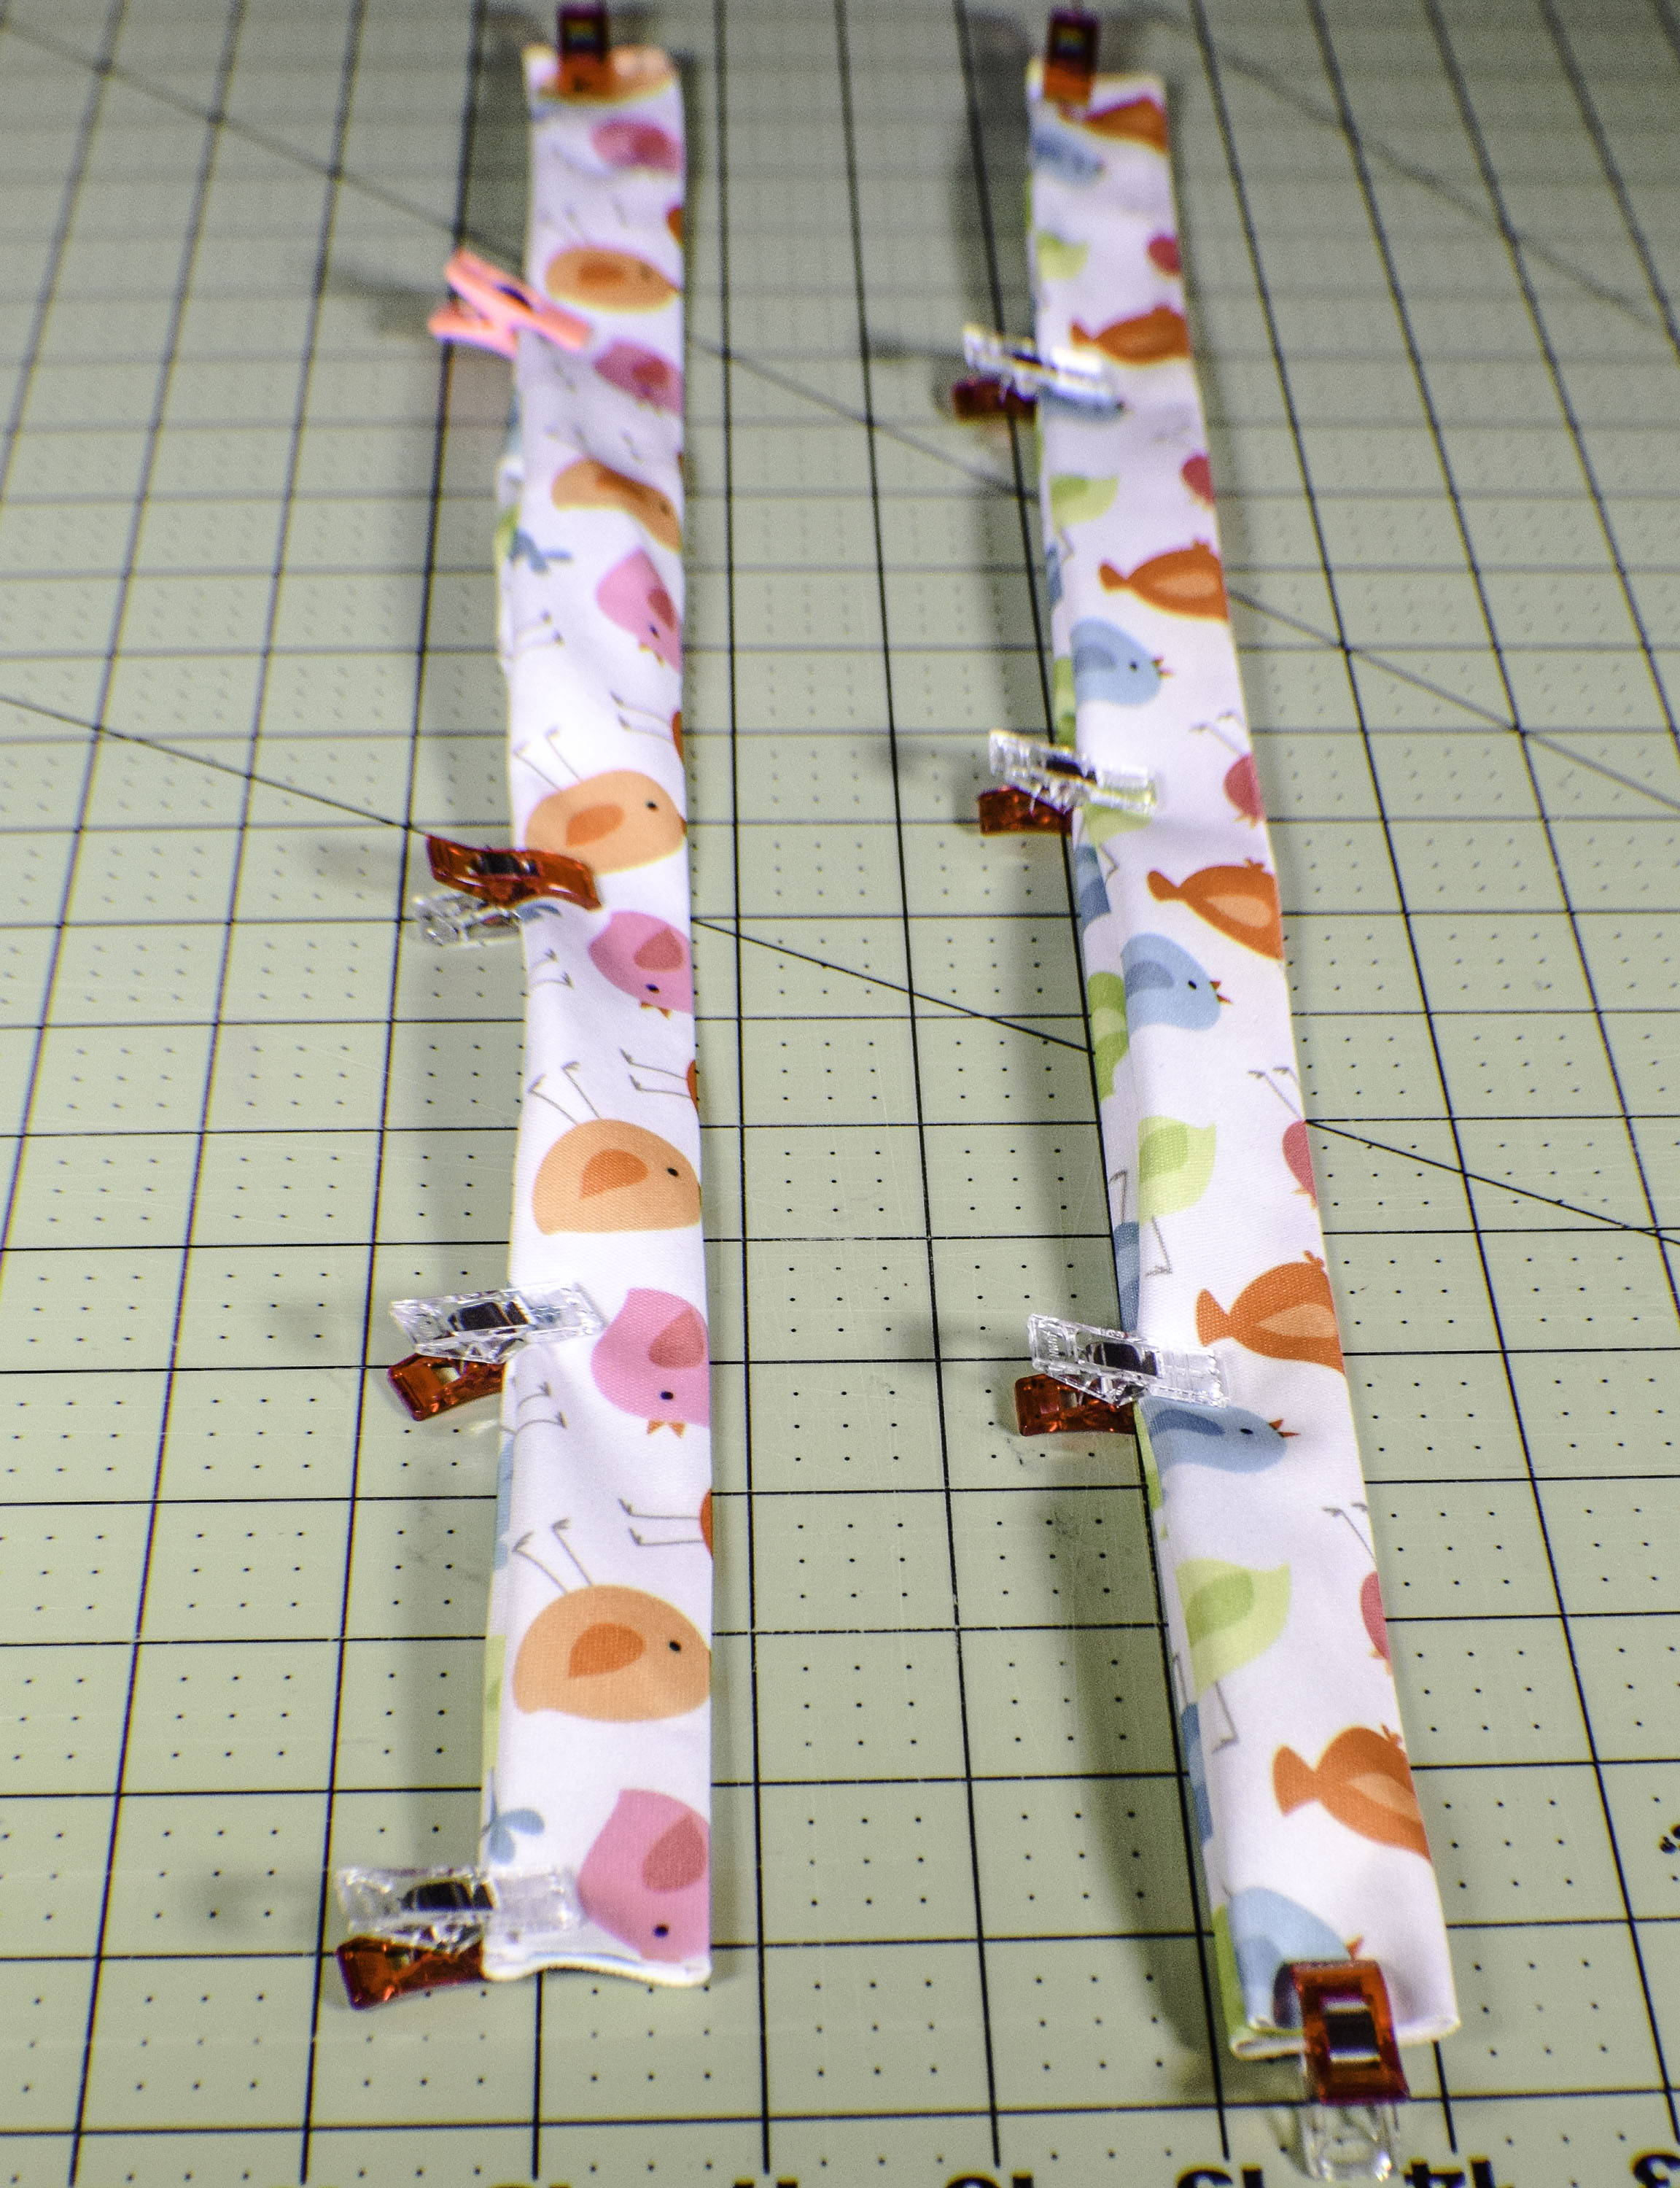
Step 6: How to Make a Roll-Up Shopping Bag
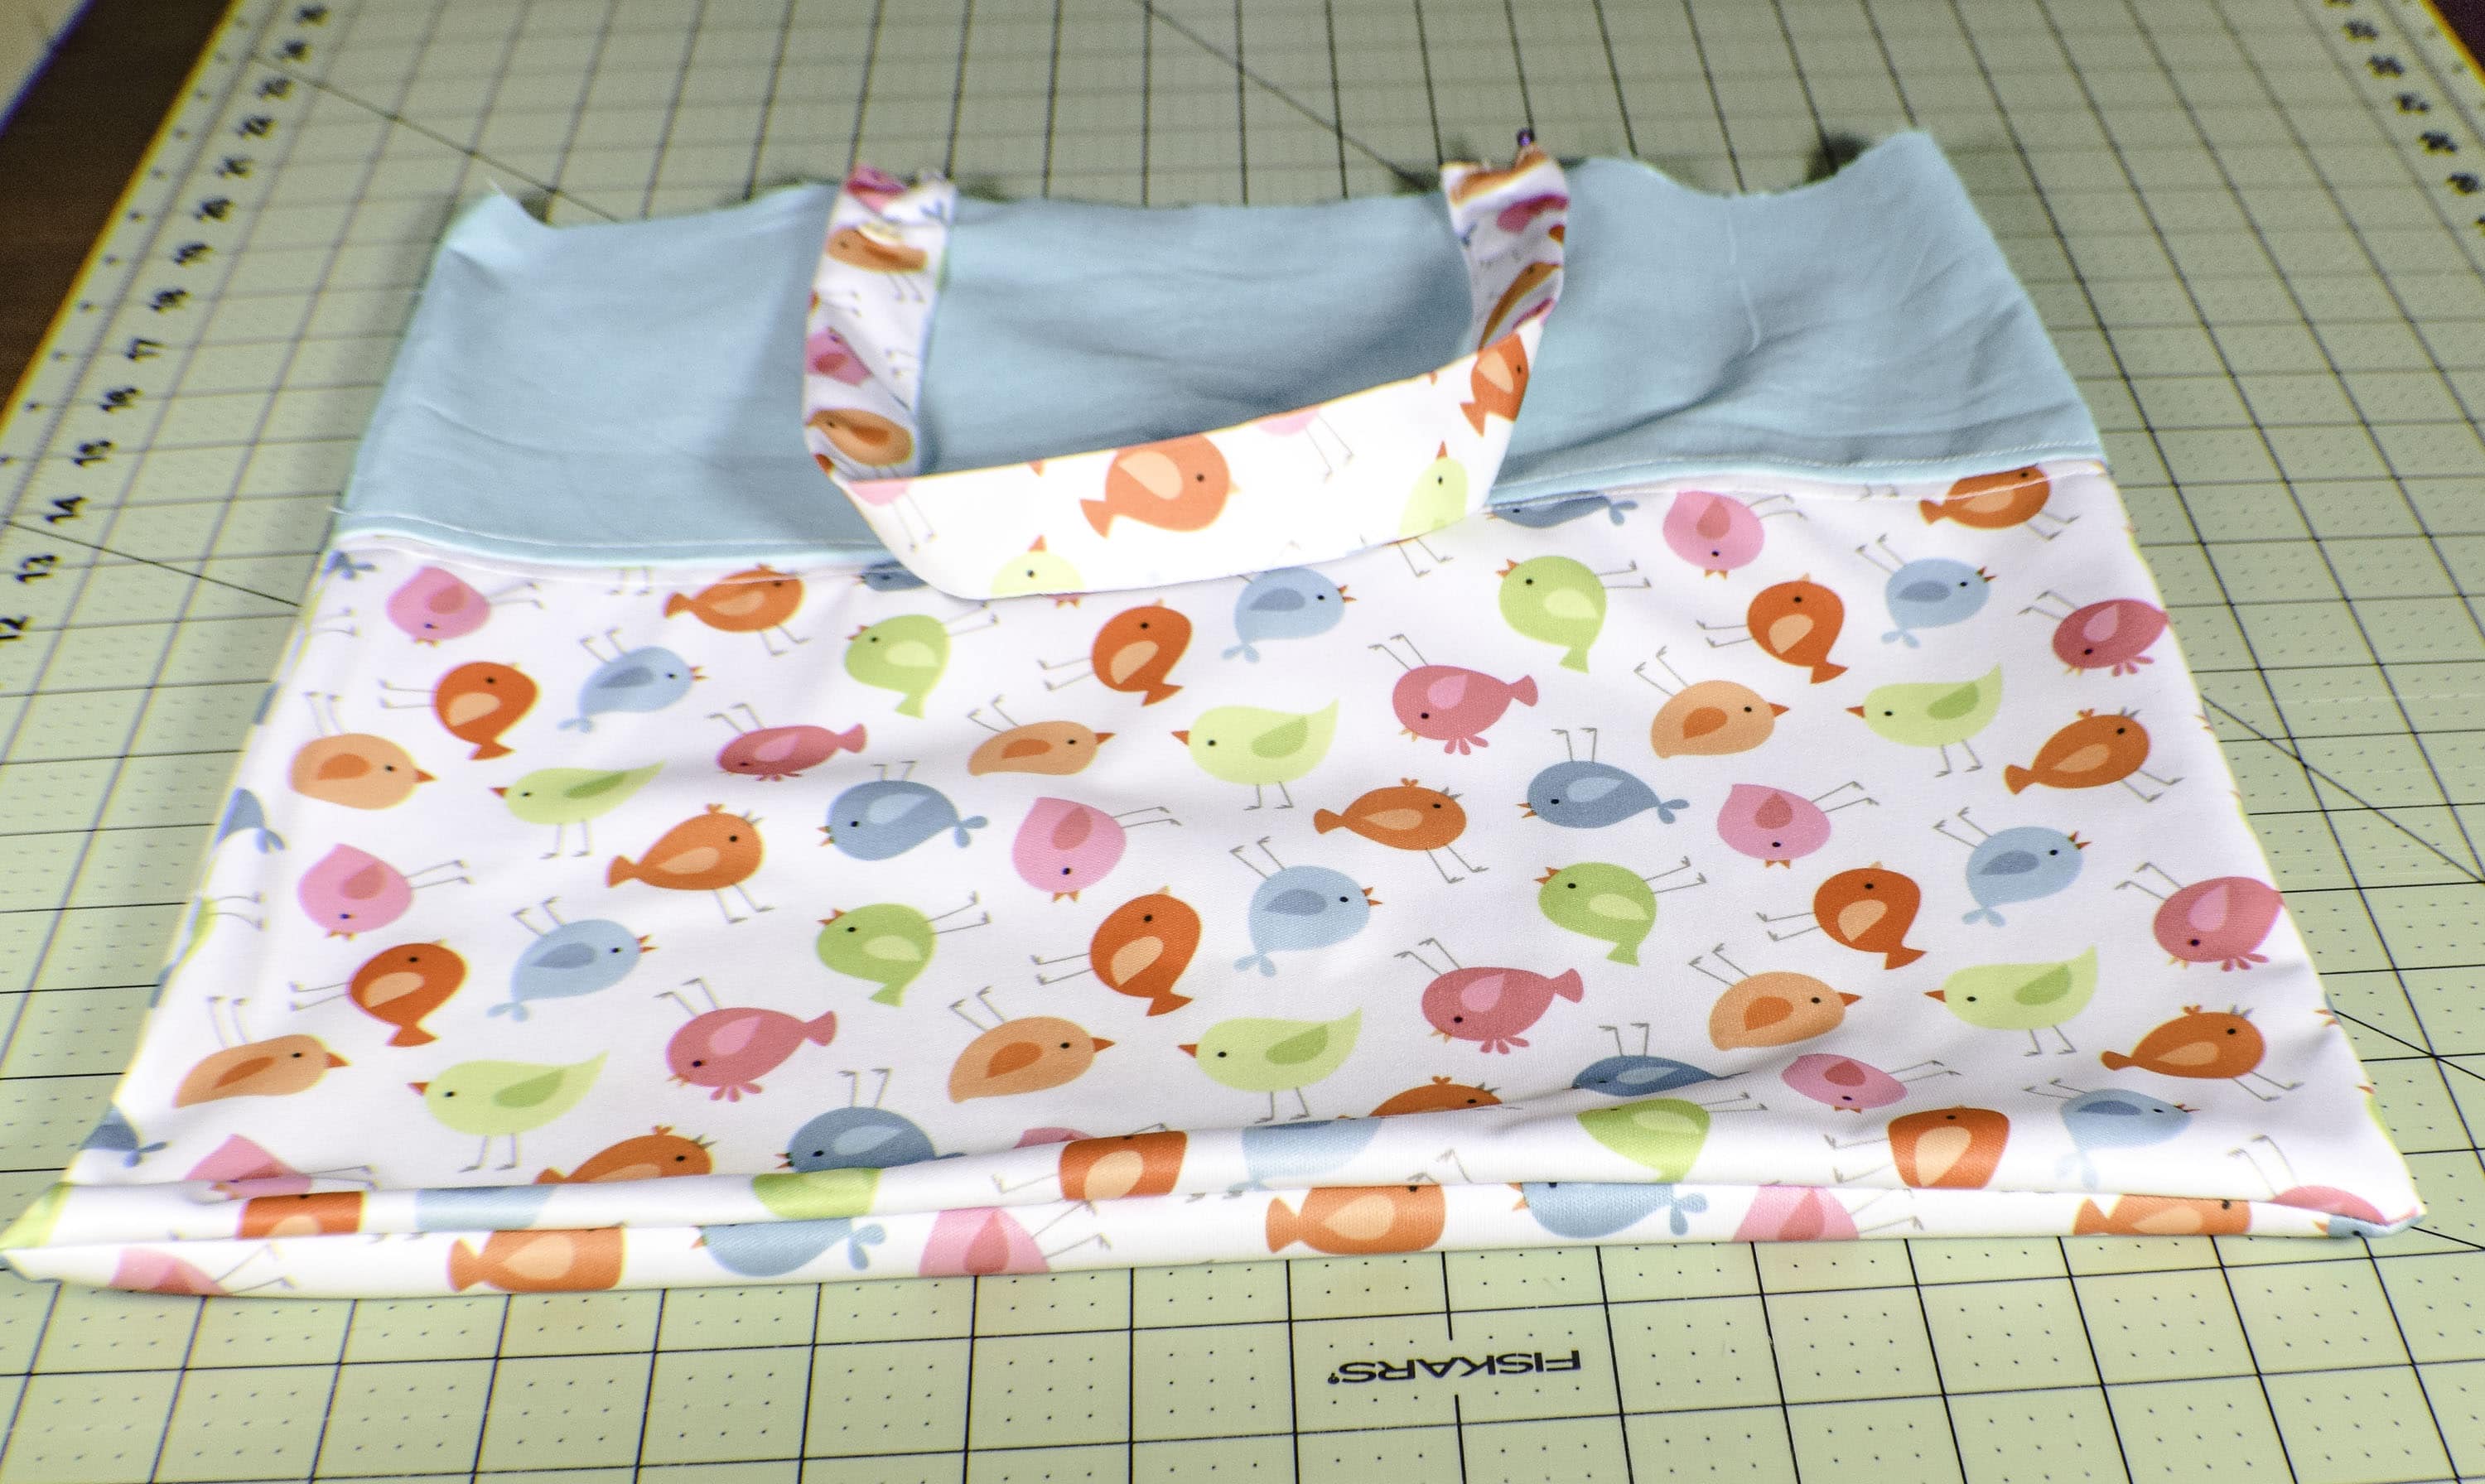
Measure in 5″ from each side of the bag to place the bag handle ends raw edges together and pin. Repeat for the other side. Baste the handles to the outer bag. Set aside.
Step 7: How to Make a Roll-Up Shopping Bag
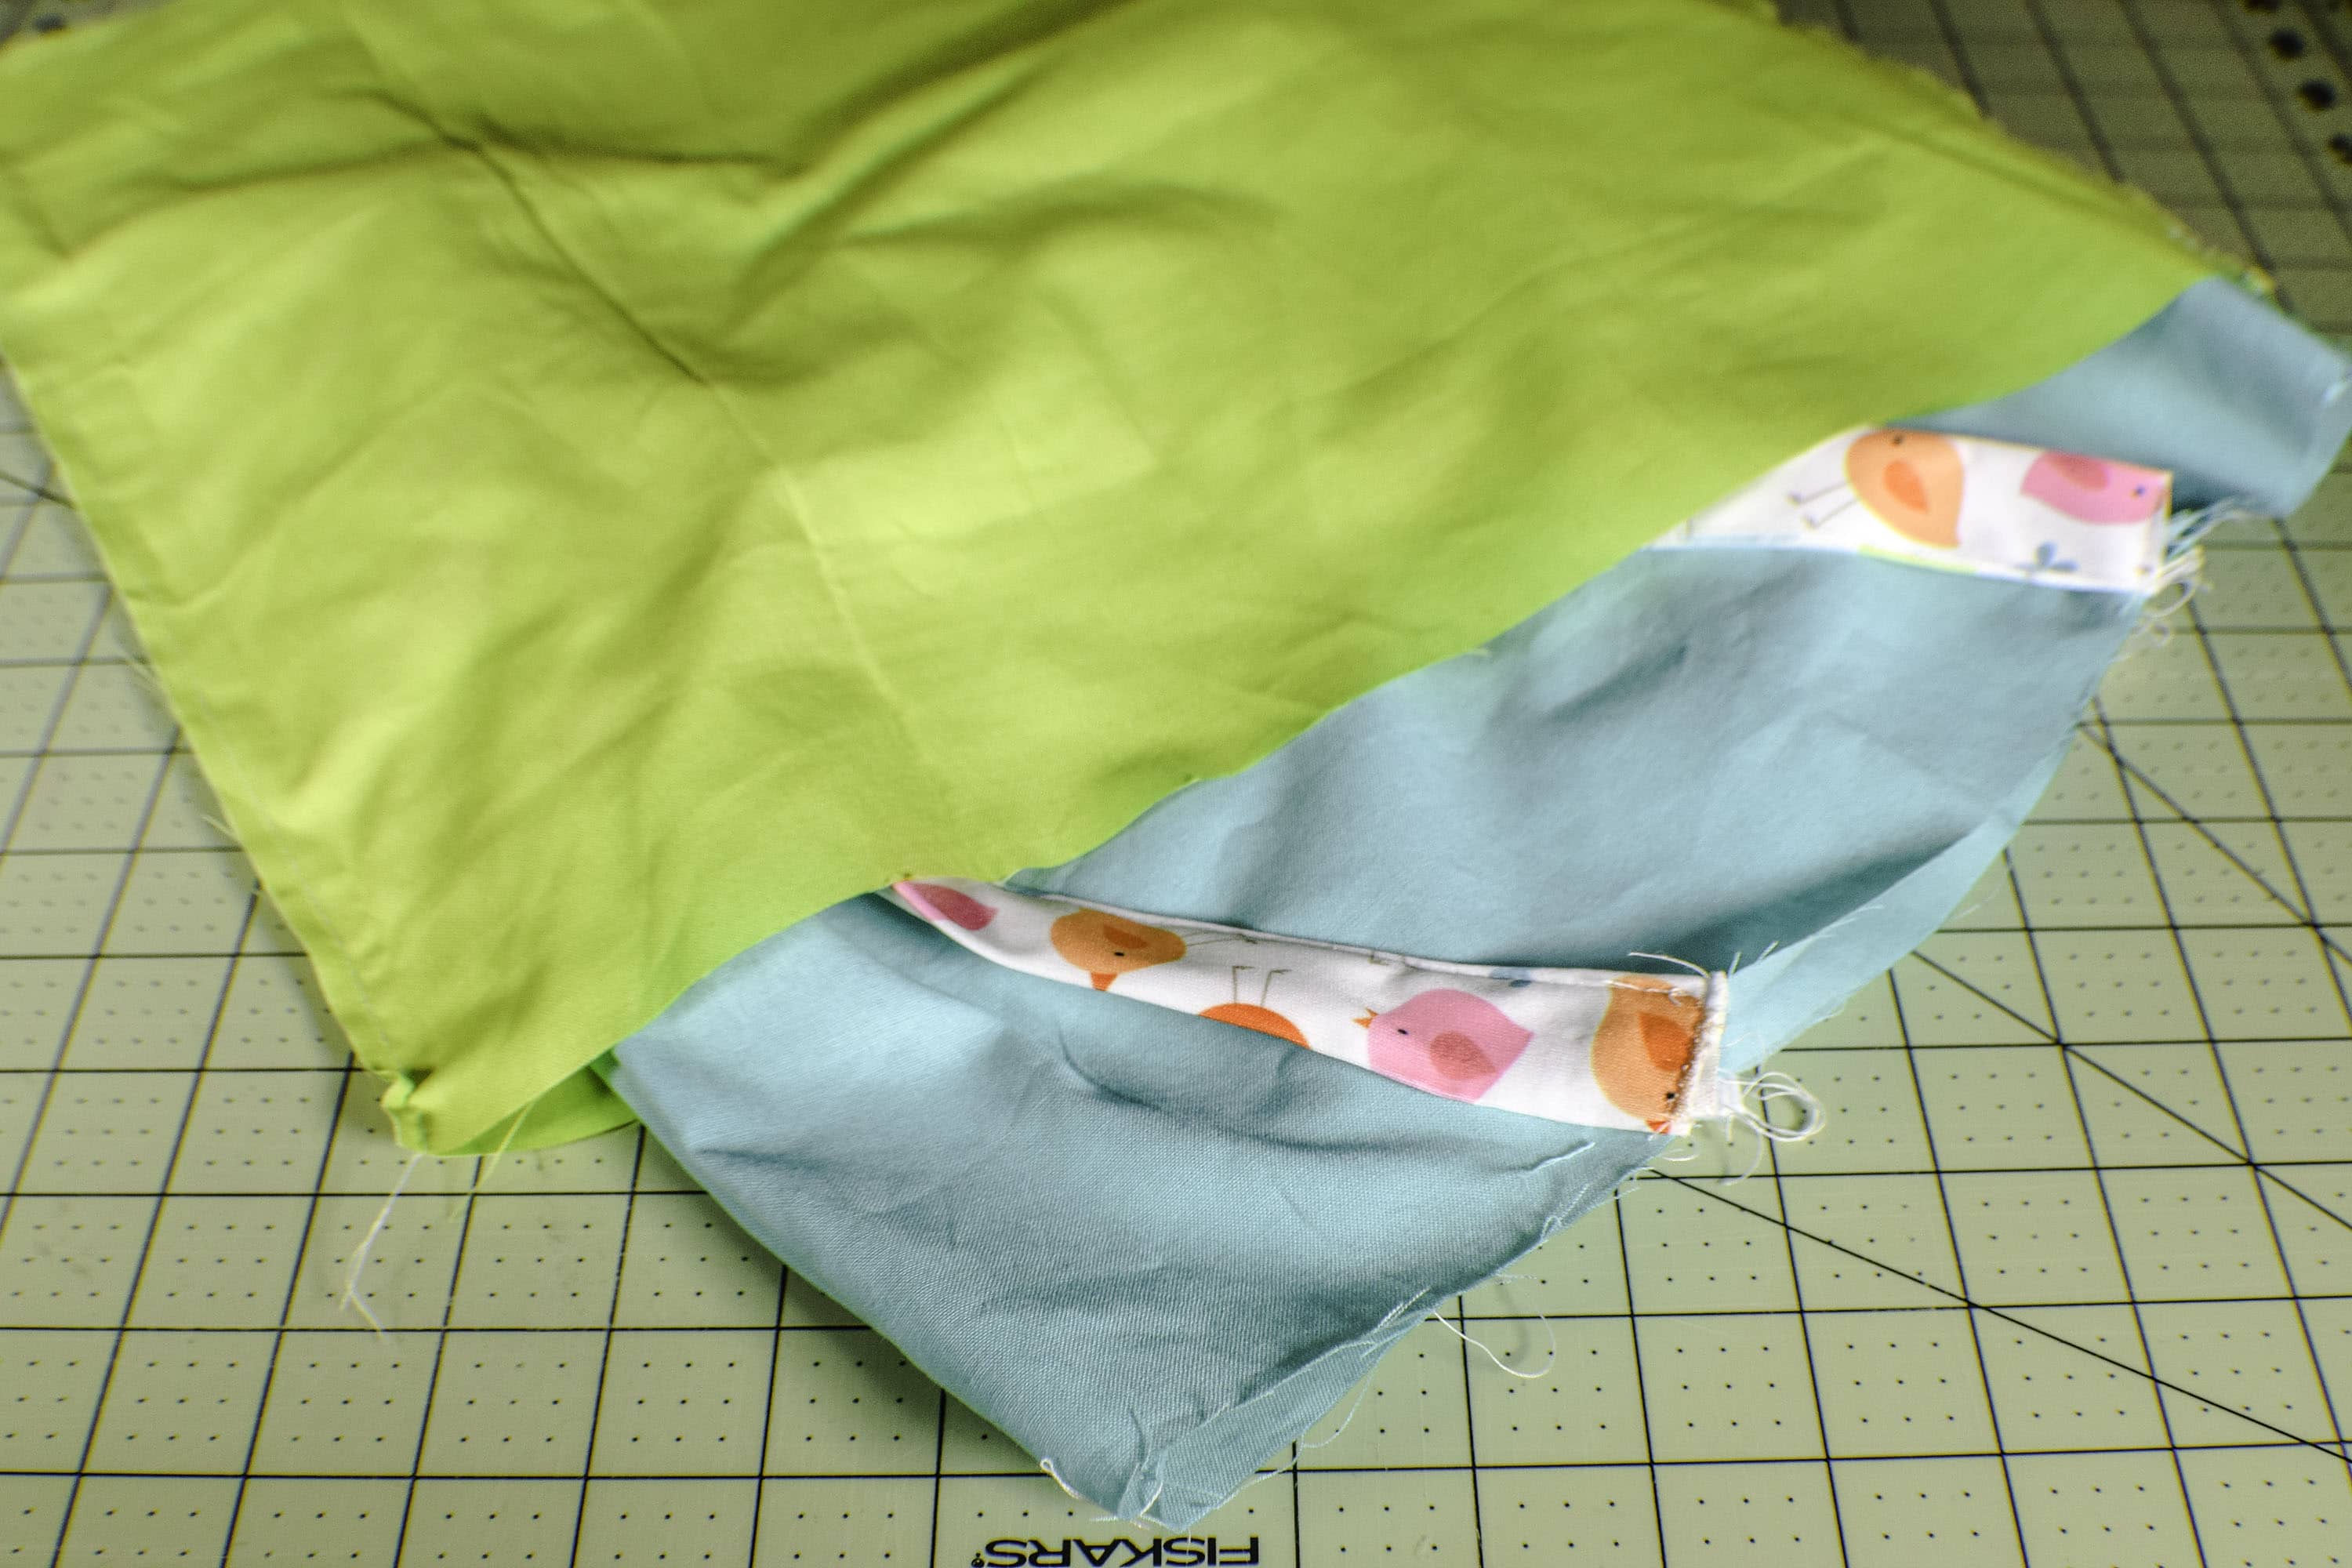
Create the lining. Sew the two lining pieces along the sides and the bottom right sides together leaving an opening at the bottom for turning.
Step 8: How to Make a Roll-Up Shopping Bag
Place the outer bag into the lining bag so that they are right sides together and the handles are laying in between the two layers. Sew around the top using a 1/4″ seam allowance.

Step 9: How to Make a Roll-Up Shopping Bag
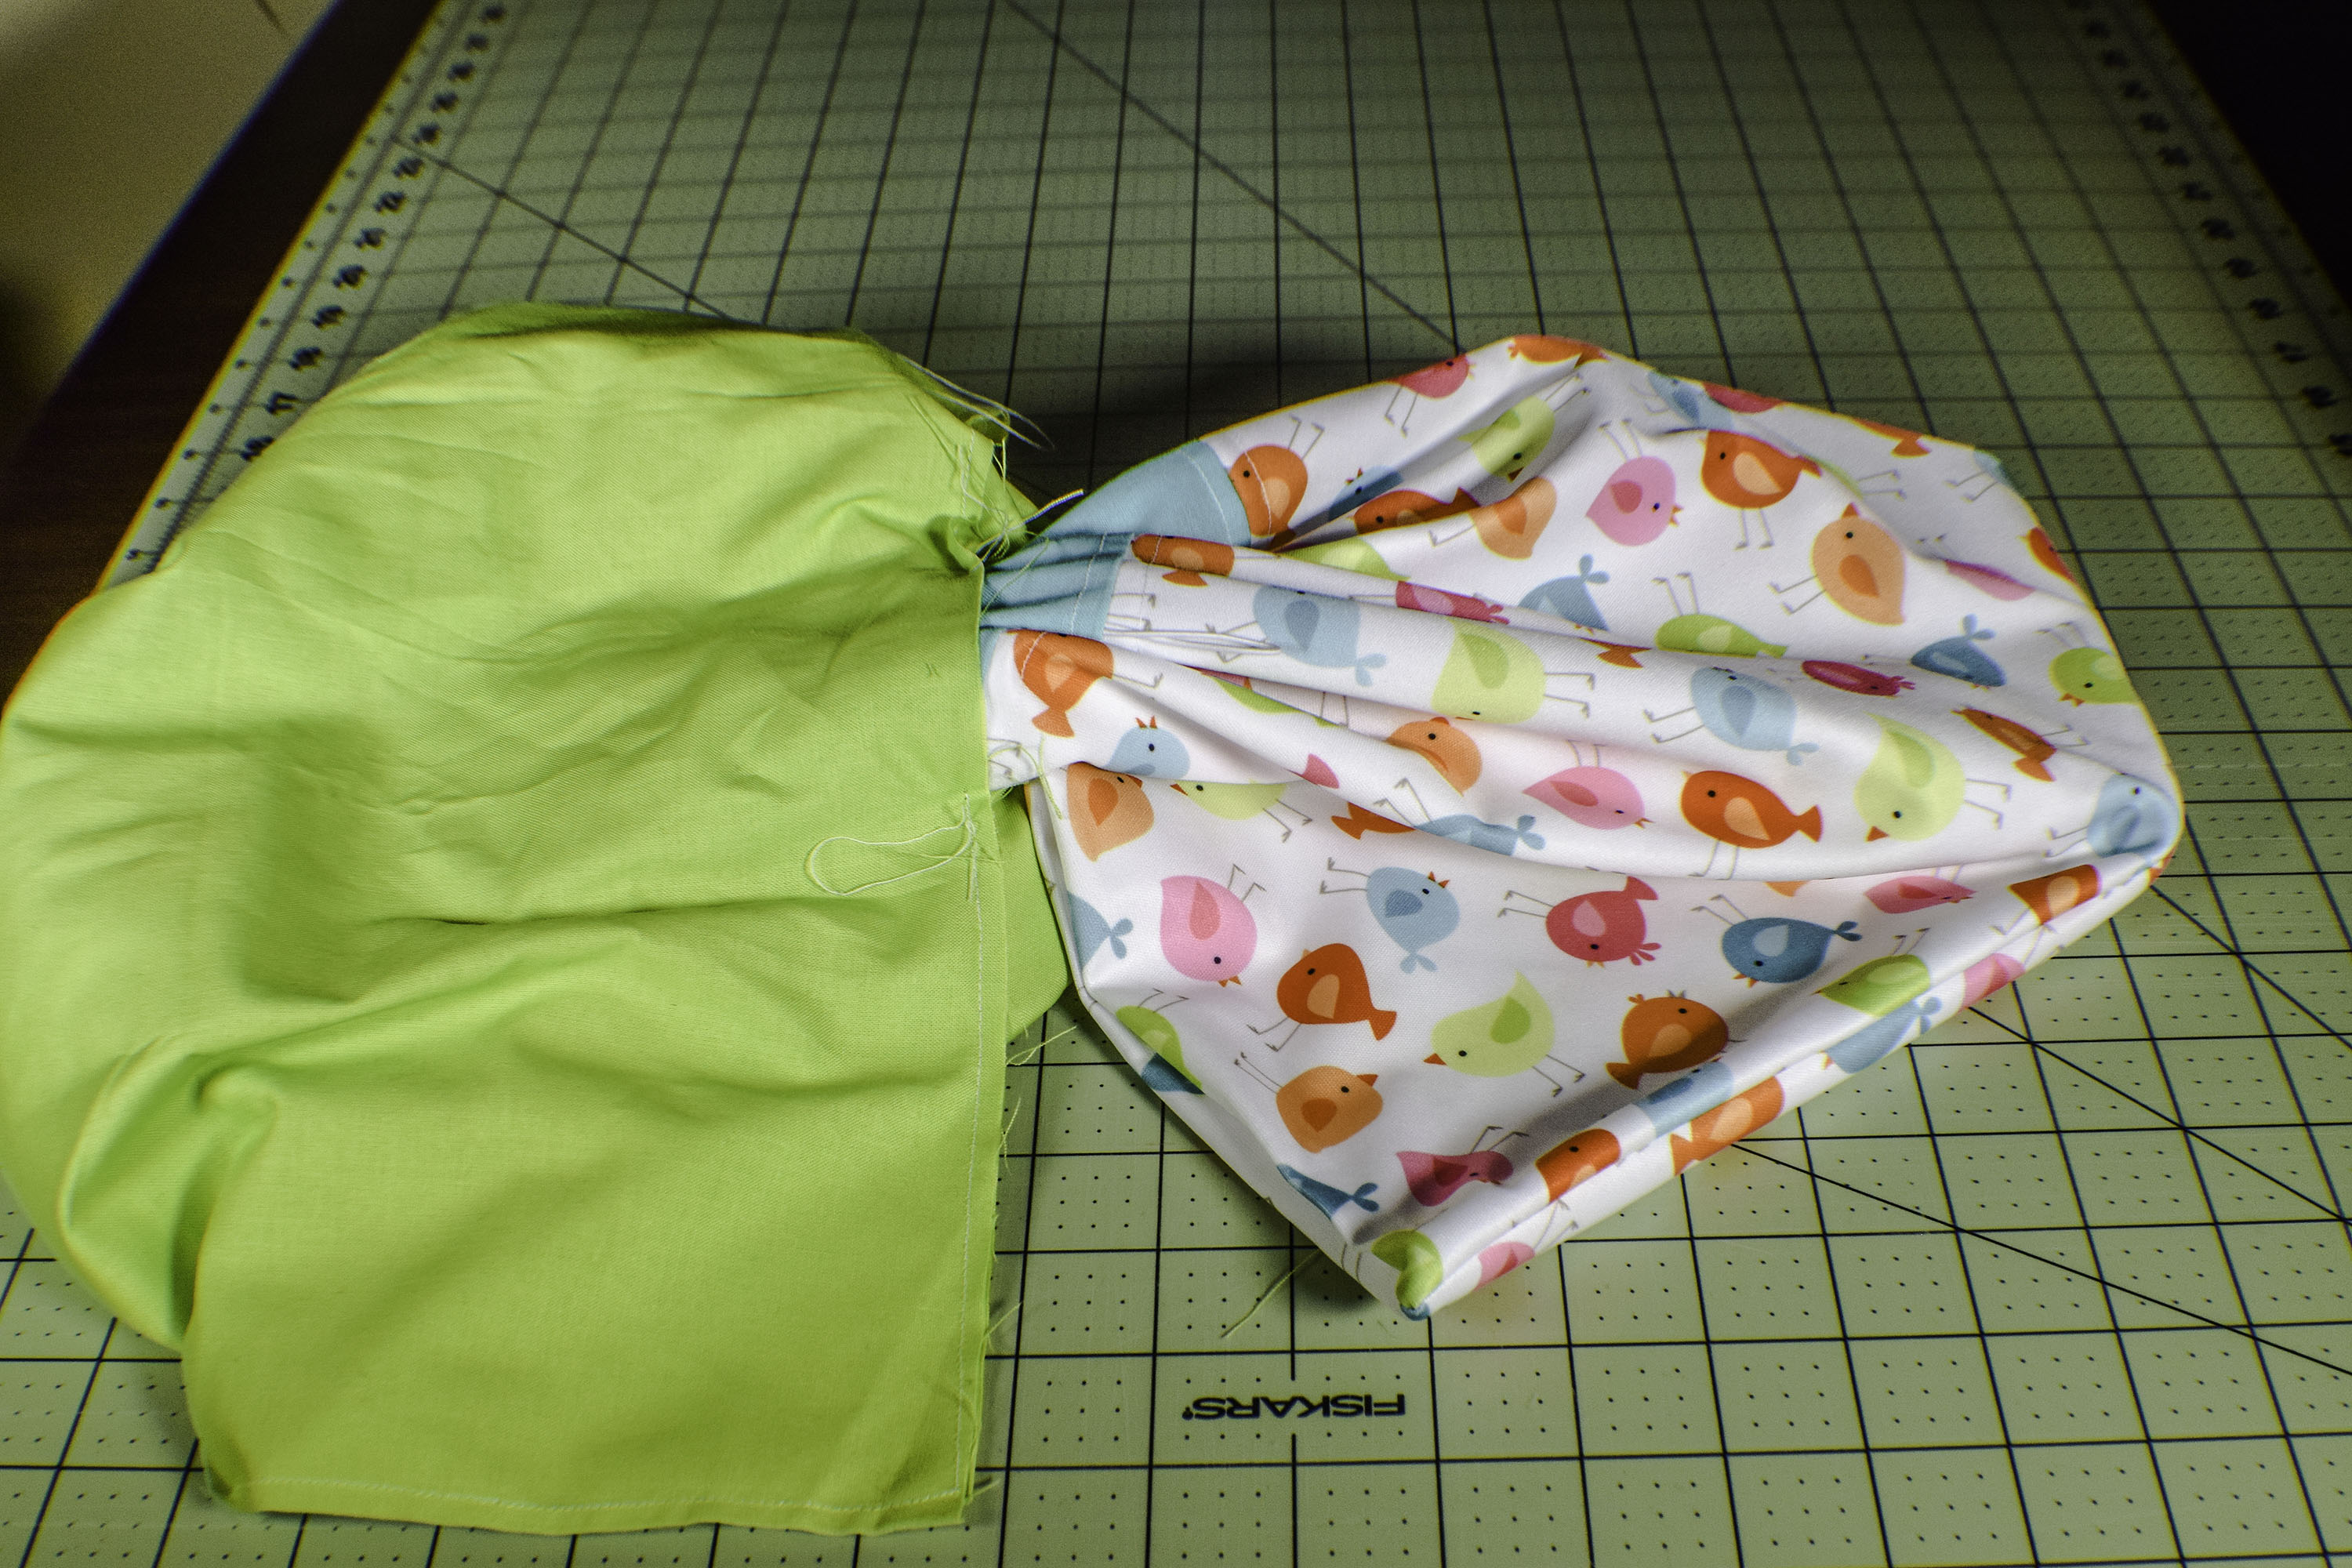
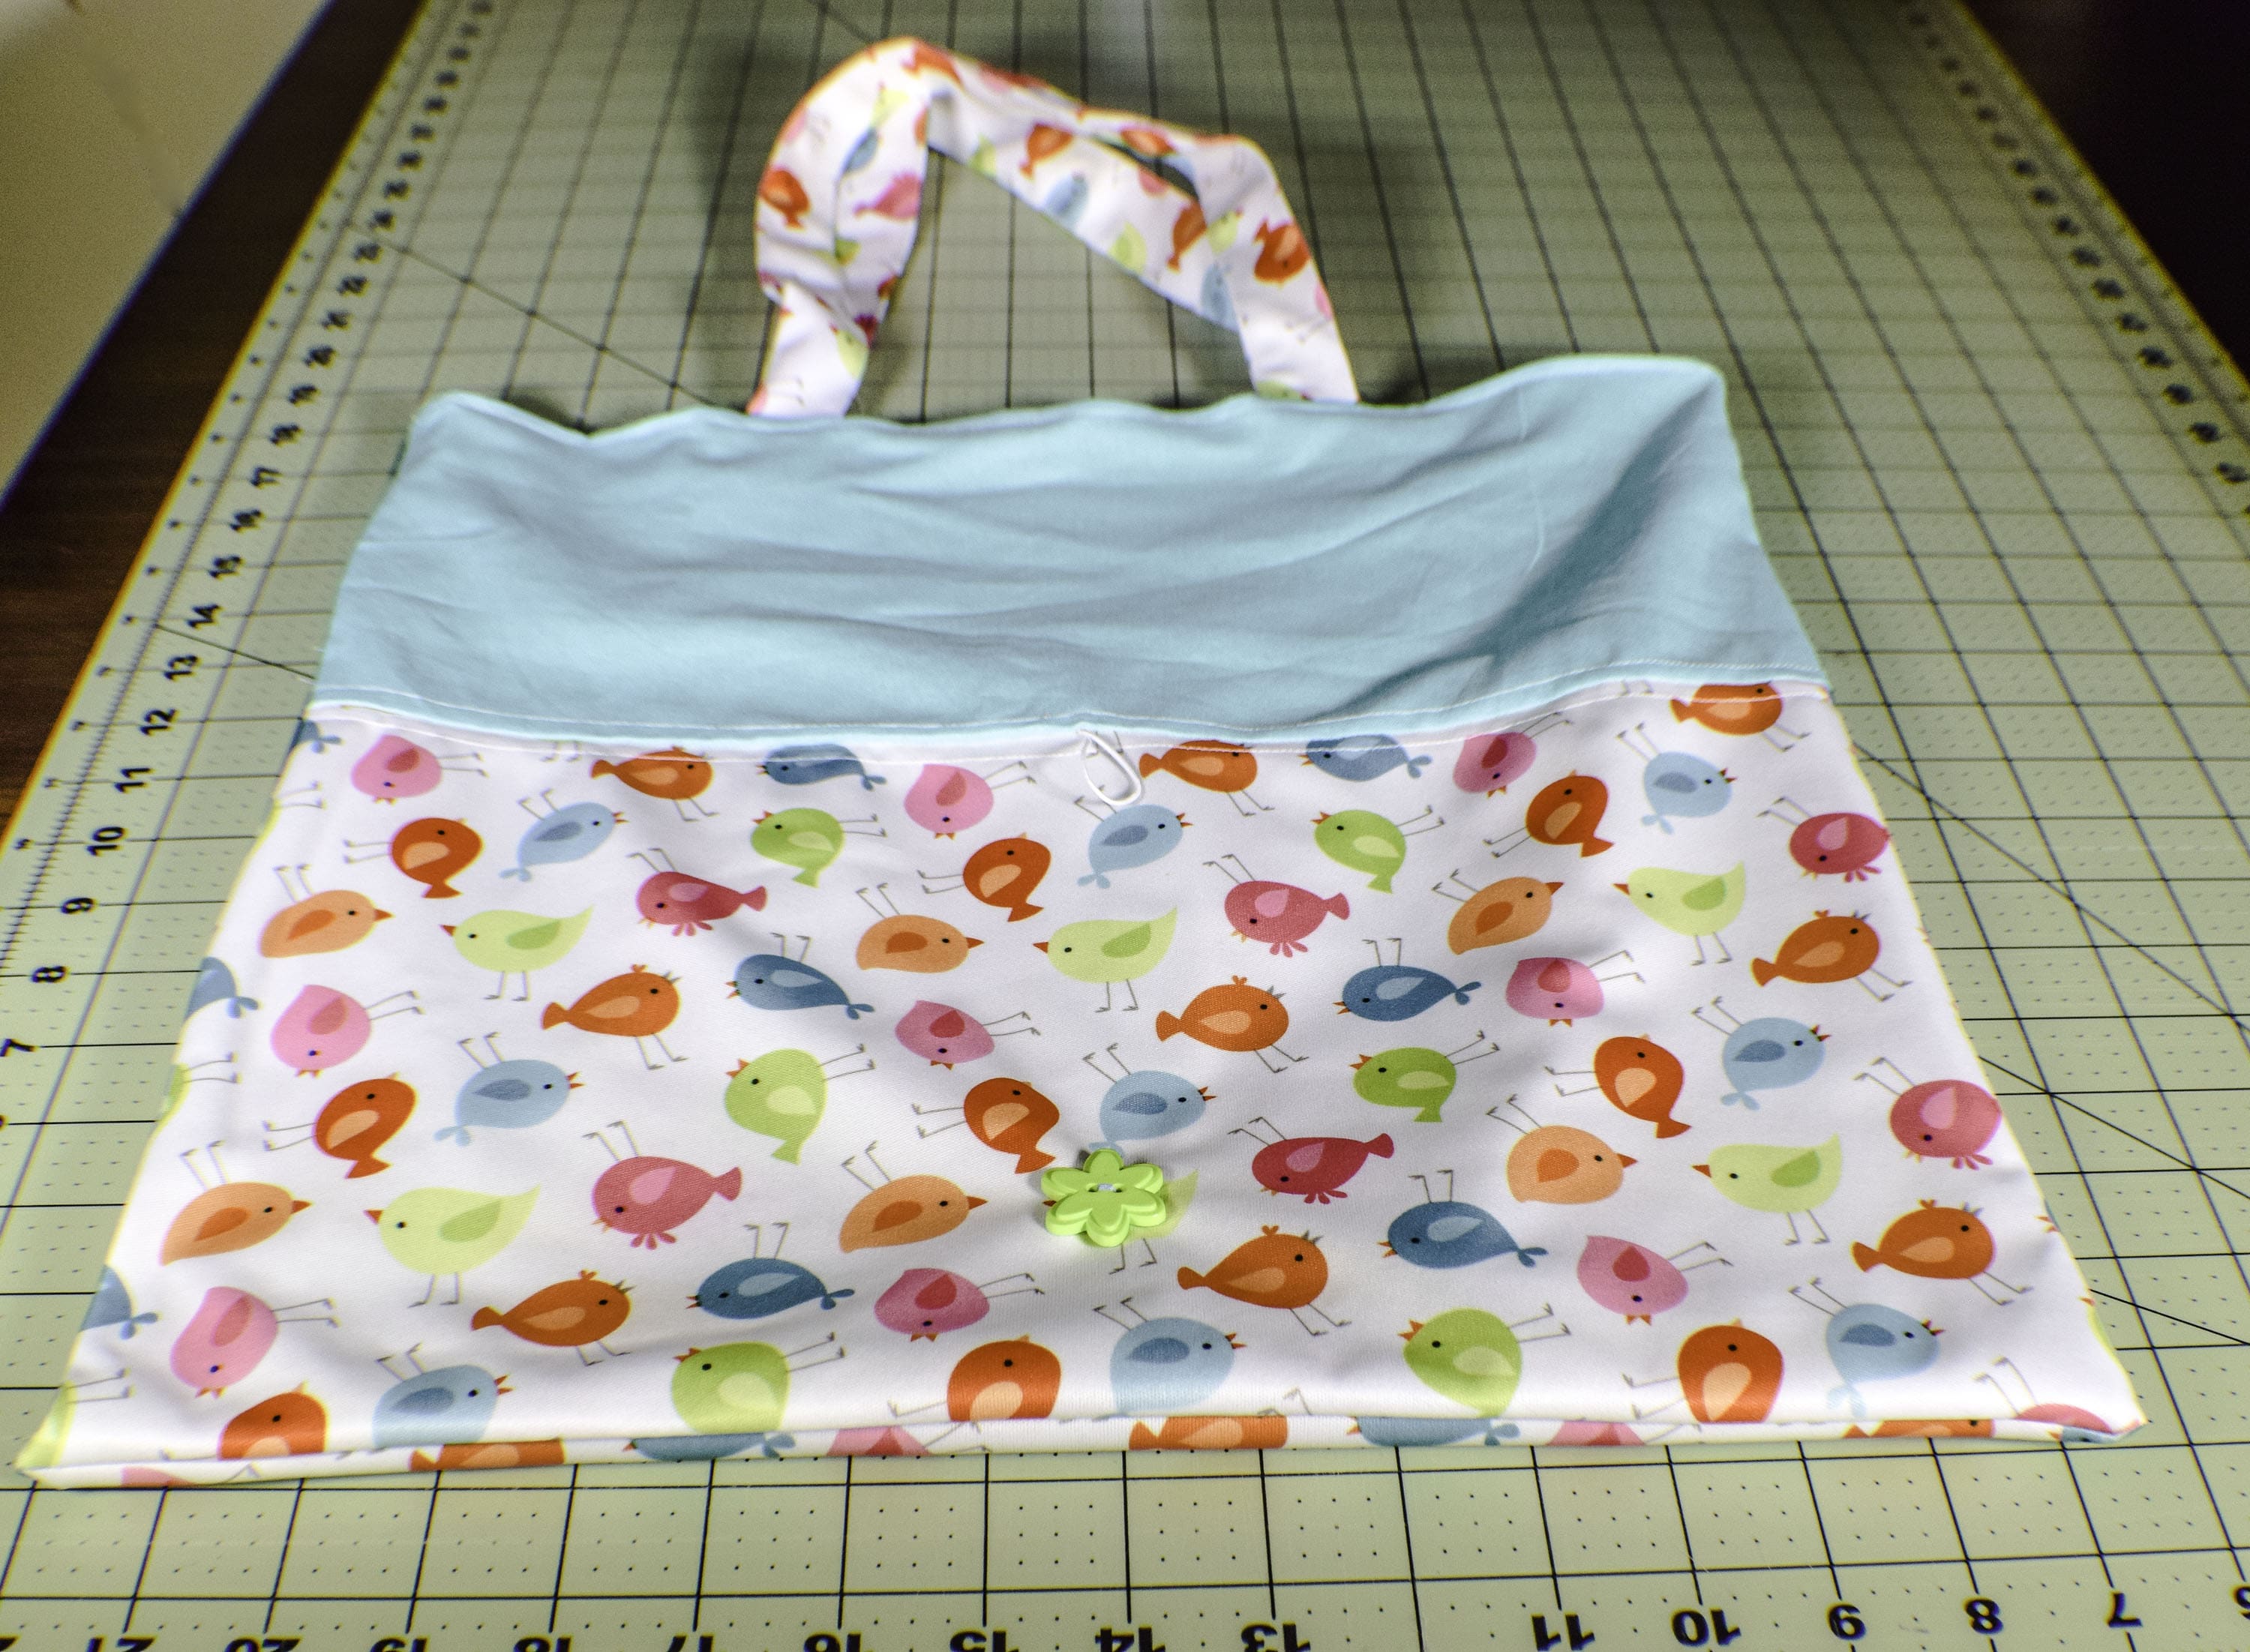
Turn the bag through the opening in the lining and press. Top stitch around the top of the bag for a professional look. Sew the hole in the lining closed using either machine or ladder stitch.
Step 10: How to Make a Roll-Up Shopping Bag
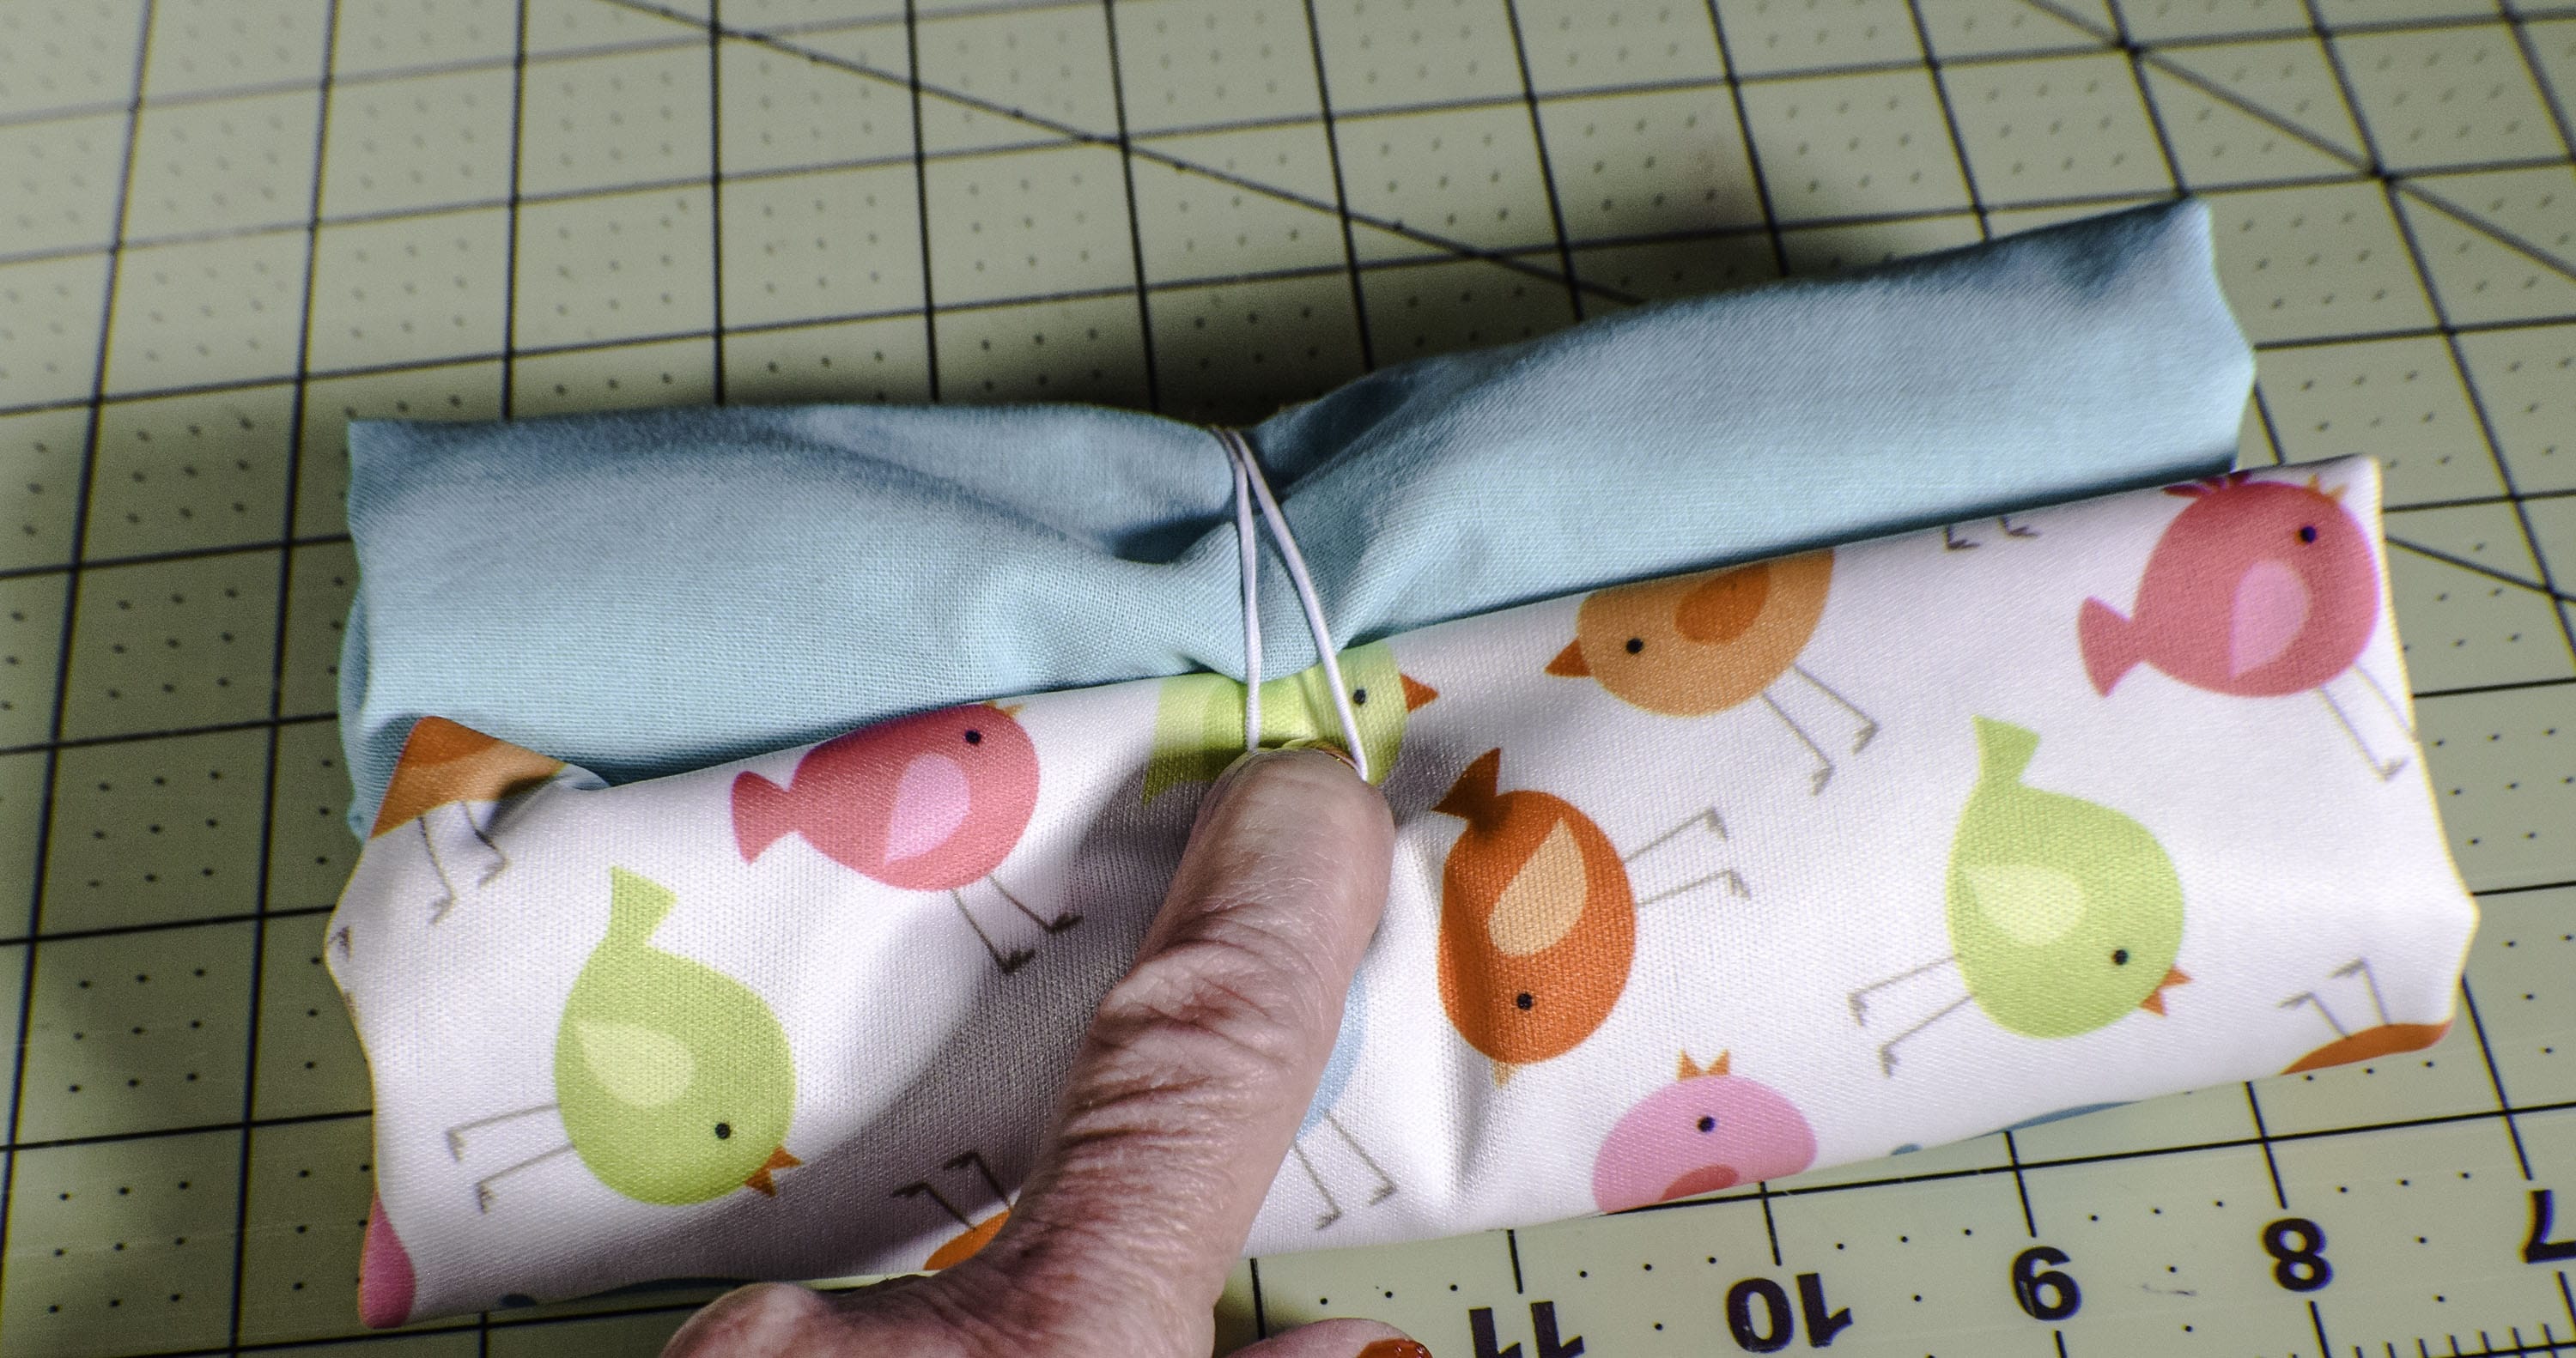
Fold the bag by laying it flat with the elastic face down. fold the bag handles over on top of the bag. Fold the sides to the center on top of the bag. Roll up the top and bottom of the bag until they meet at the elastic. Mark where the elastic loop folds over to the bag bottom. This is where you will sew your button. Unfold the bag and sew on the button just through the outer layer. You can use the hole in the lining to make this task easier. Sew the opening closed. Refold the bag and loop the elastic over the button to secure. You have now finished your roll-up shopping bag.

If you enjoyed this project sign up for our news letter and receive your free eBook of 15 handbag patterns and tutorials.
IF YOU ARE LOOKING FOR MORE ZERO WASTE PROJECTS CHECK OUT MY TUTORIAL ON HOW TO MAKE REUSABLE PRODUCE BAGS.

Thank you for this project! It will be fun and easy to make with fabrics I have on hand. Question: what is the length of the piece of elastic? Also, I think there should be one more step. At some point I think we need to stitch closed the hole in the lining of the bag, correct? Your video and step by step instructions made it easy to follow along! Thanks again!
Thank you. I am glad you enjoyed this project. Yes I will add that step. The piece of elastic I used was about 4″ long.
Wonderful! Thanks for getting back to me so quickly as I have already started to make some bags! =)
No problem. Good luck on your bags. They are terrific.
Thanks for a great tutorial. I’m new at this and look forward to trying this project.
Thank you. Good luck with it.
This is a great simple pattern – I’ve made this and it turned out fab, it makes a great gift. I can’t post a pic into here of how it turned out for me which is a shame but just wanted to say thanks! 🤩
You are welcome. Thanks for trying the project.