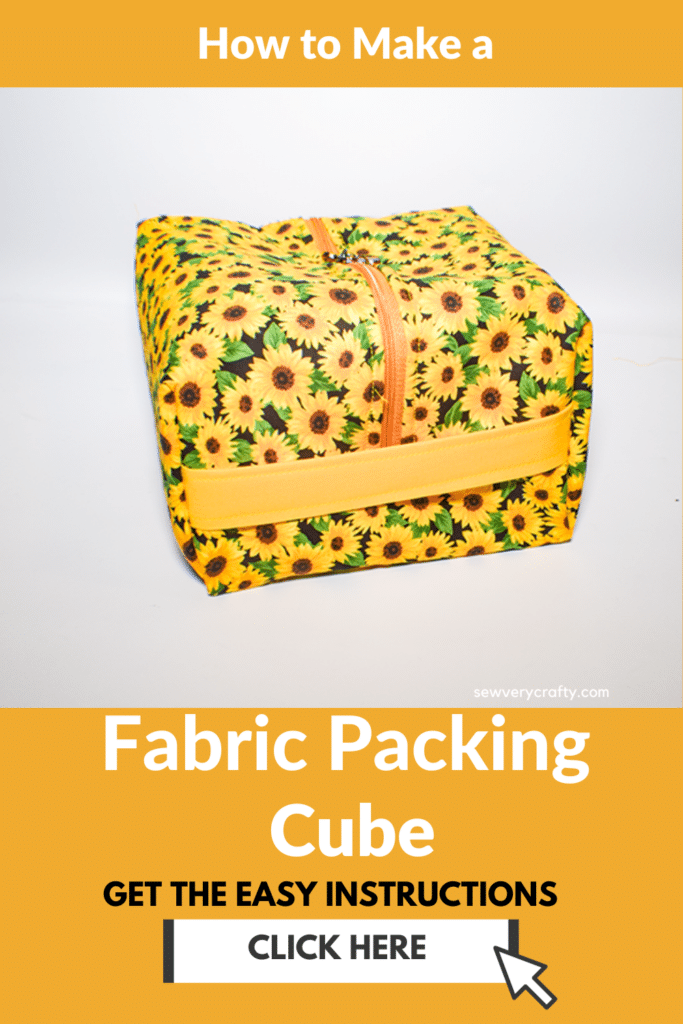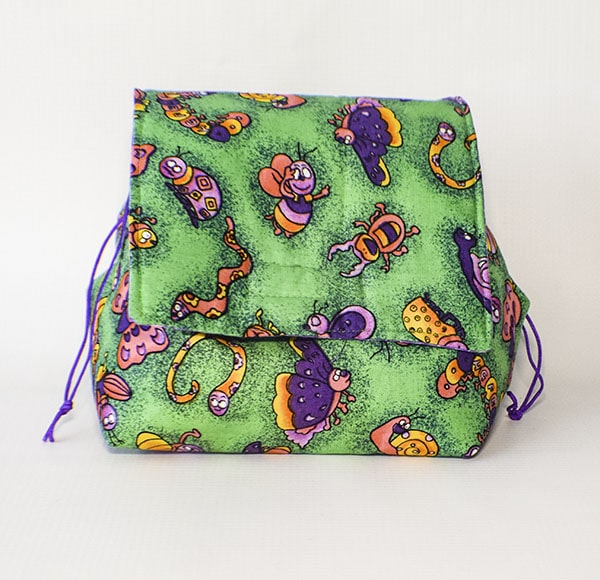
Packing cubes are a great way to pack for travel. This fabric packing cube is super simple to make and great for travel just to organize all of your stuff. You can whip up these cubes in no time. Make them color coded if you like or math your suitcases. Either way this is a fun and functional sewing project. Of course if you would like to stitch up a more traditional packing cube check out this one.
I used standard quilting cotton for this project. I got mine at Joann's but you could heat to Amazon Fabrics or
What you will Need: How to Make a Fabric Packing Cube
- 1 yd outer and lining fabric
- Scrap of contrasting fabric for the handle
- 12″ double zip zipper
- 1 yd fusible fleece
- 23 3/4″ bias binding
- Sewing machine
- Standard sewing supplies
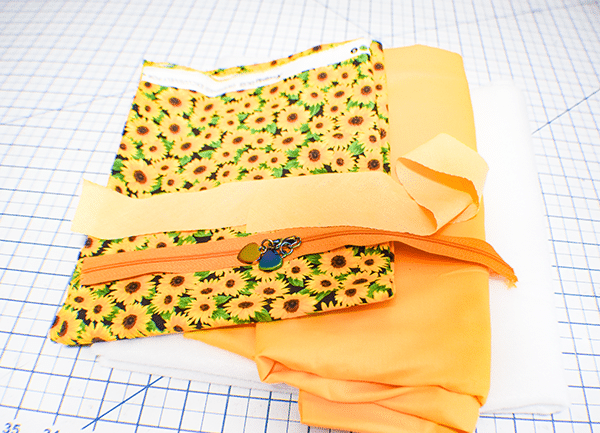
Step 1: Cut out the Fabrics for the Cube
From the outer and lining fabric cut one piece that measures 12 5/8″ x 24″. From the scrap fabric cut a piece for the handle that measures 7 3/4″ x 4 3/4″. To create the pockets in the lining cut two lining pieces that measure 7 3/4″ x 10 3/4″. From the lining fabric cut a 23 3/4″ piece of bias binding. Finally, cut a piece of fusible fleece that measures 11 7/8″ x 23 3/8″
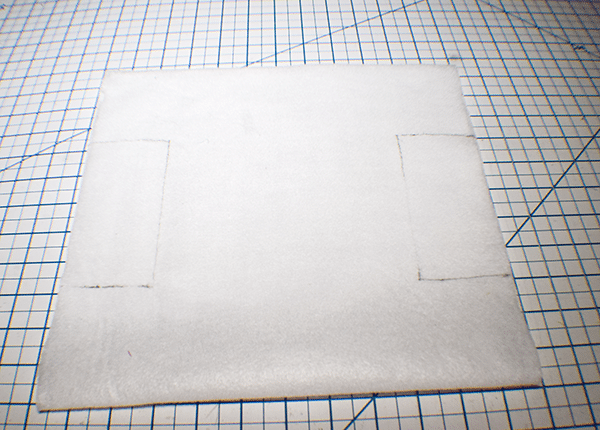
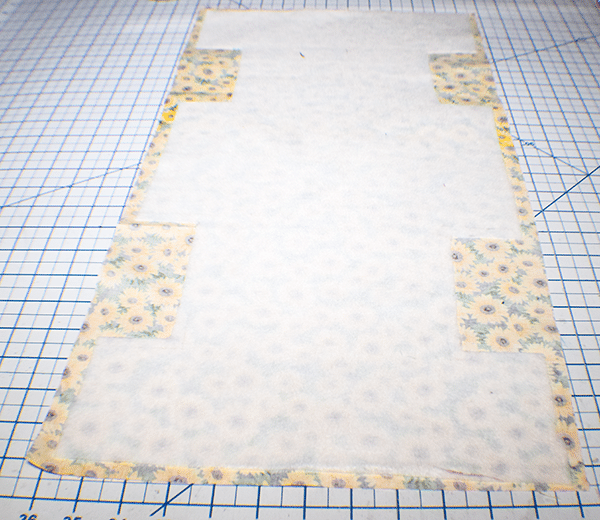
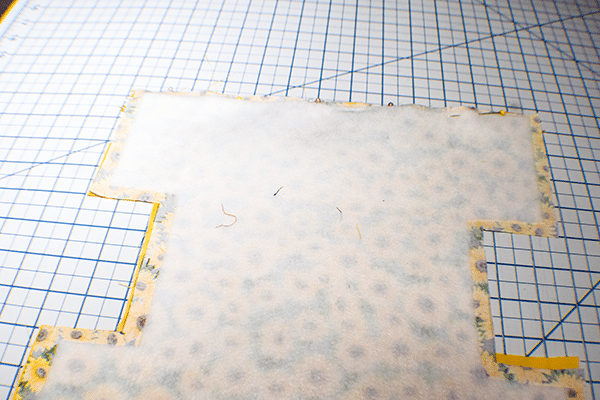
Step 2: Create the Cube Pattern
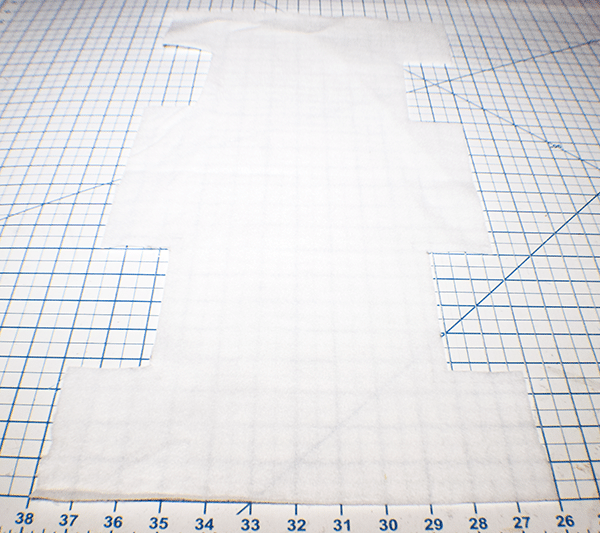
Using the fleece piece create the pattern. Start by folding the fleece in half widthwise. Measure down 3 1/2″ from the short raw edge and make a mark. From that mark draw a 2 1/2″ line toward the center. Then, measure down 5″ from the first mark and make another mark. Again, draw a 2 1/2″ line toward the center. Join the two lines. Repeat for the other side. Cut out the rectangles you just drew.
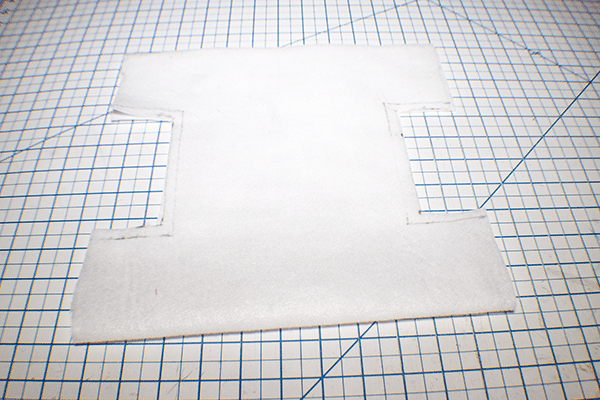
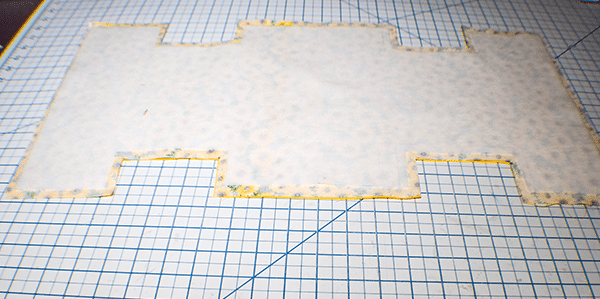
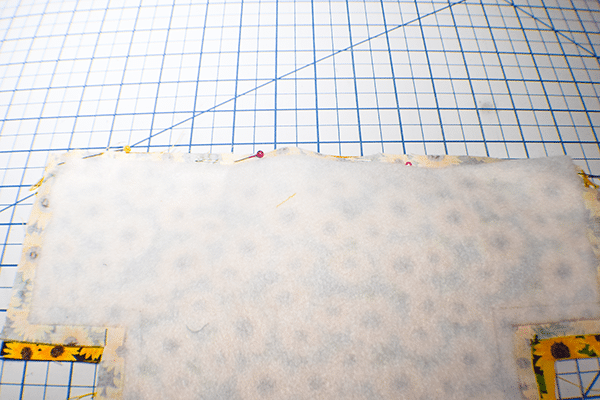
Step 3: Fuse the Fleece
Fuse the interfacing to the wrong side of the outer fabric so that it is centered and the seam allowance remains. Place the outer and lining pieces right sides together. Cut out the rectangles but leave a 3/8 seam allowance round the edges. Quilt the outer fabric if you like. This is optional.
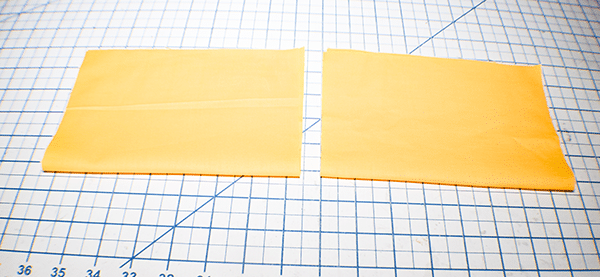
Step 4: Create the Pockets
Take the two pocket pieces and fold them in half so that they are right sides together. Stitch along the bottom using a 3/8″ seam allowance. Our right sides out and topstitch along the folded line.
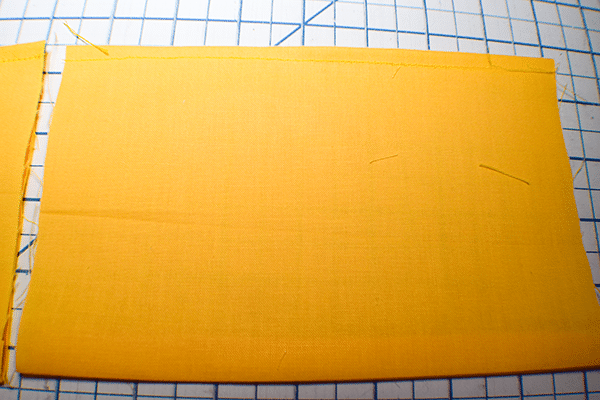
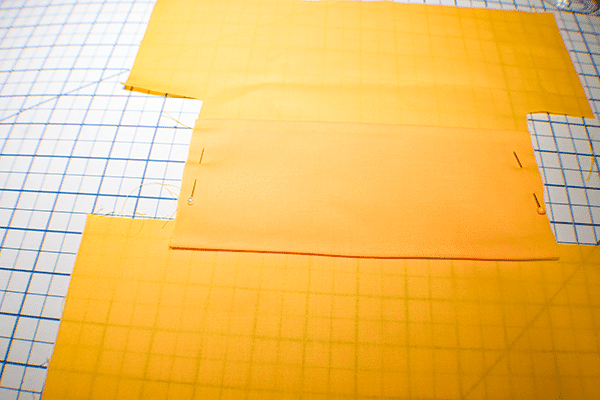
Step 5: Add the Pockets
On the right sides of the lining measure down 5 1/8″ from the short raw edge on each end and place the pocket pieces so that the topstitched edge is facing toward the end and not the center. Stitch around the sides and bottom to secure.

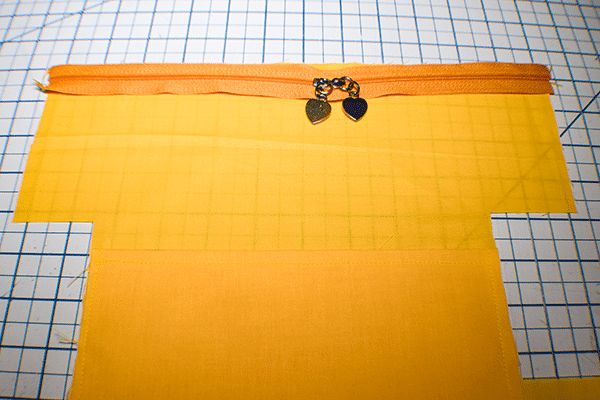
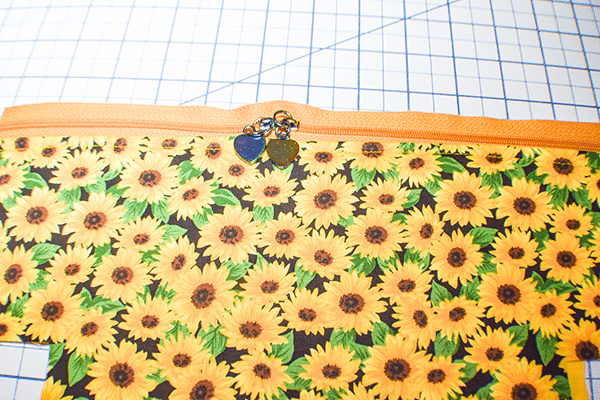
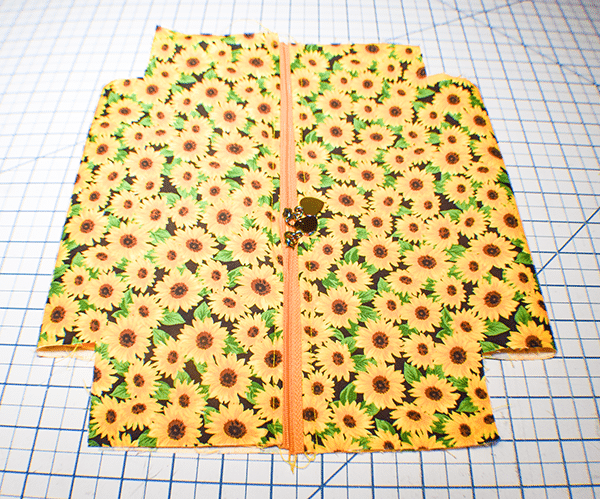
Step 6: Add the Zipper
Place the lining right sides up on your work surface. Lay the zipper so that it is right sides up on one short end of the lining. Place the outer piece right sides down on the zipper creating a zipper sandwich. Stitch along the zipper using a 3/8″ seam allowance. Turn the panels right sides out and topstitch along the zipper. Fold the lining to match the top raw edge of the zipper and repeat for the outer side. Stitch the other side of the zipper. Our the whole piece right sides out and topstitch the other side o the zipper.
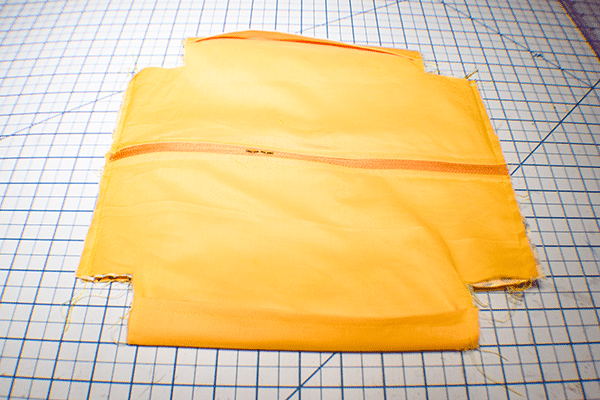
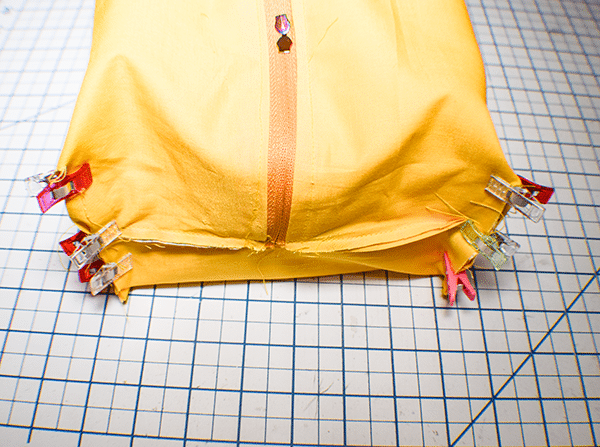
Step 7: Stitch the Sides
Turn the pouch wrong sides out. Match the outer pieces together and lining pieces together. Stack them on top of each other. Stitch the sides using a 3/8″ seam allowance.
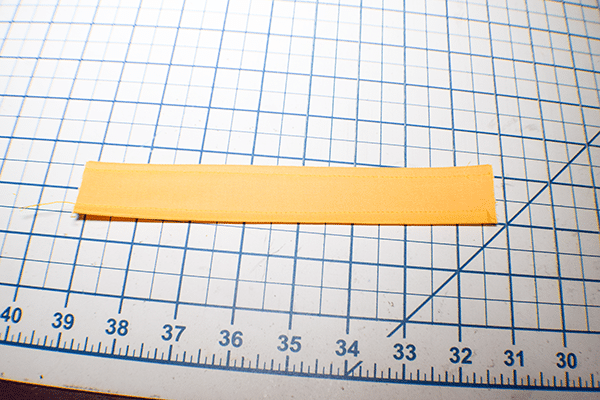
Step 8: Create the Handle
Fold the long edges of the handle piece to the center. Fold in half to enclose the raw edges. Stitch on both sides.
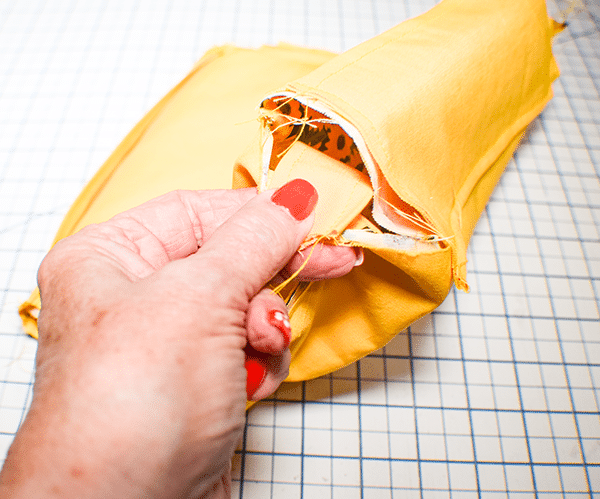
Step 9: Add the Handle and Box the Corners
Turn the pouch through one of the corners so that it is lining side out. Insert the handle through one of the corner holes to the opposite corner. Pinch the corner raw edges together like you are boxing the corners so that the handle is attached. Make Sure that the handle is straight. Box the corners by pinching the corners together and clipping. Stitch the corners through all layers using a 3/8″ seam allowance.
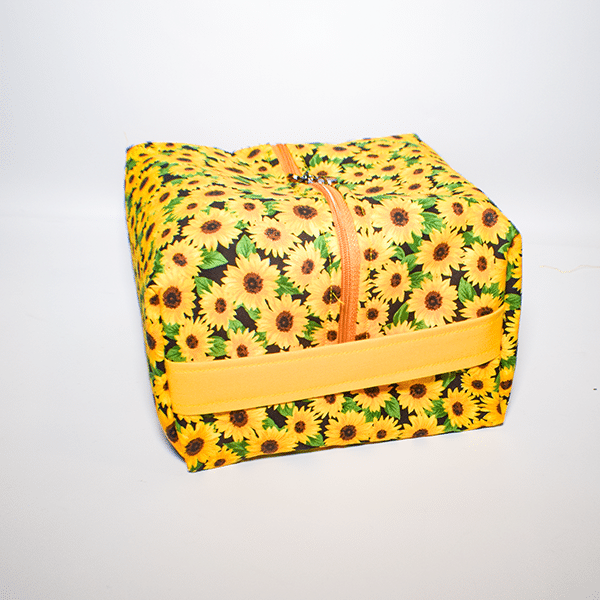
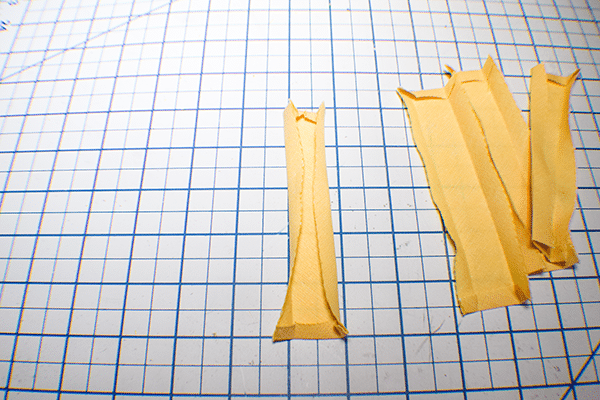
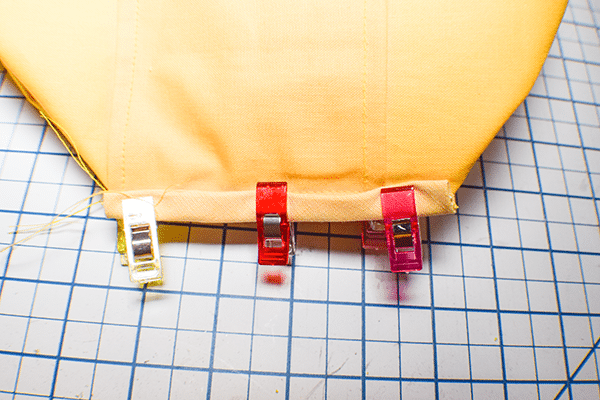
Step 10: Add the Bias Binding
Cut the binding into four equal pieces. Fold the short ends in and press. If you have created your own binding using my making bias binding tutorial Fold in the long raw edges and press. If you are using commercial bias binding open it up and press in the short raw edges and refold.. Fold the binding over the boxed corners and stitch. Turn the pouch right sides out and you are finished. Well done!!
I hope you enjoyed ti simple cube project. If you would like more sewing and crafting tutorials subscribe to our newsletter and receive less to our free printables library.
If you would like video tutorials of some of Sew Very Crafty's most popular posts subscribe to our free YouTube channel here.