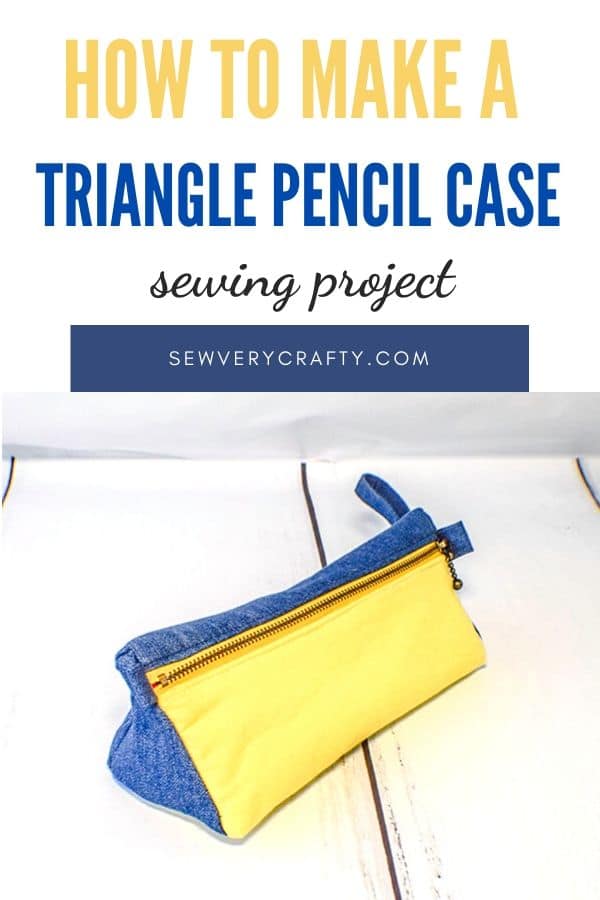
How to Make a Triangle Pencil Case
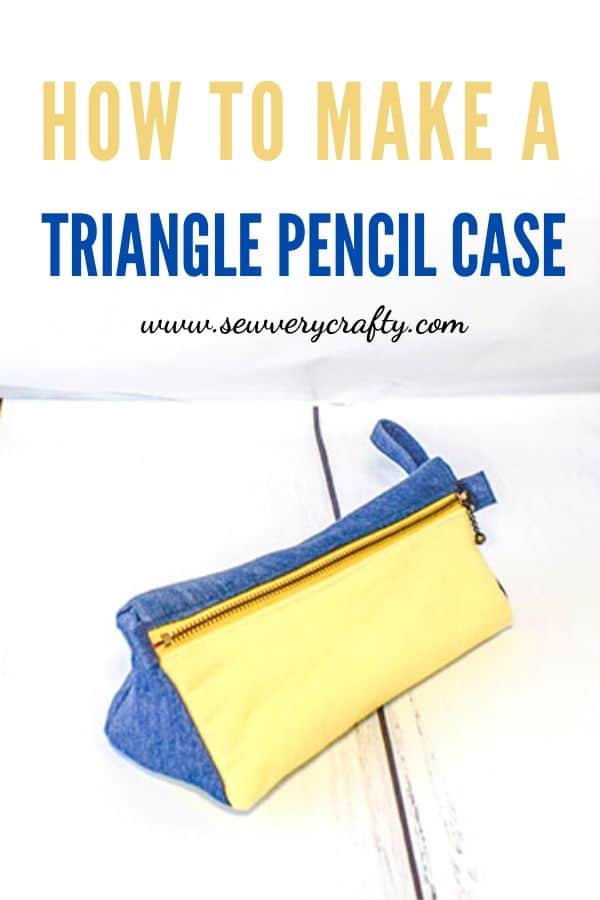
I love pens and pencils and am always looking for fun pencil cases to make. I cam across this terrific pattern and thought to share it with you. This terrific triangle pencil case is a fun sewing project. It is unique in its design which makes it even better. I cam across this pattern at Sewing Times on YouTube. It is a simple project that is perfect for the next school year or for your own pens and pencils. For those of you who follow Sew Very Crafty you know that I love floral fabrics. But for this project I decided to go with a color block design to change things up.
I used basic cotton fabrics that I purchased at JOANN Fabric & Craft Stores![]() but you could head to Hobby Lobby, Fabric.com or Onlinefrabicstores.net to get exactly what you need for your triangle pencil case. I also used fusible fleece for extra structure and softness for my pencil case. Of course you will need a zipper. This is it for the items needed for this project. This post contains affiliate links that if you click on them and make a purchase I may receive a small commission at no extra cost to you. As an Amazon Associate I earn from qualifying purchases.
but you could head to Hobby Lobby, Fabric.com or Onlinefrabicstores.net to get exactly what you need for your triangle pencil case. I also used fusible fleece for extra structure and softness for my pencil case. Of course you will need a zipper. This is it for the items needed for this project. This post contains affiliate links that if you click on them and make a purchase I may receive a small commission at no extra cost to you. As an Amazon Associate I earn from qualifying purchases.
What you will Need: How to Make a Triangle Pencil Case
- Fleece Triangle Pattern you can get by Clicking on the Link
- 1/2 yd of outer and lining fabrics
- 8 3/4 x 6 1/4 piece of accent fabric
- 1/4 yd fusible fleece like Pellon TP971F
- 1 8″ zipper
- Standard sewing supplies
Step 1: Cut Your Fabrics
Cut your fabrics as follows:
- 8 3/4 x 6 1/4 piece of accent fabric and lining fabric
- 8 3/4″ x 5 3/8″ piece of outer fabric and lining fabric
- 4″ x 4″ pieces of outer and lining fabric – 2 each
- 1 1/4″ x 2″ outer fabric for tabs
- 1 5/8″ x 8 3/4″ outer fabric for strap
- 8″ x 5 1/2″ piece of fusible fleece
- 8″ x 4 5/8″ piece of fusible fleece
- 3 1/4 ” x 3 1/4″ fusible fleece x 2
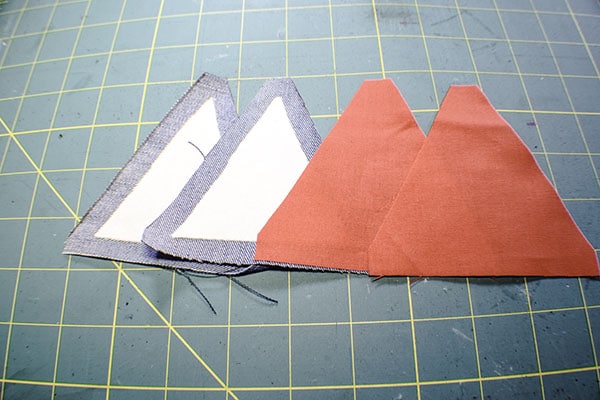
Step 2: Cut the fleece triangles
Using the triangle pattern cut the 3 1/4″ x 3 1/4″ pieces of fusible fleece.
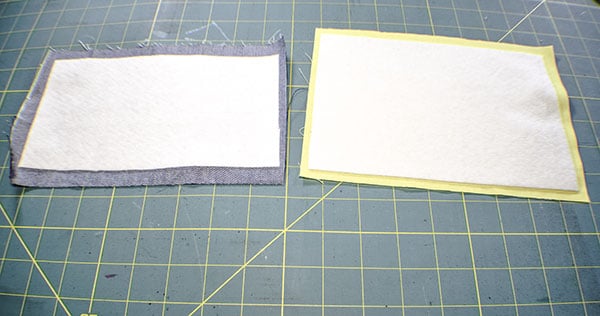
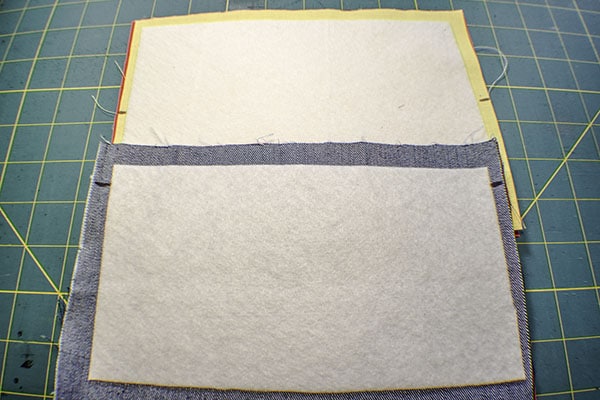
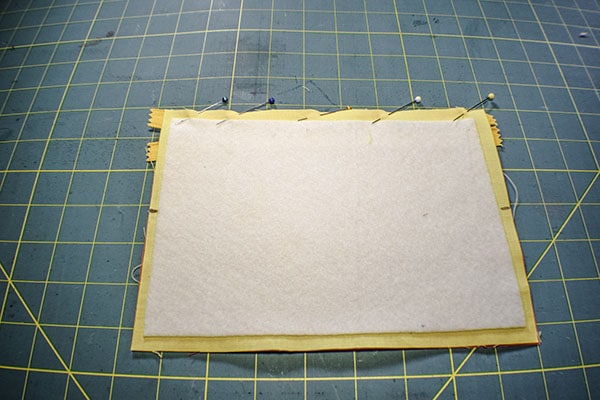
Step 3: Fuse the fleece
Fuse the triangle fleece pieces to the outer 4″ x 4″ squares so that the bottom of the triangle is 3/8″ from the bottom of the fabric. Layer the outer squares with the lining squares. Cut the sides of the triangles so that their is a 3/8″ seam allowance. Note that the points of the fabric triangles are flat and not pointed. All four of your outer and lining triangles should be cut at this point. Fuse the 8″ x 5 1/2″ piece of fleece to the accent fabric and the remaining fleece piece to the large outer fabric.

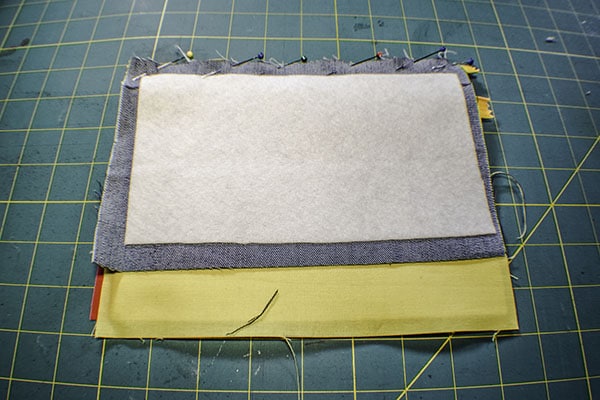
Step 4: Clip the sides
Layer the accent fabric on the corresponding lining piece and measure up from the bottom 3 1/4″ on each side and make a mark. Clip the mark using a small pair of scissors that equals the 3/8″ seam allowance. Layer the outer piece and the corresponding lining piece and measure 1″ down from the top and mark on each side. Clip into the seam allowance 3/8″.
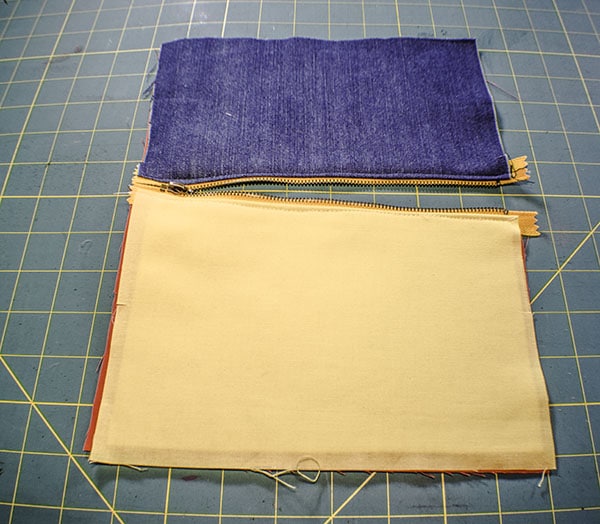
Step 5: Add the Zipper
Take the outer piece and its corresponding lining piece. Lay the lining piece face up on your work surface. Place the zipper right sides up on the lining piece. Place the outer piece right sides down on the zipper making a zipper sandwich. Pin or clip. Stitch the zipper through all layers. Turn right sides out. Lay the front lining piece right sides up on your work surface. Place the other side of your zipper right sides up on the lining and the accent piece right sides down on the zipper. Stitch the zipper into place. Turn right sides out and top stitch on both sides of the zipper.

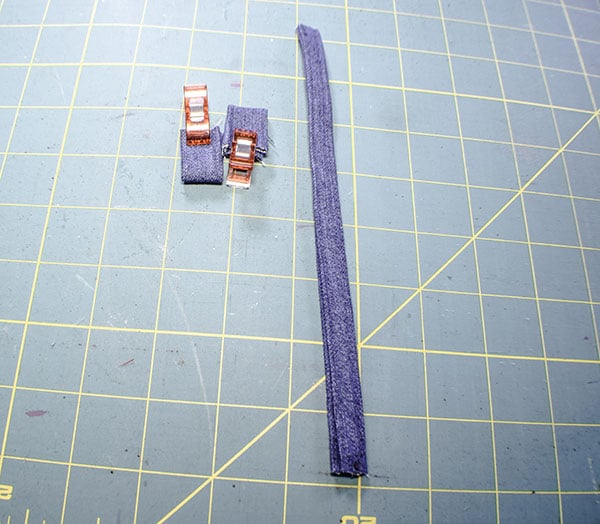
Step 6: Create the tabs and strap
Create the tabs and strap by folding the raw edges to the center and pressing. Fold in half again and press. Top stitch both sides of the strap.
Step 7: Add the tabs and strap
Fold the tabs in half and clip to the ends of the zipper. Fold the strap in half. Measure 3/4″ down from the clipped edge of the outer piece and clip the strap in place so that it is facing inward toward the pouch. Stitch the tabs and strap in place. At this point make sure that the zipper is open for the remainder of the project.

Step 8: add the triangles
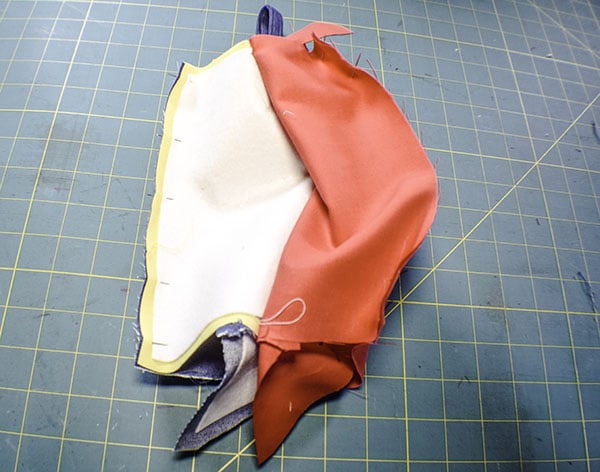
Take the outer triangles and place one long edge between the clipped edges on each side. Turn the piece over and place the lining pieces in the same places so that they match. Stitch the triangles in place remembering to back stitch at the beginning and end just between the clipped edges. Do not worry about the excess flat points.

Step 9: Stitch the sides
Separate the lining from the outer piece. Match the long edges of the lining and the long edges of the outer pieces right sides together. Stitch the long edges of the outer pieces from seam allowance to seam allowance. Repeat for the lining side, however, leave an opening in the lining for turning.
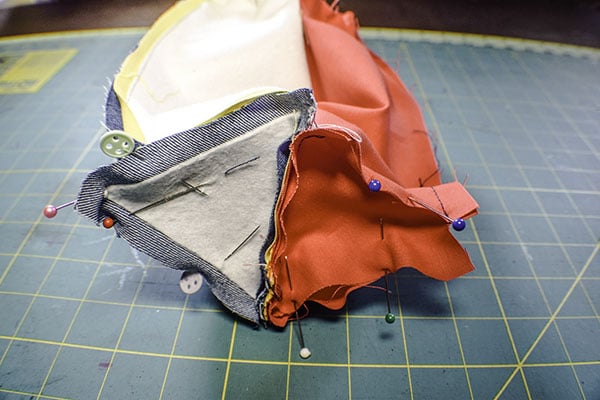
Step 10: stitch the remaining triangles
Place the remaining triangles right sides together with the pouch and stitch into place. Clip the corners without clipping into the stitching.
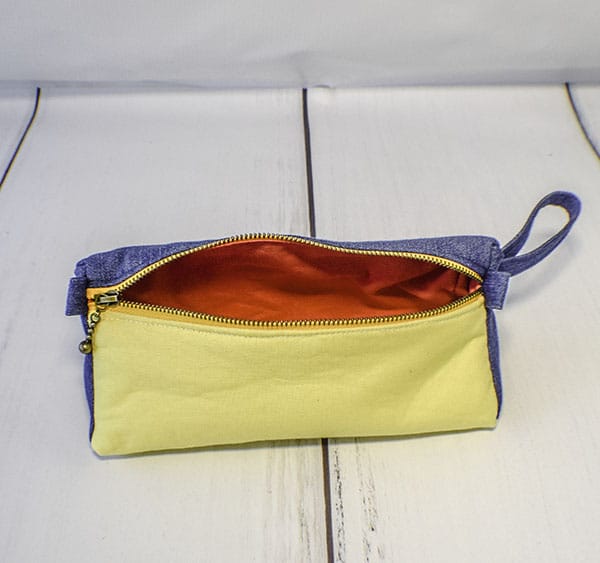
Step 11: Finish the triangle pencil case
Turn the case right sides out through the opening in the lining and the open zipper. Stitch the opening closed using your machine or ladder stitch. Push the lining into the pouch and you have finished your triangle pencil case.

I hope you enjoyed this project. If you would like more sewing and crafting projects sign up for our newsletter and receive access to our free printables library
If you would like video tutorials of some of Sew Very Crafty's most popular posts subscribe to our free YouTube channel here.