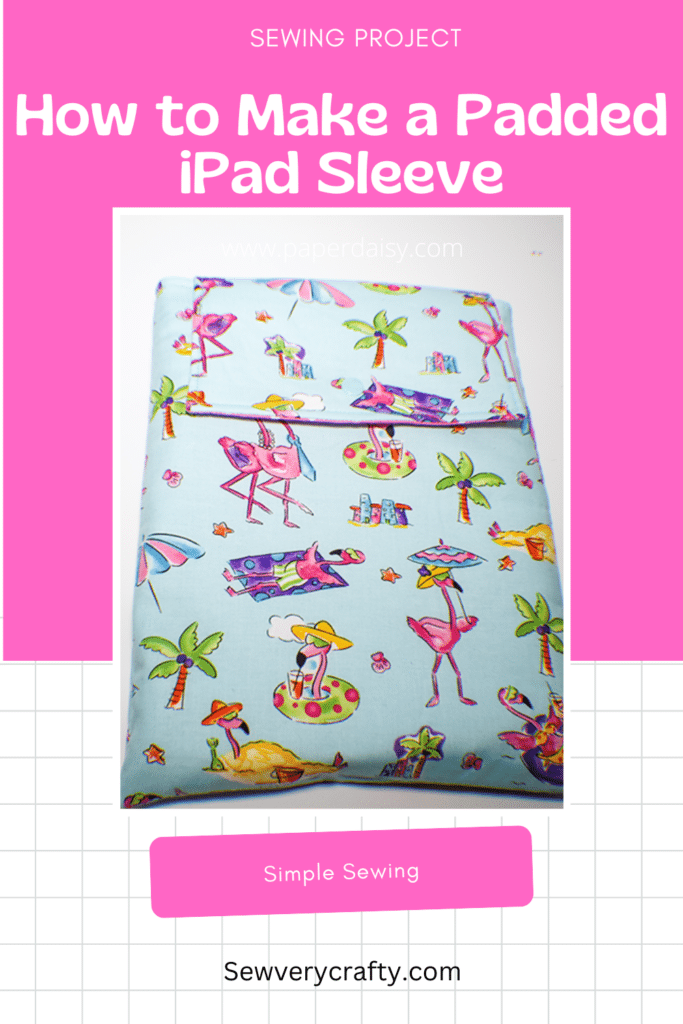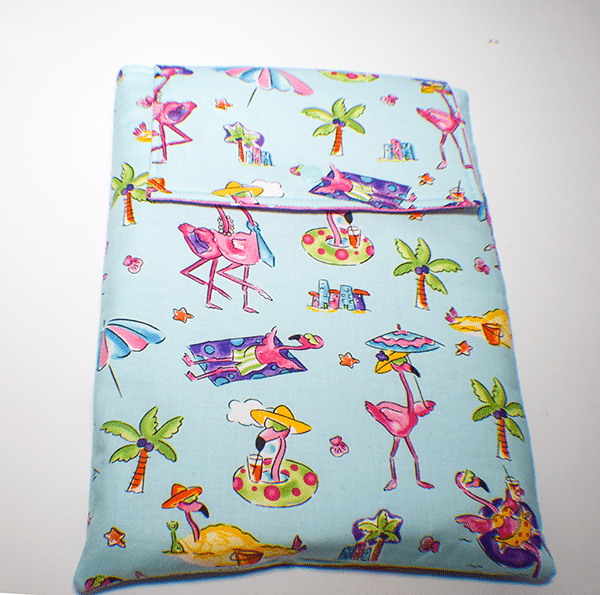
I recently purchased an iPad and am now going to travel with it so I thought I would make a padded iPad sleeve. This is a simple sewing project that any beginner sewist can make. This sewing project is a quick make that is perfect for the standard sized iPad. My iPad, with its case, fits perfectly in this padded sleeve. If you would like a laptop case check out this one.
I decided to use some left over fabric from my sunglasses case. It is fun fabric that I purchased at JOANN Fabric & Craft Stores![]() but you could head over to Amazon Fabrics or
but you could head over to Amazon Fabrics or
What you will Need: How to Make a Padded iPad Sleeve
- 1/4 yd outer and lining fabric
- 1/4 yd fusible foam or fleece
- Sewing machine
- Kam Snap
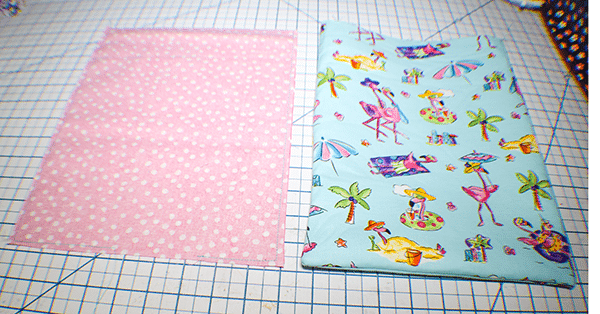
Step 1: Cut your Fabrics
From the outer, lining and foam cut two pieces each that measure 9 1/2″ x 12″. I made this slightly larger than my iPad because I included the case. From the outer, lining and foam cut one piece each that measure 7 1/2″ x 5 1/5′ for he flap.
Step 2: Fuse the Foam or Fleece
Fuse the foam or fleece to all of the outer fabric pieces.

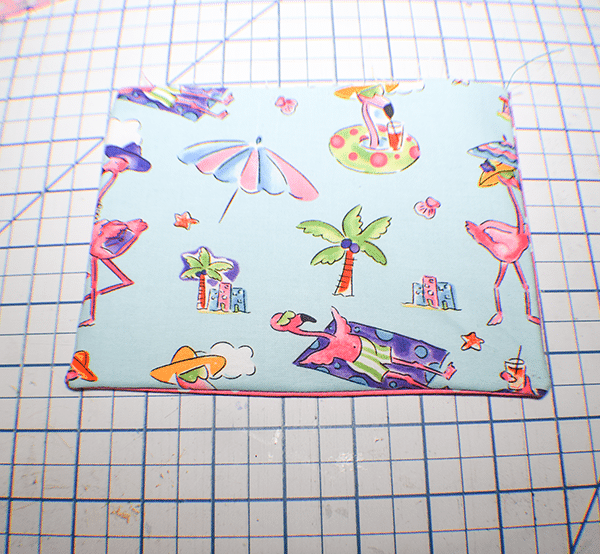
Step 3: Stitch the Sleeve Pieces
Place the outer pieces right sides together and stitch along the sides and bottom using a 1/4 seam allowance. Do the same thing for the lining but leave an opening in the bottom for turning. Turn the outer sleeve right sides out.
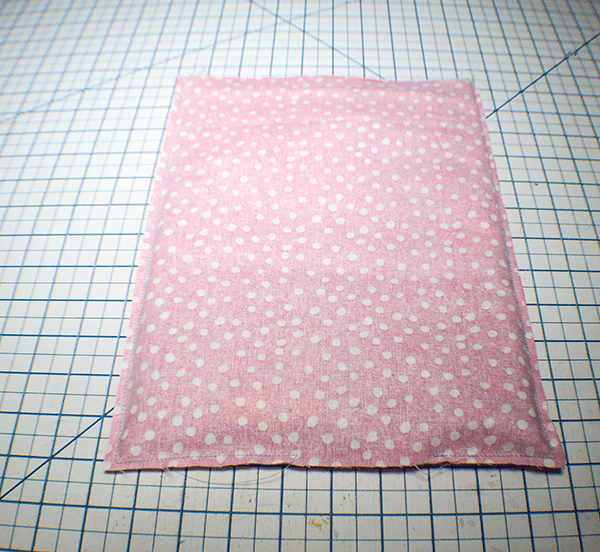
Step 4: Stitch the Flap
Place the two flap pieces right sides together and stitch along the sides and bottom using as 1/4 seam allowance. Turn right sides out and press. Topstitch.
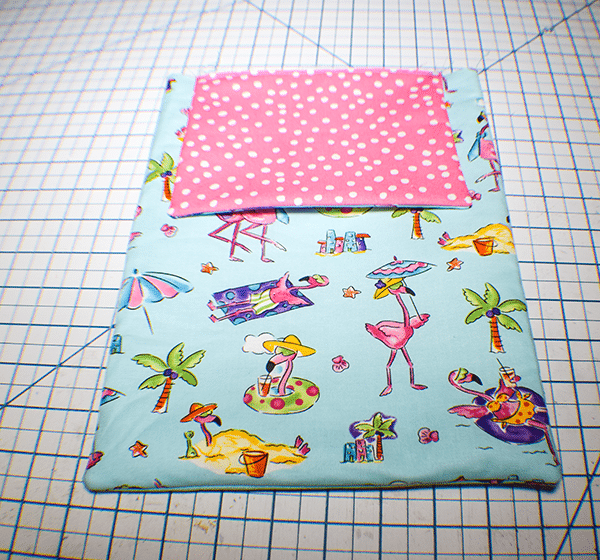
Step 5: Add the Flap
Place the flap piece right sides together with one side of the outer sleeve so that it is centered. Stitch using a 1/8″ seam allowance just to secure.
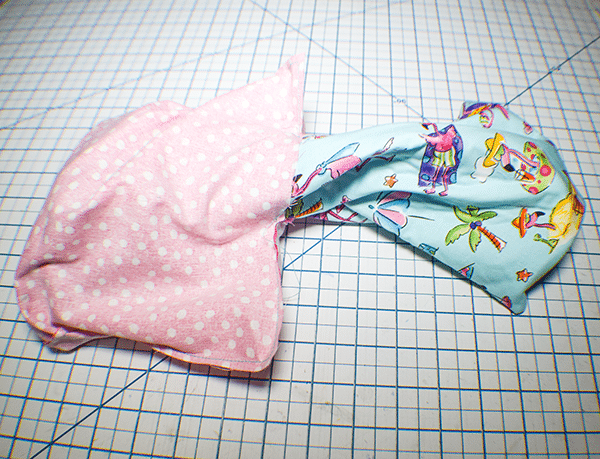
Step 6: Combine the Outer Sleeve with the Lining
Place the outer sleeve inside the lining sleeve so that they are right sides together and the flap is sandwiched between the layers. Stitch all the way around the top of the sleeve using a 1/4″ seam allowance.
Step 7: Turn Right Sides Out
Turn the entire sleeve right sides out through the opening you left in the lining. Stitch the opening closed either with your machine or using ladder stitch. Stuff the lining into the outer fabric and press. Topstitch all the way around the top.
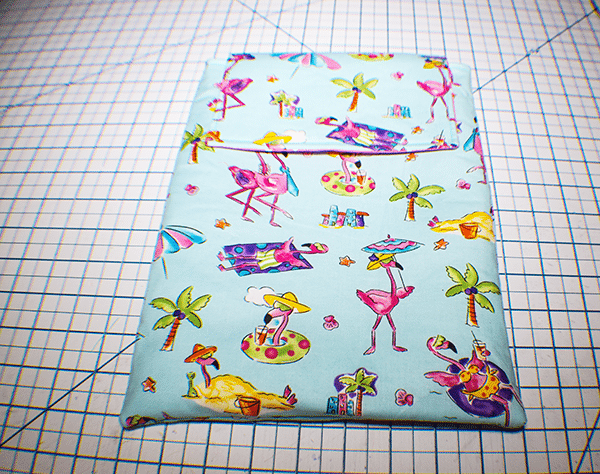
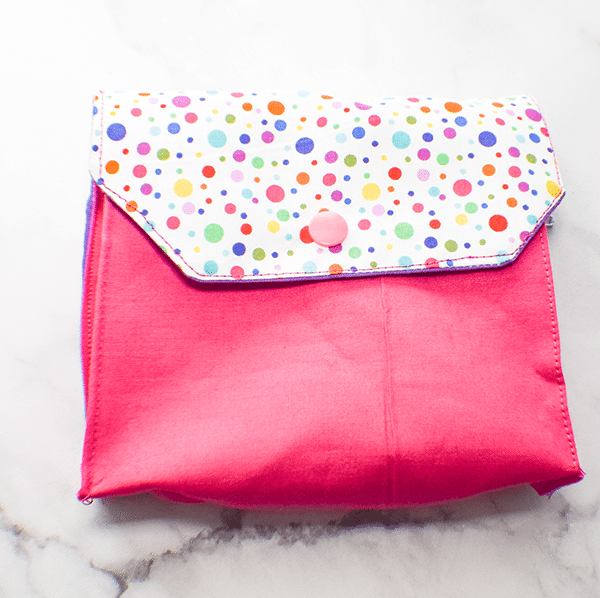
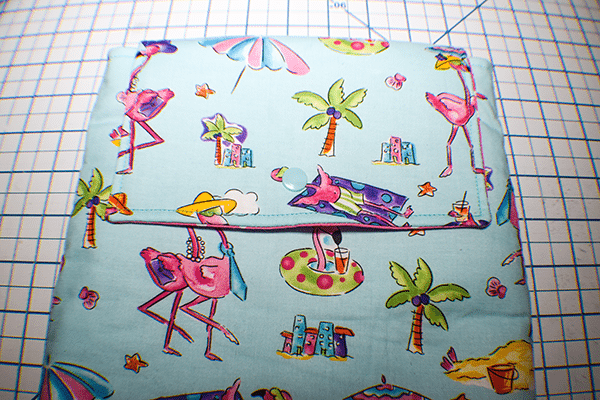
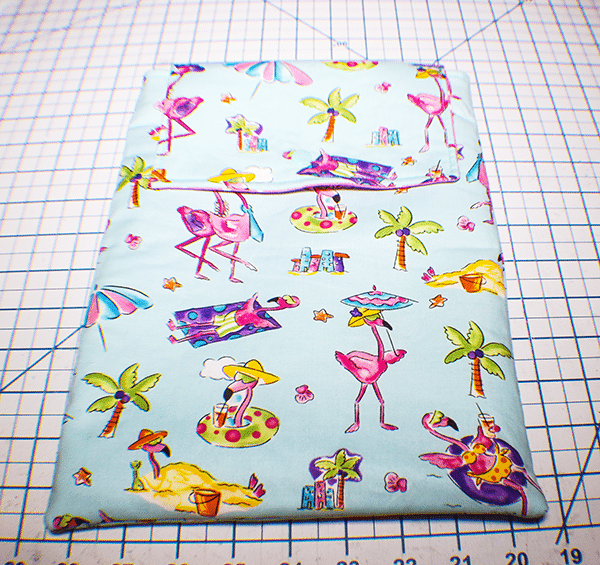
Step 8: Add the Kam Snap
Find the center of the flap by folding it in half. Mark. Measure up 1″ from the bottom of the flap and place one half of the Kam Snap. Measure down from the top of the sleeve 3″ in the center and place the other half of the Kam Snap. Once you have added the Kam Snap you have finished your padded iPad sleeve. Add your iPad and head on out.
I hope you enjoyed this simple iPad sleeve. If you would like more sewing and crafting projects subscribe to our newsletter and receive your free eBook of 15 handbag patterns and tutorials taken from the blog.
If you would like video tutorials of some of Sew Very Crafty's most popular posts subscribe to our free YouTube channel here.