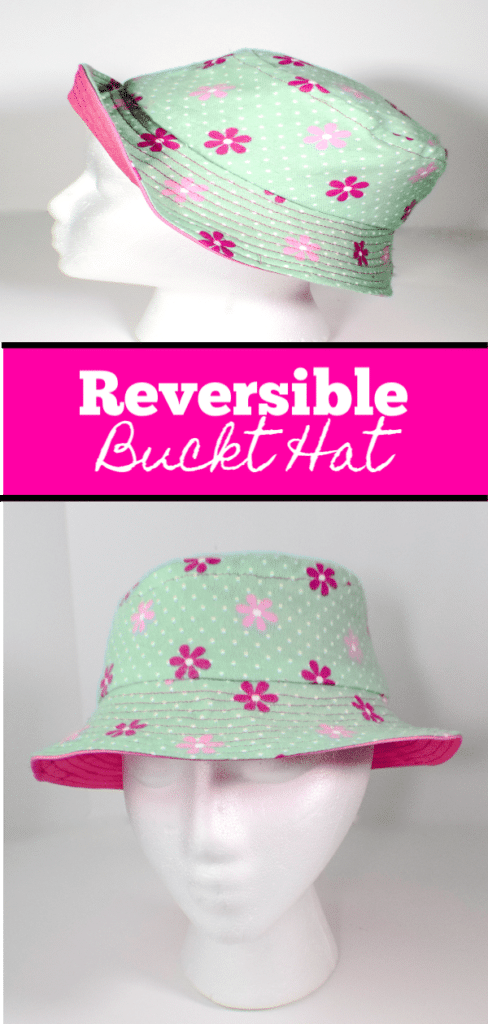
Make a Reversible Bucket Hat
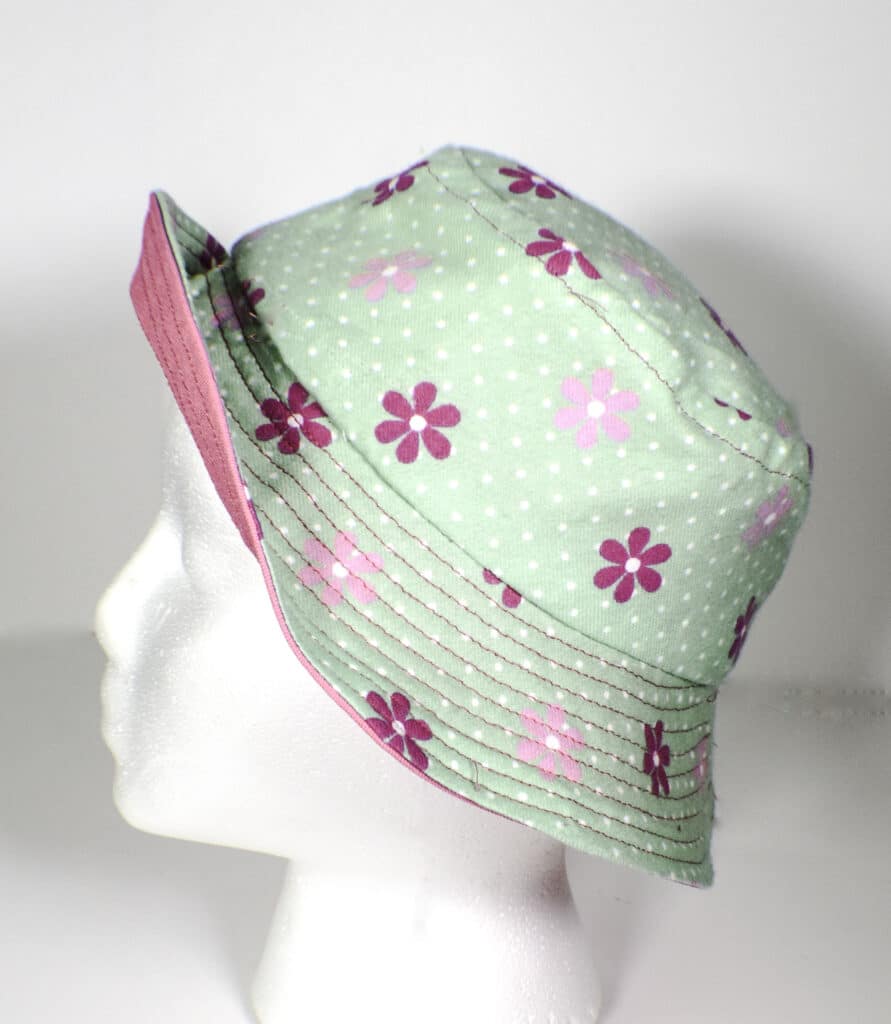
I love making hats. In fact, I make them all the time so I thought I would share a simple hat project for kids here on Sew Very Crafty. I found a pattern on how to make a reversible bucket hat over at Oliver + S but was not in love with the tutorial so I thought to redo it here. The pattern can be made in three different sizes. I chose the medium size for my hat and a cute little summery print perfect for a toddler. This pattern is very easy to make and only requires advanced beginner sewing skills to complete. I really enjoyed making this project and I know you will too. If you would like an adult size pattern and updated tutorial for this project check out my most recent Bucket hat tutorial here. If you would like a different style of sun hat check out my sun hat pattern here.
I used remnants in my stash for this project as usual because I am trying so hard to get through them all but I don't seem to be making a dent. Oh well that just means more fun sewing projects. But, if you do not have the fabrics that you need for your project head over to Hobby Lobby and Fabric.com to get exactly what you need to make the perfect summer time bucket hat for your needs.
If you would like a video tutorial of this project checkout my video over oat YouuTube. While you are there subscribe to my free YouTube channel.
What you will Need:
- Pattern that you can purchase here it is no longer free
- 1/3 yd main fabric
- 1/3 yd secondary fabric
- 1/2 yd of medium weight Interfacing for brim
- Standard sewing supplies
Step 1: Make a Reversible Bucket Hat
Print out the pattern and tape the respective pieces together at the large triangles. Cut two of each piece from both fabrics except the crown. You only need to cut one piece from each fabric for the crown. You should have 4 side pieces, 4 brim pieces and 2 crown pieces.
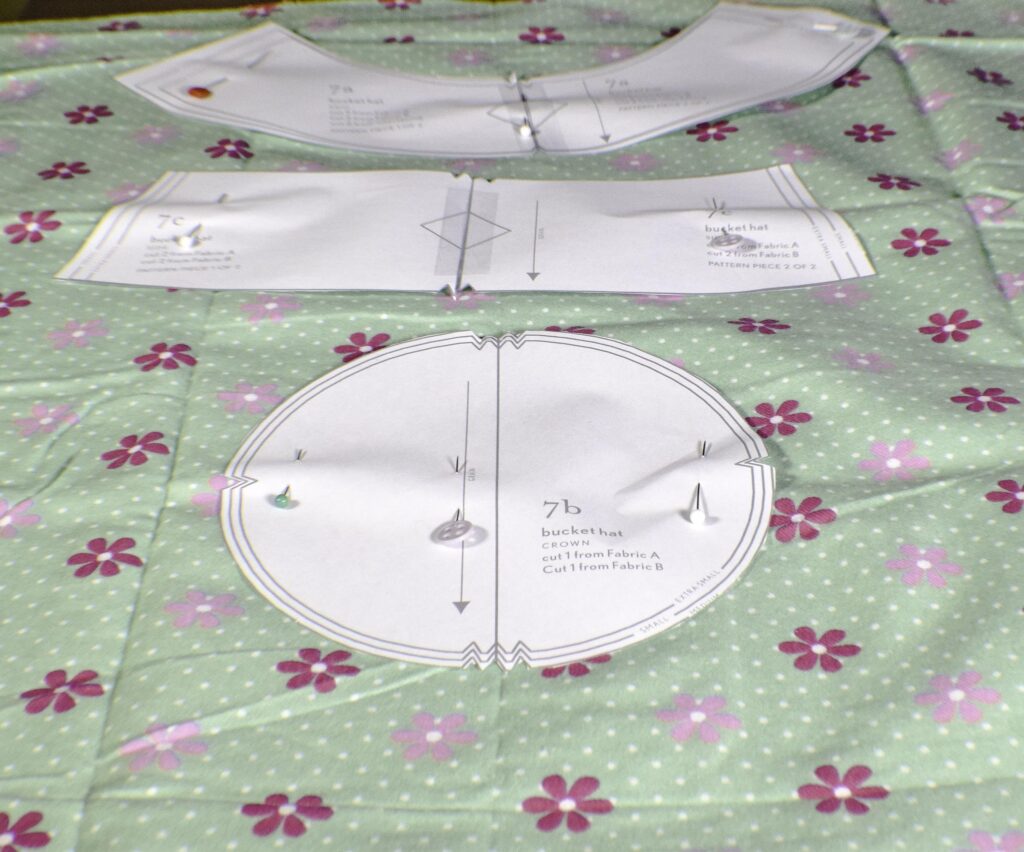
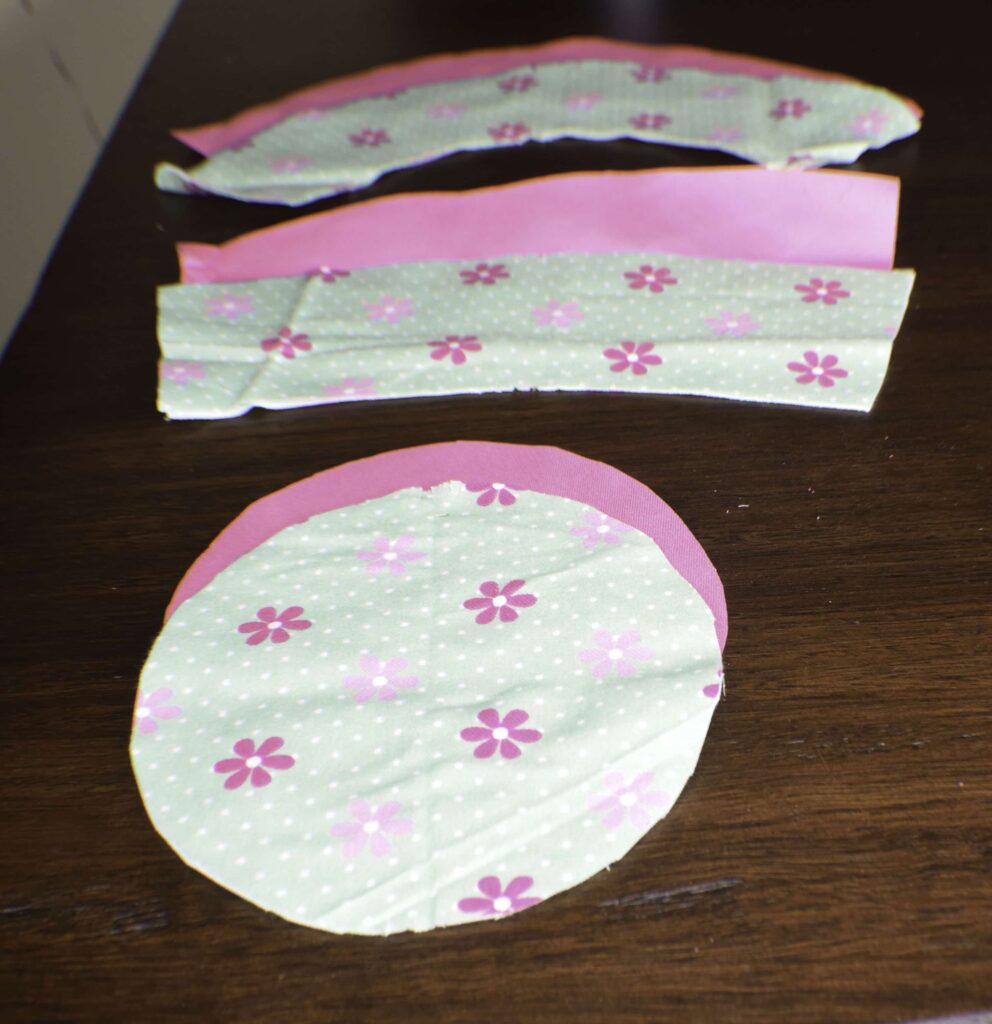
Step 2: Make a Reversible Bucket Hat
Take the side pieces and sew them right sides together along the short sides only using a 1/2″ seam allowance.
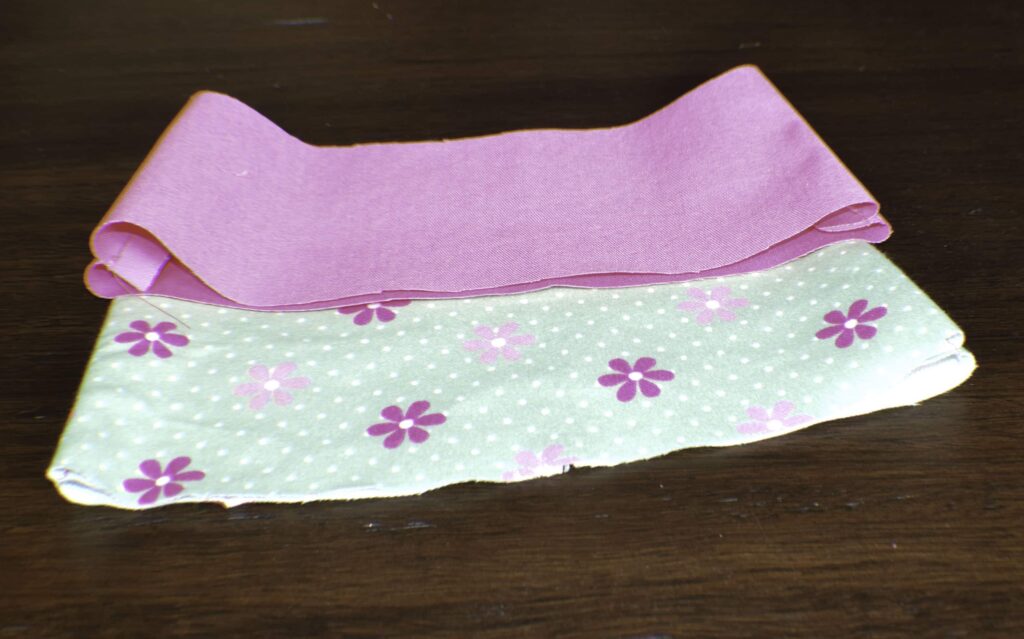
Step 3: Make a Reversible Bucket Hat
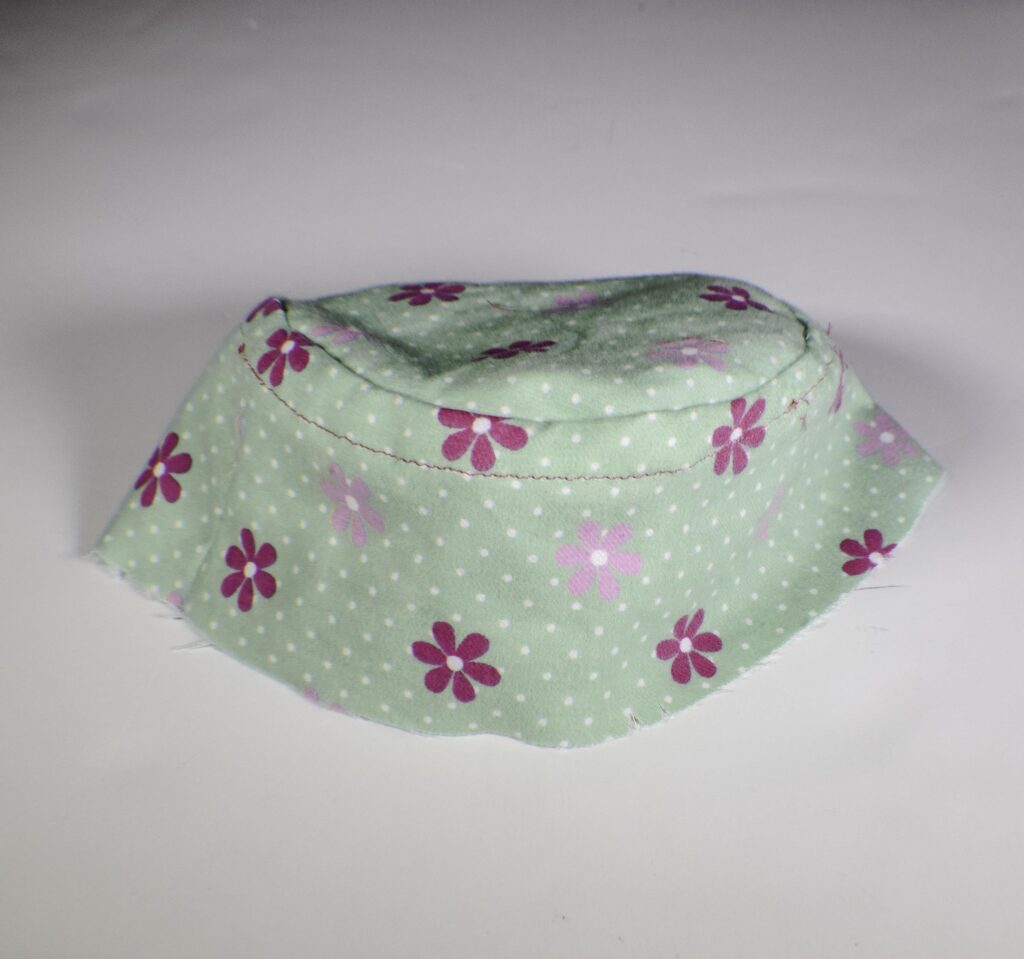
Pin the sides to the top of the side panel matching the triple notches. The single notches should be matched to the side seams. To do this you must notch the side panels so that they will fit the crown. Sew the crown to the side panel using a 1/2″ seam allowance. Finger press the seam allowances toward the side panels. Edgestitch the the seam allowances to the sides panels for a more professional look. I actually found this step to be fidgity and opted not to do it on the reverse side.
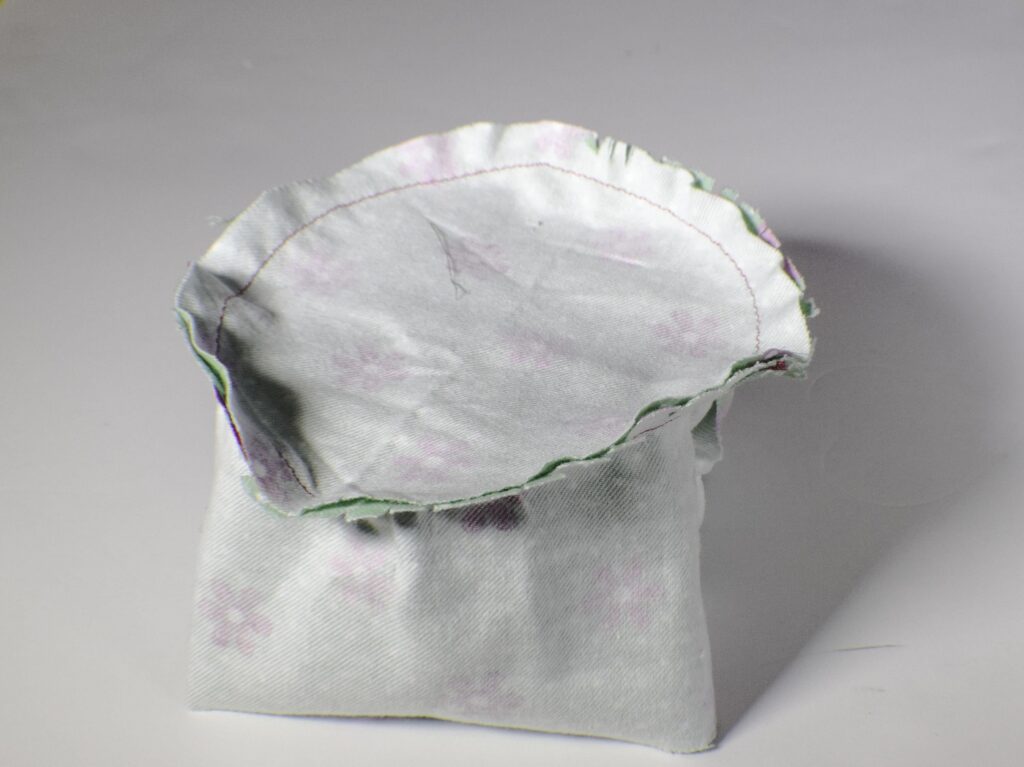
Step 4: Make a Reversible Bucket Hat
Repeat steps 1-3 for the secondary fabric.
Step 5: Make a Reversible Bucket Hat
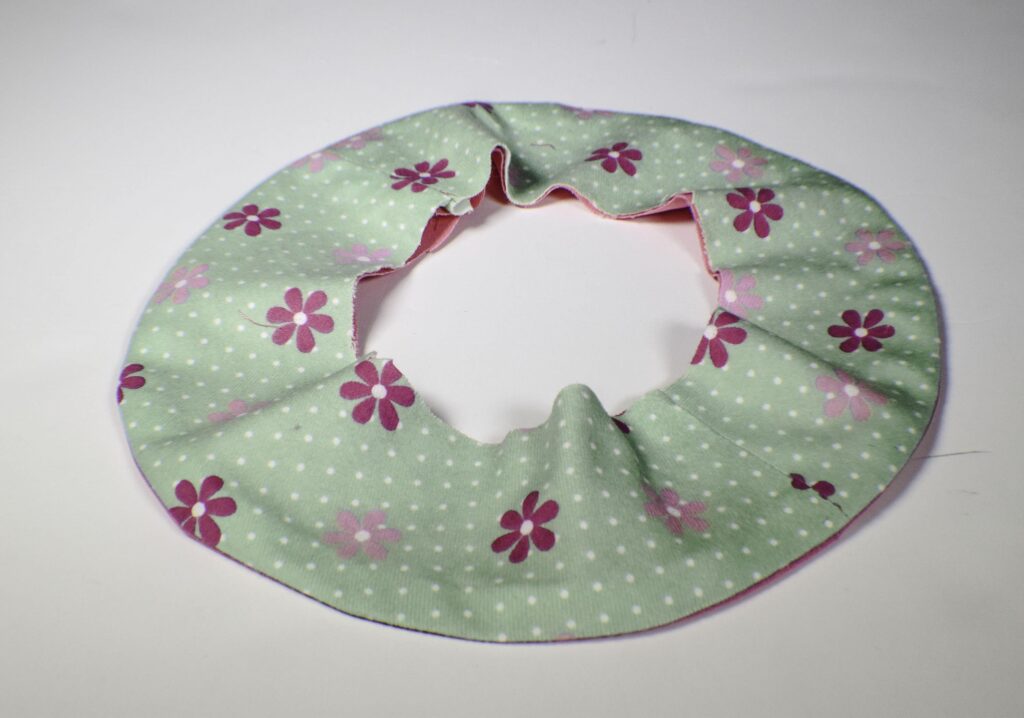
With right sides together sew the two brim pieces together at the side seams. Interface the secondary brim fabric for stability. I did not interface my brim fabric because I used a thick denim like fabric for my secondary fabric and did not feel that it needed it. If you are using quilting cotton you should definitely interface your secondary fabrics. Sew the secondary side seams together as you did the main fabric.
Step 6: Make a Reversible Bucket Hat
Pin the two brim pieces right side together. Sew the bottom of the brim using a 1/2″ seam allowance. Turn the brim right side out and press. Then sew concentric circles around the brim at 1/4″ intervals to add additional stiffness to the brim.
Step 7: Make a Reversible Bucket Hat
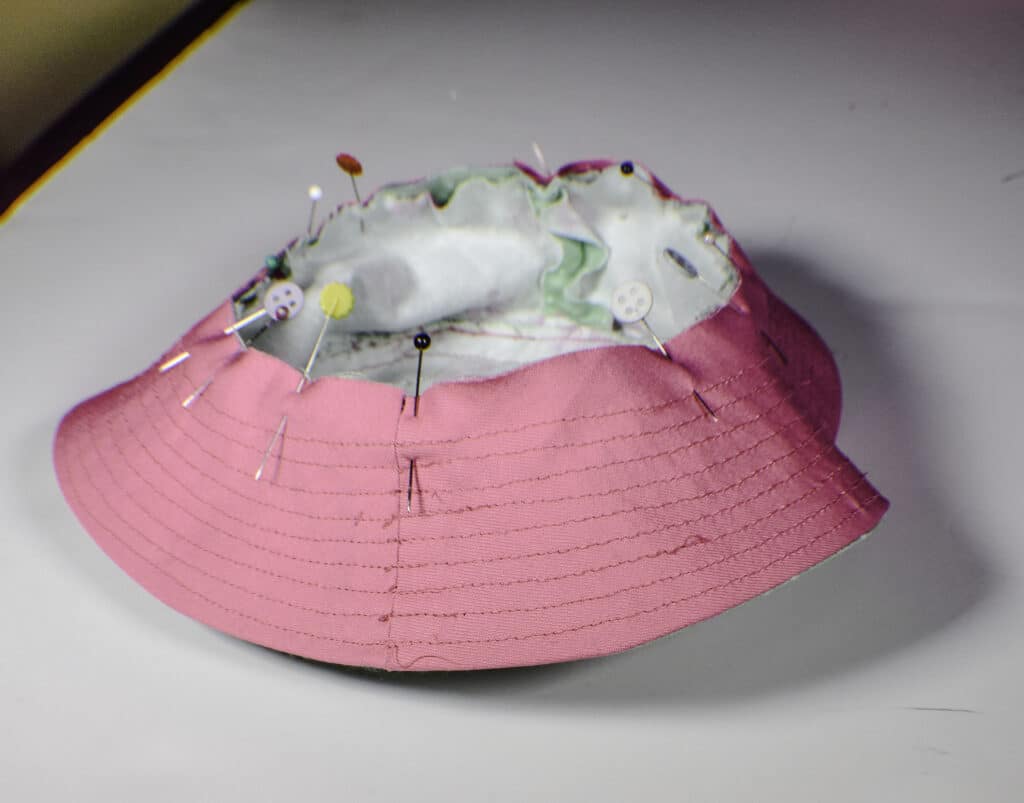
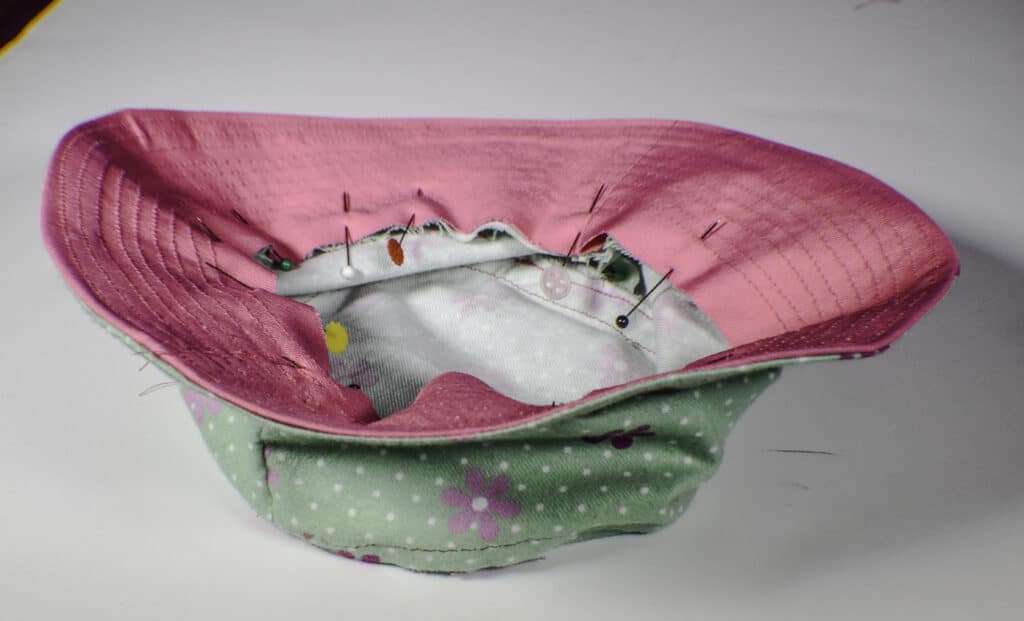
With right sides together pin the brim to the sides of the hat clipping where necessary to get the brim to fit. Stitch the pieces together using a 1/2″ seam allowance.
Step 8: Make a Reversible Bucket Hat
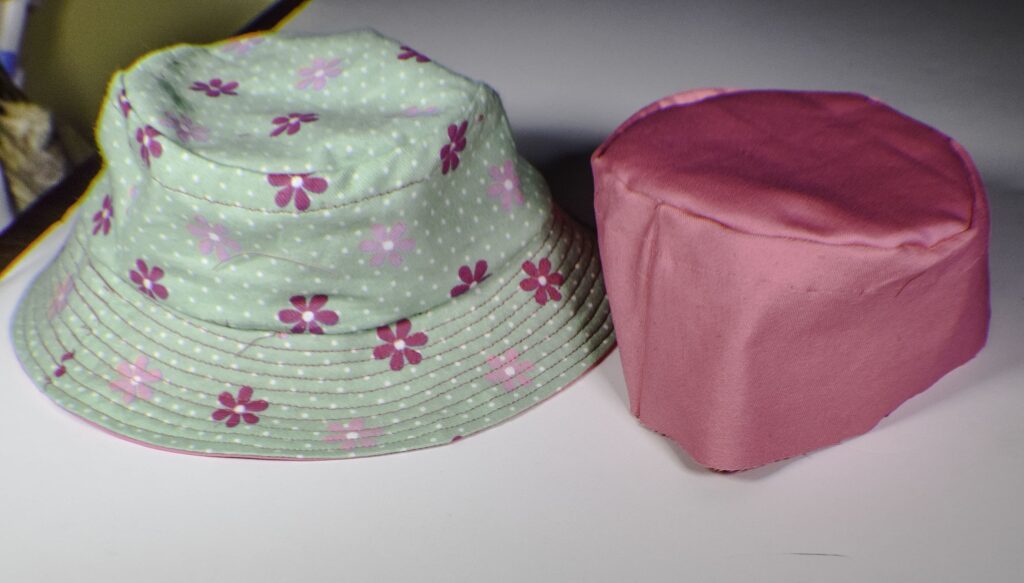
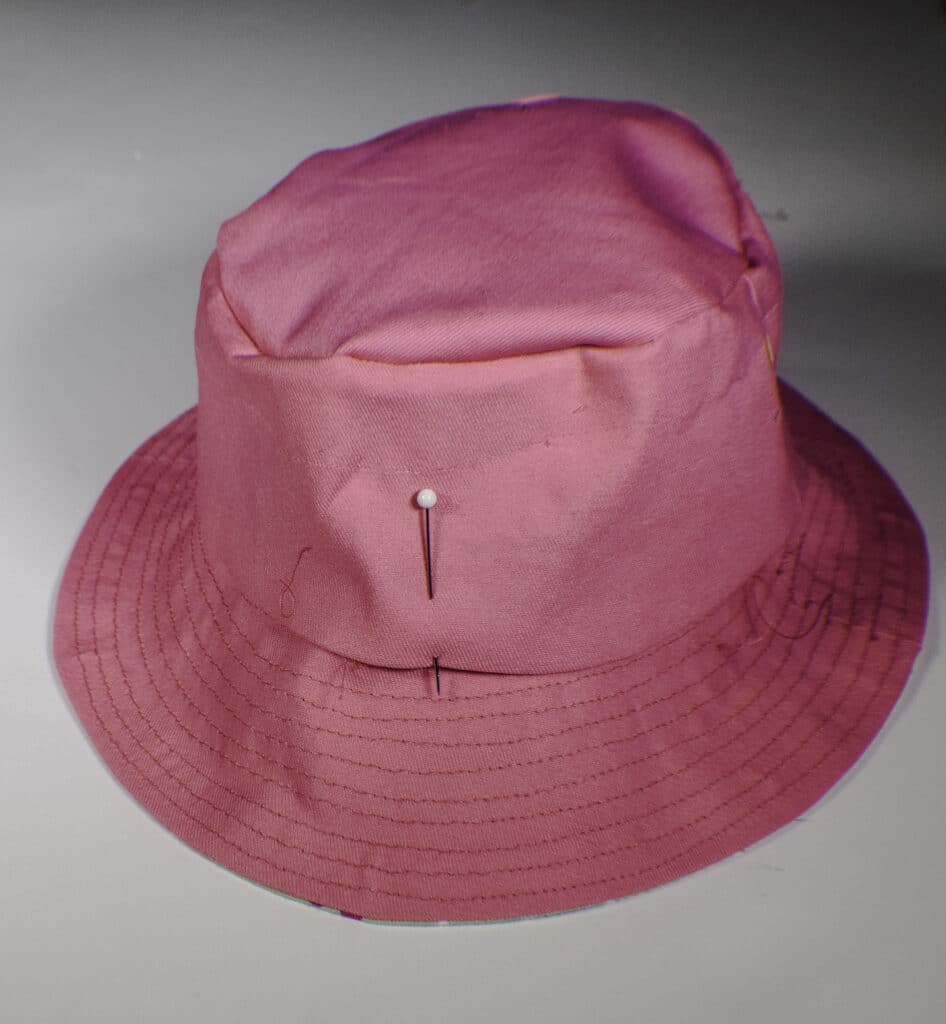
Turn the hat to the other side. Take the crown and side for the secondary fabric and press under the raw edge by 1/2″. Place the folded edge over the raw edges of the hat. Hand stitch using blind stitch the secondary fabric side to the brim. If you are unfamiliar with blind or ladder stitch check out this video.
Step 9: Make a Reversible Bucket Hat
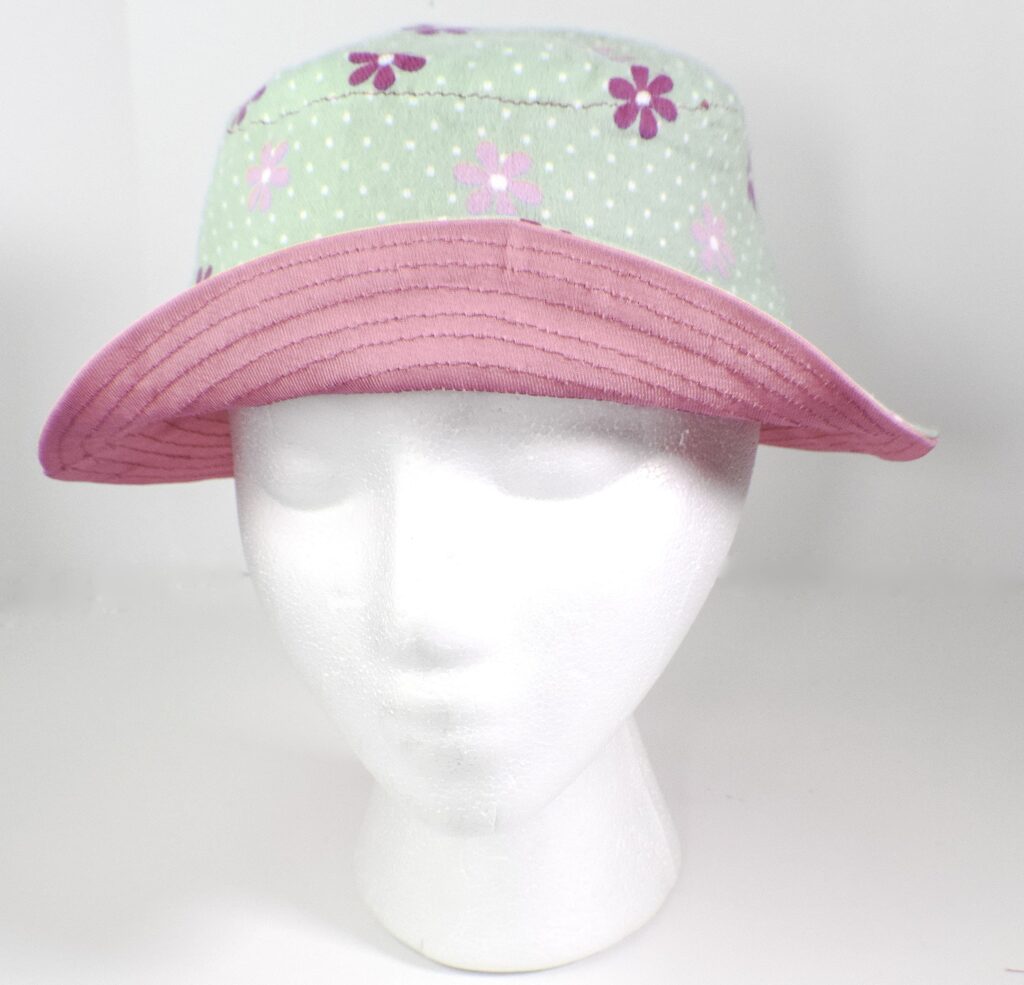
Turn the hat to the primary fabric side and edge stitch along the seam where the side panels meat the brim through all layers to keep the two sides of the hat together. You have now completed your reversible bucket bag.
If you enjoyed this project sign up for more sewing and crafting projects and receive your free list of sewing room must haves.
If you liked this hat pattern check out my tutorial on how to make a simple lined beret. Or, if hats are not your thing try my new tutorial on how to make bow scrunchies. They are cute and easy to make.


Love the hat but don’t see the pattern?
The pattern is no longer available.
Lovely :-). Does the pattern include seam allowance or not?
Yes it does. Just FYI this is a child’s hat. If you want an adult sized hat check out my other bucket hat pattern at https://sewverycrafty.com/how-to-make-a-simple-reversible-bucket-hat/. Thanks.
Does this hat provide very good sun coverage? Some don’t look like their brim is wide enough to do so.
This is actually a child’s hat. The adult version is found here. https://sewverycrafty.com/how-to-make-a-simple-reversible-bucket-hat/. I think it has good sun coverage.
I have purchased 3 bucket hat patterns so far, and each one is not good. One….too small for a 12 year old (Peanuts), one 2 ” too large for my husband( Red Poppy), and the 3rd, (Mercalito?) out of regulation so that when you matched the circle, one side was larger than the other. I am bereft… and don’t know where to find one to teach my granddaughter how to make her own! Can you help?? Yours looks great…..
The pattern that is included in the post that you went to was free when I originally posted it but they now charge for it. I have an adult sized pattern that is free on my site if you want to give that one a try. There is a video that accompanies it. The pattern is here: https://sewverycrafty.com/wp-content/uploads/2020/10/Adult-Bucket-Hat-Pattern-1.pdf. The post and video are here: https://sewverycrafty.com/how-to-make-a-simple-reversible-bucket-hat/. I hope this helps. Good Luck.