
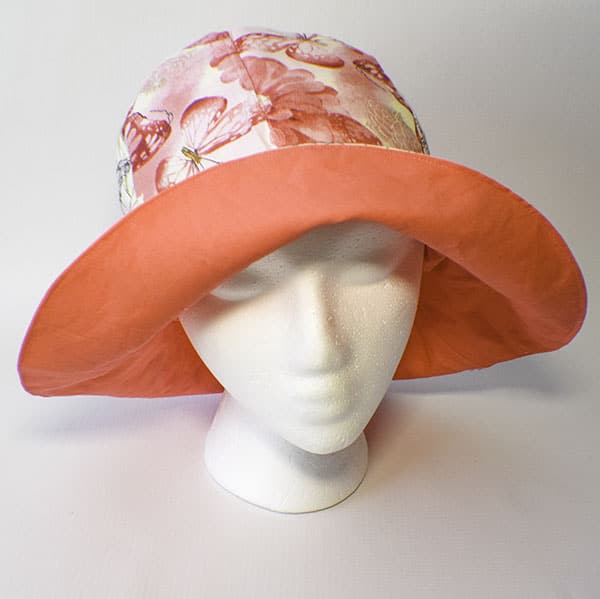
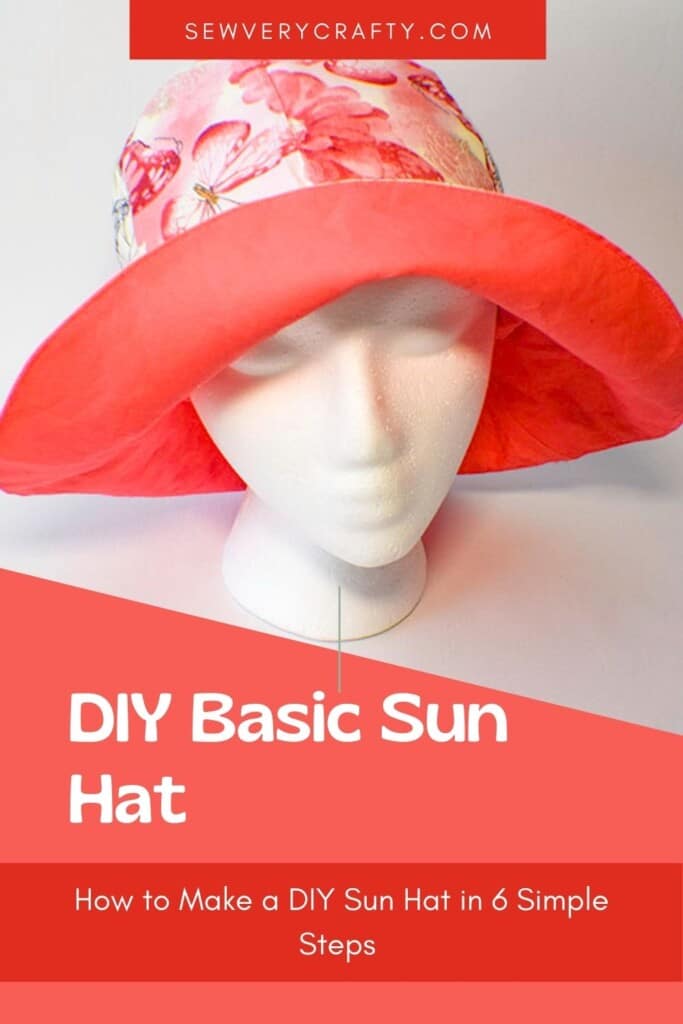
I love to make hats. There are several hat patterns on the site. I decided to make this fun sun hat this time. It is a super simple hat project that I got from Ae PooiM to make and can be made with basic sewing skills following this simple sewing tutorial. Summer sun hats are a terrific simple sewing project. I urge everyone to try to make them. This sun hat project is a quick sewing project as well. It really takes no time at all to put this cute hat together. There is nothing better to keep the sun off your face than this cute little hat. So lets give this one a try.
I used a pretty floral patterned cotton for the outer part of my hat and a coordinating Kona cotton for the lining. This hat is reversible so you can choose two fun fabrics for you hat if you like. I purchased my fabrics at JOANN Fabric & Craft Stores![]() using a coupon but you could head to Fabric.com, or onlinefabricstore.net to get the perfect cotton fabric for your sun hat. This posy contains affiliate links that if you click on them and make a purchase I may receive a small commission at no extra cost to you. As an Amazon Associate I earn from qualifying purchases.
using a coupon but you could head to Fabric.com, or onlinefabricstore.net to get the perfect cotton fabric for your sun hat. This posy contains affiliate links that if you click on them and make a purchase I may receive a small commission at no extra cost to you. As an Amazon Associate I earn from qualifying purchases.
If you would like a video tutorial of this project head over to YouTube and check out my video. While you are there subscribe to my free YouTube channel.

What you will Need: How to Make a Sun Hat
- Pattern you can get by clicking on this link
- 1/2 yd outer fabric and lining fabric
- 1/2 yd Pellon SF 101 Interfacing
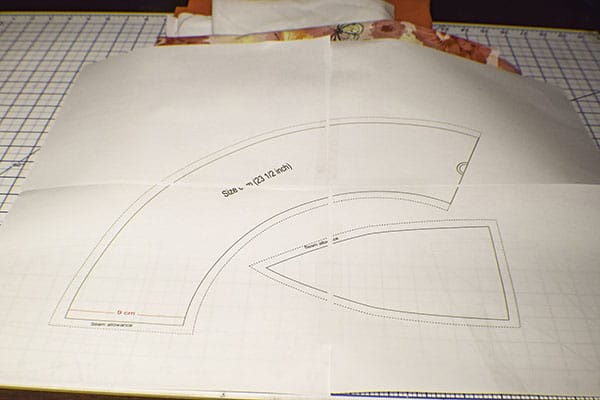
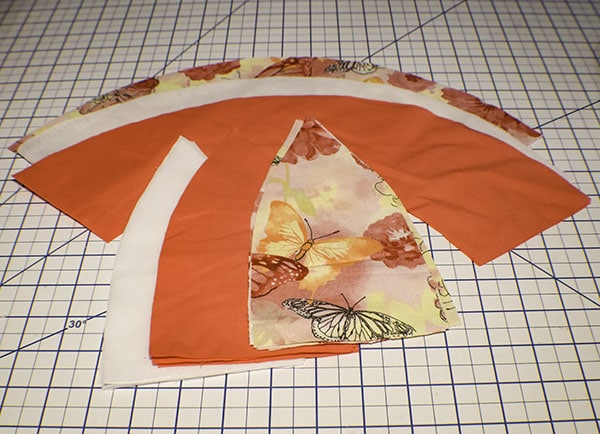
Step 1: Cut out your Sun Hat Fabrics
Print out the pattern pieces and tape them together. Cut one piece each from the outer, lining and interfacing fabric of the arced pattern piece on the fold. Then cut six each of the outer, lining and interfacing fabric of the triangle piece.
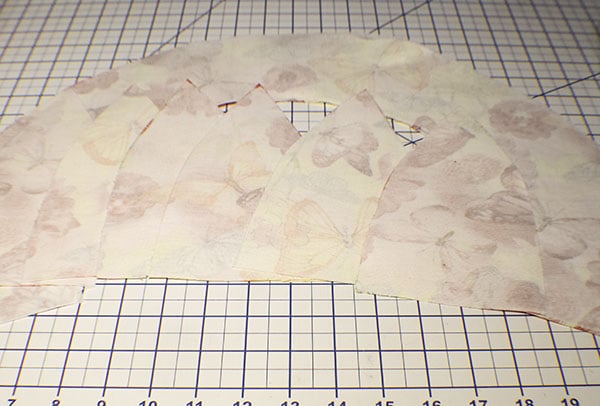
Step 2: Fuse the Interfacing
Fuse the arced piece of interfacing onto the wrong side of the outer arced piece of fabric using a hot iron and following the manufacturer's instructions. Then fuse the 6 triangle pieces to the wrong side of the outer triangle pieces also using a hot iron and following the manufacturers instructions.
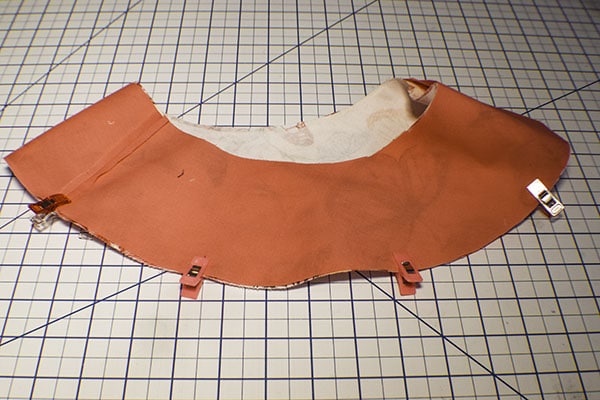
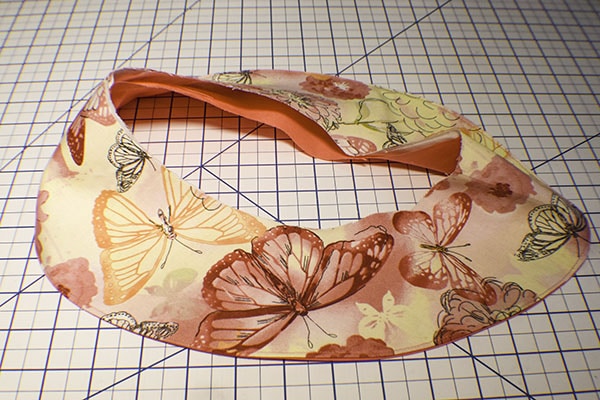
Step 3: Stitch the Sun Hat Brim
Stitch the short ends of the outer arced piece together using a 1/4″ seam allowance. Repeat for the lining piece. Press the seams open. Place the two circles right sides together matching the seams and stitch around the wide side using a 1/4″ seam allowance. Clip all the way around. Turn right sides out and press. Top stitch along the stitched edge.

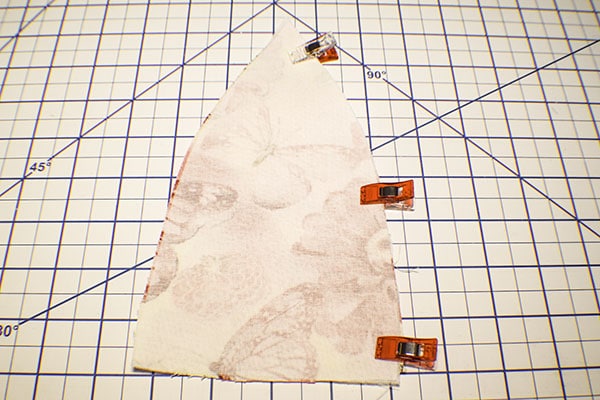
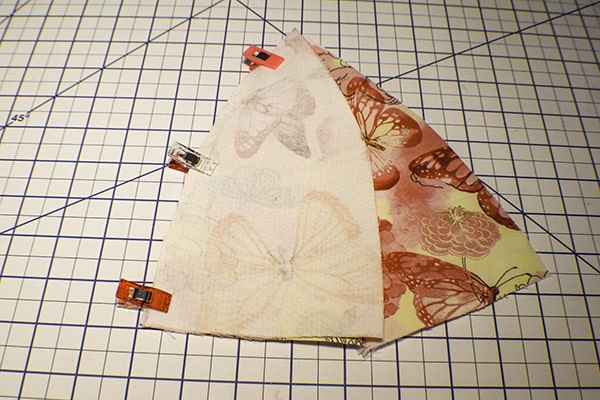
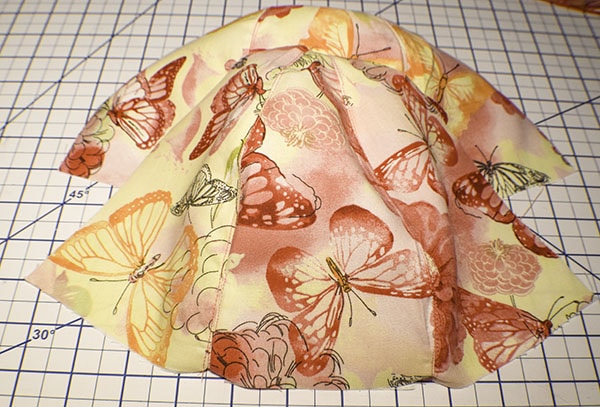
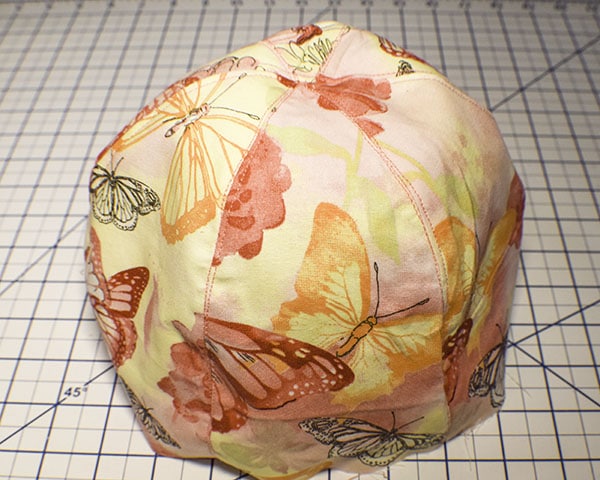
Step 4: Stitch the Sun Hat Crown
Place two outer triangle pieces right sides together and stitch using a 1/4″ seam allowance. Add a third triangle piece and stitch. Stitch the three additional outer pieces in the same way. Topstitch on both sides of each seam. Place the two pieces of three right sides together and stitch across the top joining them. Topstitch along the seams as before. Repeat for the lining triangles except you do not need to topstitch and you should leave an opening in one of the triangle sides for turning in a later step.
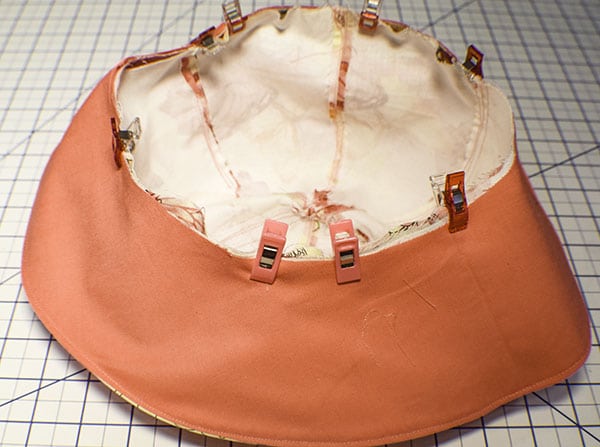
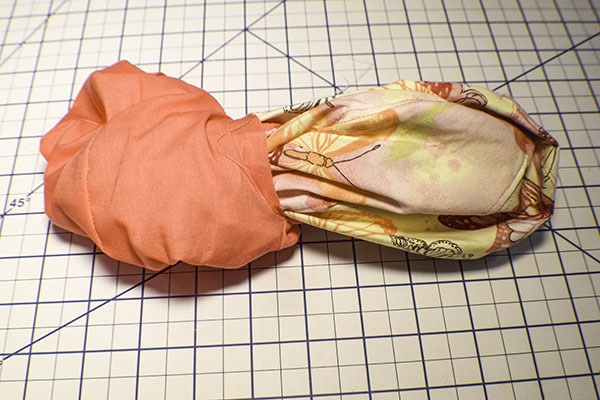
Step 5: Add the Crown the Brim
With right sides together place the brim and crown together. Stitch the brim to the crown matching the raw edges using a 3/8″ seam allowance.
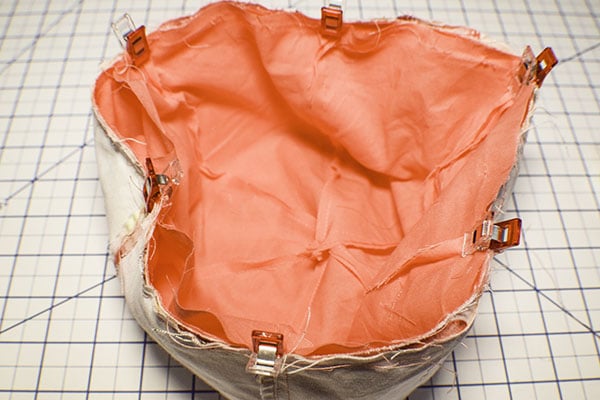
Step 6: Add the Lining Crown
Fold the brim into the right side off the crown. Place the right side off the lining crown to the right side of the outer crown with the brim sandwiched in between matching the raw edges. Stitch all the way around using a 3/8″ seam allowance. Turn the hat right side out through the opening you left in the lining side. Close the lining side using ladder stitch. You have now finished your cute summery sun hat.
I hope you enjoyed this sun hat project. If you would like more sewing and crafting projects sign up for our newsletter and receive access to our free printables library for sewing and crafting printables and more.
If you would like video tutorials of some of Sew Very Crafty's most popular posts subscribe to our free YouTube Channel here.


how large do I print out the pattern for a woman
Just print it as is.